Introduction
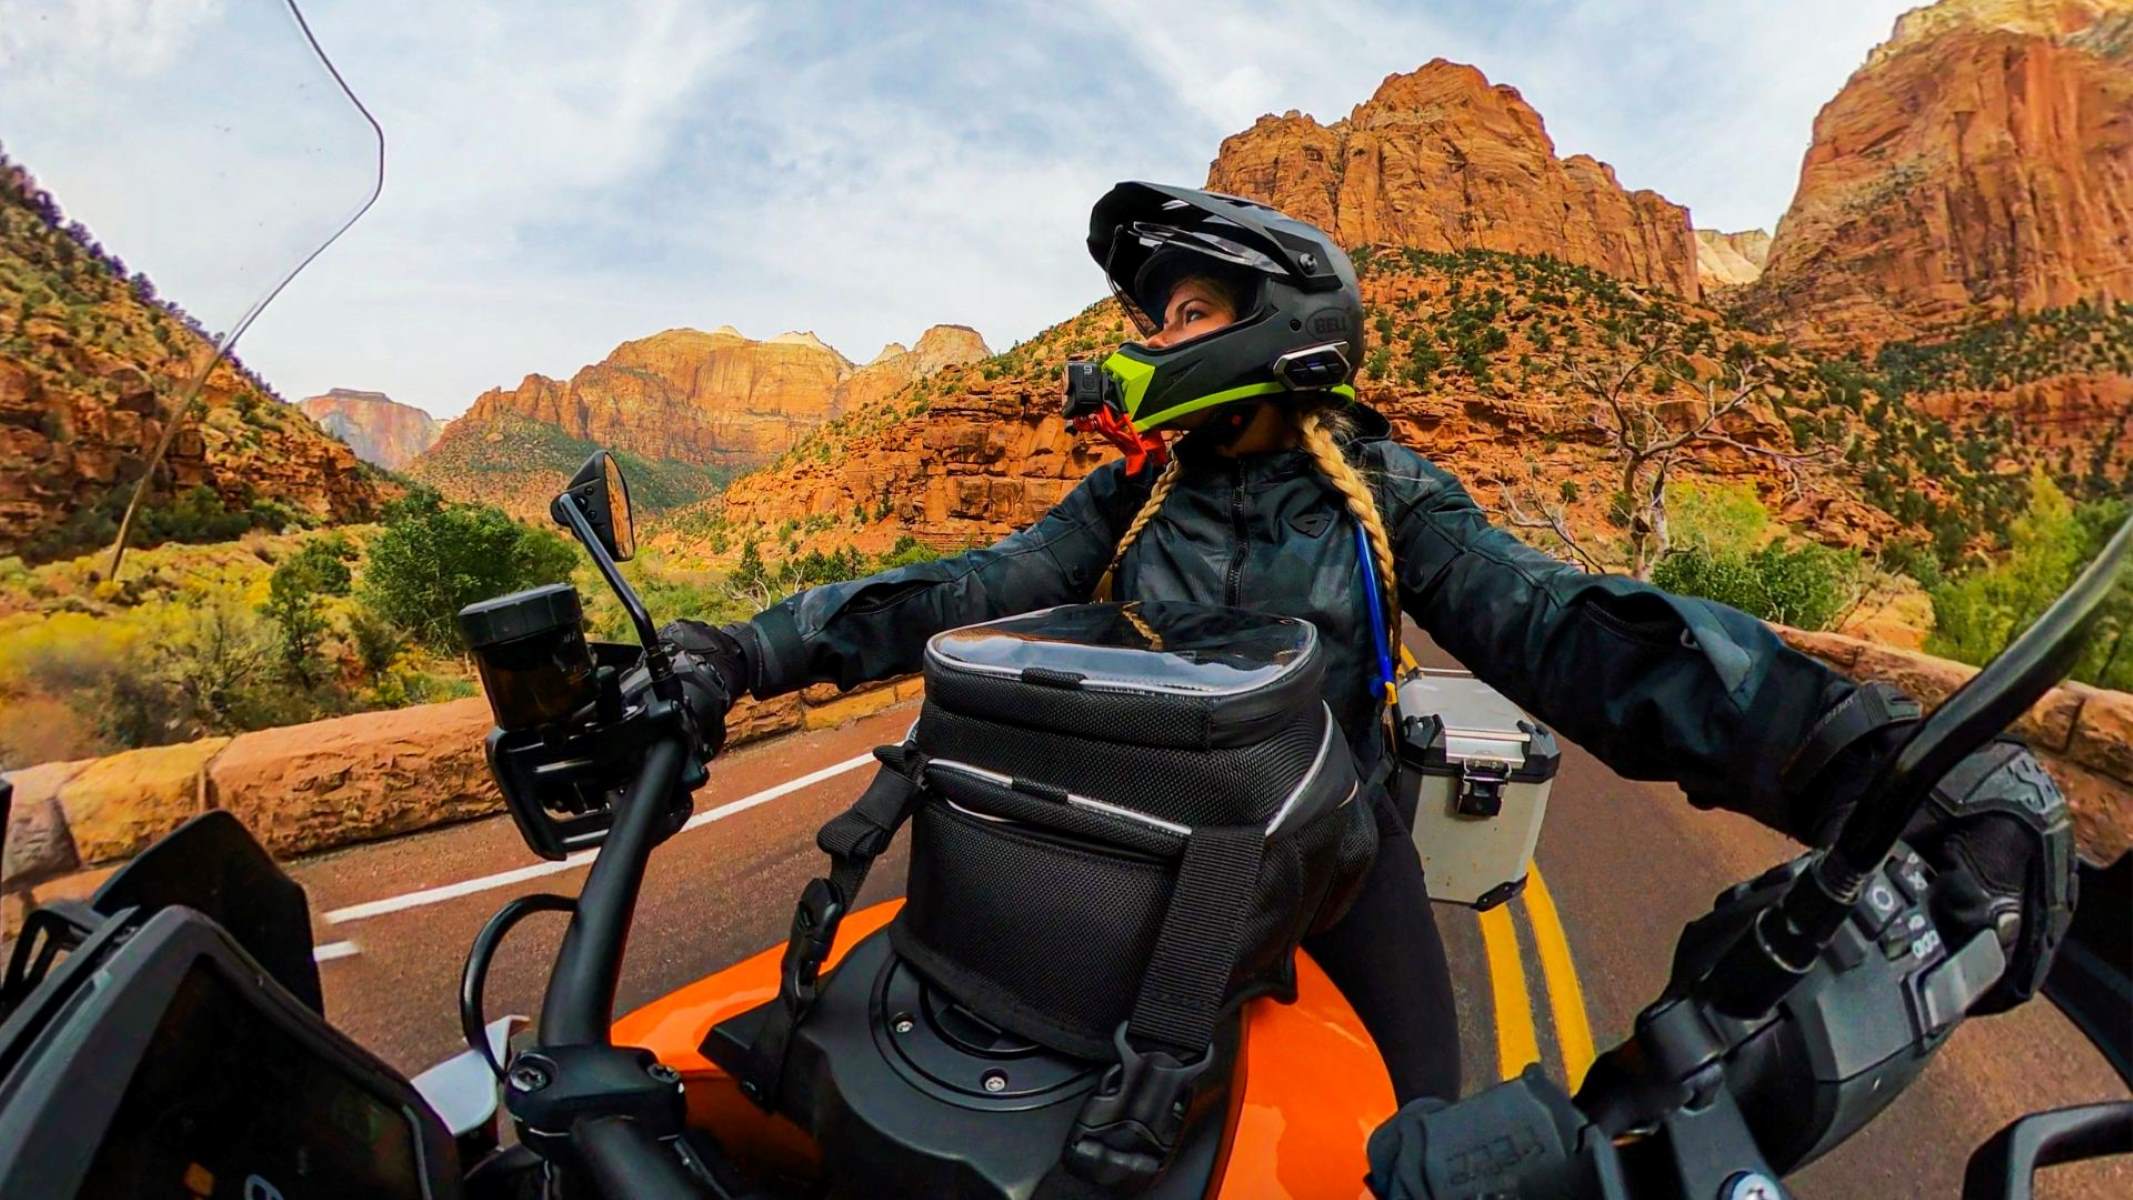
Are you an adventure enthusiast looking to capture every thrilling moment of your escapades? Mounting an action camera on your helmet can provide an exhilarating first-person perspective, allowing you to relive and share your adrenaline-pumping experiences. Whether you're shredding down mountain bike trails, carving through fresh powder on your snowboard, or conquering challenging rock faces, having your action camera securely mounted on your helmet ensures that every heart-pounding moment is captured with precision.
In this guide, we'll walk you through the step-by-step process of mounting your action camera on your helmet, ensuring a secure and stable attachment that will withstand the rigors of your adventures. From choosing the right mount to testing and adjusting the setup, we'll cover everything you need to know to capture stunning footage from your point of view.
So, grab your helmet, dust off your action camera, and get ready to elevate your footage to new heights as we delve into the exciting world of mounting an action camera on your helmet. Let's embark on this thrilling journey together and unleash the full potential of your action camera's capabilities.
Choosing the Right Mount
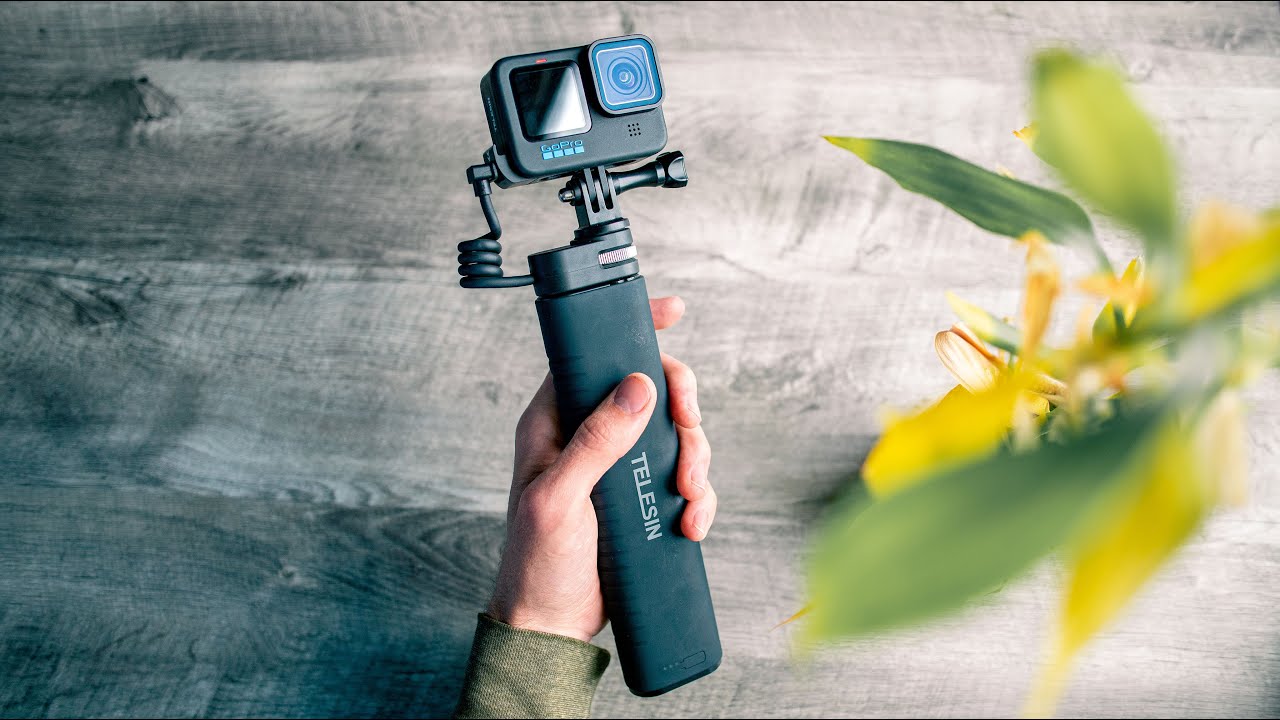
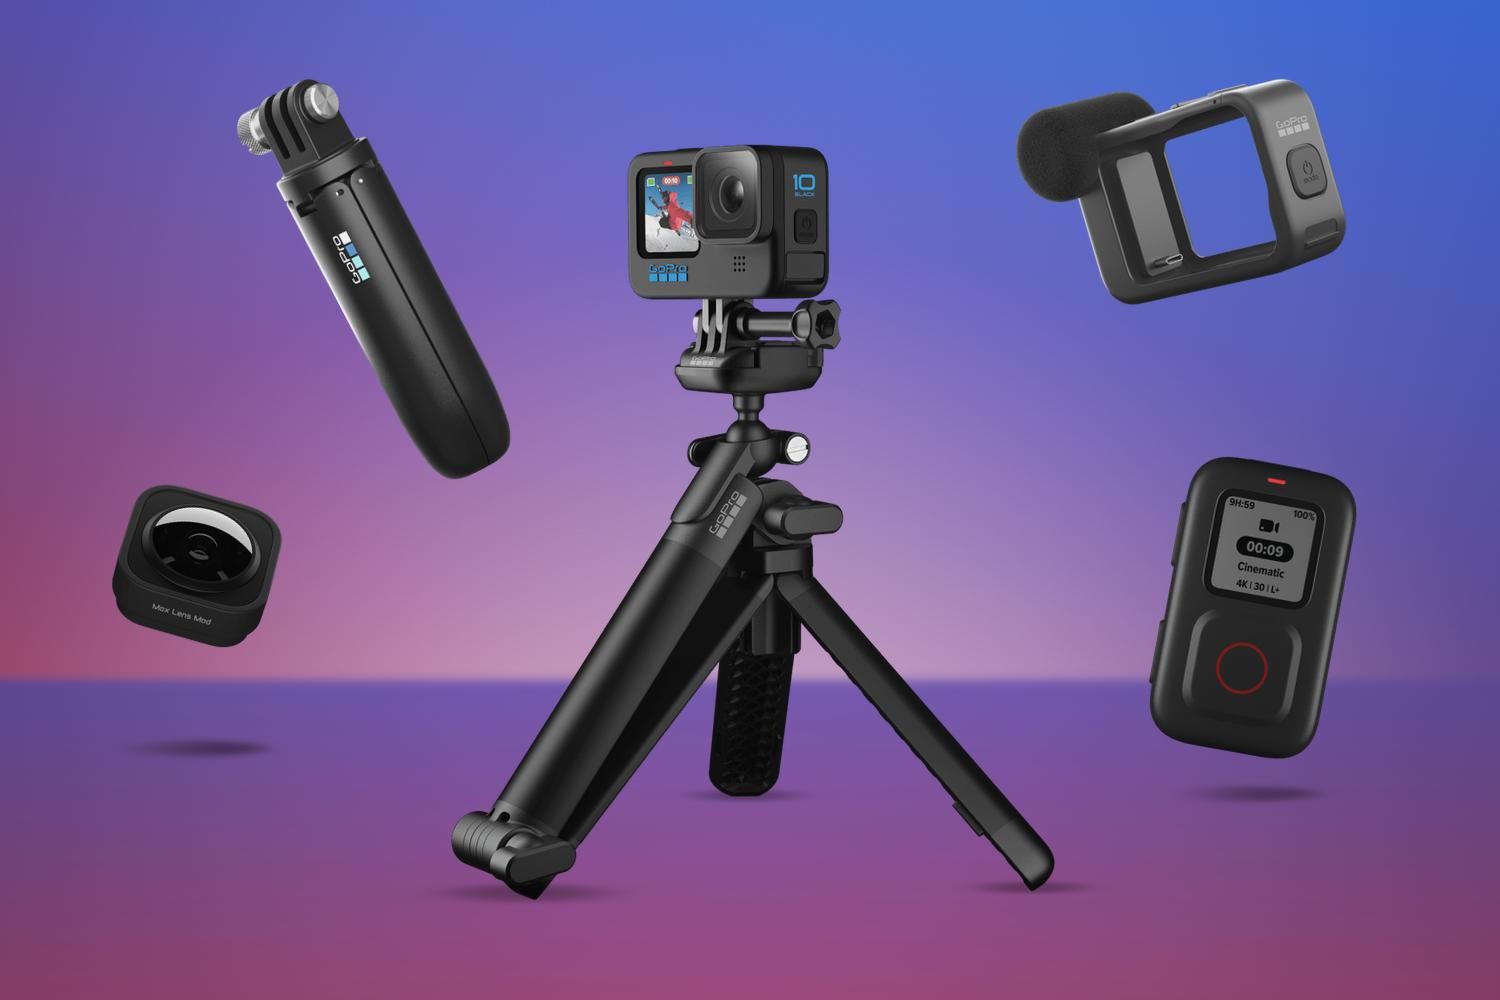
Before embarking on the process of mounting your action camera on your helmet, it’s crucial to select the right mount that suits your specific needs and the type of activities you’ll be engaging in. The market offers a variety of mounts designed for different helmet styles and camera models, so it’s essential to choose one that provides a secure and stable attachment while offering the desired field of view for your recordings.
When selecting a mount, consider the following factors:
- Helmet Compatibility: Ensure that the mount is compatible with your helmet type. Some mounts are designed for specific helmet models, while others offer universal compatibility. It’s important to choose a mount that can be easily and securely attached to your helmet without compromising its integrity or safety features.
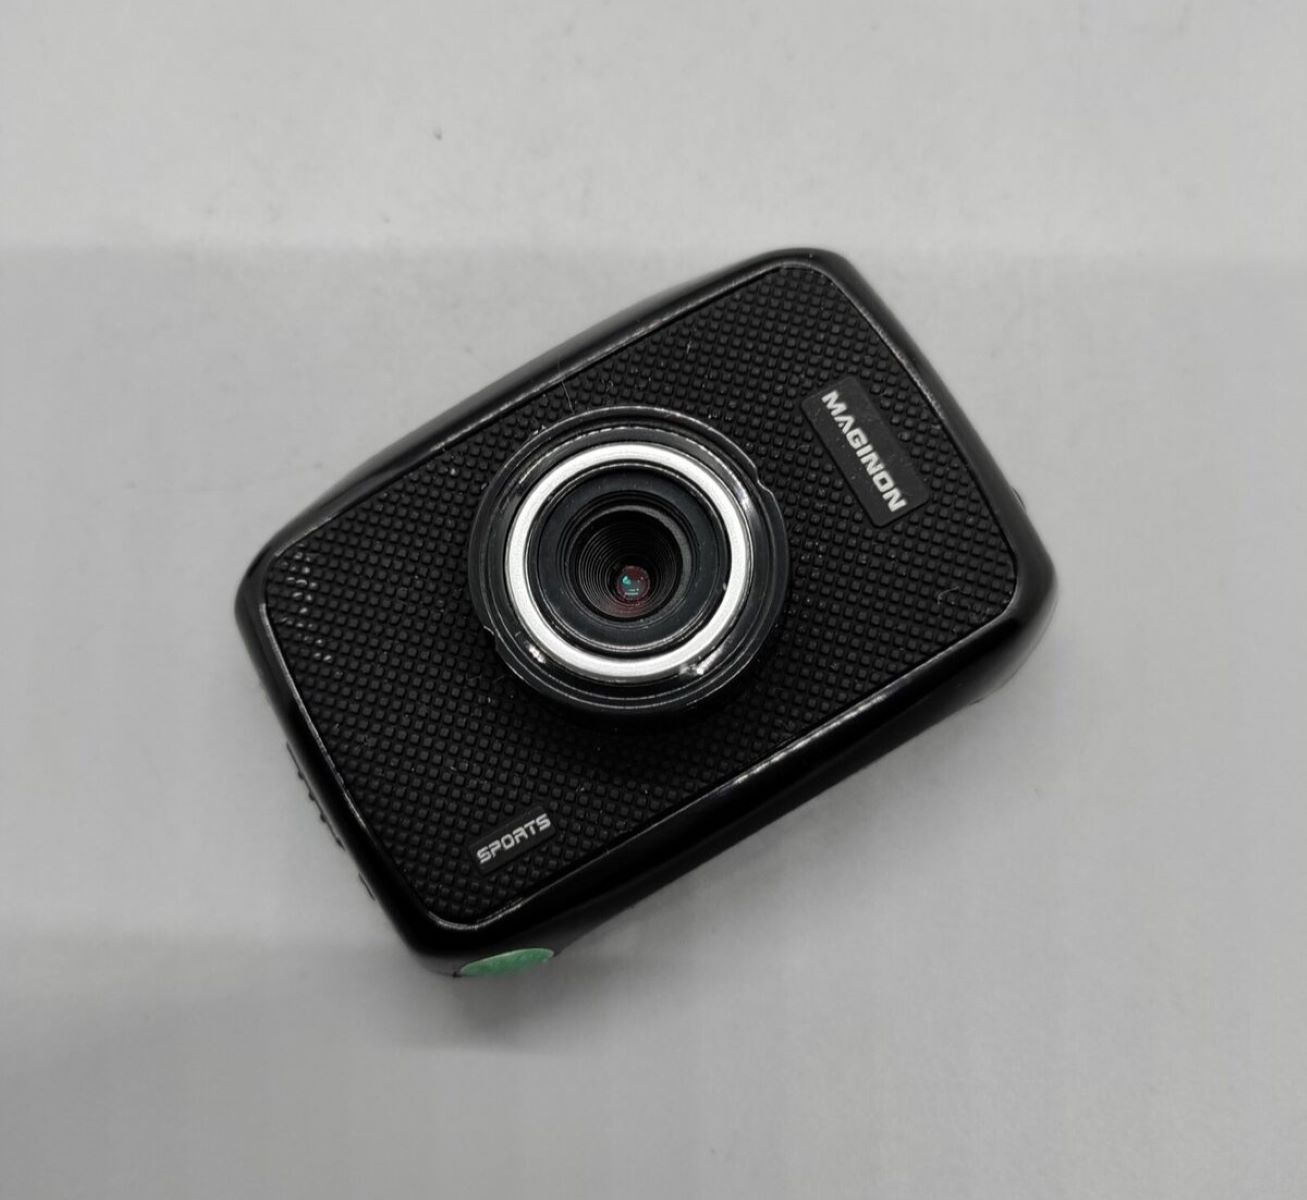
- Camera Compatibility: Check whether the mount is suitable for your action camera model. Different mounts are designed to accommodate specific camera brands and models, so it’s essential to verify compatibility to ensure a snug fit and reliable performance.
- Adjustability: Consider the adjustability options offered by the mount. A versatile mount allows you to fine-tune the camera’s positioning and angle, enabling you to capture the perfect perspective for your activities.
- Stability and Durability: Look for a mount that provides a stable and durable platform for your action camera. It should withstand vibrations, impacts, and varying weather conditions to ensure that your camera remains secure throughout your adventures.
Whether you opt for a adhesive mount, strap mount, or any other type of mounting system, prioritize safety, stability, and compatibility to make an informed decision. Once you’ve selected the ideal mount, you’ll be one step closer to elevating your filming capabilities and capturing awe-inspiring footage from your helmet-mounted action camera.
Preparing Your Helmet
Before attaching the mount to your helmet, it’s essential to prepare the surface to ensure a secure and reliable bond. Proper preparation not only enhances the stability of the mount but also helps maintain the integrity of your helmet. Follow these steps to prepare your helmet for the mounting process:
- Clean the Surface: Thoroughly clean the area of the helmet where the mount will be attached. Use a mild detergent or rubbing alcohol to remove any dirt, debris, or oils that may hinder the adhesive’s effectiveness. Ensure that the surface is completely dry before proceeding to the next step.
- Positioning: Determine the optimal placement of the mount on your helmet. Consider the field of view you want to capture and ensure that the mount’s position allows for unobstructed and immersive footage. Take your time to position the mount accurately before proceeding with the attachment.
- Adhesive Application (if applicable): If your mount utilizes adhesive for attachment, carefully apply it to the designated area on the helmet. Follow the manufacturer’s instructions regarding the application process and allow sufficient time for the adhesive to cure and create a strong bond.
- Strap Adjustment (if applicable): For strap-based mounts, adjust the straps to securely fit around the helmet. Ensure that the straps are snug but not overly tight, maintaining a balance between stability and comfort during your activities.
By meticulously preparing your helmet, you set the stage for a reliable and long-lasting attachment of the mount. This proactive approach not only ensures the safety of your action camera but also contributes to the overall effectiveness of your filming setup. With your helmet primed and ready, you’re now poised to seamlessly integrate the mount and elevate your filming capabilities to new heights.
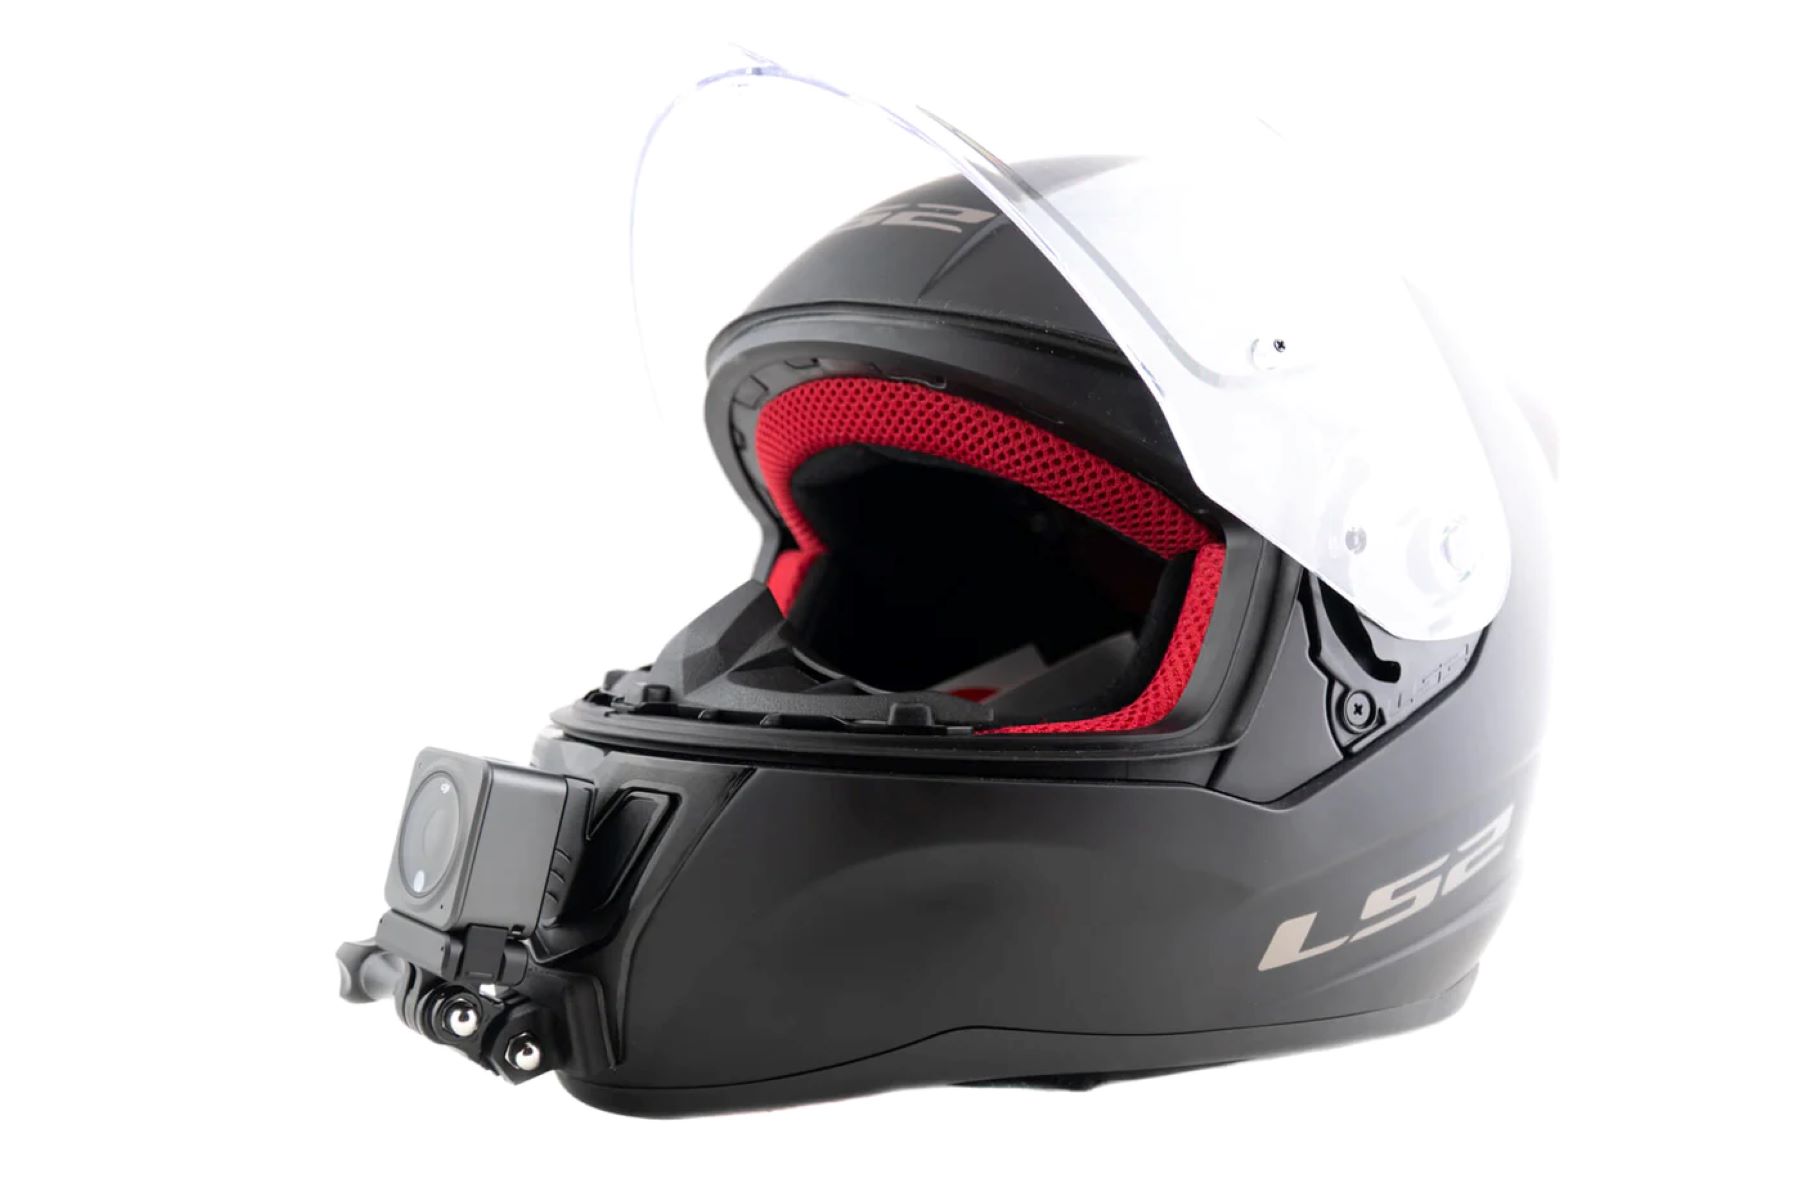
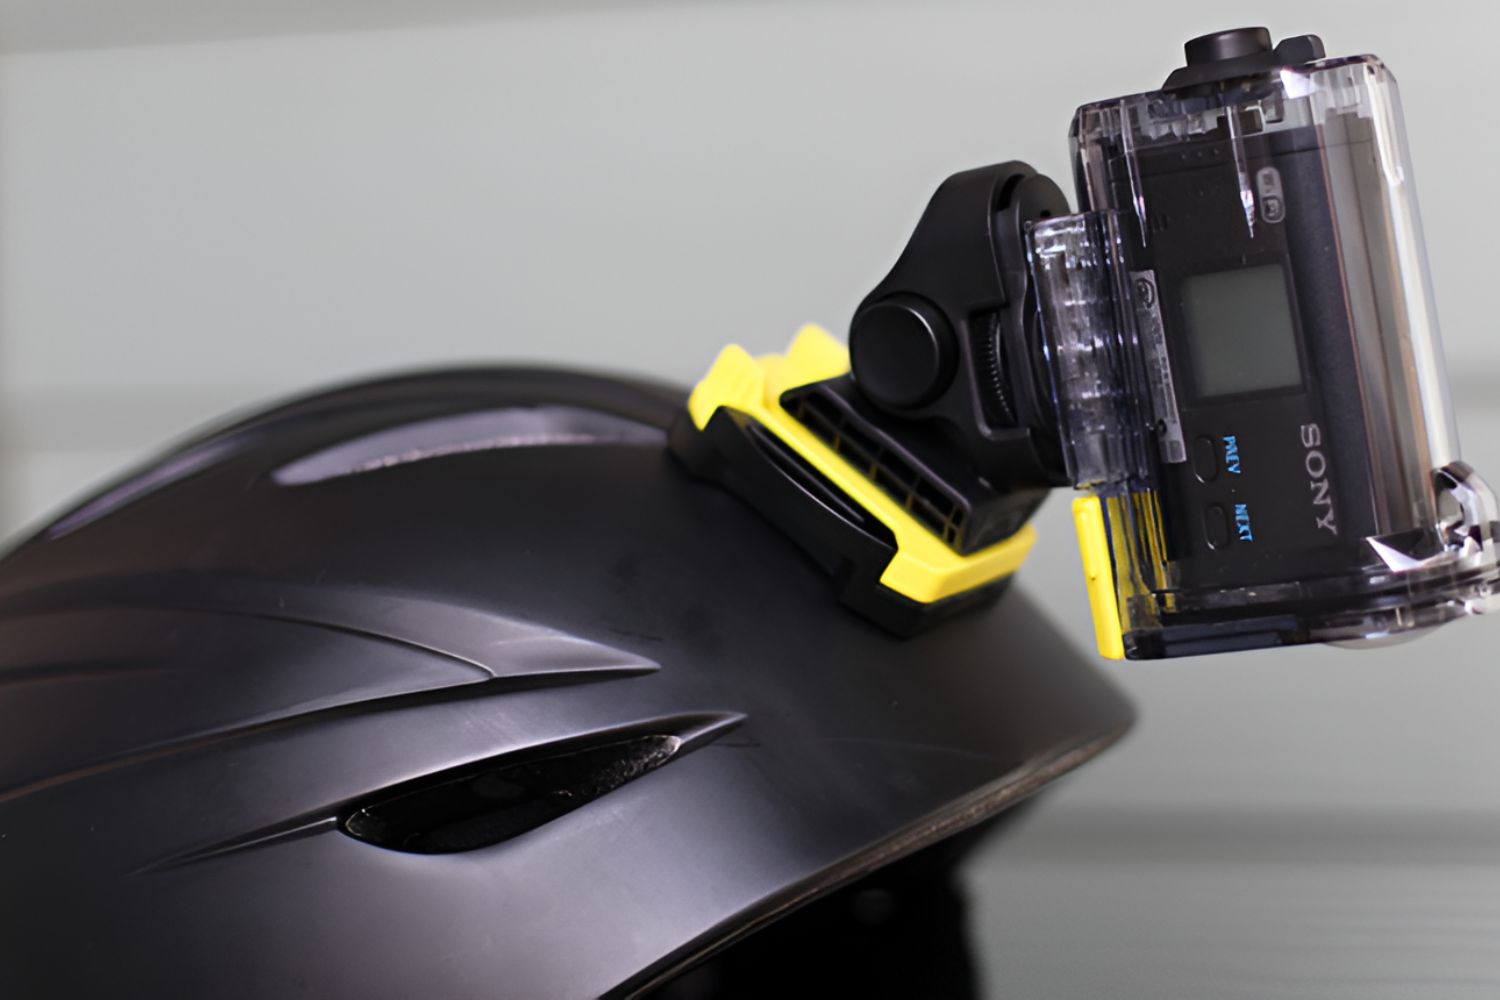
Attaching the Mount
With your helmet prepared, it’s time to proceed with the attachment of the mount. Depending on the type of mount you’ve selected, the attachment process may vary. Follow these general steps to ensure a secure and precise attachment of the mount to your helmet:
- Align the Mount: If using an adhesive mount, carefully align it with the predetermined position on your helmet. Ensure that the mount is level and properly centered to achieve the desired field of view for your action camera.
- Apply Even Pressure: When applying the mount, exert even pressure to promote a strong and uniform bond. If using an adhesive mount, firmly press it onto the helmet surface, ensuring that the adhesive makes full contact and eliminates any air pockets or gaps.
- Secure Straps (if applicable): For strap-based mounts, securely fasten and adjust the straps to ensure a snug and stable fit around the helmet. Double-check the tightness to prevent any slippage during your activities.
- Allow for Proper Adhesion: If you’ve attached an adhesive mount, allow sufficient time for the adhesive to cure and create a robust bond. Follow the manufacturer’s guidelines regarding the curing time to ensure optimal attachment strength.
By meticulously following these steps, you can ensure that the mount is securely and accurately attached to your helmet, providing a reliable platform for your action camera. Attention to detail during the attachment process is crucial, as it directly impacts the stability and performance of your helmet-mounted filming setup. With the mount securely in place, you’re now ready to proceed to the next crucial step: affixing your action camera to the mount.
Securing the Action Camera
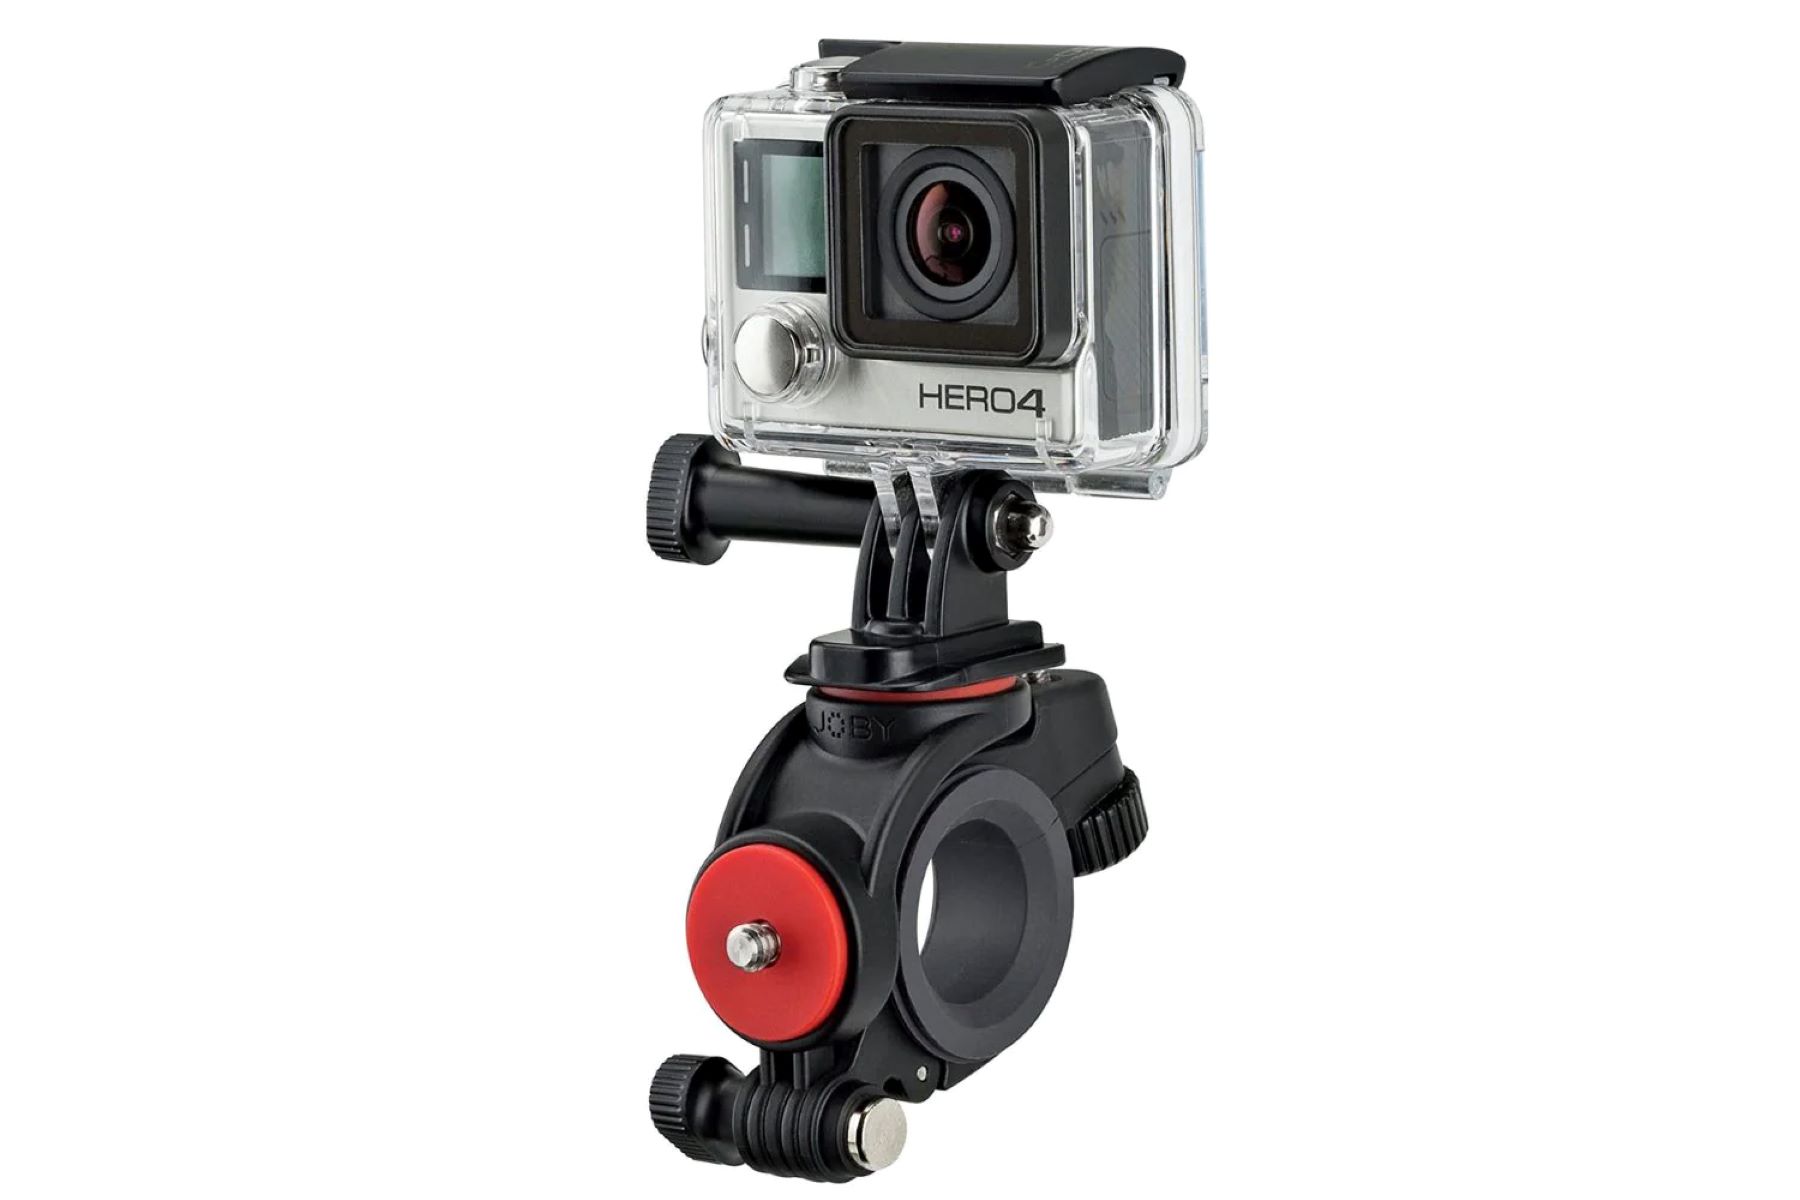
With the mount securely attached to your helmet, it’s time to affix your action camera to the designated mounting point. Whether using a quick-release attachment, a specialized mounting bracket, or a custom adapter, follow these steps to ensure a secure and stable attachment of your action camera:
- Camera Compatibility: Ensure that the mounting mechanism is compatible with your action camera. Different camera models may require specific adapters or mounting accessories to achieve a secure fit.
- Positioning: Determine the optimal camera angle and orientation based on your desired field of view. Adjust the camera to capture the perspective that best encapsulates your activities while providing an immersive viewing experience.
- Secure Attachment: If using a quick-release mechanism, carefully slide or snap the camera into place, ensuring a firm and audible connection. For screw-based mounts, use the appropriate tools to fasten the camera securely, preventing any unwanted movement during your adventures.
- Stability Check: Once the camera is attached, perform a gentle shake or tilt test to ensure that it’s firmly secured to the mount. Verify that the camera remains stable and doesn’t exhibit any wobbling or shifting that could compromise the footage quality.
By meticulously securing your action camera to the mount, you guarantee a reliable and steadfast attachment that can withstand the dynamic nature of your activities. Attention to detail during this step is paramount, as it directly influences the stability and quality of the footage captured from your helmet-mounted camera. With your action camera securely in place, you’re now poised to unleash its full potential and capture breathtaking moments from your unique perspective.
Testing and Adjusting
Before embarking on your exhilarating adventures, it’s crucial to thoroughly test and fine-tune the positioning of your helmet-mounted action camera. This ensures that you capture the most compelling and immersive footage while minimizing potential issues during filming. Follow these essential steps to test and adjust your setup:
- Field of View Evaluation: Wear your helmet with the mounted action camera and assess the field of view provided by the setup. Ensure that the camera angle captures the desired perspective without any obstructions or limitations.
- Camera Stability: Perform a series of movements, such as gentle head tilts and shakes, to assess the stability of the camera mount. Verify that the camera remains securely attached and doesn’t exhibit any unwanted movement or vibrations that could impact the footage quality.
- Footage Quality Check: Record a short test footage while engaging in typical movements related to your activities, such as cycling, skiing, or rock climbing. Review the footage to evaluate the stability, clarity, and overall quality of the recordings captured from your helmet-mounted camera.
- Adjustment Iterations: Based on your initial tests, make necessary adjustments to the camera angle, mount positioning, or strap tightness to optimize the setup. Iterate through testing and adjustment until you achieve the ideal configuration for your filming needs.
By rigorously testing and adjusting your helmet-mounted action camera setup, you can fine-tune the configuration to deliver stunning and captivating footage that truly captures the essence of your adventures. This meticulous approach not only enhances the quality of your recordings but also minimizes the likelihood of encountering issues during your activities. With your setup thoroughly tested and optimized, you’re now fully prepared to embark on your escapades, equipped with a helmet-mounted action camera that’s primed to capture every exhilarating moment in all its glory.
Conclusion
Congratulations! You’ve successfully navigated the process of mounting an action camera on your helmet, unlocking a world of exhilarating filming possibilities. By carefully choosing the right mount, preparing your helmet, attaching the mount securely, affixing your action camera, and meticulously testing and adjusting your setup, you’ve established a reliable and immersive filming platform that captures your adventures from a unique and captivating perspective.
As you venture into the great outdoors, whether conquering challenging terrain, shredding down thrilling slopes, or exploring new horizons, your helmet-mounted action camera stands ready to document every heart-pounding moment. The footage captured from your point of view not only immortalizes your experiences but also serves as a compelling visual narrative that can be shared with friends, family, and fellow enthusiasts.
Remember, the key to harnessing the full potential of your helmet-mounted action camera lies in meticulous preparation, attention to detail, and a passion for capturing life’s most exhilarating moments. Embrace the thrill of adventure, knowing that your action camera is poised to faithfully record every twist, turn, and triumph along the way.
So, gear up, embrace the adrenaline, and let your helmet-mounted action camera be your trusted companion as you embark on unforgettable journeys. With each recording, you preserve the essence of your adventures, creating lasting memories that inspire and enthrall both yourself and those who embark on the visual odyssey with you.