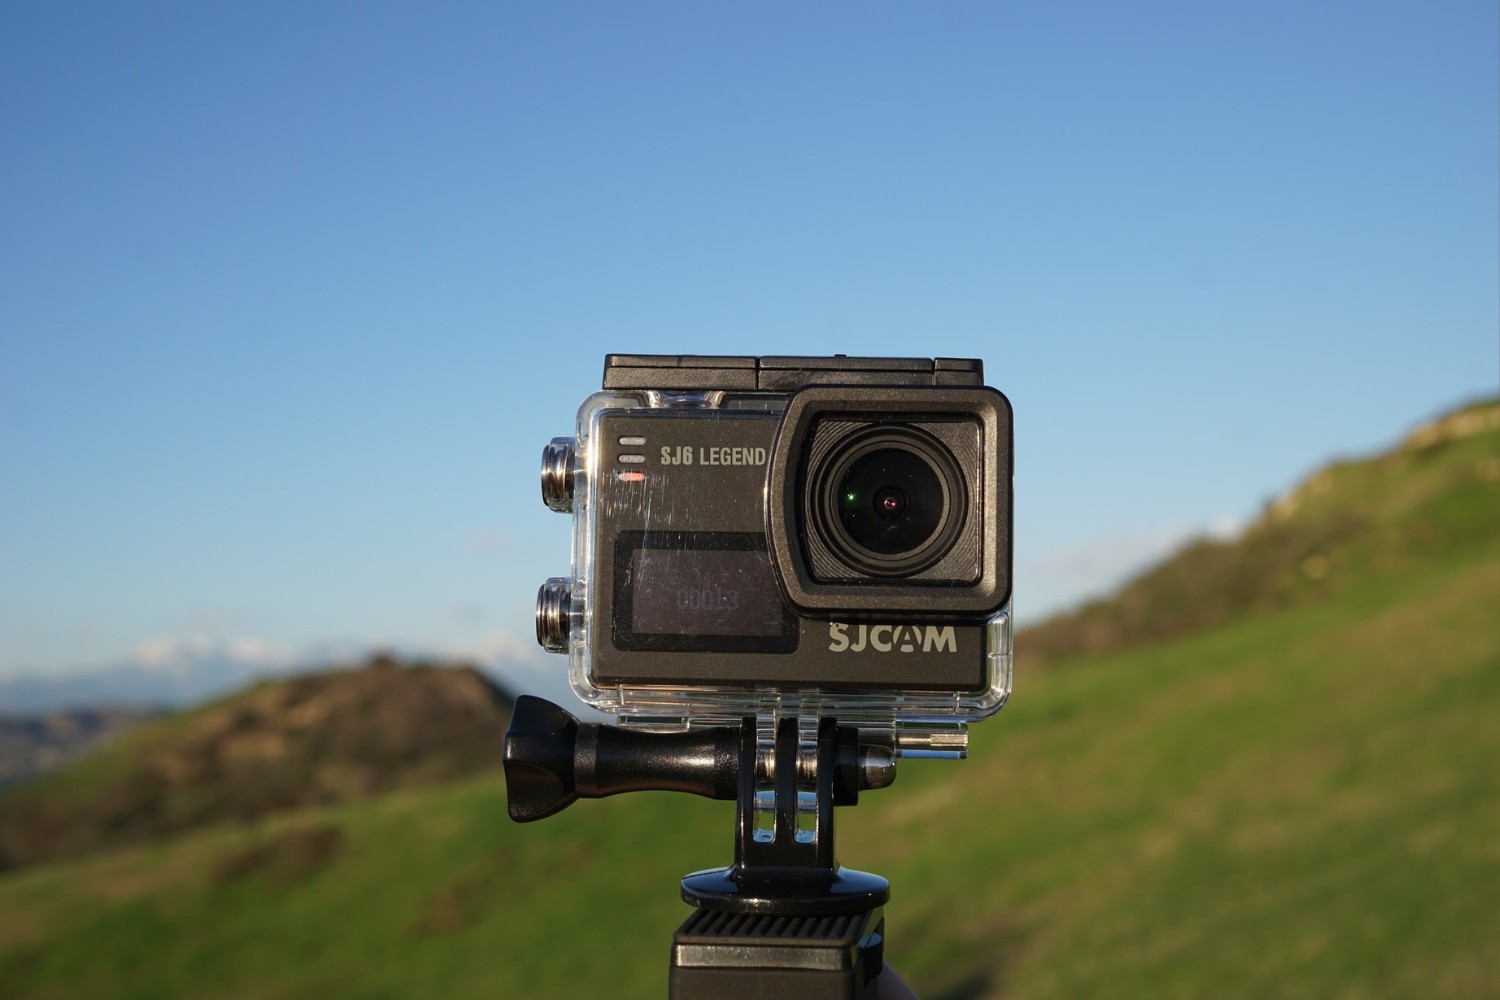
Introduction
Attaching a Maginon action camera to a fire department helmet can provide valuable insights and documentation during emergency response operations. Whether capturing footage for training purposes, incident analysis, or public education, securing the camera properly is crucial for safety and effectiveness. This guide will walk you through the process of selecting the optimal mounting location, attaching the camera mount to the helmet, securing the Maginon action camera onto the mount, and testing the stability and angle of the camera.
Firefighters face unique challenges, and having a reliable camera mounted on their helmet can offer a firsthand perspective of their experiences. By following the steps outlined in this guide, fire department personnel can ensure that the camera is securely attached without compromising the integrity of the helmet or hindering their ability to perform their duties.
In the following sections, we will delve into the specifics of choosing the right mounting location, attaching the camera mount to the helmet, securing the Maginon action camera onto the mount, and testing the stability and angle of the camera. By the end of this guide, you will have the knowledge and confidence to safely and securely attach a Maginon action camera to a fire department helmet, allowing for the capture of valuable footage during critical operations.
Choosing the Right Mounting Location
When attaching a Maginon action camera to a fire department helmet, selecting the optimal mounting location is crucial for capturing clear and useful footage. The chosen location should provide an unobstructed view of the surroundings while ensuring the camera does not interfere with the firefighter’s movements or compromise their safety. Here are the key factors to consider when choosing the right mounting location:
- Helmet Type: Consider the design of the helmet. Look for a location that allows the camera to be securely attached without obstructing any vital components or compromising the helmet’s integrity.
- Field of View: The mounting location should offer a clear and wide field of view to capture the necessary footage. Avoid locations that may obstruct the camera’s view, such as protruding equipment or helmet accessories.
- Stability: Ensure that the chosen location provides a stable platform for the camera mount. The camera should remain firmly in place during movement and potential impact.
- Accessibility: Consider the ease of access for operating the camera controls. The mounting location should allow the firefighter to adjust settings and capture footage without difficulty.
Common mounting locations on fire department helmets include the front, side, or top. The front mount offers a clear view of the action ahead, while the side mount can capture peripheral activities. The top mount provides a bird’s-eye perspective and is less likely to interfere with equipment and movements.
Before finalizing the mounting location, it is advisable to consult with the fire department’s safety officer or designated personnel to ensure compliance with departmental policies and regulations. Additionally, conducting a thorough assessment of the helmet and its potential mounting areas will help in determining the most suitable location for attaching the Maginon action camera.
By carefully considering the helmet type, field of view, stability, and accessibility, firefighters can select the optimal mounting location for the Maginon action camera, ensuring that it enhances situational awareness and documentation without impeding their vital duties.
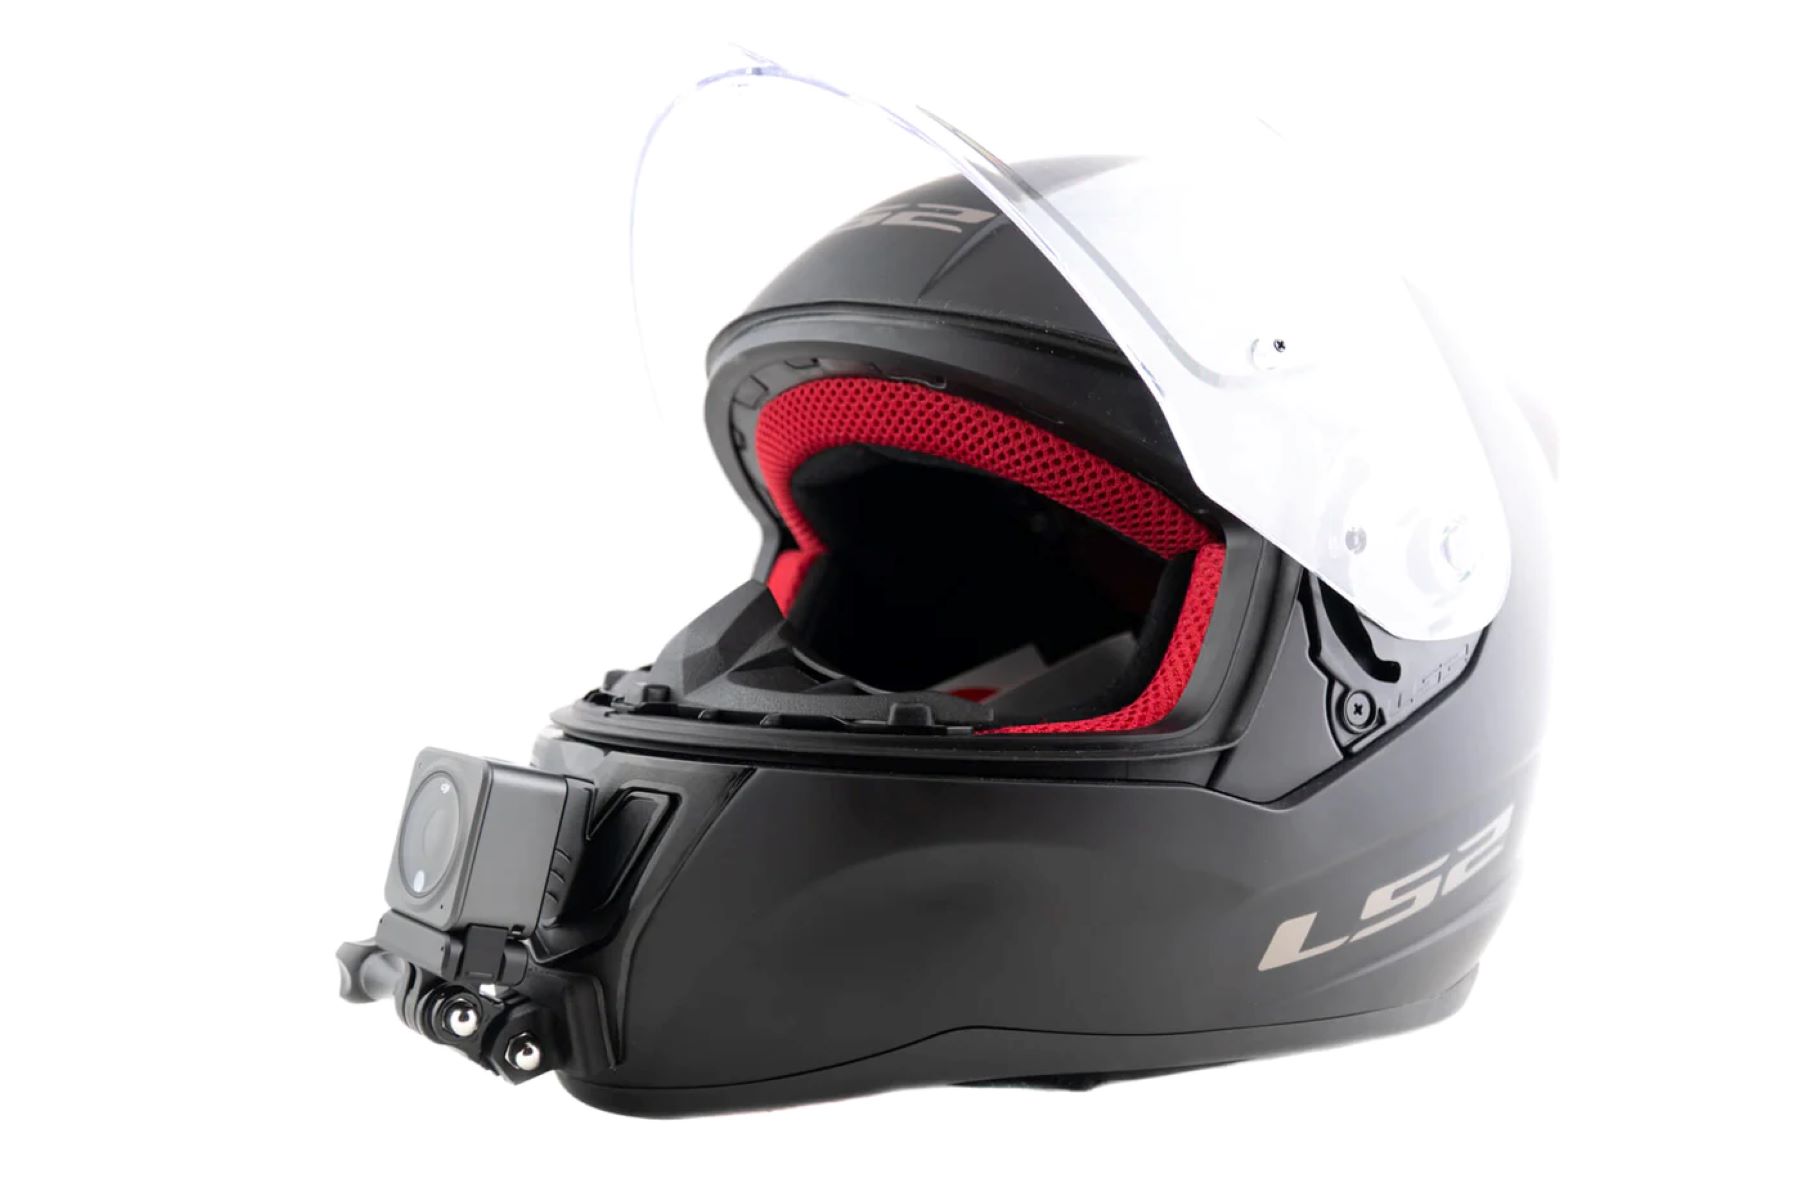
Attaching the Camera Mount to the Helmet
Once the optimal mounting location has been determined, the next step is to securely attach the camera mount to the fire department helmet. Proper installation is essential to ensure the stability and reliability of the camera during operations. Here’s a step-by-step guide to attaching the camera mount:
- Clean the Mounting Area: Thoroughly clean the selected mounting area on the helmet to remove any dirt, debris, or residue. A clean surface will promote better adhesion and stability for the camera mount.
- Positioning the Mount: Carefully position the camera mount on the chosen location, ensuring that it aligns with the helmet’s contours and does not obstruct any vital components or compromise the helmet’s structural integrity.
- Adhesive Application: If the camera mount utilizes adhesive for attachment, follow the manufacturer’s instructions for proper application. Apply the adhesive to the designated area on the helmet and firmly press the camera mount into place, ensuring a secure bond.
- Securing with Straps or Fasteners: If the camera mount utilizes straps, fasteners, or mounting screws, carefully fasten and tighten them according to the manufacturer’s guidelines. Ensure that the mount is firmly secured to the helmet without causing discomfort to the wearer.
- Allow for Proper Adhesion: If adhesive is used, allow sufficient time for it to properly bond with the helmet surface before attaching the Maginon action camera. Follow the recommended curing or setting time provided by the adhesive manufacturer.
It is crucial to follow the manufacturer’s instructions for the specific camera mount being used, as different mounts may have varying installation requirements. Additionally, it is advisable to conduct a thorough inspection of the attached mount to ensure its stability and integrity before proceeding to the next step of securing the camera.
By meticulously cleaning the mounting area, positioning the mount accurately, applying adhesive or securing with straps, and allowing for proper adhesion, firefighters can ensure that the camera mount is securely attached to the helmet, providing a stable platform for mounting the Maginon action camera.
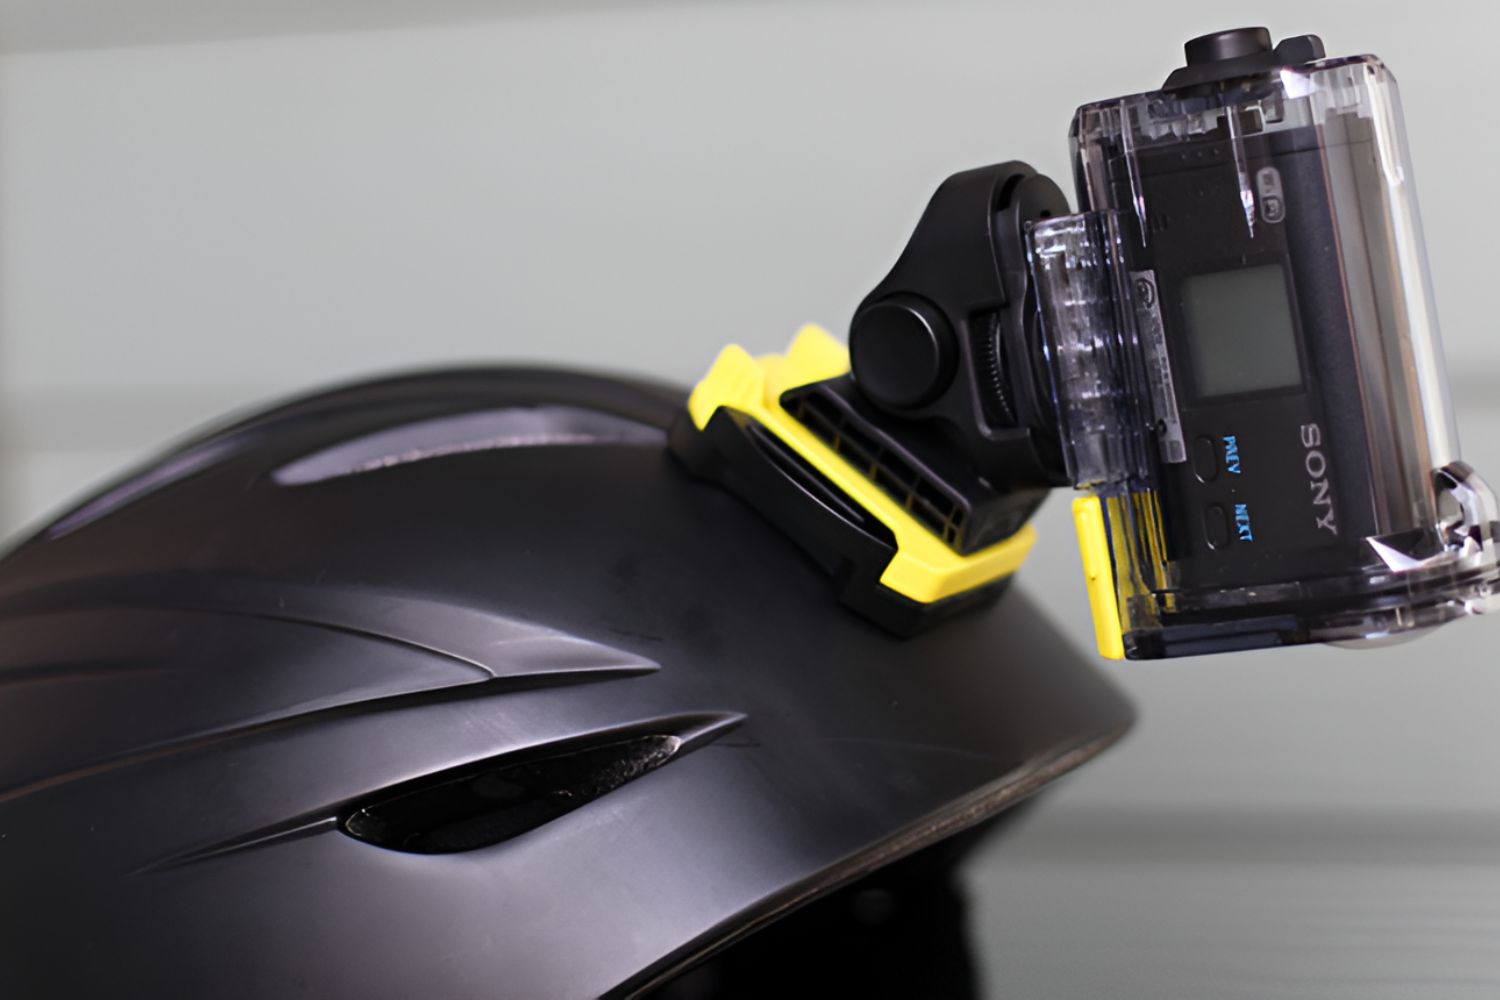
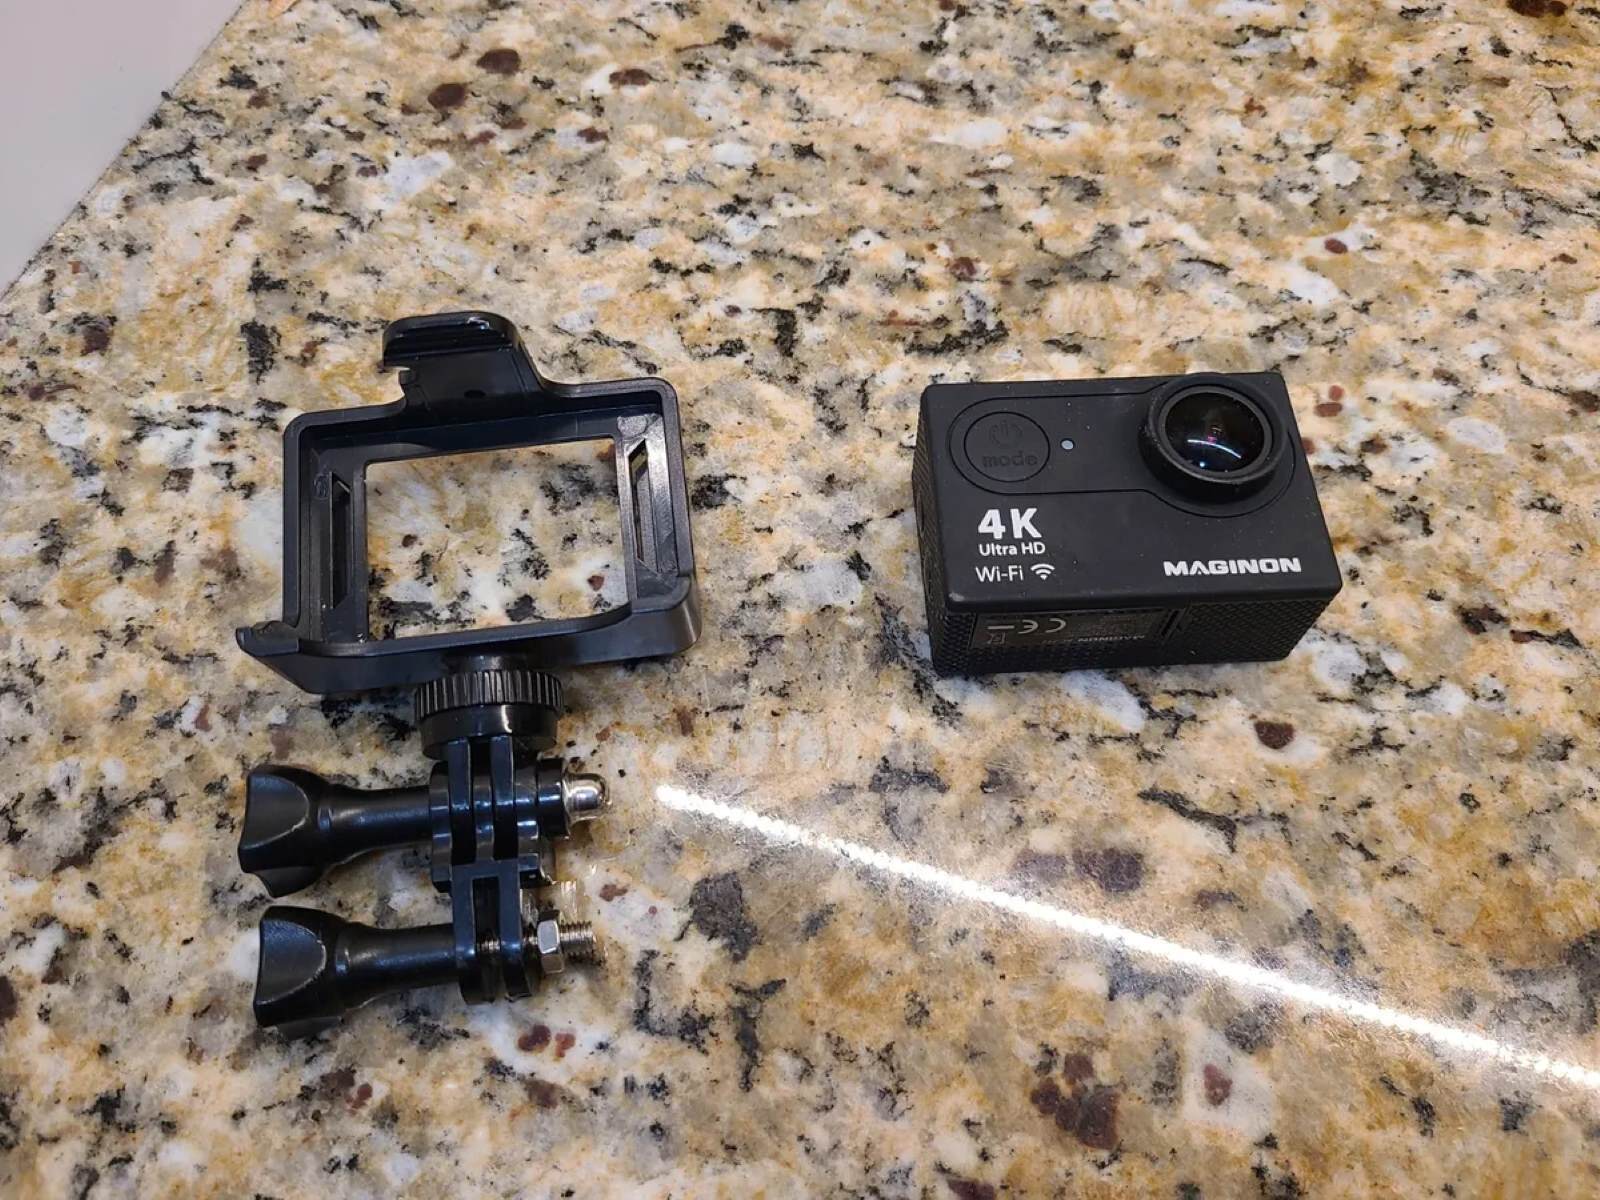
Securing the Maginon Action Camera onto the Mount
With the camera mount securely attached to the fire department helmet, the next crucial step is to properly secure the Maginon action camera onto the mount. This ensures that the camera remains stable and functional throughout the duration of its use. Here’s a detailed guide on how to securely attach the camera:
- Mount Compatibility: Ensure that the camera mount is compatible with the Maginon action camera model being used. Check for any specific mounting requirements outlined in the camera’s user manual or provided accessories.
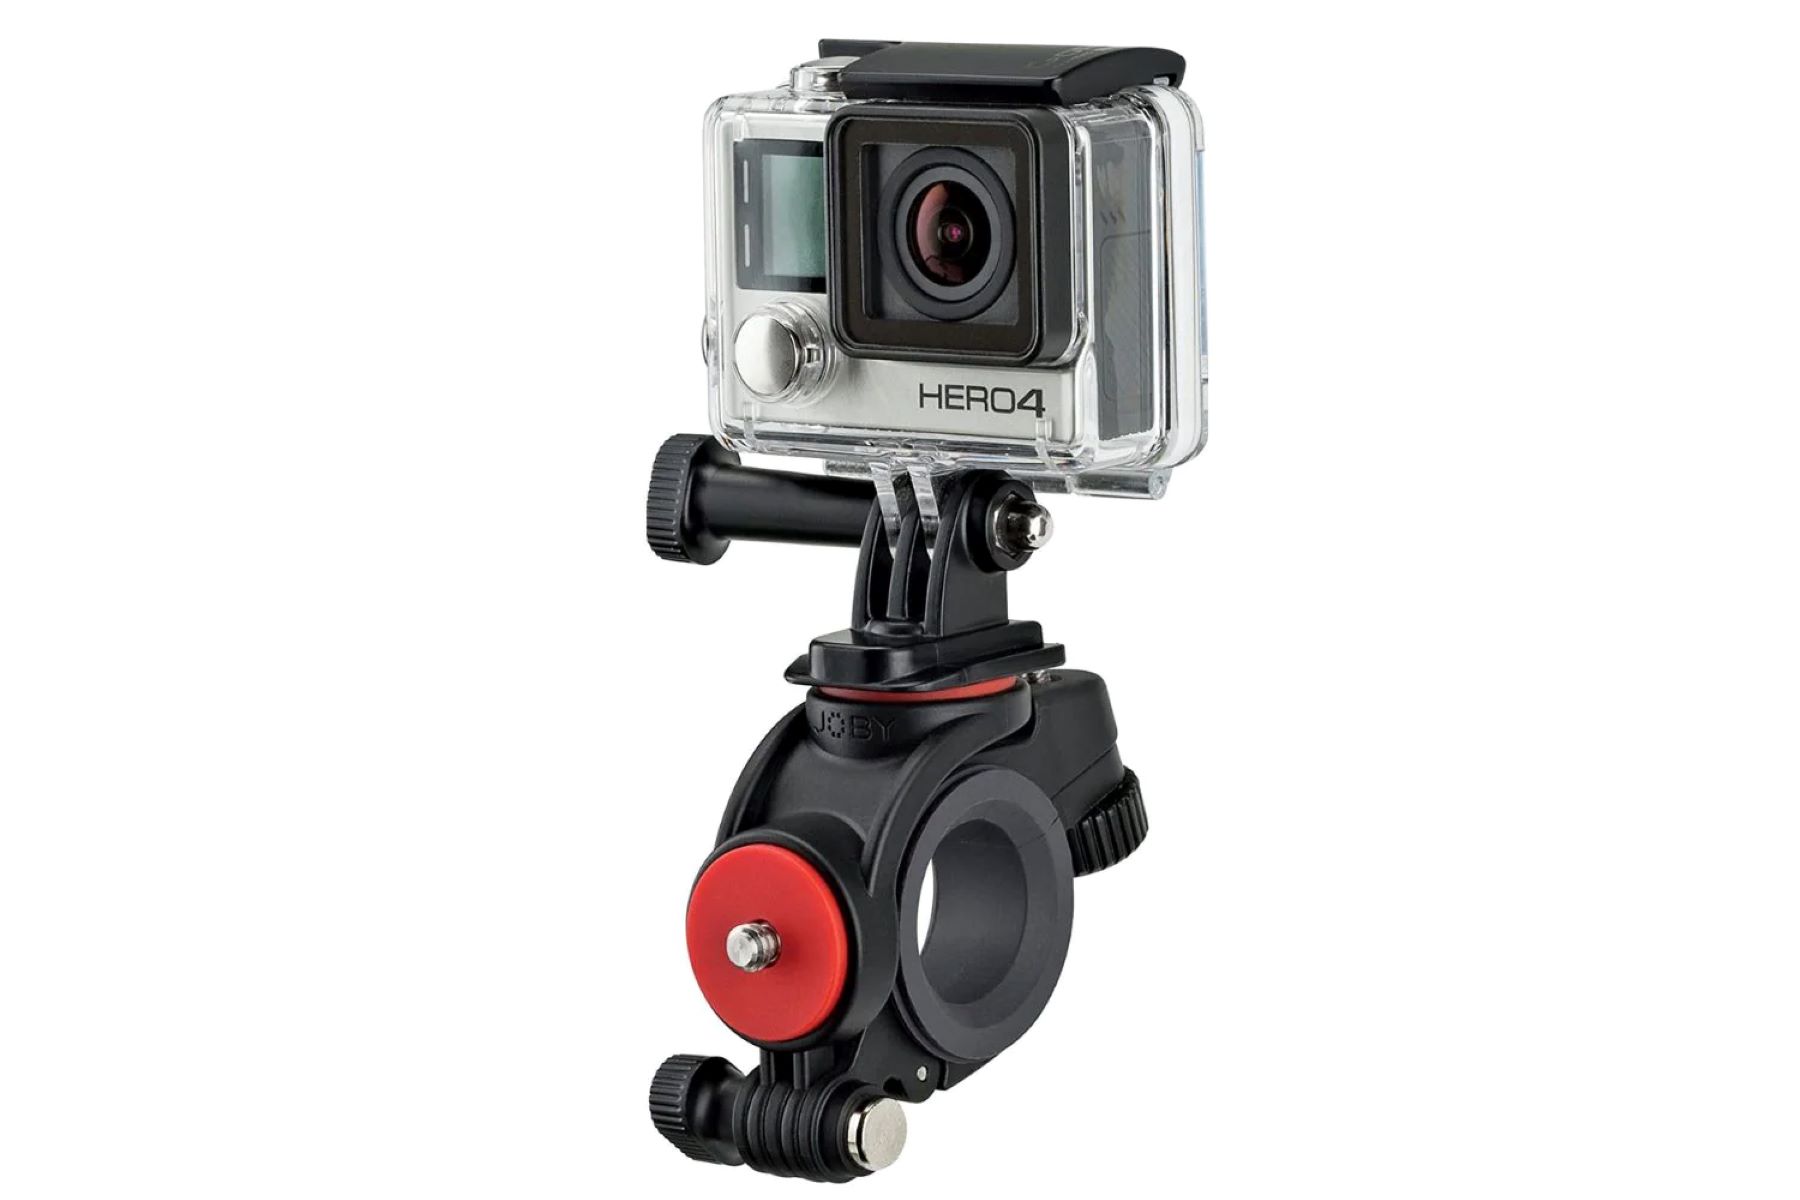
- Attachment Mechanism: Depending on the type of mount, follow the manufacturer’s instructions for securely attaching the camera. This may involve sliding the camera into a designated slot, tightening screws, or engaging locking mechanisms.
- Adjusting the Angle: Once the camera is attached, adjust its angle to achieve the desired field of view. Ensure that the camera’s lens is positioned to capture the intended perspective without obstruction.
- Securing Mechanism: If the camera mount features additional securing mechanisms, such as locking levers or safety straps, ensure that they are properly engaged to prevent accidental dislodging of the camera during movement.
- Testing Stability: Gently test the stability of the attached camera by applying light pressure and ensuring that it remains firmly in place. Verify that the camera does not wobble or shift excessively, as this may affect the quality of the captured footage.
It’s important to refer to the camera’s user manual for specific instructions on attaching it to various mounts. This will ensure that the camera is secured in a manner that maintains its functionality and stability while in use. Additionally, taking the time to properly adjust the camera’s angle and engage any supplementary securing mechanisms will contribute to a reliable and effective setup.
By carefully considering mount compatibility, following attachment instructions, adjusting the camera’s angle, engaging securing mechanisms, and testing stability, firefighters can confidently secure the Maginon action camera onto the mount, ready to capture valuable footage during their operations.
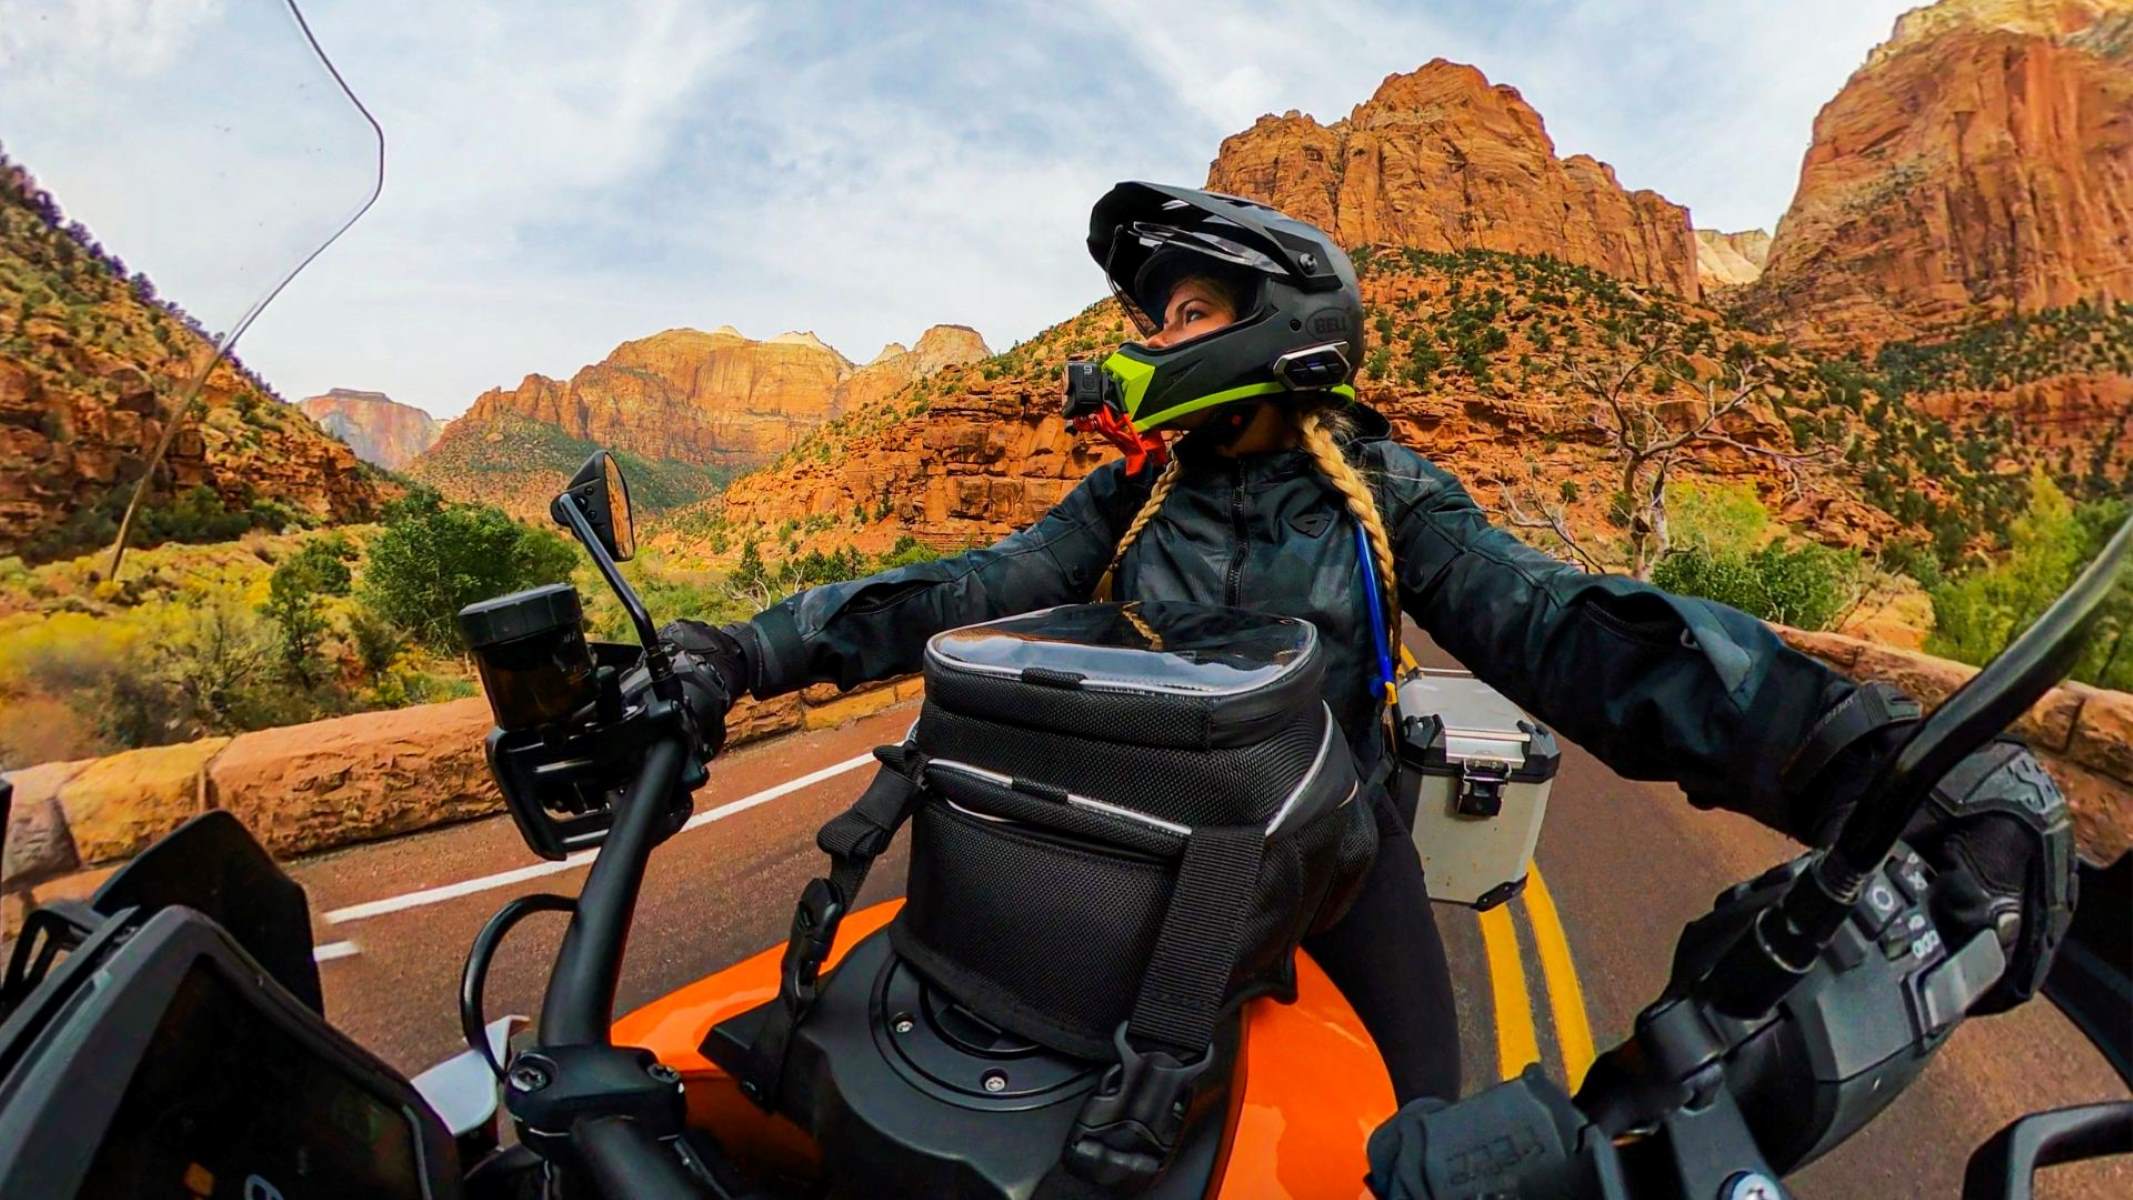
Testing the Stability and Angle of the Camera
After securing the Maginon action camera onto the mount, it is essential to thoroughly test the stability and angle of the camera to ensure optimal performance and footage quality. Conducting comprehensive tests will help identify any potential issues and allow for adjustments before actual deployment. Here are the key steps to effectively test the stability and angle of the camera:
- Physical Stability Test: Gently shake and tilt the helmet to assess the physical stability of the attached camera. Ensure that the camera remains firmly in place and does not shift or wobble excessively. Any signs of instability may indicate the need for readjustment or additional securing measures.
- Movement Simulation: Simulate typical movements and actions performed during firefighting operations, such as bending, kneeling, and turning the head. Observe the camera’s behavior during these movements to ensure that it maintains its position and angle without obstructing the wearer or impeding their actions.
- Field of View Assessment: With the camera turned on, assess the captured field of view by monitoring a test scene or surroundings. Verify that the camera’s angle provides a clear and unobstructed view of the intended subject matter. Make adjustments if necessary to achieve the desired perspective.
- Image Stabilization Check: If the camera features image stabilization capabilities, activate this function and conduct movements to assess its effectiveness. Image stabilization should help mitigate excessive motion blur and ensure smoother footage, especially during dynamic activities.
- Audio Recording Test: If audio recording is a crucial aspect of the camera’s functionality, perform a test to ensure that the microphone captures clear and intelligible audio without interference from surrounding noise or helmet-related vibrations.
It’s important to involve the firefighter who will be wearing the camera-equipped helmet in the testing process. Their feedback and observations can provide valuable insights into the practicality and functionality of the camera setup during real-world scenarios.
By conducting rigorous physical stability tests, simulating movements, assessing the field of view, checking image stabilization, and testing audio recording, firefighters can ensure that the Maginon action camera is securely positioned and configured to capture high-quality footage without hindering their operational capabilities.