Introduction
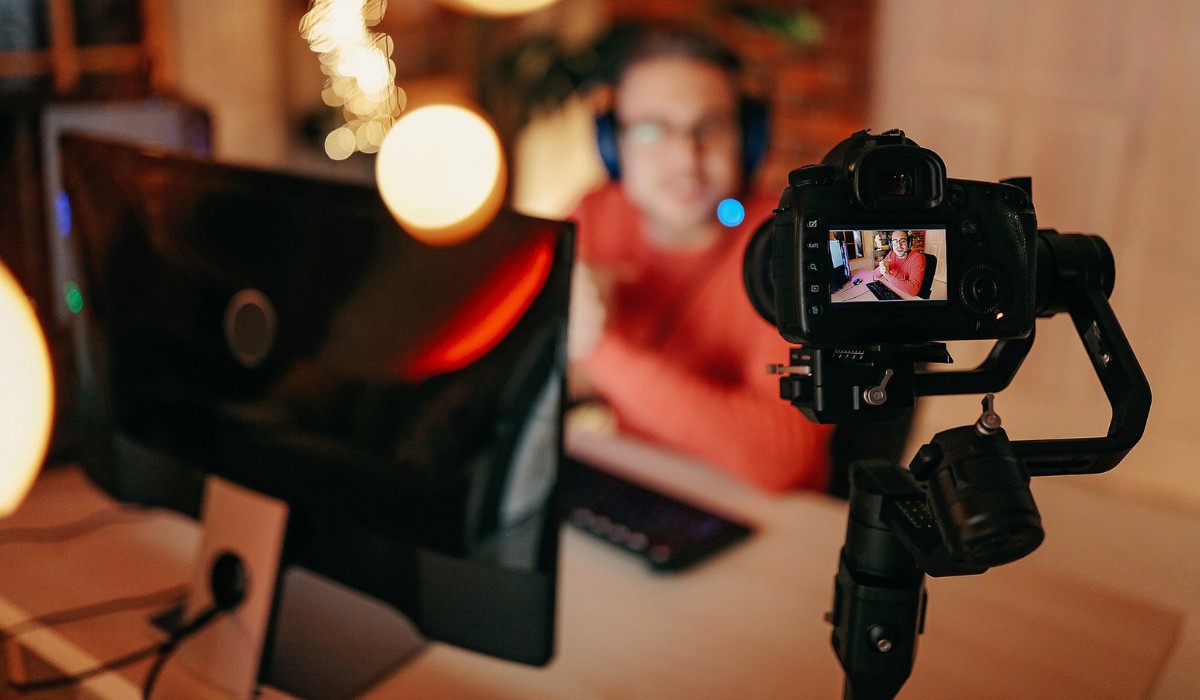
Livestreaming on YouTube with a camcorder opens up a world of possibilities for content creators, allowing them to deliver high-quality, real-time video to their audience. Unlike using a smartphone or webcam, a camcorder offers superior video and audio quality, making the viewing experience more immersive and professional. Whether you're a vlogger, educator, or event organizer, leveraging a camcorder for livestreaming can take your content to the next level.
In this guide, we will walk you through the process of livestreaming on YouTube using a camcorder, from choosing the right camcorder to setting up your livestream and ensuring its success. By the end of this tutorial, you will have the knowledge and confidence to create captivating livestreams that engage and delight your audience.
Livestreaming has become increasingly popular in recent years, with content creators harnessing its power to connect with their viewers in real time. Whether you're broadcasting a live event, conducting a tutorial, or sharing your thoughts and experiences, livestreaming offers a dynamic and interactive way to engage with your audience. With the right equipment and setup, you can elevate the production quality of your livestreams and leave a lasting impression on your viewers.
Throughout this guide, we will provide you with practical tips and step-by-step instructions to help you seamlessly integrate your camcorder into your livestreaming setup. From selecting the ideal camcorder for your needs to configuring the necessary settings on YouTube, we've got you covered. So, if you're ready to take your livestreaming game to the next level, let's dive into the world of camcorder-based livestreaming on YouTube.
Choosing the Right Camcorder
When it comes to livestreaming on YouTube, selecting the right camcorder is crucial for achieving high-quality results. With a myriad of options available in the market, it’s essential to consider several factors to ensure that your chosen camcorder aligns with your livestreaming goals and technical requirements.
First and foremost, consider the resolution and frame rate capabilities of the camcorder. Opt for a model that supports at least 1080p resolution and a frame rate of 30 frames per second (fps) or higher. This ensures that your livestream will be visually appealing and smooth, capturing the attention of your viewers with crisp and clear imagery.
Furthermore, assess the audio recording capabilities of the camcorder. Look for features such as built-in microphones with noise reduction technology or the ability to connect an external microphone. Clear and high-quality audio is essential for engaging your audience, especially if you plan to incorporate live commentary, interviews, or musical performances into your livestreams.
Another important consideration is the connectivity options offered by the camcorder. Ensure that the model you choose supports HDMI or USB output for connecting to your computer or livestreaming device. Additionally, features like Wi-Fi connectivity and compatibility with livestreaming software can streamline the integration of the camcorder into your setup.
Portability and ease of use are also worth evaluating. Depending on your livestreaming needs, you may prefer a compact and lightweight camcorder that offers hassle-free mobility. Consider the ergonomics of the device, as well as its battery life and compatibility with tripods or mounting accessories for versatile positioning during livestreams.
Finally, take into account your budget and long-term livestreaming plans. While it’s tempting to opt for the most feature-rich camcorder available, it’s important to strike a balance between your immediate requirements and potential future needs. Assess the overall value and versatility of the camcorder to make an informed investment that aligns with your livestreaming aspirations.
By carefully evaluating these factors, you can confidently select a camcorder that empowers you to deliver captivating and professional livestreams on YouTube, setting the stage for engaging and memorable content creation.
Setting Up Your Camcorder for Livestreaming
Once you’ve chosen the right camcorder for your livestreaming endeavors, it’s essential to configure its settings to ensure optimal performance and seamless integration with your livestreaming setup. By following these steps, you can prepare your camcorder to deliver high-quality video and audio for your YouTube livestreams.
1. Adjust Video and Audio Settings: Start by accessing the video and audio settings on your camcorder. Set the resolution to the desired level, typically 1080p, and choose the appropriate frame rate for smooth motion. Adjust the audio input levels and quality settings to ensure clear and balanced sound capture during your livestreams.
2. Stabilize Your Camcorder: Stability is key for delivering professional-looking livestreams. If your camcorder supports image stabilization features, enable them to minimize camera shake and ensure steady footage. Consider using a tripod or mounting the camcorder on a stable surface to maintain a consistent and clear view for your viewers.
3. Optimize Exposure and White Balance: Depending on the lighting conditions of your livestreaming environment, adjust the exposure settings to achieve well-lit and balanced visuals. Additionally, set the white balance to accurately represent colors in the scene, avoiding any tint or color cast that may detract from the overall quality of your livestream.
4. Configure Focus and Zoom: Ensure that your camcorder’s focus and zoom settings are optimized for the subjects or scenes you intend to capture during your livestream. Utilize manual or automatic focus modes based on your preferences, and test the zoom functionality to determine the ideal framing for your livestream content.
5. Test Audio and Visual Outputs: Before initiating your livestream, conduct thorough tests of the audio and visual outputs from your camcorder. Connect headphones or speakers to monitor the audio quality in real time, and review the video feed on a separate display to confirm that the settings meet your expectations and technical requirements.
By carefully configuring these aspects of your camcorder, you can lay the groundwork for delivering polished and captivating livestreams on YouTube. The attention to detail in setting up your camcorder will contribute to a professional and engaging viewing experience for your audience, establishing a strong foundation for your livestreaming endeavors.
Connecting Your Camcorder to Your Computer
Once your camcorder is properly set up, the next step in the livestreaming process involves connecting it to your computer to facilitate the seamless transmission of video and audio data to YouTube. This connection is essential for integrating your camcorder into your livestreaming software and ensuring that your content is delivered to your audience with the highest quality and reliability.
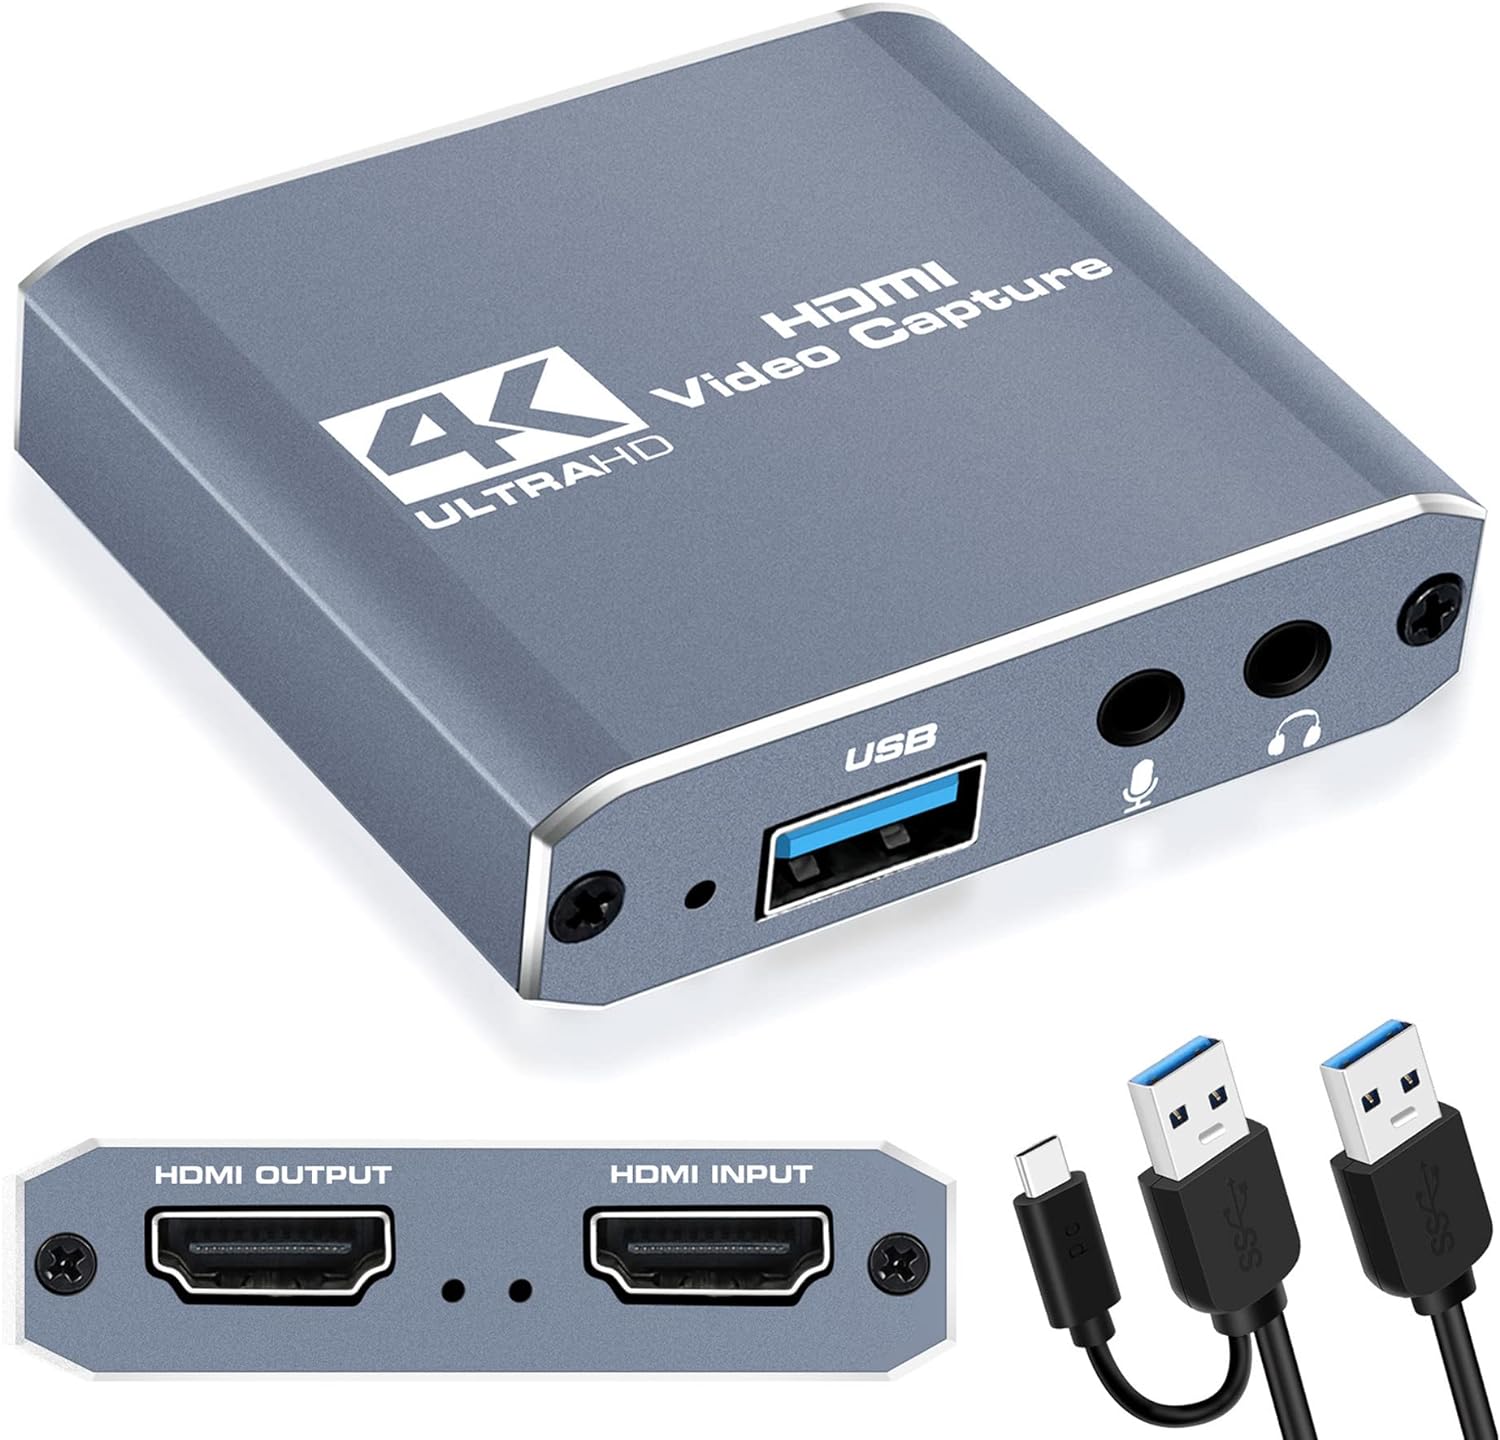
1. Identify the Output Ports: Begin by identifying the output ports on your camcorder. Most modern camcorders offer HDMI or USB output options, which are commonly used for livestreaming purposes. Locate the appropriate port(s) on your camcorder, and ensure that you have the necessary cables to connect it to your computer.
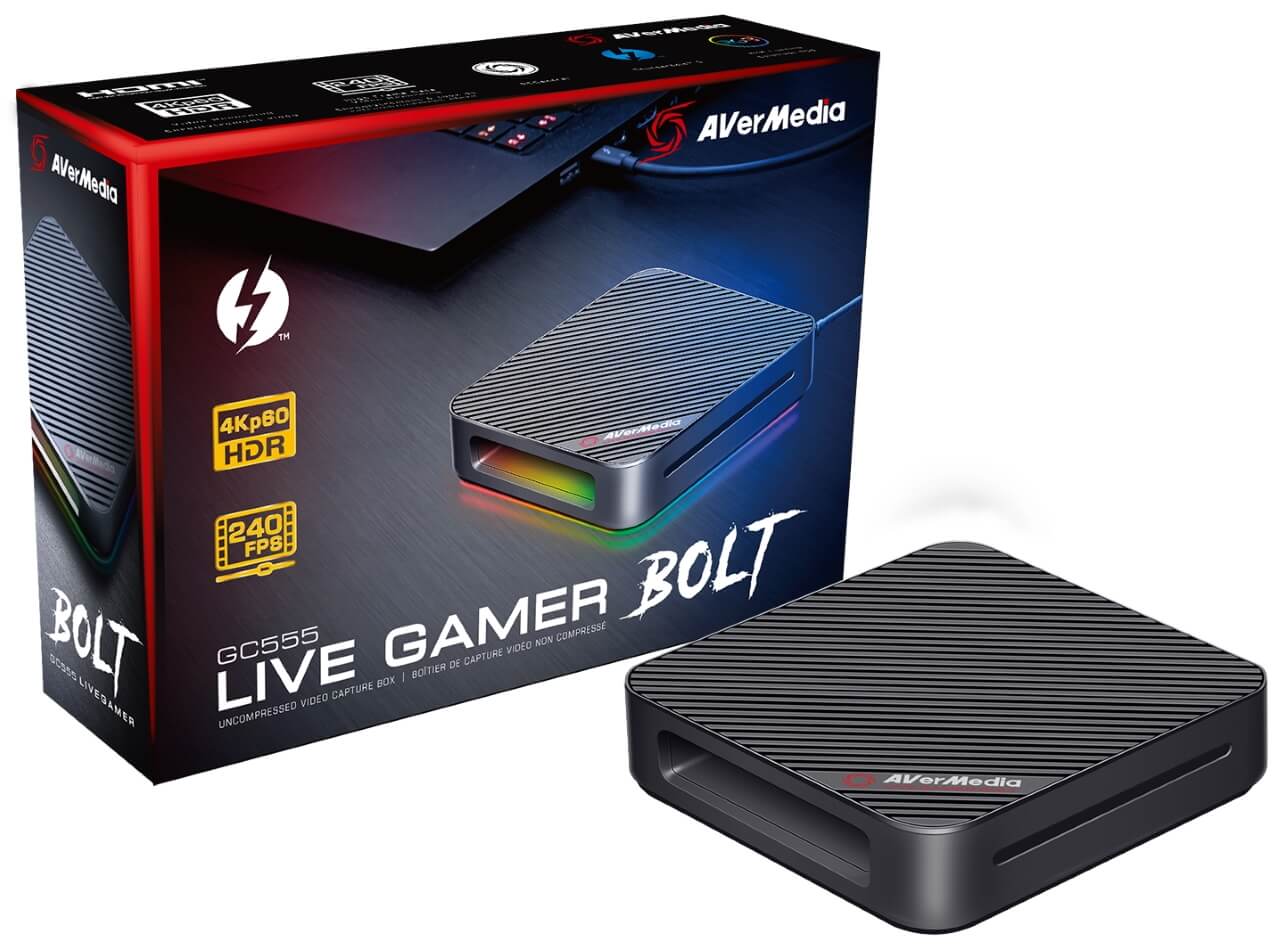
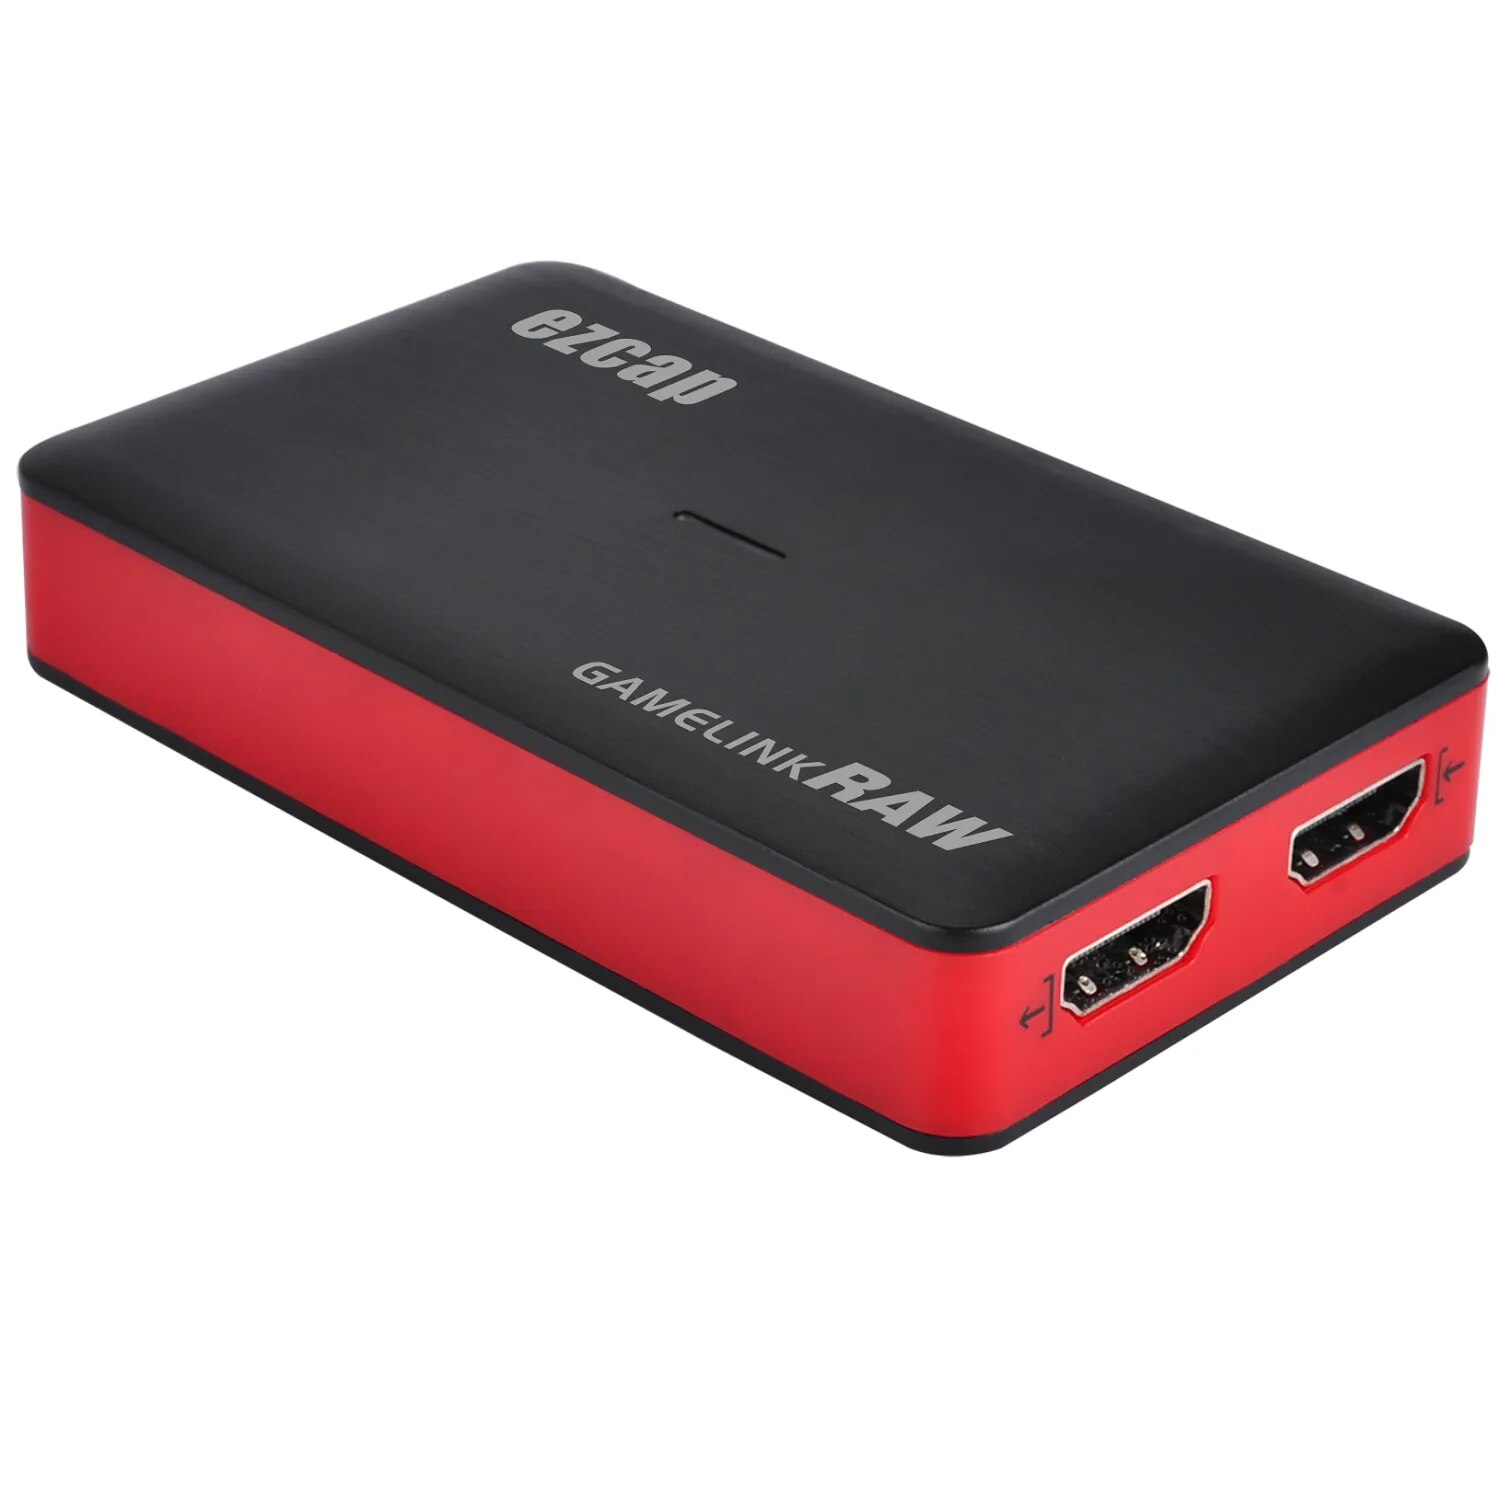
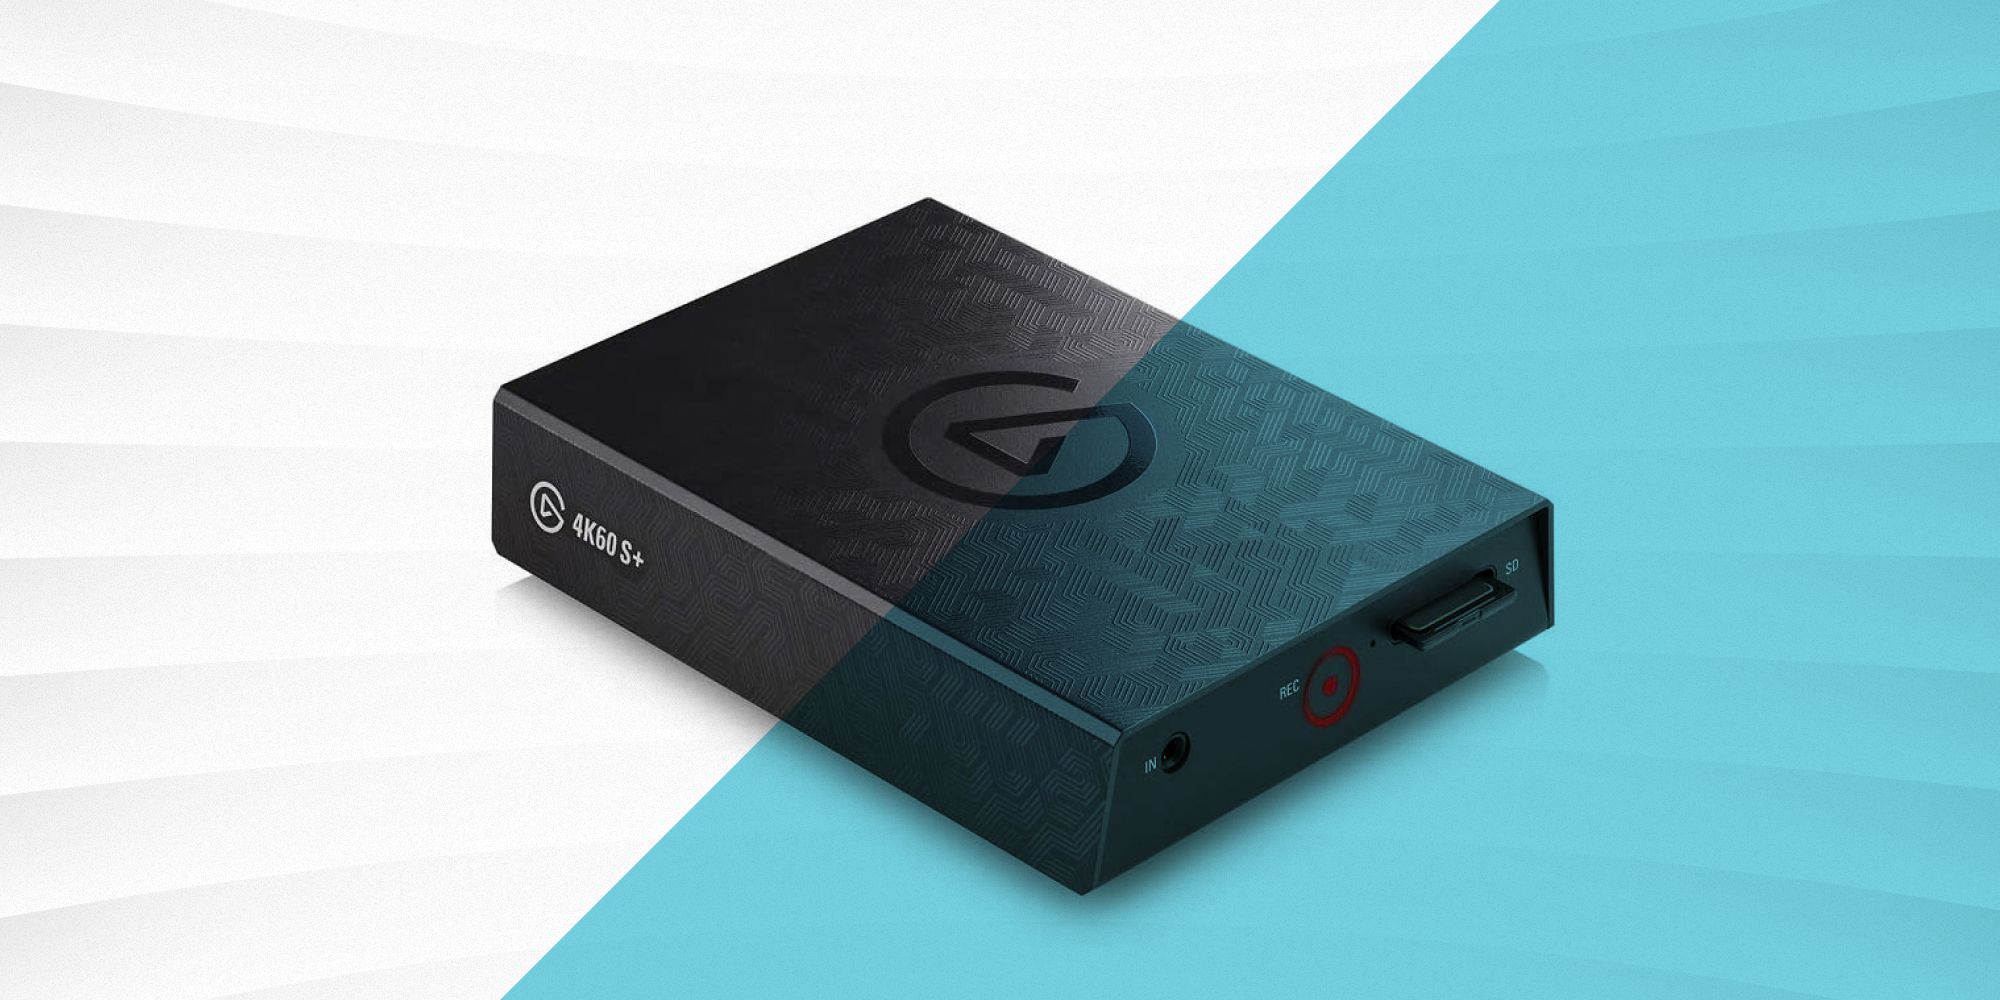
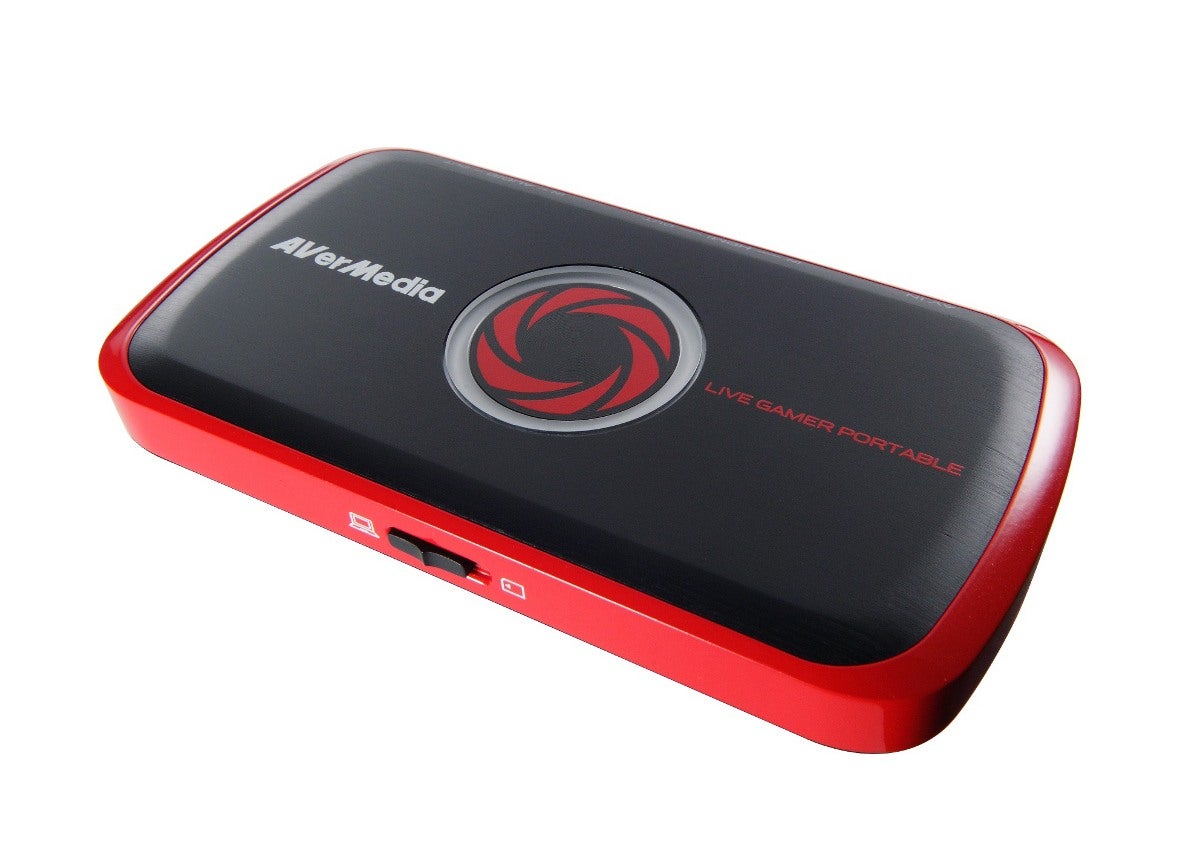
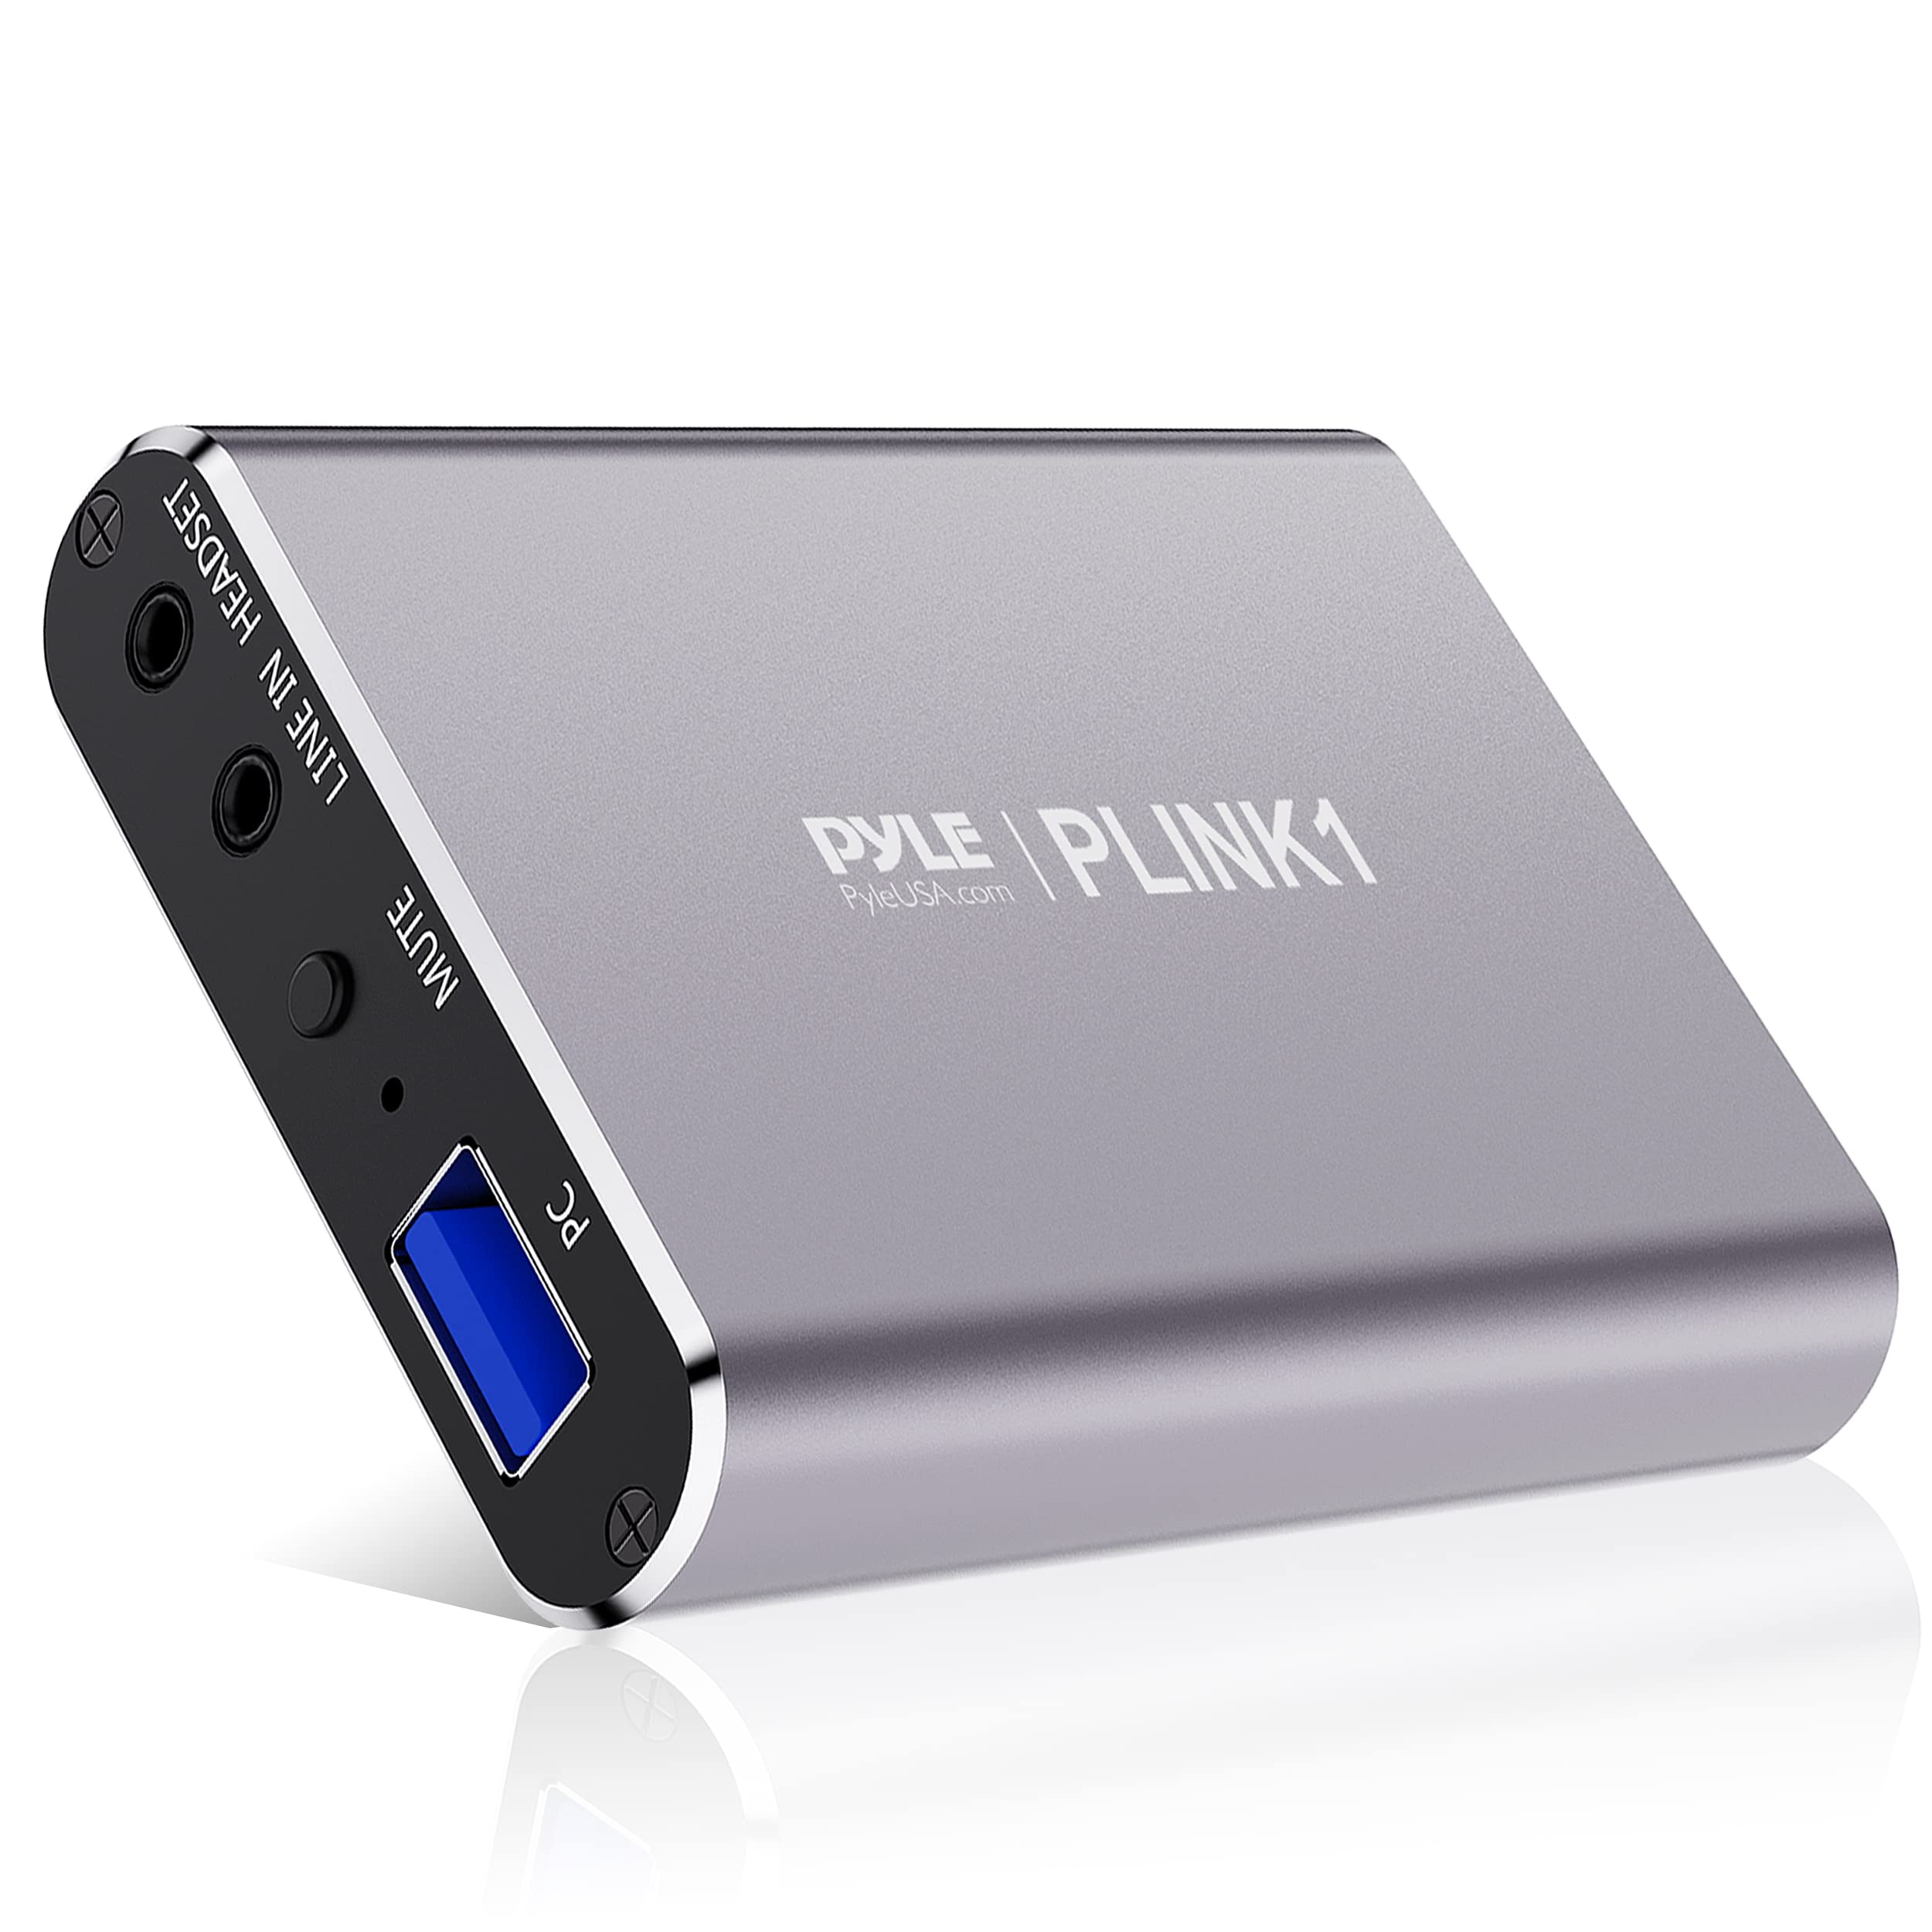
2. Select the Connection Method: Depending on the available output ports on your camcorder and the input options on your computer, choose the most suitable connection method. If your camcorder supports USB output, connect it directly to a USB port on your computer. Alternatively, if HDMI output is available, use an HDMI capture device to connect the camcorder to your computer’s USB port.
3. Install Required Drivers or Software: In some cases, connecting your camcorder to your computer may require the installation of specific drivers or software to facilitate the recognition and communication between the two devices. Follow the manufacturer’s instructions to install any necessary drivers or livestreaming software that enables your computer to recognize and utilize the camcorder as a video input source.
4. Configure Livestreaming Software Settings: Once your camcorder is successfully connected to your computer, open your preferred livestreaming software and configure the settings to recognize the camcorder as the primary video and audio input source. Adjust the resolution, frame rate, and audio input settings within the software to align with the capabilities of your camcorder for optimal livestream performance.
5. Test the Connection: Before initiating your livestream on YouTube, conduct a thorough test of the connection between your camcorder and computer. Verify that the video and audio signals are being transmitted and received correctly by the computer, and ensure that any latency or synchronization issues are addressed to deliver a seamless and professional livestreaming experience.
By following these steps, you can establish a reliable and efficient connection between your camcorder and computer, laying the groundwork for successful livestreaming on YouTube. The seamless integration of your camcorder into your livestreaming setup will contribute to the delivery of high-quality and engaging content that captivates your audience.
Setting Up Your Livestream on YouTube
Once your camcorder is connected to your computer, it’s time to set up your livestream on YouTube, ensuring that your content is delivered to your audience in a professional and engaging manner. YouTube provides a user-friendly platform for initiating and managing livestreams, offering a range of features to enhance the viewing experience and interact with your audience in real time.
1. Access Your YouTube Studio: Begin by accessing YouTube Studio, the comprehensive dashboard for managing your YouTube channel and its content. From the dashboard, navigate to the “Content” tab and select “Go Live” to initiate the livestream setup process.
2. Configure Livestream Settings: Within YouTube Studio, you’ll have the opportunity to configure various livestream settings, including the title, description, and privacy settings for your livestream. Craft a compelling title that accurately represents the content of your livestream, and provide a detailed description to inform and entice potential viewers.
3. Set Up Livestream Details: Specify the date and time for your livestream, allowing your audience to anticipate and plan for the upcoming event. Additionally, select appropriate categories and tags that align with the content of your livestream, optimizing its discoverability and relevance on YouTube’s platform.
4. Choose Your Camcorder as the Video Source: When setting up the video input for your livestream, select your camcorder as the primary video source within YouTube Studio. Ensure that the resolution, frame rate, and aspect ratio settings align with the capabilities of your camcorder to deliver the highest quality video to your audience.
5. Test the Livestream Setup: Before making your livestream public, utilize YouTube’s built-in preview feature to test the setup and verify that your camcorder’s video and audio signals are being received and broadcasted correctly. This allows you to address any potential issues and ensure a seamless viewing experience for your audience.
6. Initiate the Livestream: Once you’re satisfied with the setup and configuration of your livestream, initiate the broadcast to make it accessible to your audience. Engage with your viewers through live chat and interactive features, creating a dynamic and immersive experience that fosters community engagement and connection.
By following these steps, you can confidently set up your livestream on YouTube, leveraging the capabilities of your camcorder to deliver compelling and professional content to your audience. The seamless integration of your camcorder and the interactive features of YouTube’s livestreaming platform will contribute to an engaging and memorable viewing experience for your audience.
Tips for a Successful Livestream
Executing a successful livestream on YouTube involves more than just technical setup; it requires thoughtful planning, engaging content, and effective audience interaction. Here are some valuable tips to elevate the quality and impact of your livestreams, ensuring that they resonate with your audience and leave a lasting impression.
- Plan and Promote: Prior to your livestream, create a detailed plan outlining the content, structure, and objectives of the broadcast. Promote the upcoming livestream across your social media platforms and YouTube channel to generate anticipation and attract viewers.
- Engage with Your Audience: Actively engage with your audience during the livestream by responding to comments, questions, and feedback in real time. Foster a sense of community and connection by acknowledging and involving your viewers in the discussion.
- Deliver Valuable Content: Ensure that your livestream offers valuable and engaging content that aligns with the interests and expectations of your audience. Whether it’s educational, entertaining, or informative, prioritize delivering content that resonates with your viewers.
- Optimize Lighting and Audio: Pay attention to the lighting and audio quality of your livestream setup. Well-lit and visually appealing surroundings, coupled with clear and balanced audio, enhance the overall viewing experience and captivate your audience.
- Stay Engaging and Dynamic: Maintain an engaging and dynamic presence throughout the livestream, leveraging visual aids, interactive elements, and a lively delivery to keep your audience invested and entertained.
- Encourage Participation: Encourage audience participation through polls, Q&A sessions, and interactive elements that invite viewers to actively contribute to the livestream, fostering a sense of involvement and investment in the content.
- Monitor and Address Technical Issues: Stay vigilant for any technical issues that may arise during the livestream, such as audio or video disruptions. Promptly address and resolve these issues to minimize disruptions and maintain a professional broadcast.
- Review and Reflect: After the livestream, take the time to review audience engagement metrics, feedback, and viewer interactions. Use this information to refine your approach and content for future livestreams, continuously improving the quality and impact of your broadcasts.
By implementing these tips, you can elevate the quality and impact of your livestreams, creating an immersive and engaging experience for your audience. The combination of technical proficiency, engaging content, and effective audience interaction will contribute to the success and growth of your livestreaming endeavors on YouTube.
Conclusion
Embarking on the journey of livestreaming on YouTube with a camcorder opens up a world of creative possibilities and audience engagement. By carefully selecting the right camcorder, configuring its settings, and seamlessly integrating it into your livestreaming setup, you can deliver high-quality and captivating content to your viewers. The process of setting up your livestream on YouTube, coupled with valuable tips for success, empowers you to create immersive and memorable experiences for your audience.
As you venture into the realm of livestreaming, remember that technical proficiency is just one aspect of a successful broadcast. Equally important is the ability to engage with your audience, deliver valuable content, and foster a sense of community and connection. By planning, promoting, and delivering compelling livestreams, you can cultivate a dedicated and enthusiastic audience that eagerly anticipates your future broadcasts.
Embrace the dynamic nature of livestreaming, continuously refining your approach, content, and technical setup to adapt to the evolving preferences and expectations of your audience. Through thoughtful reflection and a commitment to improvement, you can elevate the quality and impact of your livestreams, leaving a lasting impression on your viewers and establishing a meaningful presence in the realm of online content creation.
With the knowledge and insights gained from this guide, you are well-equipped to embark on your livestreaming journey, leveraging the power of a camcorder to deliver professional and engaging content on YouTube. Embrace the opportunities for creativity, connection, and growth that livestreaming offers, and revel in the excitement of sharing your passion and expertise with a global audience.