Introduction
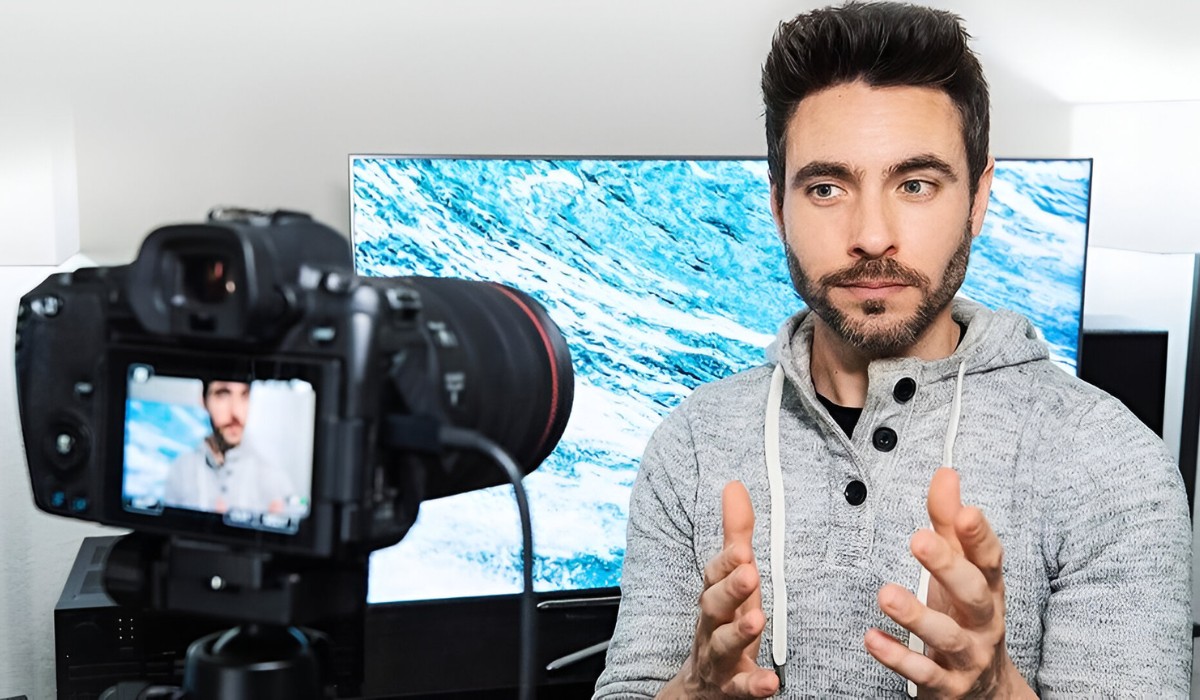
Are you eager to showcase your photography or videography skills to a larger audience? Connecting your DSLR camera to a TV can bring your images and videos to life on a bigger screen, allowing you to appreciate the finer details and share your work with friends and family in a more immersive way. Whether you're a professional photographer, a budding filmmaker, or simply someone who wants to enjoy their captured moments on a grander scale, this guide will walk you through the steps to effortlessly hook up your DSLR camera to a TV.
By following these simple instructions, you can transform your living room into a mini theater, where your visual creations take center stage. The process involves gathering the necessary equipment, making the right connections, and adjusting the settings to ensure the best possible viewing experience. Once the setup is complete, you'll be ready to capture stunning images or play back your recorded videos, all while enjoying the larger-than-life display on your TV screen.
So, grab your DSLR camera, gather the required cables, and get ready to embark on this exciting journey of connecting your camera to a TV. Whether you're planning a slideshow of your latest travel adventures or preparing to screen your cinematic masterpiece, this guide will equip you with the knowledge to seamlessly integrate your DSLR camera with your television, opening up a world of visual possibilities. Let's dive into the step-by-step process and unlock the potential of your DSLR camera on the big screen.
Step 1: Gather the Necessary Equipment
Before embarking on the journey of connecting your DSLR camera to a TV, it’s essential to gather the requisite equipment to ensure a seamless setup. Here’s what you’ll need:
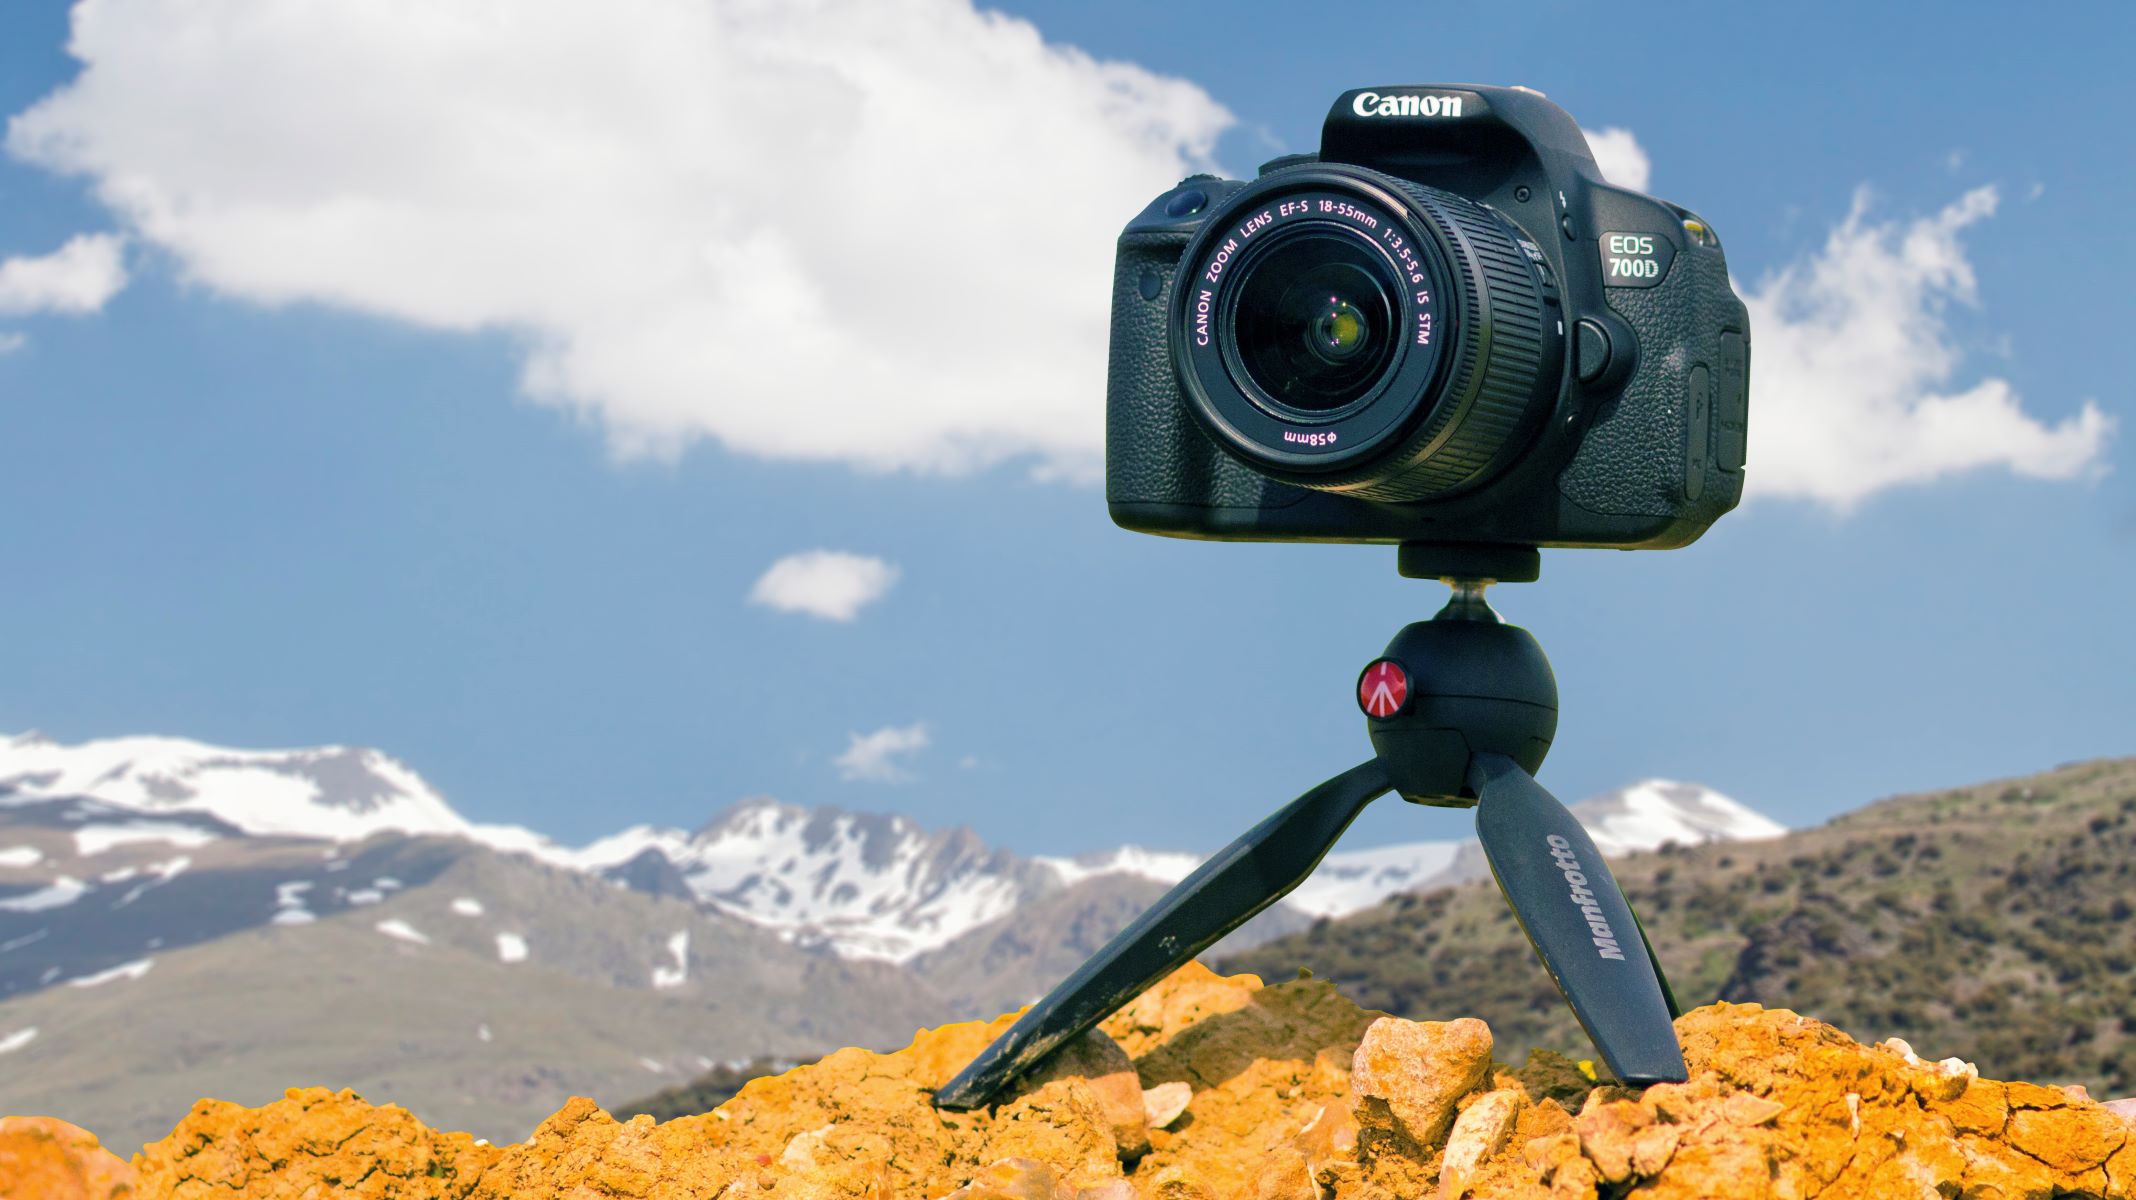
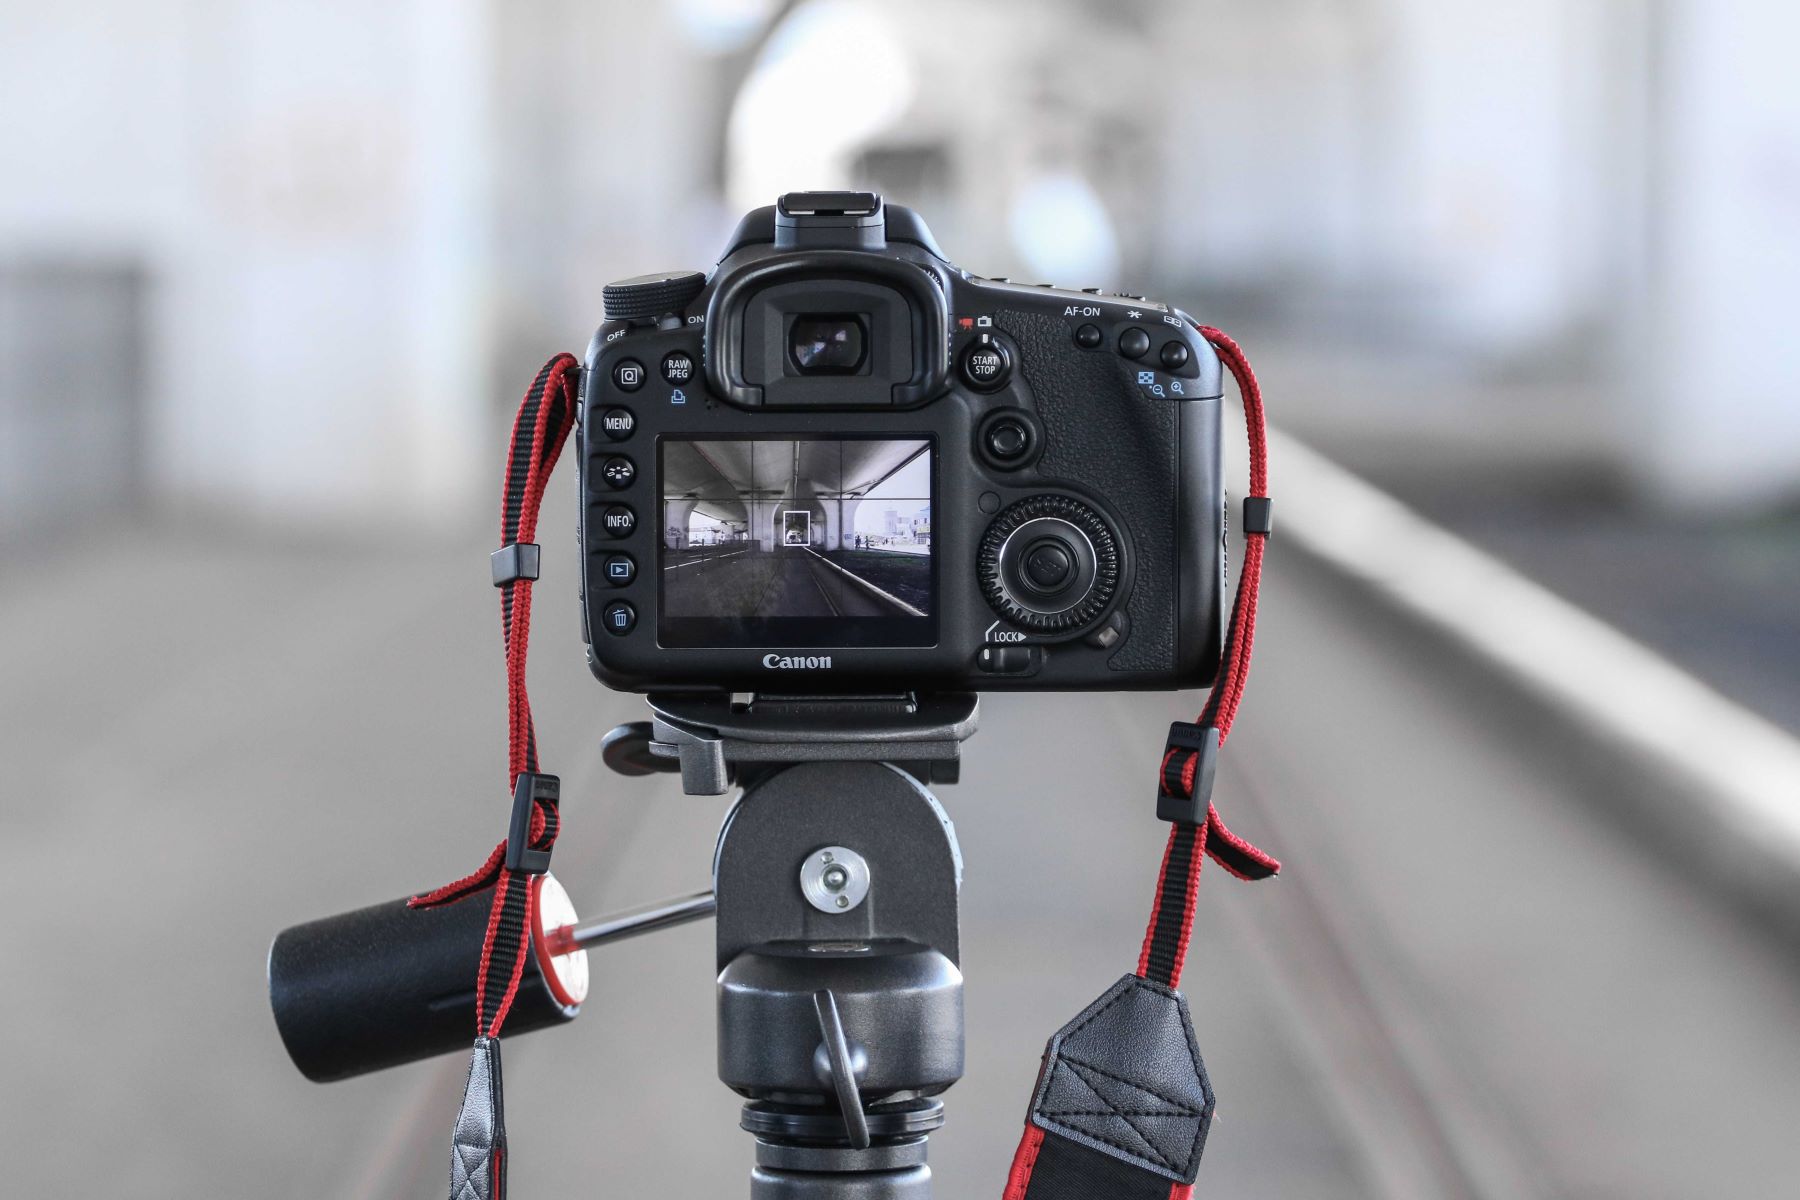
- DSLRCamera: Of course, the star of the show is your DSLR camera. Ensure it’s charged and ready to use.
- HDMI Cable: A high-quality HDMI cable is crucial for transmitting both high-definition video and audio signals from your camera to the TV. Opt for a cable with the appropriate length to allow for flexible positioning.
- TV with HDMI Input: Select a TV equipped with an available HDMI input. Most modern TVs feature multiple HDMI ports, which provide the necessary interface for connecting external devices such as cameras, gaming consoles, and media players.
- Remote Control: While not mandatory, having the TV’s remote control handy can be helpful for adjusting settings and inputs without having to physically interact with the TV.
- Clean Cloth: A soft, lint-free cloth can come in handy for wiping the HDMI ports on both the camera and the TV, ensuring a clean and secure connection.
By ensuring you have these essential items at your disposal, you can proceed with confidence to the next step of the process, knowing that you’re fully equipped to connect your DSLR camera to the TV and begin enjoying your visual content on the larger screen.
Step 2: Connect the Camera to the TV Using HDMI
With the necessary equipment in hand, the next step is to establish a physical connection between your DSLR camera and the TV using an HDMI cable. Follow these simple steps to ensure a successful connection:
- Locate the HDMI Ports: Identify the HDMI output port on your DSLR camera and the HDMI input port on your TV. These ports are typically labeled for easy identification.
- Insert the HDMI Cable: Take one end of the HDMI cable and plug it into the HDMI output port on your DSLR camera. Ensure a secure connection to prevent any signal interruptions during use.
- Connect to the TV: Plug the other end of the HDMI cable into the HDMI input port on your TV. Once again, ensure a snug fit to maintain a stable connection throughout your viewing or shooting session.
- Power On: Power on your DSLR camera and the TV. The HDMI connection should automatically establish a link between the two devices, allowing for seamless transmission of audio and video signals from the camera to the TV.
Upon completing these steps, your DSLR camera should now be physically connected to the TV, ready to deliver stunning visuals and captivating audio directly to the larger screen. This direct connection via HDMI ensures that the full quality of your images and videos is faithfully reproduced on the TV, providing an immersive viewing experience for both creators and audiences alike.
With the physical connection established, the next crucial step involves adjusting the camera settings to optimize the viewing experience on the TV screen, ensuring that your visual content is presented in the best possible light.
Step 3: Adjust the Camera Settings
Once the physical connection between your DSLR camera and the TV is established, it’s essential to adjust the camera settings to ensure optimal performance and visual quality. Follow these steps to configure your camera for seamless integration with the TV:
- Select the Output Display: Access the camera’s menu and navigate to the display settings. Look for an option to select the output display. Choose the HDMI output to direct the camera’s display to the connected TV.
- Set the Resolution and Frame Rate: Depending on your camera model, you may have the option to adjust the output resolution and frame rate. Opt for the highest resolution and frame rate supported by your camera to ensure crisp, fluid visuals on the TV screen.
- Configure Audio Output: If your camera supports audio output via HDMI, ensure that the audio settings are configured to transmit sound through the HDMI cable to the TV. This is particularly important if you’re planning to play videos with accompanying audio.
- Adjust Display Settings: Explore additional display settings on your camera, such as brightness, contrast, and color balance, to fine-tune the visual output for the TV screen. Making these adjustments can enhance the overall viewing experience for both photos and videos.
By carefully adjusting these settings, you can ensure that your DSLR camera is optimized to deliver stunning visuals and immersive audio directly to the TV, creating a captivating viewing experience for yourself and your audience. With the camera settings configured for the best possible output, you’re now ready to move on to the next step of the process: preparing the TV to receive and display the content from your DSLR camera.
Step 4: Turn on the TV and Select the Correct Input
With your DSLR camera’s settings adjusted for optimal output, the next step is to prepare the TV to receive the signal from the connected camera. Follow these straightforward instructions to ensure that the TV is set up to display the content from your DSLR camera:
- Power On the TV: Turn on your TV using the remote control or the power button located on the device. Allow the TV to boot up fully before proceeding.
- Access the Input Selection: Using the TV’s remote control, locate the input selection button or menu. This button is typically labeled “Input,” “Source,” or “TV/Video.” Press it to access the input menu.
- Select the HDMI Input: Navigate through the input menu to find the HDMI input to which your DSLR camera is connected. Depending on your TV model, the HDMI inputs may be numbered or labeled based on their location (e.g., HDMI 1, HDMI 2, etc.). Select the corresponding HDMI input that matches the port used for connecting your camera.
- Confirm the Selection: Once you’ve chosen the correct HDMI input, press the “Enter” or “OK” button on the remote control to confirm your selection. The TV should now switch to the HDMI input, ready to display the content transmitted from your DSLR camera.
By following these steps, you ensure that the TV is primed to receive the signal from your DSLR camera, setting the stage for a seamless and immersive viewing experience. With the correct input selected, the TV is now prepared to showcase your visual creations on its larger screen, allowing you to fully appreciate the details and artistry of your photos and videos.
With the TV set up to receive the signal from your DSLR camera, you’re now ready to move on to the final step of the process: initiating the display and enjoying your visual content on the big screen.
Step 5: Start Shooting and Viewing on the TV
With your DSLR camera connected to the TV and both devices prepared for seamless interaction, it’s time to embark on the final step: initiating the display and enjoying your visual content on the larger screen. Follow these steps to start shooting and viewing your photos and videos on the TV:
- Begin Shooting: If you’re using your DSLR camera to capture new photos or videos, start by framing your shot and adjusting the camera settings as desired. With the camera connected to the TV, you can preview your composition and ensure that every detail is captured to perfection.
- Initiate Playback: If you wish to view previously captured images or videos on the TV, navigate through your camera’s playback menu to select the content you want to display. Once chosen, initiate the playback to see your visual creations come to life on the larger screen.
- Enjoy the Visuals: As your photos or videos are displayed on the TV, take a moment to appreciate the enhanced visual impact of your work on the larger screen. Revel in the finer details, vibrant colors, and immersive audio, experiencing your creations in a new light.
- Capture the Moment: Whether you’re shooting new content or reliving past memories, take advantage of the captivating display on the TV to capture stunning visuals that come to life in a larger-than-life format.
By following these steps, you can seamlessly transition from capturing moments with your DSLR camera to experiencing and sharing them on the expansive canvas of your TV screen. Whether you’re a photographer showcasing your portfolio or a filmmaker screening your latest production, the connection between your DSLR camera and the TV opens up new possibilities for visual storytelling and immersive viewing experiences.
With the camera and TV working in harmony, you can fully embrace the creative potential of your DSLR camera, capturing and presenting visual content in a manner that resonates on a grander scale. The seamless integration of your DSLR camera with the TV empowers you to explore new dimensions of visual expression and share your artistic vision with a broader audience.
Conclusion
Connecting your DSLR camera to a TV opens up a world of possibilities, allowing you to showcase your visual creations on a larger, more immersive canvas. By following the simple yet crucial steps outlined in this guide, you’ve gained the knowledge and confidence to seamlessly integrate your DSLR camera with your TV, creating captivating viewing experiences for yourself and your audience.
From gathering the necessary equipment to adjusting the camera settings and initiating the display, each step contributes to a seamless and immersive connection between your DSLR camera and the TV. The physical and digital harmony achieved through this setup empowers you to capture, view, and share visual content in a manner that transcends the confines of a smaller screen, elevating your photography and videography to new heights.
As you embark on this journey of connecting your DSLR camera to a TV, remember that the process is not only about technical integration but also about enhancing the visual impact and storytelling potential of your work. Whether you’re a professional photographer, a passionate filmmaker, or an enthusiast eager to share your adventures, the connection between your DSLR camera and the TV amplifies the impact of your visual narratives, fostering a deeper connection with your audience.
With your DSLR camera and TV working in harmony, you’re equipped to explore new dimensions of creativity, capturing and presenting visual content in a manner that resonates on a grander scale. The seamless integration of your DSLR camera with the TV empowers you to share your artistic vision with a broader audience, fostering a deeper appreciation for the artistry and storytelling encapsulated in your visual creations.
As you embark on this journey, let the connection between your DSLR camera and the TV serve as a conduit for immersive experiences, visual storytelling, and shared moments that come to life on the expansive canvas of the larger screen.


