Introduction
So, you've got your hands on a Campark action camera, and you're eager to start capturing those adrenaline-pumping moments. However, before you embark on your adventures, it's crucial to ensure that your micro SD card is properly formatted to optimize the camera's performance and prevent any potential issues during recording.
Formatting a micro SD card for your Campark action camera is a simple yet essential process. This guide will walk you through the necessary steps to prepare your micro SD card, ensuring that it is compatible with your camera and ready to store all your thrilling footage securely.
A correctly formatted micro SD card not only enhances the camera's functionality but also minimizes the risk of data corruption and ensures seamless recording and playback. Whether you're a seasoned action enthusiast or a novice adventurer, understanding the process of formatting your micro SD card is fundamental to maximizing your camera's potential and preserving your cherished memories.
Let's delve into the step-by-step instructions to format your micro SD card for your Campark action camera, ensuring that you're well-prepared to capture every heart-racing moment with confidence.
Step 1: Insert the Micro SD Card
The first step in formatting your micro SD card for your Campark action camera is to ensure that the card is properly inserted into the camera. Begin by locating the micro SD card slot on your Campark action camera. This slot is typically situated near the battery compartment or on the side of the camera, depending on the model.
Before inserting the micro SD card, it’s essential to power off the camera to prevent any potential data corruption. Gently power down the camera according to the manufacturer’s instructions, ensuring that it is completely turned off before proceeding.
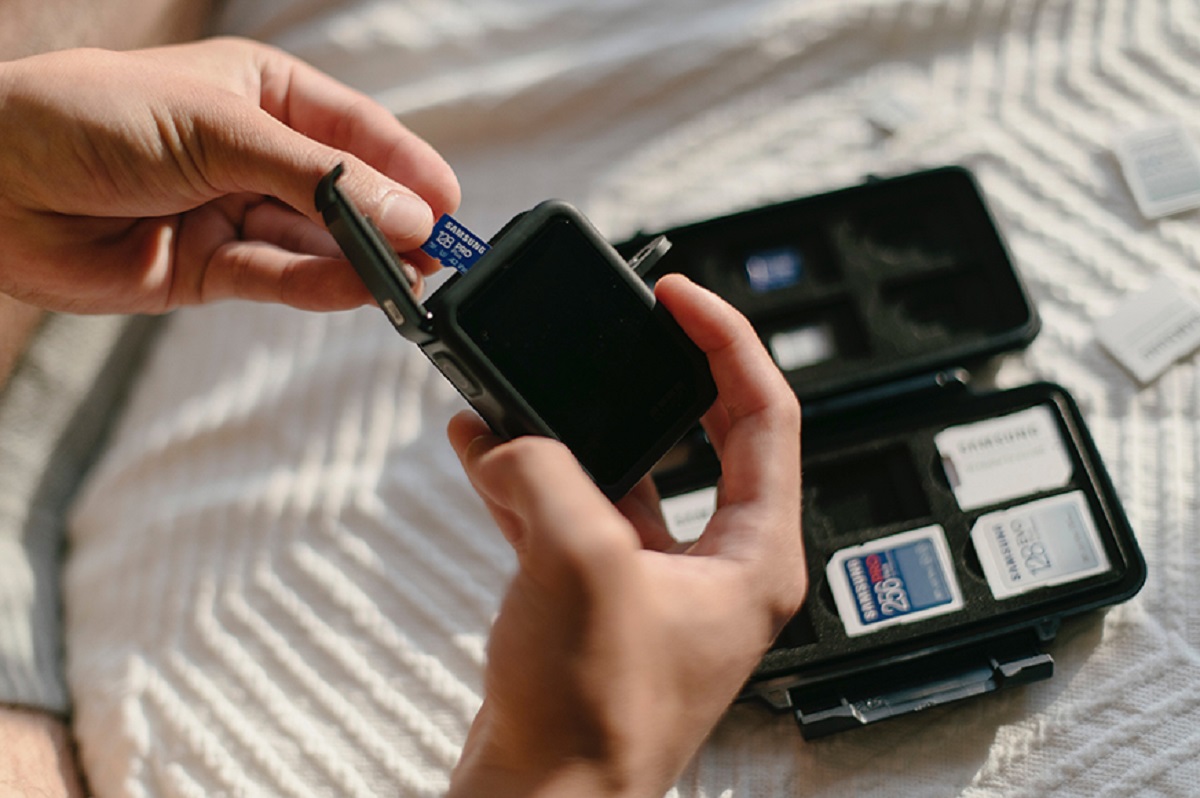
Next, carefully insert the micro SD card into the designated slot, taking care to align it correctly with the direction indicated by the camera’s instructions or the engraved diagram near the slot. Apply gentle pressure until you feel the card securely click into place, ensuring that it is inserted flush with the camera’s body.
Once the micro SD card is inserted, power on the camera and wait for it to recognize the newly inserted card. Your Campark action camera should automatically detect the micro SD card and prompt you to format it, but if not, you can access the format option manually in the camera’s settings menu.
With the micro SD card successfully inserted and recognized by the camera, you’re now ready to proceed to the next step and access the format option to prepare the card for optimal performance.
Step 2: Access the Format Option
Once the micro SD card is securely inserted into your Campark action camera, the next step is to access the format option within the camera’s settings menu. To do this, navigate through the camera’s menu using the control buttons or touchscreen, depending on the model of your Campark action camera.
Locate the settings or setup menu, typically denoted by a gear or wrench icon, and enter the menu to reveal a list of configurable options. Scroll through the menu options until you find the “Format” or “Format SD Card” option. Select this option to initiate the formatting process for the inserted micro SD card.
Upon selecting the format option, the camera will display a confirmation prompt to ensure that you intend to proceed with the formatting. It’s essential to understand that formatting the micro SD card will erase all existing data, so be sure to back up any important files before continuing with the format process.
Confirm your decision to format the micro SD card when prompted by the camera. Depending on the camera model and firmware, you may be required to enter a confirmation code or navigate through a series of on-screen prompts to finalize the format process.
Once you have successfully accessed the format option and confirmed your decision to proceed, the camera will begin the formatting process, preparing the micro SD card for optimal compatibility and performance with your Campark action camera. With the format initiated, you are now ready to proceed to the next step and select the format type for your micro SD card.
Step 3: Select the Format Type
After accessing the format option and confirming your decision to proceed, your Campark action camera will prompt you to select the format type for your micro SD card. The format type refers to the file system that will be used to organize and store data on the micro SD card. The two primary format types are FAT32 and exFAT, each with its own advantages and considerations.
FAT32 is a widely compatible file system that is supported by most devices, including older cameras and computers. It is suitable for micro SD cards with a capacity of up to 32GB and is an ideal choice for compatibility with a diverse range of devices. However, it has limitations on individual file size, restricting the maximum file size to 4GB.
On the other hand, exFAT is a more modern file system that supports larger file sizes and is well-suited for micro SD cards with capacities exceeding 32GB. It offers improved compatibility with devices and allows for individual file sizes larger than 4GB, making it an excellent choice for high-resolution video recording and storage.
When prompted to select the format type, consider the capacity of your micro SD card and the devices with which you intend to use it. If your micro SD card has a capacity of 32GB or less and you require broad compatibility with various devices, choosing the FAT32 format type is recommended.
However, if your micro SD card has a capacity greater than 32GB and you anticipate working with large files, such as high-definition videos, selecting the exFAT format type is the optimal choice to maximize storage capabilities and file compatibility.
Once you have carefully considered your requirements and selected the appropriate format type for your micro SD card, proceed to confirm your choice within the camera’s menu. With the format type selected, you are now prepared to finalize the format process and ensure that your micro SD card is correctly configured for use with your Campark action camera.
Step 4: Confirm the Format
With the format type selected for your micro SD card, the next step is to confirm the formatting process within the camera’s menu. Upon selecting the format type, the camera will present a confirmation prompt to ensure that you intend to proceed with the format and apply the chosen format type to the micro SD card.
Review the displayed confirmation message carefully, ensuring that the selected format type aligns with your requirements and the capacity of your micro SD card. It’s crucial to verify this information to prevent any potential issues with compatibility and file storage on the micro SD card.
Once you have confirmed that the displayed format type is correct and aligns with your needs, proceed to confirm the format within the camera’s menu. Depending on the camera model and firmware, you may be required to enter a confirmation code or navigate through additional on-screen prompts to finalize the format process.
During the confirmation process, the camera will display a warning message indicating that all existing data on the micro SD card will be erased as a result of the format. It’s imperative to ensure that you have backed up any essential files before confirming the format to prevent the loss of valuable data.
Upon confirming the format, the camera will initiate the formatting process, applying the selected format type to the micro SD card and preparing it for optimal compatibility and performance with your Campark action camera. Depending on the capacity of the micro SD card, the formatting process may take a few moments to complete.
Once the format has been successfully applied, the camera will display a confirmation message indicating that the micro SD card has been formatted and is ready for use. With the format confirmed, you are now prepared to proceed to the final step and eject the micro SD card from the camera, completing the formatting process and ensuring that it is ready to capture your exhilarating moments with precision.
Step 5: Eject the Micro SD Card
Upon successfully formatting the micro SD card for your Campark action camera, the final step is to safely eject the card from the camera to ensure that the formatting process is completed, and the card is ready for use.
Begin by navigating to the camera’s menu and locating the option to safely eject the micro SD card. This step is crucial to prevent any potential data corruption or damage to the card during removal. Depending on the camera model, the option to eject the micro SD card may be found within the settings or setup menu.
Once you have located the option to eject the micro SD card, select it to initiate the ejection process. The camera will prompt you to confirm the ejection, ensuring that you intend to remove the micro SD card safely. Confirm your decision to eject the card, and wait for the camera to complete the ejection process.
After confirming the ejection, the camera will disengage the micro SD card, allowing you to carefully remove it from the designated slot. Gently press the micro SD card to release it from the slot, being mindful not to apply excessive force that could damage the card or the camera’s slot.
Once the micro SD card is removed from the camera, inspect it for any visible damage or foreign particles that may have accumulated during the formatting process. It’s essential to ensure that the card is clean and free from any debris that could interfere with its performance or storage capacity.
With the micro SD card safely in hand, store it in a protective case or holder to safeguard it from physical damage and environmental factors. Properly storing the micro SD card will help maintain its integrity and ensure that it remains ready for use whenever you embark on your exciting adventures with your Campark action camera.
By following the steps outlined in this guide, you have successfully formatted the micro SD card for your Campark action camera, preparing it for seamless recording and storage of your thrilling moments. With the micro SD card safely ejected and ready for use, you can now embark on your adventures with confidence, knowing that your camera is equipped to capture every exhilarating detail.
Conclusion
Formatting a micro SD card for your Campark action camera is a fundamental process that ensures optimal compatibility, performance, and data integrity. By following the step-by-step instructions outlined in this guide, you have acquired the essential knowledge to prepare your micro SD card for seamless recording and storage of your exhilarating moments.
Ensuring that the micro SD card is correctly inserted into the camera, accessing the format option, selecting the appropriate format type, confirming the format, and safely ejecting the card are essential steps that collectively contribute to the successful formatting process.
Properly formatted micro SD cards not only enhance the functionality of your Campark action camera but also minimize the risk of data corruption, ensuring that your cherished memories are securely stored and readily accessible. Whether you’re capturing high-octane action sequences or breathtaking landscapes, a well-formatted micro SD card is essential for preserving the authenticity and detail of your footage.
As you embark on your adventures, equipped with a properly formatted micro SD card, you can immerse yourself in the thrill of the moment, confident that your Campark action camera is poised to capture every heart-pounding second with precision and clarity.
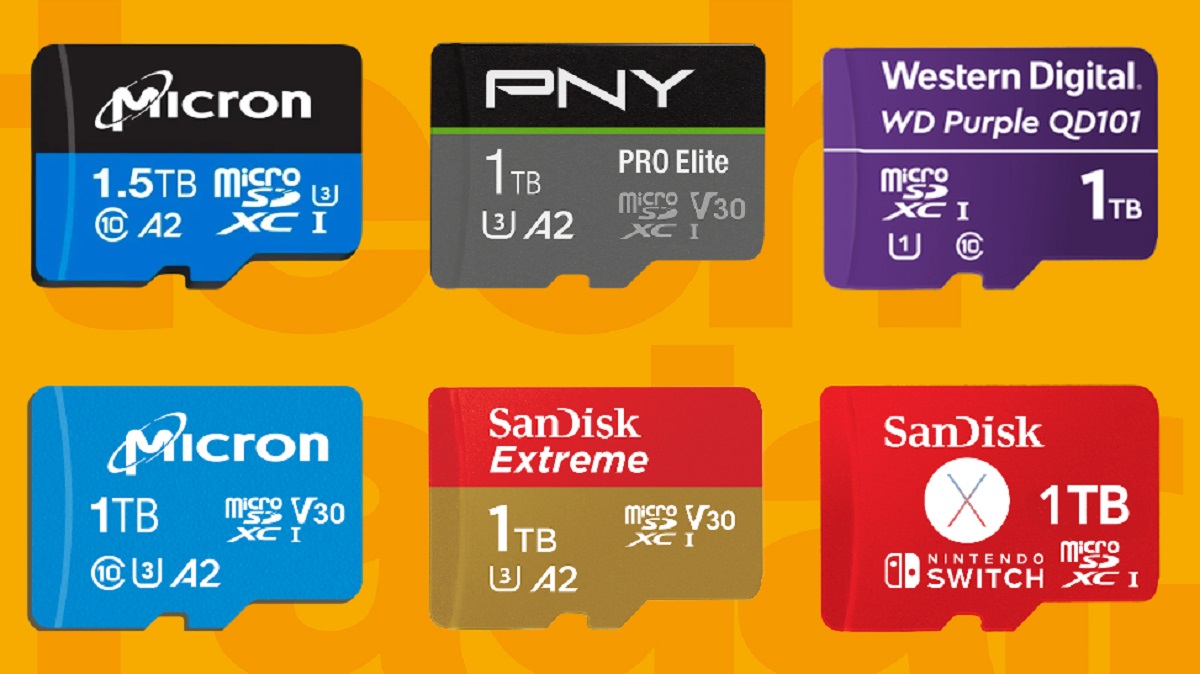
Remember to periodically back up your valuable footage to a secure location to safeguard it from unforeseen circumstances. Additionally, consider investing in high-quality micro SD cards with ample storage capacity to accommodate your recording needs and provide a reliable platform for storing your captivating content.
By mastering the art of formatting your micro SD card, you have taken a significant step towards optimizing your camera’s potential and preserving your most exhilarating experiences. With your micro SD card primed and ready, the stage is set for you to unleash your creativity and document the moments that define your adventures.


