Introduction
Introduction
Welcome to the world of photography! Whether you are a beginner or a seasoned photographer, one of the essential accessories for your DSLR camera is a comfortable and secure camera strap. A camera strap not only provides convenience and ease of access but also ensures the safety of your valuable equipment. In this guide, we will walk you through the simple yet crucial process of fitting a DSLR camera strap properly. By following these steps, you can enjoy peace of mind knowing that your camera is securely and comfortably attached, allowing you to focus on capturing those perfect moments without any distractions.
As you embark on this journey, keep in mind that a well-fitted camera strap can make a significant difference in your photography experience. Whether you are planning a leisurely photo walk or preparing for a professional shoot, the right camera strap can make carrying your DSLR a breeze. So, let’s dive into the step-by-step process of preparing, attaching, and adjusting your camera strap to ensure a comfortable and secure fit for your DSLR camera.
Step 1: Prepare the camera strap
Step 1: Prepare the camera strap
Before attaching the camera strap to your DSLR, it’s essential to ensure that the strap is clean, untangled, and in good condition. Start by inspecting the entire length of the strap for any signs of wear, fraying, or damage. If you notice any issues, it’s best to replace the strap with a new one to guarantee the safety of your camera. Additionally, if the strap is adjustable, check that the adjustment mechanisms are functioning smoothly and securely.
Next, untangle the strap and lay it out flat on a clean surface. This will help you identify any twists or knots that may have formed during storage. Straightening the strap will make the attachment process much easier and prevent any discomfort caused by twisted or tangled sections during use.
If your camera strap features any additional padding or ergonomic features, such as neoprene padding or anti-slip materials, ensure that these elements are clean and free from any debris. Keeping these components clean and well-maintained will contribute to the overall comfort and stability of the strap once it is attached to your camera.
By taking the time to prepare and inspect your camera strap before attaching it to your DSLR, you can ensure that it is in optimal condition for secure and comfortable use. This simple yet crucial step sets the foundation for a hassle-free and enjoyable photography experience, allowing you to focus on capturing stunning images without any concerns about the safety and stability of your camera.
Step 2: Attach the camera strap to the camera
Step 2: Attach the camera strap to the camera
Attaching the camera strap to your DSLR is a straightforward process that ensures the security and accessibility of your camera during photography sessions. Most DSLR cameras feature designated strap attachment points, typically located on either side of the camera body. To begin, identify these attachment points, which are often reinforced metal loops or eyelets designed to withstand the weight of the camera and lens.
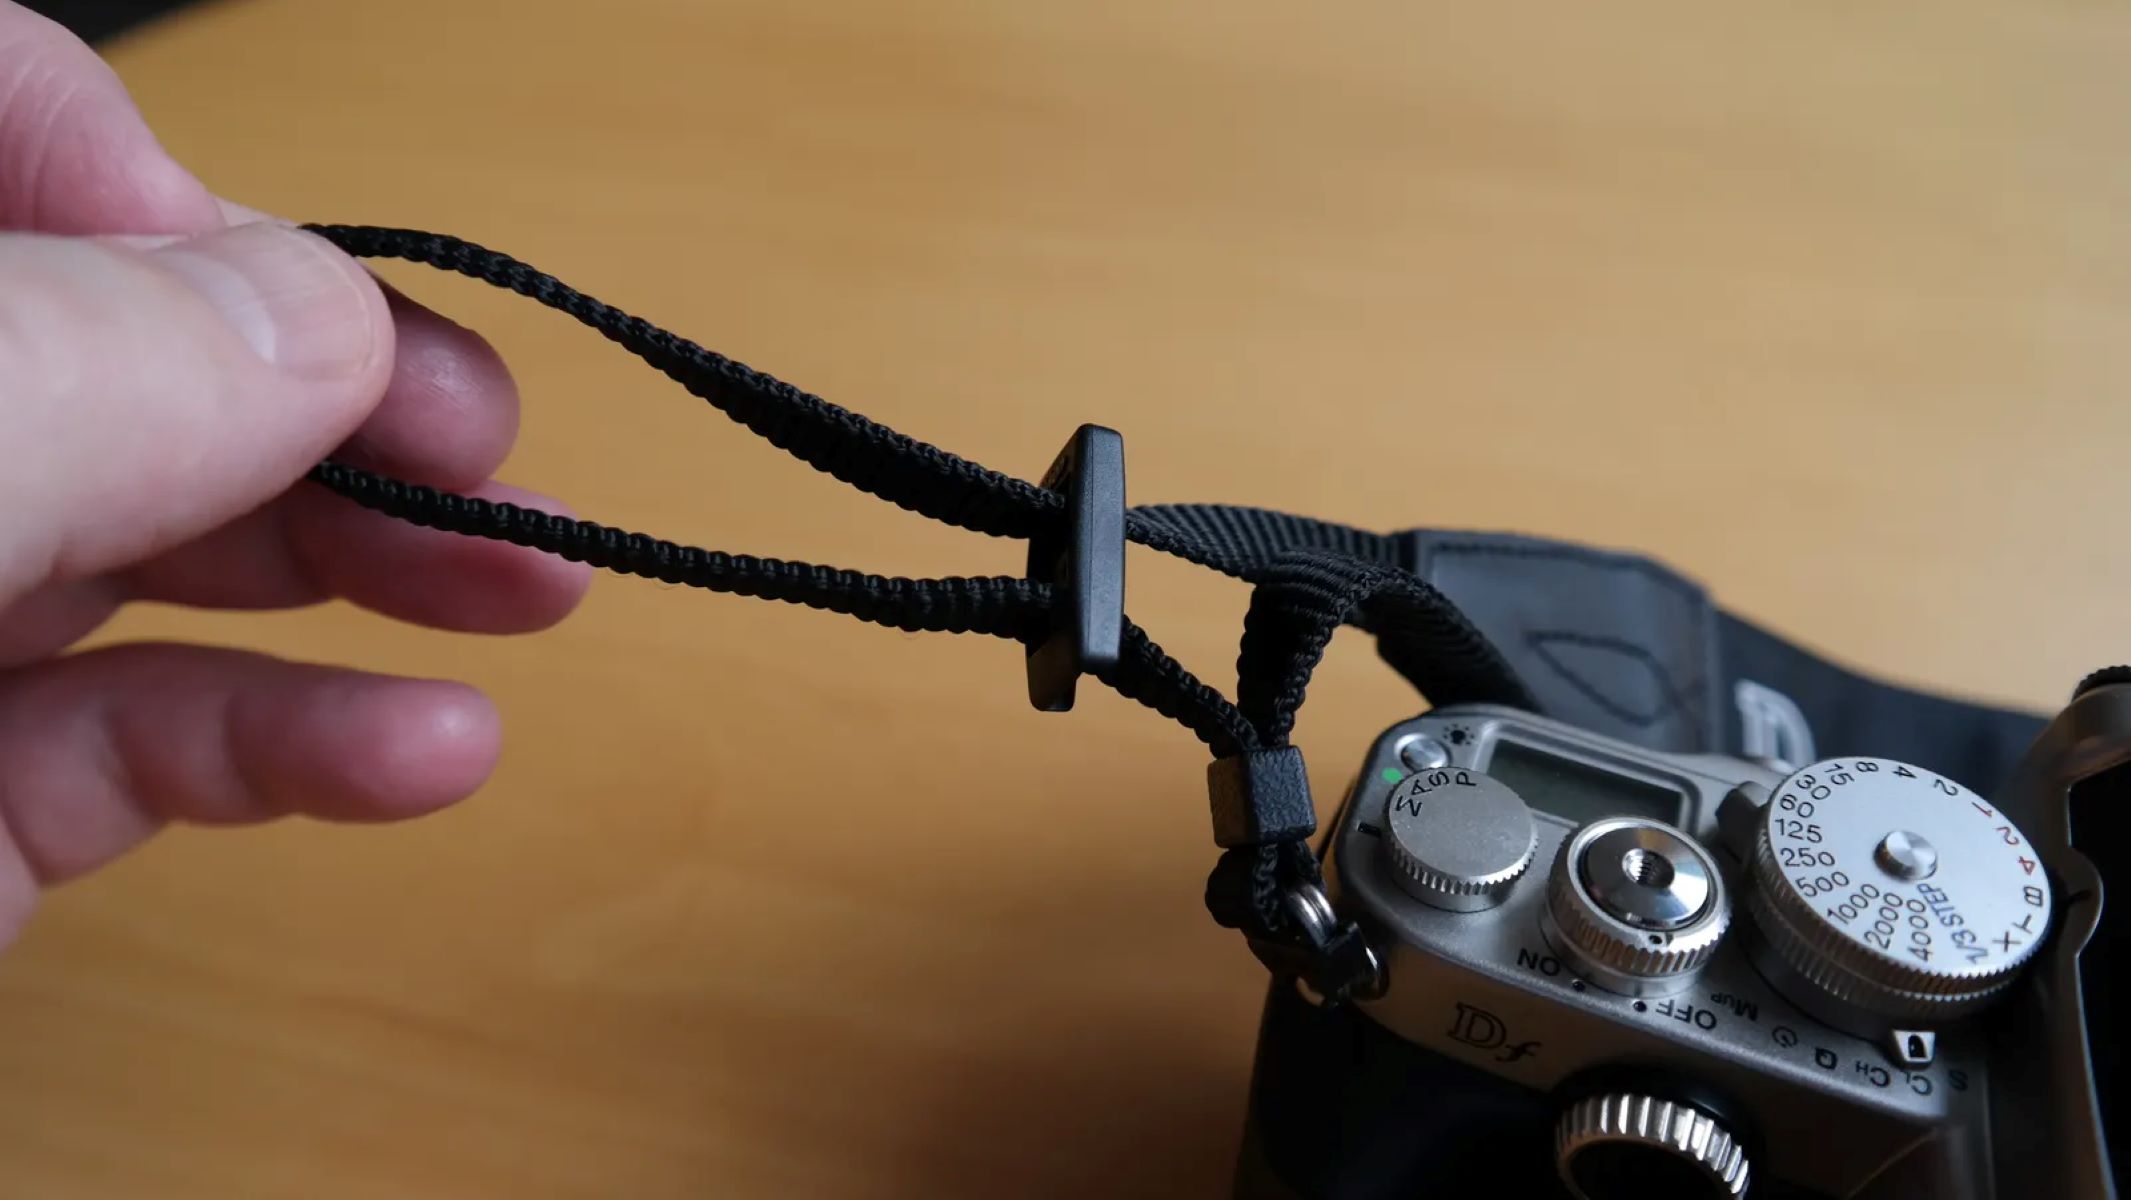
Once you have located the attachment points, take one end of the camera strap and thread it through the first attachment point. Depending on the design of the strap, you may need to use a small metal ring or connector to secure the strap to the attachment point. Ensure that the attachment is secure and that there are no twists or tangles in the strap at this point.
After securing the first end of the strap, repeat the process with the other end, threading it through the second attachment point. As with the first end, ensure that the attachment is secure and free from any twists or knots that could cause discomfort or instability when wearing the camera.
Once both ends of the strap are securely attached to the camera, give the strap a gentle tug to confirm that it is firmly in place. It’s essential to double-check the attachments to prevent any accidental slippage or detachment during use. Additionally, ensure that the length of the strap on each side of the camera is balanced for a comfortable and even distribution of weight.
By following these simple steps to attach the camera strap to your DSLR, you can ensure that your camera is securely and comfortably supported, allowing you to focus on your photography with confidence and ease. With the strap securely in place, you are ready to move on to the next step of adjusting the length to achieve the perfect fit for your needs.
Step 3: Adjust the length of the strap
Step 3: Adjust the length of the strap
Adjusting the length of your camera strap is a crucial step in ensuring that it provides both comfort and functionality during photography sessions. Most camera straps are designed to be adjustable, allowing you to customize the length to suit your preferred carrying style and body size. Proper adjustment ensures that the camera is positioned conveniently for quick access while distributing its weight comfortably across your body.
To begin, identify the adjustment mechanism on your camera strap. This may be a buckle, slider, or other type of fastening device that allows you to lengthen or shorten the strap as needed. Depending on the design of the strap, you may need to release a locking mechanism or adjust the length by sliding the strap through a buckle.
Once you have accessed the adjustment mechanism, consider the ideal position for your camera when worn. If you prefer to carry the camera close to your body for quick access, you may opt for a shorter strap length. On the other hand, if you prefer the camera to hang lower, allowing for more freedom of movement, a longer strap length may be more suitable.
After determining your preferred strap length, adjust both ends of the strap evenly to ensure that the camera hangs at the desired height. It’s essential to test the length by wearing the camera and assessing its position and comfort. Make any necessary adjustments to achieve the perfect fit that allows you to comfortably reach and use your camera while minimizing strain on your neck and shoulders.
As you make these adjustments, consider factors such as your height, body shape, and shooting style to tailor the strap length to your individual needs. By customizing the length to your preferences, you can enhance the overall comfort and functionality of your camera strap, allowing you to focus on capturing memorable moments without any discomfort or hindrance.
Step 4: Test the fit
Step 4: Test the fit
After preparing, attaching, and adjusting your DSLR camera strap, it’s essential to test the fit to ensure that it meets your comfort and functionality requirements. Testing the fit involves assessing the security, comfort, and accessibility of the camera while wearing the strap. By conducting this simple yet crucial step, you can confirm that the strap provides the support and convenience necessary for your photography needs.
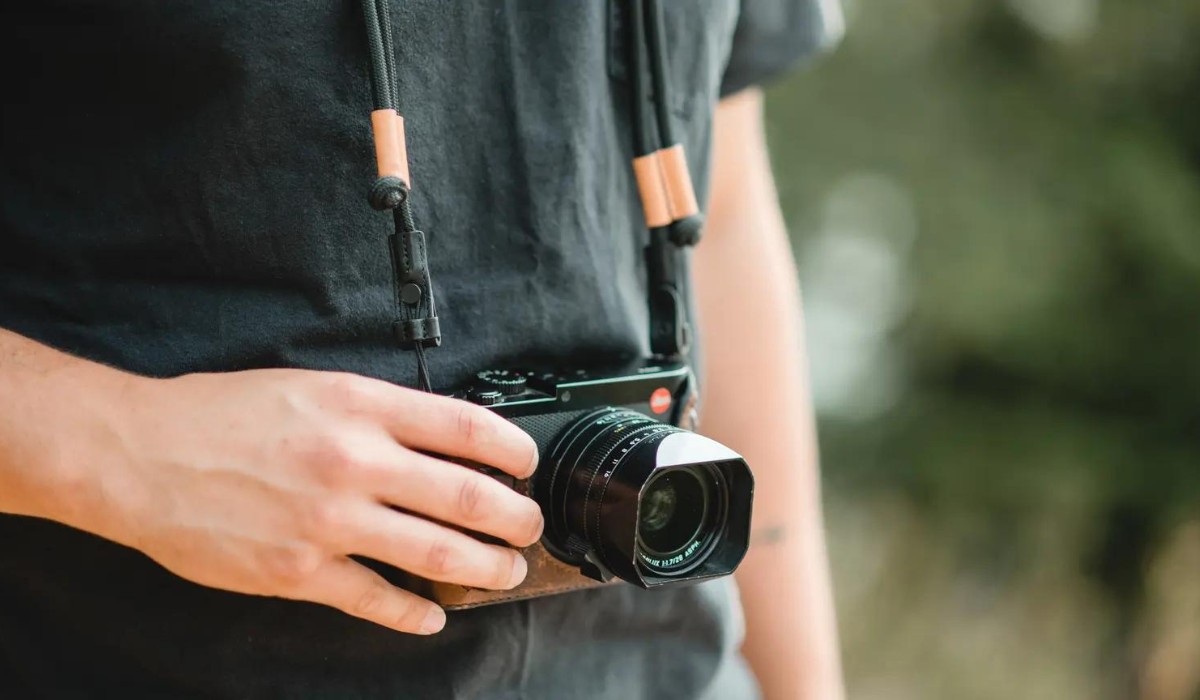
Start by wearing the camera with the strap adjusted to your preferred length. As you put on the camera, pay attention to how it feels against your body. The strap should distribute the weight of the camera evenly, preventing any strain or discomfort on your neck or shoulders. Additionally, ensure that the attachments are secure and that the camera hangs at the desired height, allowing for easy access when needed.
As you move around with the camera on the strap, test its stability and how well it stays in place. If the strap tends to shift or slide on your shoulder, consider readjusting the length or position to achieve a more secure fit. It’s important to feel confident that the camera is safely and comfortably secured to your body, especially during active photography sessions or while on the move.
During the fit test, assess the accessibility of your camera. Ensure that you can easily reach and use the camera controls without any restrictions caused by the strap. If the strap impedes your ability to operate the camera comfortably, consider making further adjustments to achieve a more ergonomic and user-friendly setup.
By thoroughly testing the fit of your DSLR camera strap, you can fine-tune its position and length to align with your specific preferences and shooting style. This step ensures that the strap provides the necessary support, comfort, and accessibility, allowing you to focus on capturing stunning images without any distractions or discomfort.
Conclusion
Conclusion
Congratulations! By following the steps outlined in this guide, you have successfully learned how to fit a DSLR camera strap with ease and precision. Properly preparing, attaching, adjusting, and testing the fit of your camera strap is essential for ensuring the safety, comfort, and convenience of carrying your DSLR during photography sessions.
Remember, a well-fitted camera strap not only provides peace of mind and security for your valuable equipment but also contributes to an enjoyable and hassle-free photography experience. Whether you are embarking on a casual photo walk or preparing for a professional shoot, the right camera strap can make a significant difference in your comfort and mobility while capturing memorable moments.
As you continue your photography journey, consider the unique demands of each shooting scenario and adjust the camera strap accordingly. By customizing the fit to your preferences and shooting style, you can optimize the comfort and functionality of your camera strap, allowing you to focus on your creative vision without any distractions.
Keep in mind that regular inspection and maintenance of your camera strap are essential to ensure its continued reliability and performance. By keeping the strap clean, free from damage, and properly adjusted, you can maximize its longevity and effectiveness, providing ongoing support for your photography endeavors.
With your DSLR camera securely and comfortably fitted with a well-adjusted strap, you are now ready to explore new photographic opportunities and capture stunning images with confidence and ease. Embrace the freedom and convenience that a properly fitted camera strap offers, and let your creativity soar as you embark on your next photography adventure.


