Introduction
Are you eager to transfer stunning photos and videos captured with your DSLR camera to your iPad for quick editing and sharing? Connecting your DSLR to your iPad can open up a world of creative possibilities, allowing you to seamlessly transfer and edit high-quality images on a larger screen. In this guide, we'll walk you through the step-by-step process of connecting your DSLR camera to your iPad, enabling you to harness the power of both devices for a seamless and efficient workflow.
Whether you're a professional photographer, a photography enthusiast, or simply an individual who loves capturing life's beautiful moments, the ability to connect your DSLR camera to your iPad can significantly enhance your creative process. By leveraging the advanced features of your DSLR and the editing capabilities of your iPad, you can elevate your photography game to new heights.
In the following steps, we'll explore the essential components needed for this connection, including the compatibility of your DSLR camera with the iPad, the right adapter required for the connection, and the simple process of linking the two devices. Additionally, we'll delve into the seamless transfer of photos and videos from your DSLR to your iPad, empowering you to effortlessly edit and share your visual masterpieces with the world.
Join us as we embark on this journey to seamlessly connect your DSLR camera to your iPad, unlocking a world of creative possibilities and convenience in managing and enhancing your photographic endeavors. Let's dive into the step-by-step process and discover how to effortlessly bridge the gap between your DSLR camera and your iPad.
Step 1: Check Camera Compatibility
Before diving into the process of connecting your DSLR camera to your iPad, it’s crucial to ensure that your camera is compatible with the iPad. While most modern DSLR cameras offer connectivity options, it’s essential to verify the specific requirements for establishing a seamless connection with your iPad.
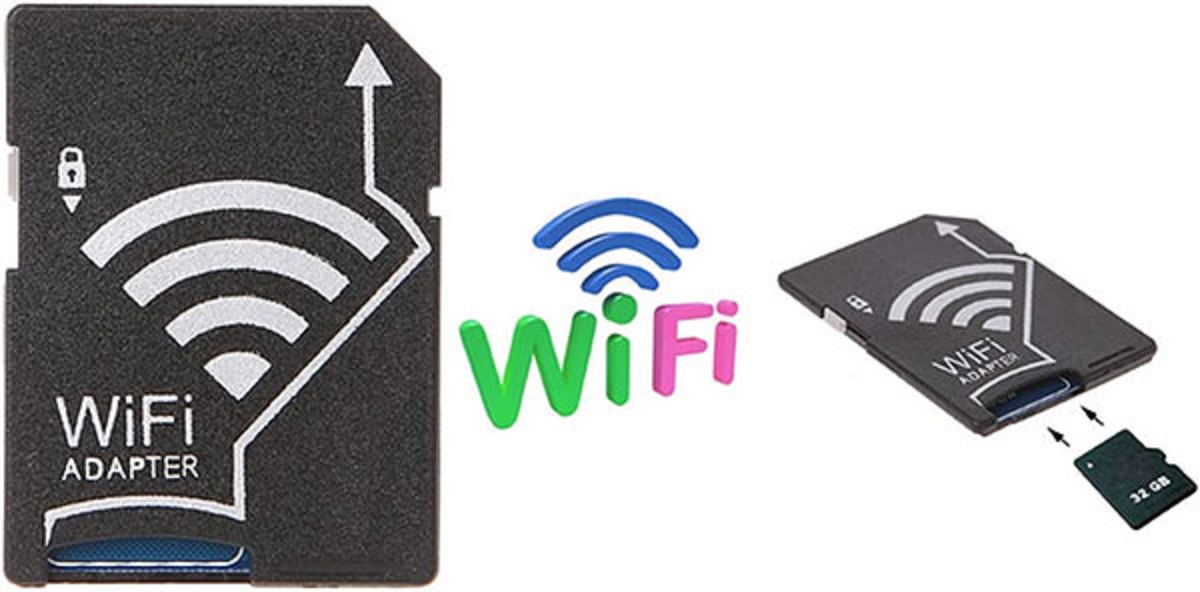
First and foremost, check whether your DSLR camera supports Wi-Fi or Bluetooth connectivity. Many newer models come equipped with built-in Wi-Fi or Bluetooth capabilities, enabling wireless communication with compatible devices such as the iPad. If your camera boasts these features, you’re one step closer to effortlessly transferring your photos and videos to your iPad.
Alternatively, if your DSLR camera doesn’t have built-in wireless connectivity, you can explore the option of using a USB connection. Some cameras allow for a direct USB connection to external devices, providing a reliable method for transferring media files. In this case, ensure that your camera’s USB port is compatible with the appropriate adapter for connecting to your iPad.
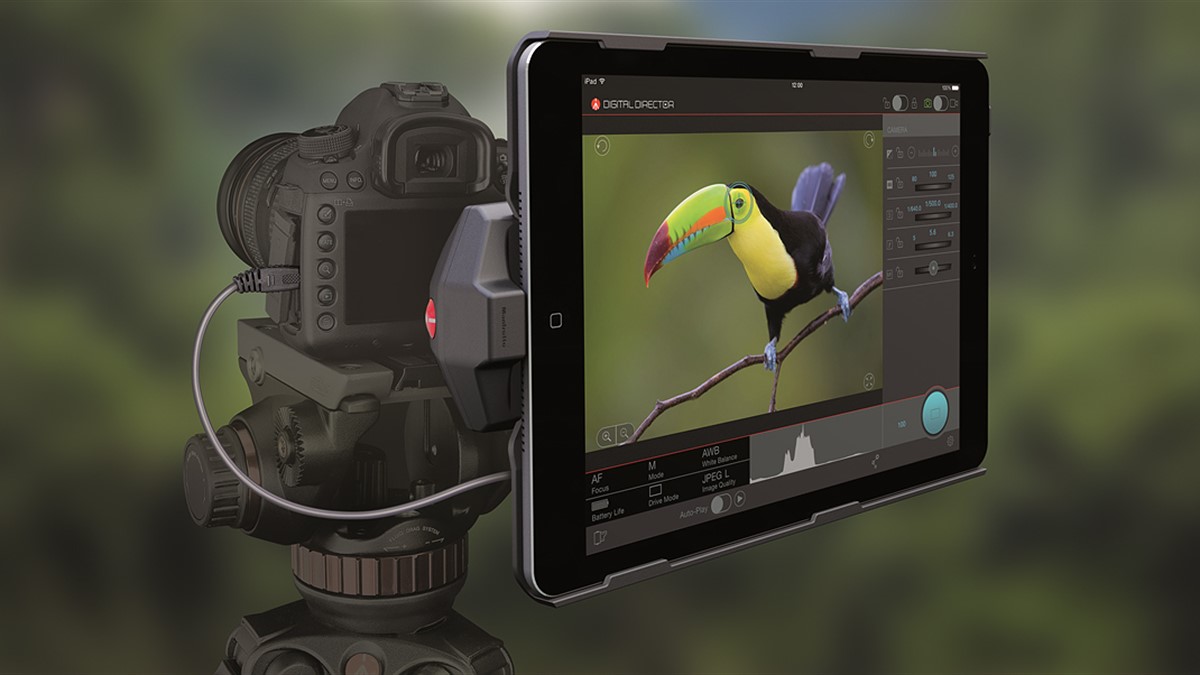
Another consideration is the availability of dedicated apps or software provided by the camera manufacturer. Many camera brands offer companion apps that facilitate seamless connectivity and file transfer between the camera and the iPad. These apps often provide additional features such as remote shooting and camera control, enhancing the overall user experience.
By confirming the compatibility of your DSLR camera with the iPad, whether through wireless capabilities, USB connectivity, or dedicated apps, you can lay the groundwork for a smooth and successful connection process. With this essential step completed, you’re ready to proceed to the next stage of acquiring the necessary adapter for linking your DSLR camera to your iPad.
Step 2: Get the Right Adapter
Once you’ve confirmed the compatibility of your DSLR camera with your iPad, the next critical step is to acquire the appropriate adapter that will facilitate the connection between the two devices. The type of adapter you need will depend on the connectivity options supported by your camera and the iPad model you own.
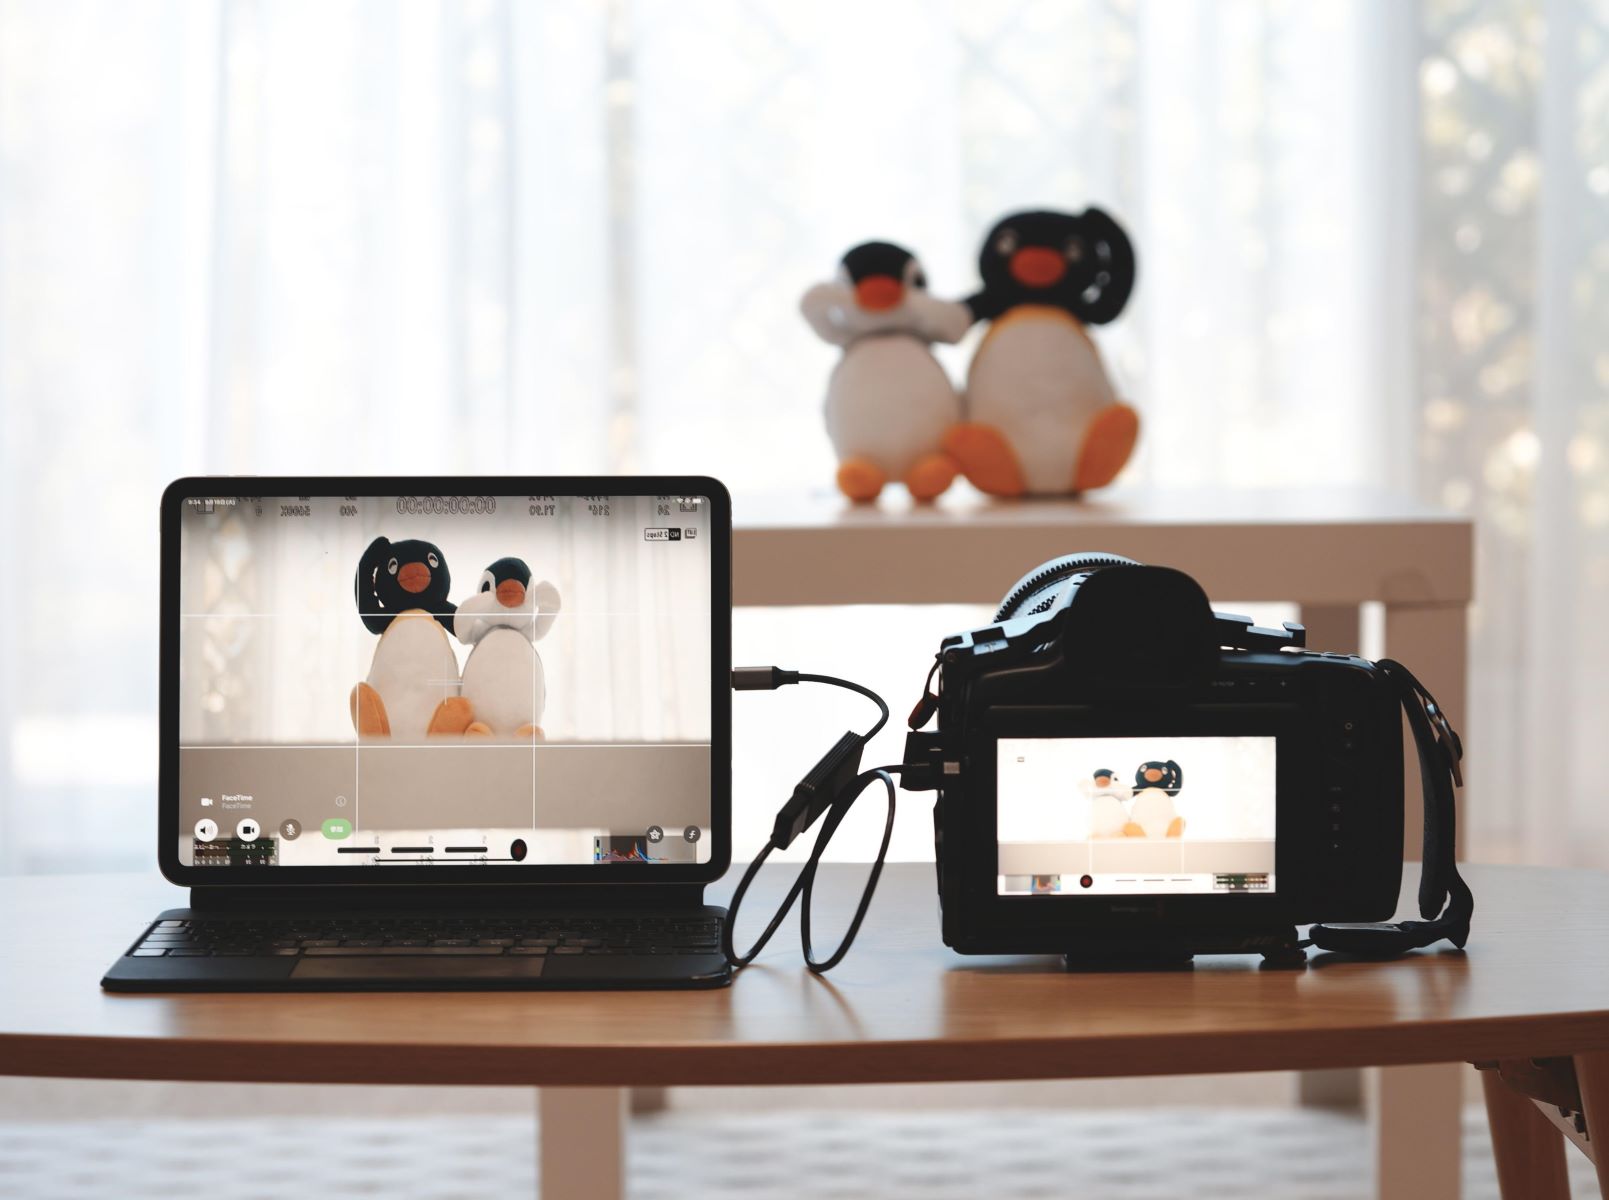
If your DSLR camera supports Wi-Fi or Bluetooth connectivity, you may not require a physical adapter, as the wireless connection can be established directly between the camera and the iPad. However, for cameras that rely on a USB connection, you’ll need to obtain a compatible adapter that allows for a seamless link to your iPad.
For iPads equipped with a Lightning connector, such as the iPad Pro or iPad Air, a Lightning to USB Camera Adapter is an essential accessory. This adapter serves as a bridge between your DSLR camera’s USB cable and the Lightning port on your iPad, enabling the transfer of photos and videos with ease. It’s important to ensure that the adapter is genuine and officially certified by Apple to guarantee optimal functionality and compatibility.
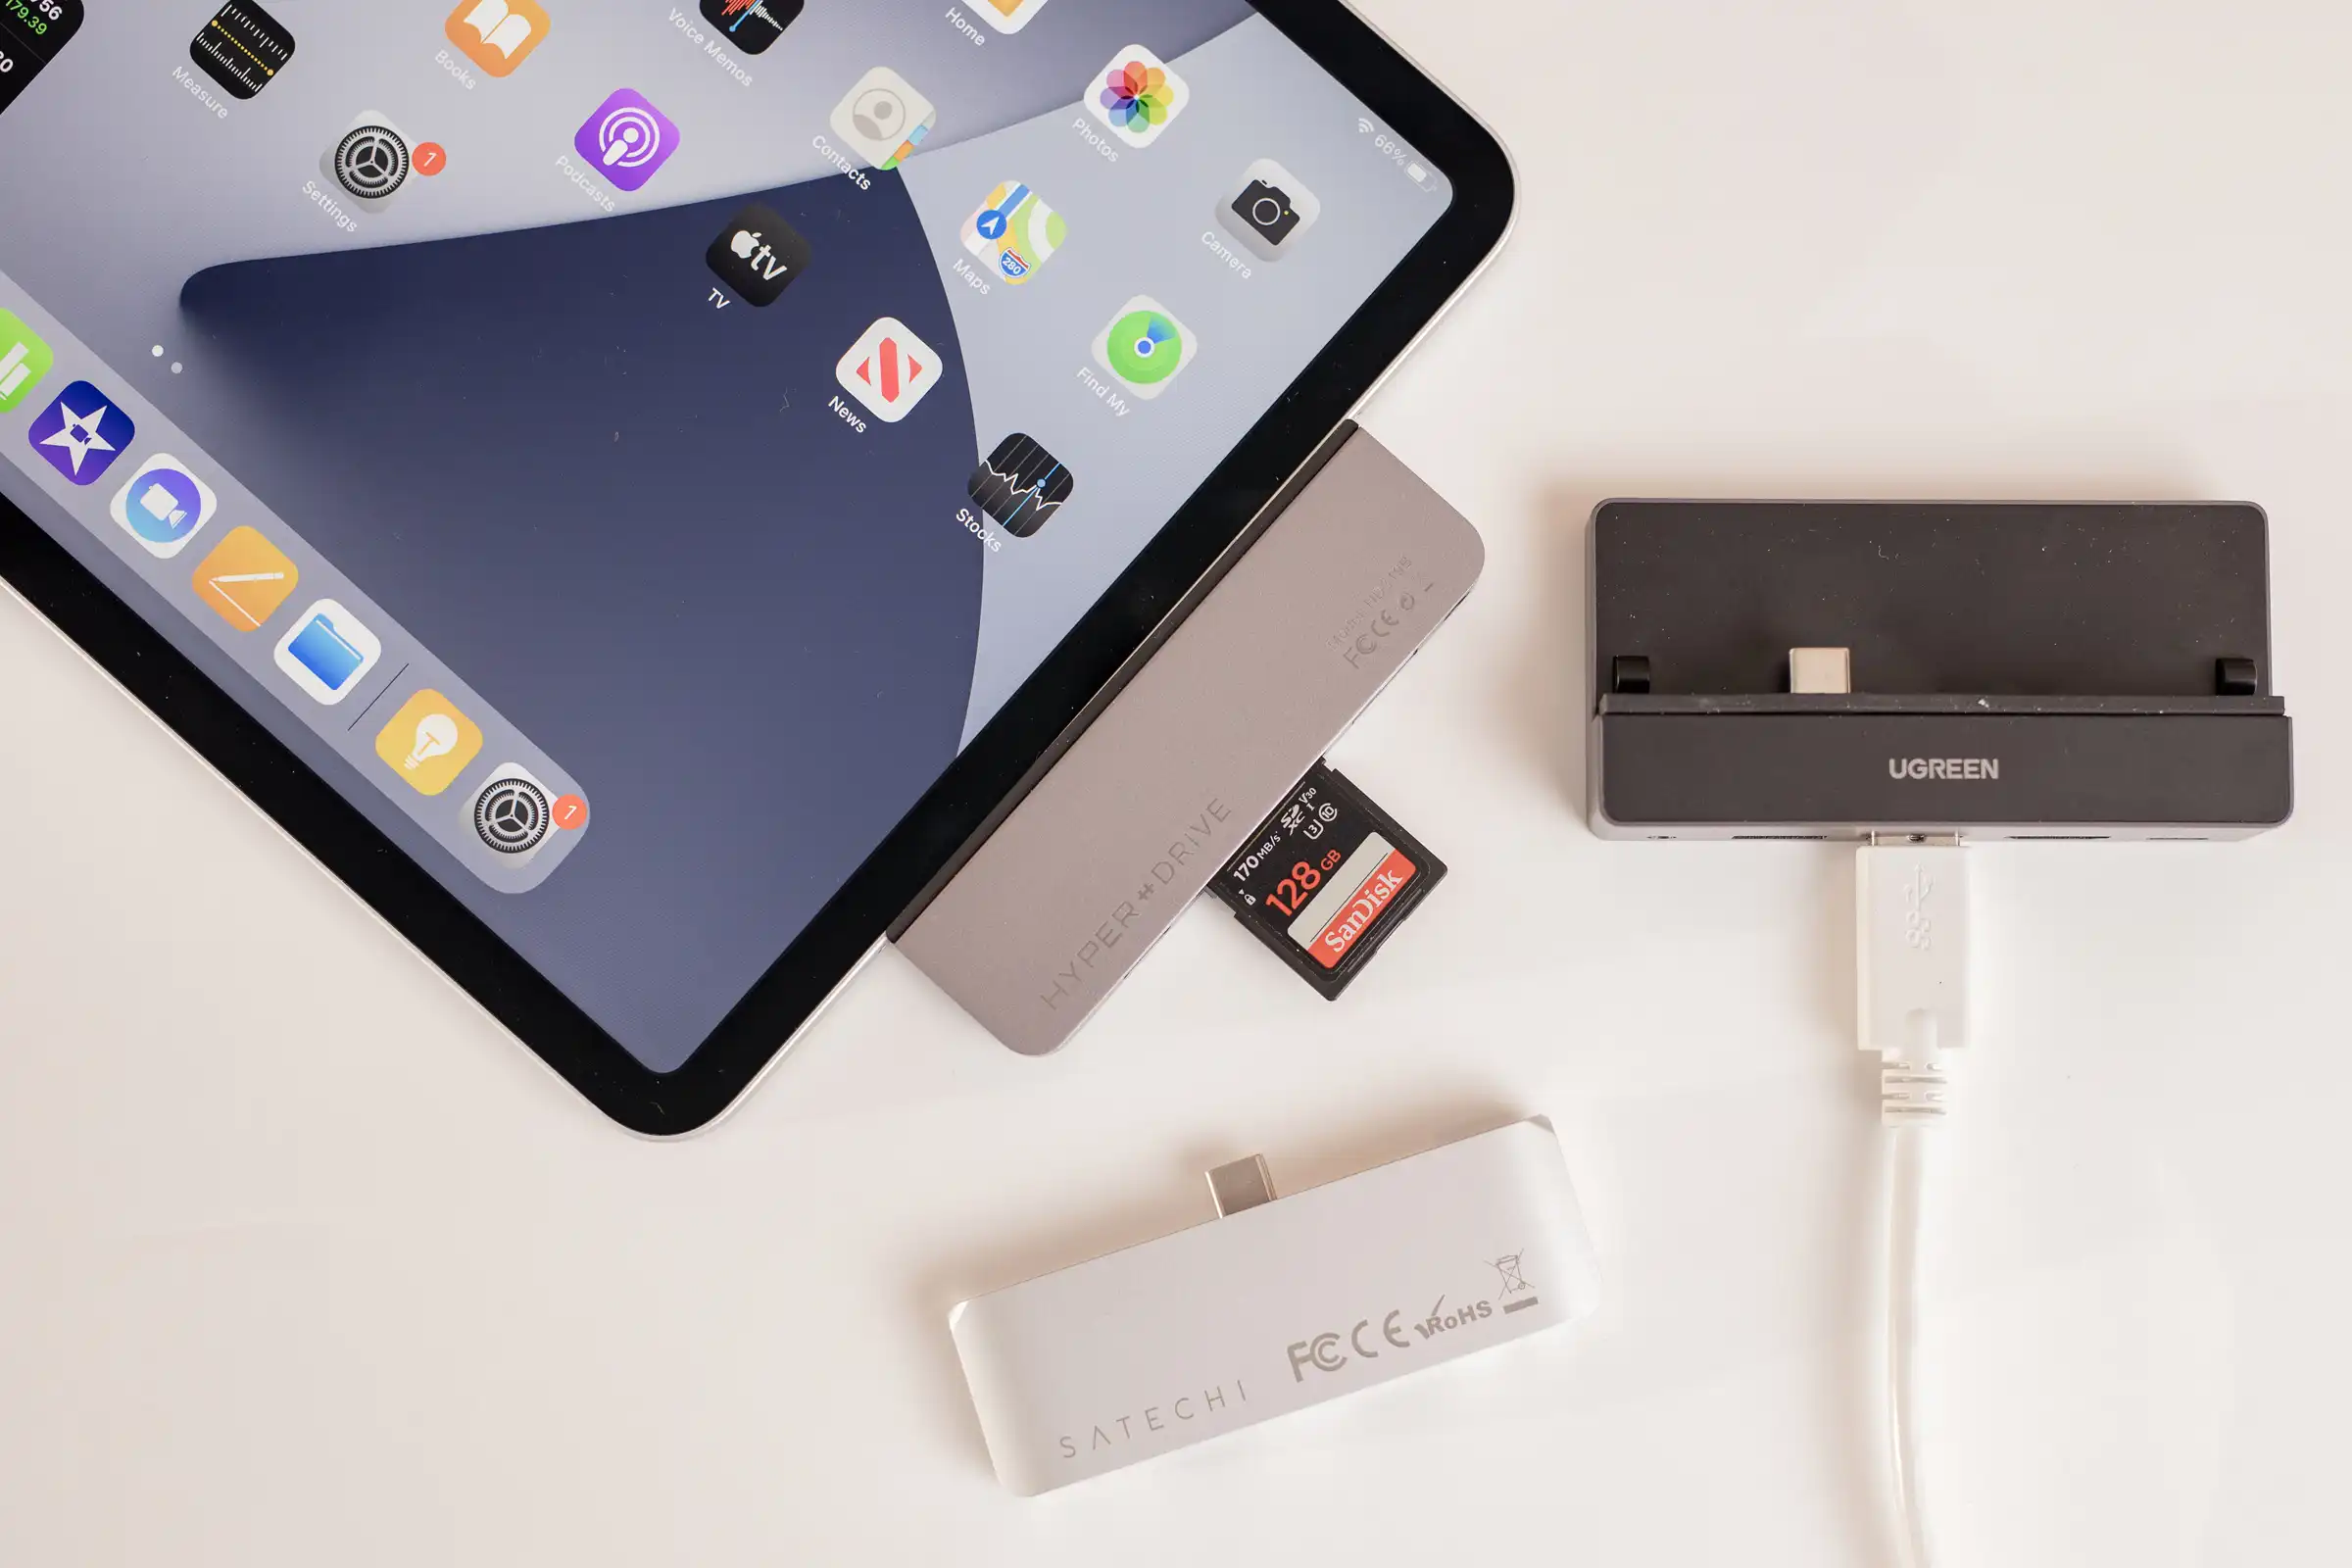
On the other hand, if you own an iPad model featuring a USB-C port, such as the iPad Pro, a USB-C to USB Camera Adapter is the key component for establishing a direct connection with your DSLR camera. This adapter allows you to connect your camera’s USB cable to the iPad’s USB-C port, enabling seamless data transfer and access to your camera’s media files.
When selecting the right adapter, it’s advisable to consider the specific requirements of your DSLR camera and iPad model to ensure a seamless and reliable connection. By obtaining the appropriate adapter, you’re one step closer to bridging the gap between your DSLR camera and your iPad, setting the stage for effortless media transfer and editing.
Step 3: Connect the Adapter to the Camera
With the correct adapter in hand, it’s time to establish the physical connection between your DSLR camera and the iPad. If your camera supports a direct USB connection for data transfer, the process of linking the adapter to the camera is relatively straightforward.
Begin by locating the USB port on your DSLR camera. This port is typically situated on the side or bottom of the camera body, allowing you to plug in the USB cable provided with your camera. If your camera utilizes a proprietary connector, ensure that the adapter you obtained is compatible with the specific port on your camera.
Once you’ve identified the USB port on your camera, connect one end of the USB cable to the port, ensuring a secure and snug fit. If you’re using a Lightning to USB Camera Adapter or a USB-C to USB Camera Adapter, the opposite end of the cable should be plugged into the corresponding port on the adapter, which is designed to seamlessly link with your iPad.
It’s crucial to handle the connection process with care, ensuring that the USB cable is inserted correctly and securely into both the camera and the adapter. This step is vital in establishing a stable and reliable connection, minimizing the risk of data transfer interruptions or connectivity issues.
Once the physical connection between the adapter and the camera is established, you’re poised to move on to the subsequent stage of linking the adapter to your iPad, enabling the seamless transfer of photos and videos from your DSLR camera to your iPad for editing and sharing.
Step 4: Connect the Adapter to the iPad
Having successfully linked the adapter to your DSLR camera, the next pivotal step is to connect the adapter to your iPad, establishing the crucial bridge for transferring media files from your camera to the iPad’s storage.
If you’re using a Lightning to USB Camera Adapter, begin by inserting the Lightning connector of the adapter into the Lightning port on your iPad. Ensure that the connection is secure and snug, as a stable physical link is essential for seamless data transfer and communication between the devices.
For iPad models featuring a USB-C port, such as the iPad Pro, the USB-C to USB Camera Adapter should be connected to the iPad by plugging the USB-C end of the adapter into the corresponding port on the iPad. Similar to the Lightning adapter, a secure connection is paramount for reliable data transmission and device recognition.
Upon establishing the connection between the adapter and your iPad, the iPad may prompt you to authorize the connected device, such as your DSLR camera, for data transfer and access. Follow any on-screen prompts or notifications to ensure that the iPad recognizes the connected camera and grants the necessary permissions for file transfer.
It’s essential to note that some DSLR cameras may require specific settings or modes to be enabled for seamless connectivity with external devices. Refer to your camera’s user manual or documentation to verify any required settings for USB or wireless connectivity, ensuring that the camera is ready to communicate with the iPad through the adapter.
With the adapter successfully connected to your iPad and the necessary authorizations in place, you’re now poised to initiate the transfer of photos and videos from your DSLR camera to your iPad, paving the way for effortless editing, organization, and sharing of your visual content.
Step 5: Open the Camera App
After establishing the physical connection between your DSLR camera and your iPad using the appropriate adapter, it’s time to open the camera app on your iPad to initiate the process of transferring photos and videos from your camera to the device’s storage.
Upon connecting the adapter to your iPad, you can launch the default Camera app or any third-party camera or file transfer app that you prefer to use for managing media files. The camera app serves as the gateway for accessing and importing the photos and videos captured with your DSLR camera, allowing you to seamlessly transfer them to your iPad’s storage for editing and sharing.
When you open the camera app on your iPad, the connected DSLR camera should be recognized as an external device, enabling you to access its media files directly from within the app’s interface. Depending on the app you’re using, you may encounter a dedicated import or transfer section where you can browse and select the specific photos and videos you wish to transfer to your iPad.
Some camera apps offer additional features such as remote shooting, camera control, and live preview functionalities, providing a comprehensive interface for managing your DSLR camera and its media content directly from your iPad. These advanced capabilities can enhance your photography workflow and creative process, offering seamless integration between your DSLR camera and your iPad.
Upon selecting the photos and videos for transfer, follow the on-screen prompts within the camera app to initiate the import process. Depending on the app and the size of the media files, the transfer may take some time to complete, during which you can monitor the progress and ensure that all selected items are successfully transferred to your iPad’s storage.
With the camera app opened and the transfer process initiated, you’re now on the cusp of seamlessly integrating the stunning visual content captured with your DSLR camera into your iPad’s ecosystem, unlocking a world of creative possibilities for editing, organizing, and sharing your photographic masterpieces.
Step 6: Transfer Photos and Videos
As you navigate through the process of connecting your DSLR camera to your iPad and opening the camera app, the final step involves the seamless transfer of photos and videos from your camera to your iPad’s storage, enabling you to harness the editing and sharing capabilities of your iPad for your visual content.
Once the camera app is open and the connected DSLR camera is recognized, you can select the specific photos and videos you wish to transfer to your iPad. Depending on the app you’re using, you may have the option to preview the media files before initiating the transfer, ensuring that you’re transferring the desired content to your iPad.
After confirming the selection of photos and videos, follow the app’s prompts to commence the transfer process. The transfer speed may vary based on the size and quantity of the selected media files, so it’s advisable to remain patient as the transfer progresses, ensuring that all files are successfully imported into your iPad’s storage.
During the transfer, it’s essential to maintain a stable connection between the DSLR camera, the adapter, and your iPad to prevent any interruptions that could potentially disrupt the transfer process. Additionally, ensure that your iPad has sufficient available storage to accommodate the transferred media files, preventing any issues related to insufficient space.
Upon completion of the transfer, you can access the imported photos and videos within your iPad’s storage, ready to be edited, organized, and shared using the diverse array of creative apps and tools available on the platform. Whether you’re refining the composition of a stunning landscape photo or editing a captivating video, the seamless transfer process empowers you to leverage the full potential of your visual content on your iPad.
With the photos and videos successfully transferred to your iPad, you’ve seamlessly bridged the gap between your DSLR camera and your iPad, unlocking a world of creative possibilities for enhancing and sharing your photographic and video content. Embrace the convenience and flexibility of this seamless connection as you embark on your journey of creativity and visual storytelling.


