Introduction
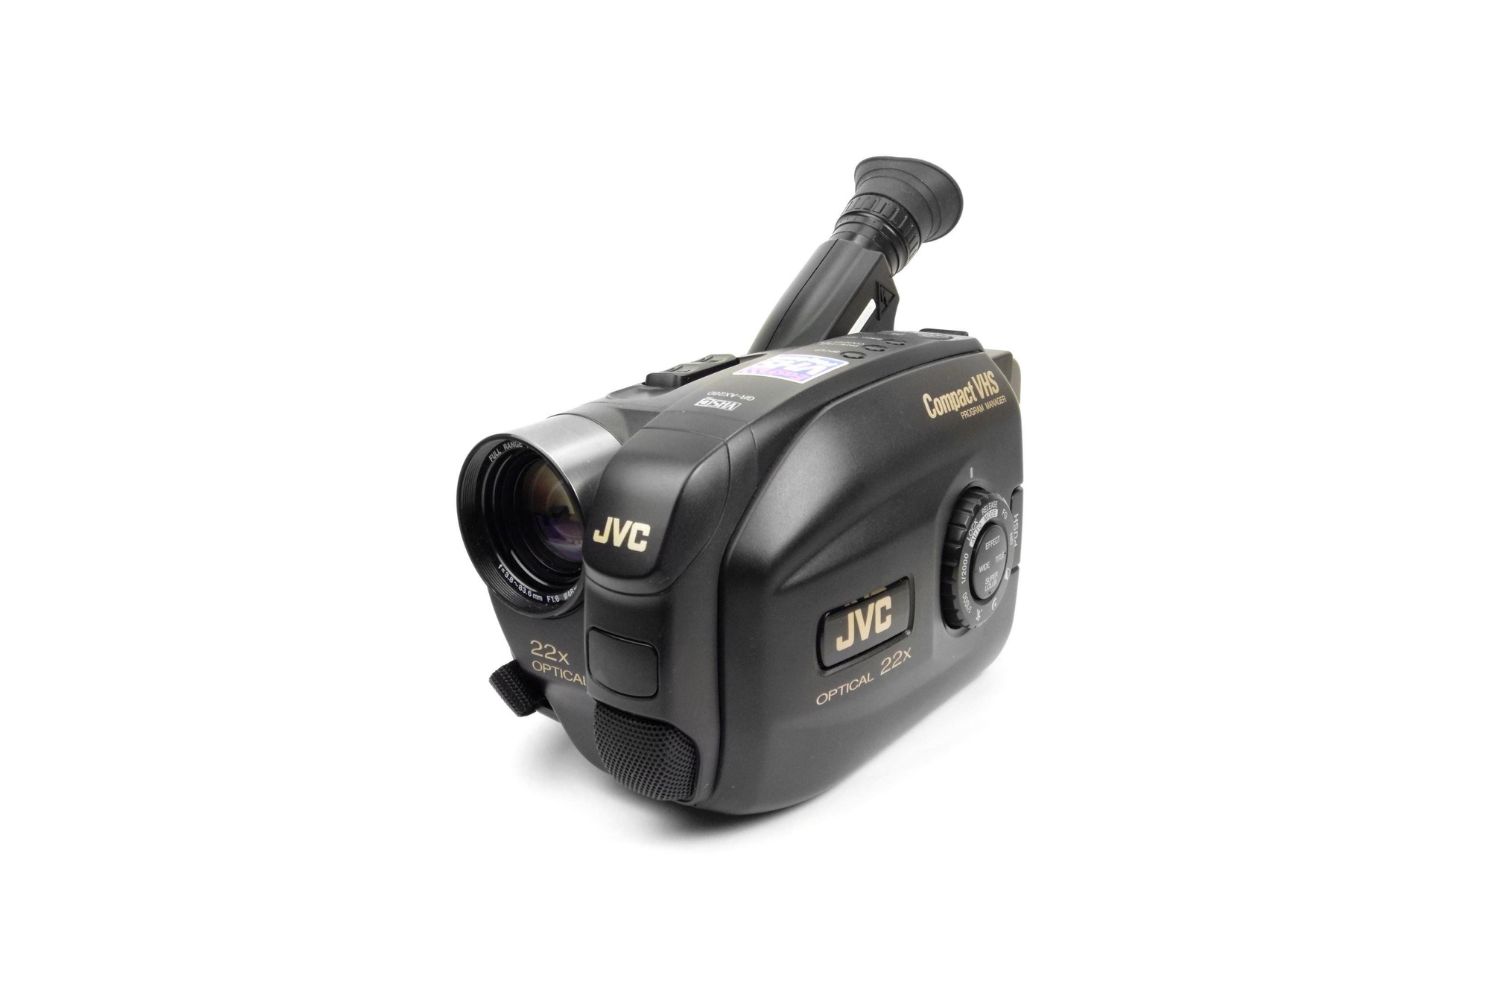
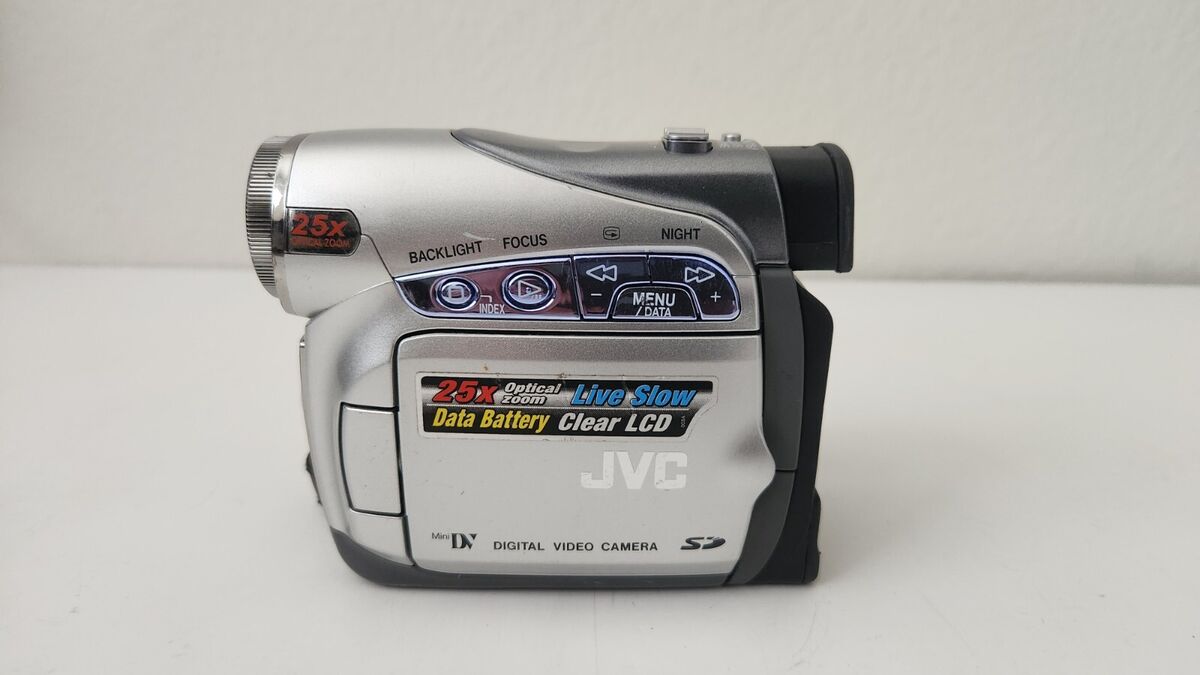
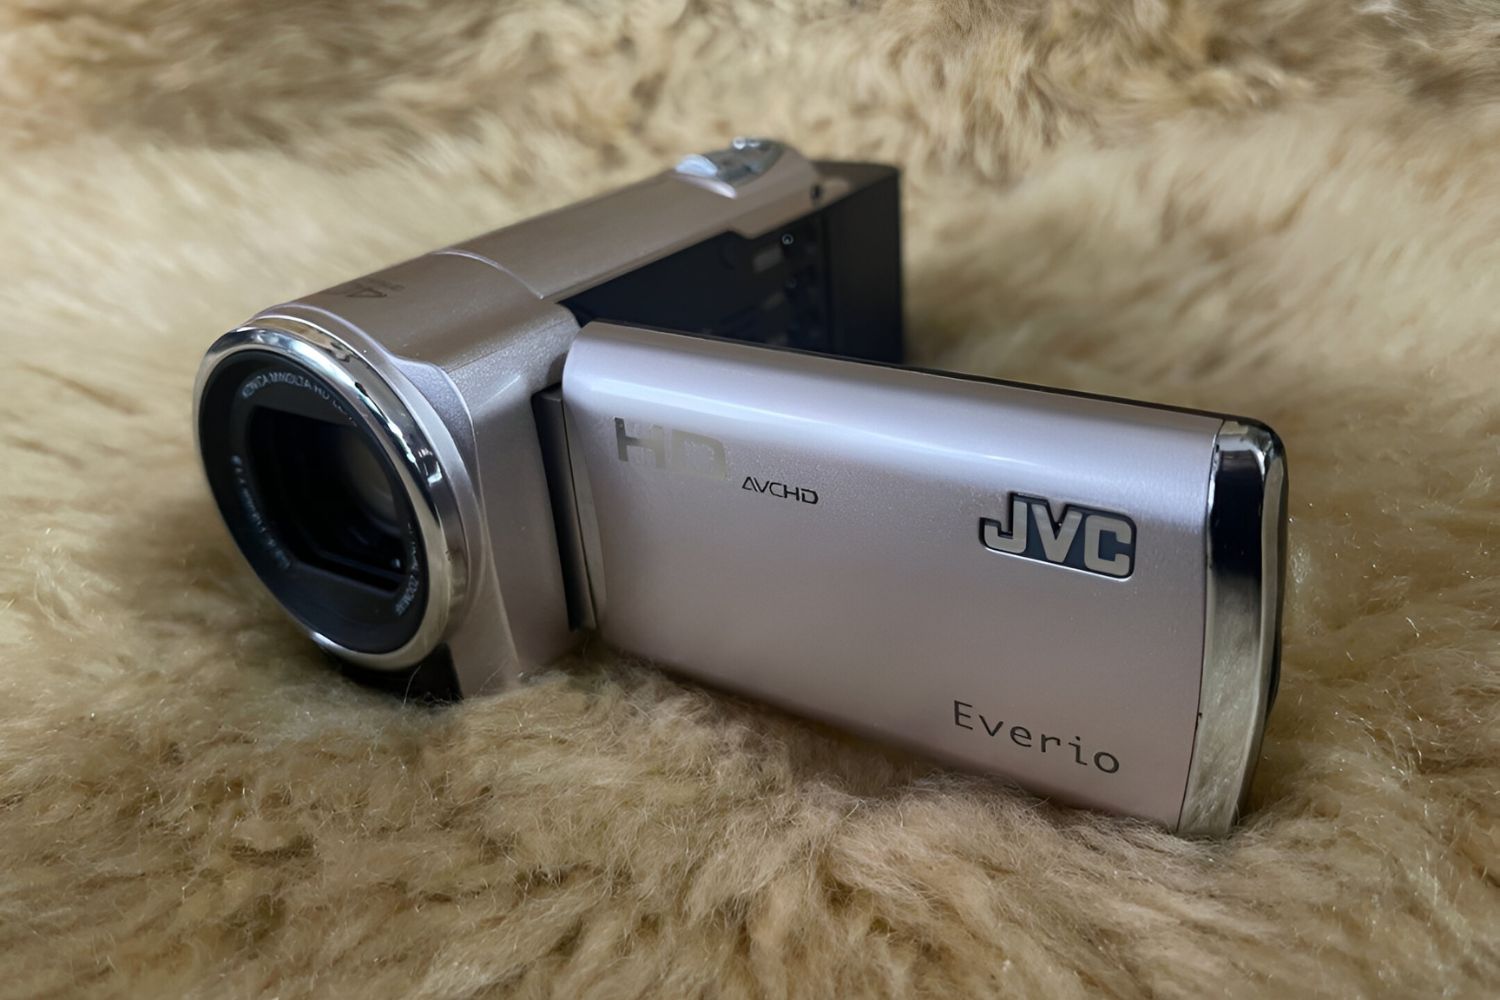
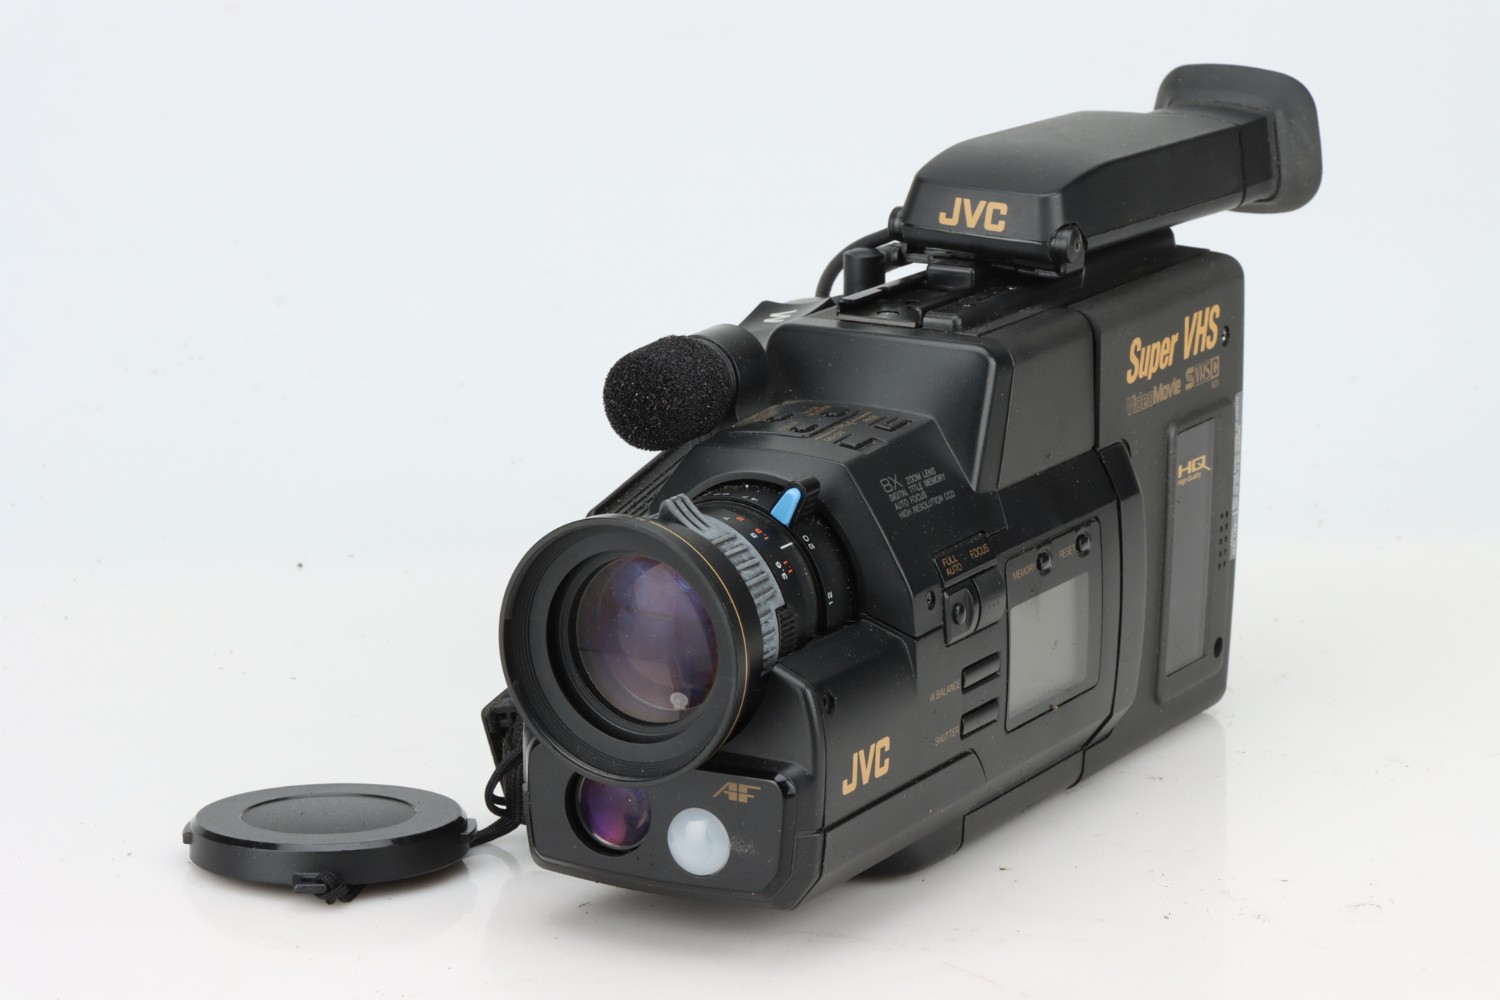
Welcome to the world of JVC mini camcorders! These compact and versatile devices have revolutionized the way we capture and preserve precious moments. Whether you're an amateur videographer or a seasoned professional, keeping your JVC mini camcorder in top condition is essential for capturing high-quality footage. Over time, dust, fingerprints, and general wear and tear can diminish the performance and longevity of your device. However, with the right maintenance routine, you can ensure that your JVC mini camcorder remains in pristine condition, ready to document life's most memorable events.
In this comprehensive guide, we will walk you through the step-by-step process of cleaning your JVC mini camcorder. From gathering the necessary supplies to effectively removing dust and debris, cleaning the lens and LCD screen, to properly storing your camcorder, we've got you covered. By following these simple yet crucial maintenance steps, you can prolong the lifespan of your JVC mini camcorder and continue to capture stunning videos for years to come.
So, grab your cleaning supplies and let's dive into the world of JVC mini camcorder maintenance. Whether you're preparing for an upcoming shoot or simply want to keep your device in top shape, this guide will equip you with the knowledge and techniques needed to maintain your JVC mini camcorder with confidence and precision. Let's get started!
Step 1: Gather Your Supplies
Before embarking on the cleaning process, it’s essential to gather the necessary supplies to ensure a thorough and effective maintenance routine for your JVC mini camcorder. Here’s a list of items you’ll need:
- Microfiber Cloth: This gentle, lint-free cloth is ideal for wiping delicate surfaces, such as the lens and LCD screen, without leaving behind fibers or scratches.
- Lens Cleaning Solution: A specialized, alcohol-free cleaning solution designed for camera lenses will help remove smudges and fingerprints without damaging the delicate coatings.
- Cotton Swabs: These are useful for reaching small crevices and corners, especially around buttons and dials, to remove stubborn grime.
- Compressed Air: A can of compressed air can effectively dislodge dust and debris from hard-to-reach areas, such as the battery compartment and ports.
- Cleaning Brush: A soft-bristled brush or lens pen can be used to gently sweep away loose particles from the exterior and lens of the camcorder.
- Camera Blower: This tool provides a gentle burst of air to remove dust from the lens and other intricate parts of the camcorder.
By assembling these supplies, you’ll be well-equipped to carry out a comprehensive cleaning process for your JVC mini camcorder. These tools are designed to effectively remove dirt, dust, and smudges without causing any damage to the sensitive components of the device. With the right supplies at your disposal, you can proceed with confidence, knowing that you’re taking the best possible care of your valuable equipment.
Step 2: Remove Dust and Debris
Before delving into the detailed cleaning process, it’s crucial to eliminate any visible dust and debris that may have accumulated on the surface of your JVC mini camcorder. Dust particles can interfere with the functionality of the device and compromise the quality of your recordings. Here’s how you can effectively remove dust and debris:
Start by using a camera blower or compressed air to gently blow away loose particles from the exterior of the camcorder. Pay special attention to the crevices around buttons, dials, and ports, where dust tends to accumulate. Be sure to hold the camcorder in a position that prevents the dislodged dust from settling back onto the surface.
Next, use a soft-bristled brush or lens pen to carefully sweep away any remaining dust from the nooks and crannies of the camcorder. Take care to avoid applying excessive pressure, as this could potentially scratch the surface. By using gentle, sweeping motions, you can effectively dislodge stubborn particles without causing any damage.
If there are areas that are difficult to reach with a brush, such as the battery compartment or the area around the lens, a cotton swab can be used to carefully lift away any lingering debris. The goal is to leave no trace of dust or dirt that could impact the performance or aesthetics of your JVC mini camcorder.
By diligently removing dust and debris from the exterior of your camcorder, you’re laying the foundation for a thorough cleaning process that will ensure your device remains in optimal condition. With the preliminary cleaning complete, you’re now ready to focus on the specific components of your JVC mini camcorder to maintain its pristine state.
Step 3: Clean the Lens
The lens of your JVC mini camcorder is a critical component that directly impacts the quality of your recordings. Over time, it’s common for the lens to accumulate dust, smudges, and other imperfections that can compromise the clarity of your footage. To maintain optimal performance, it’s essential to clean the lens with precision and care. Here’s how you can effectively clean the lens of your JVC mini camcorder:
Begin by using a camera blower to gently remove any loose particles from the surface of the lens. This step is crucial in preventing abrasive particles from inadvertently scratching the lens during the cleaning process. Ensure that the blower is used at a suitable distance to avoid direct contact with the lens.
Next, apply a small amount of specialized lens cleaning solution to a microfiber cloth. It’s important to use a solution that is specifically formulated for camera lenses, as it is designed to effectively remove smudges and fingerprints without leaving streaks or residue. Avoid using general-purpose cleaning products, as they may contain chemicals that can damage the lens coatings.
Using gentle, circular motions, carefully wipe the surface of the lens with the dampened microfiber cloth. Start from the center of the lens and work your way outwards, ensuring that the entire surface is thoroughly cleaned. Take care to avoid applying excessive pressure, as this could potentially damage the delicate lens elements.
If there are stubborn smudges or marks that require additional attention, lightly dampen a cotton swab with the lens cleaning solution and delicately target the affected areas. Exercise caution and avoid over-saturating the swab to prevent excess moisture from seeping into the internal components of the lens.
Once the lens is clean and free of any blemishes, use a dry section of the microfiber cloth to gently remove any remaining moisture or cleaning solution. Inspect the lens under adequate lighting to ensure that it is free from streaks or residue, and that it is now in optimal condition to capture crisp, clear footage.
By meticulously cleaning the lens of your JVC mini camcorder, you’re safeguarding the integrity of your recordings and ensuring that your device continues to deliver exceptional visual quality. With the lens now sparkling clean, you’re ready to proceed to the next stage of the maintenance process, knowing that your camcorder is primed for peak performance.
Step 4: Clean the Exterior
The exterior of your JVC mini camcorder is not only a reflection of its overall condition but also a tactile interface that directly impacts your user experience. Keeping the exterior clean and well-maintained not only enhances the visual appeal of the device but also ensures that buttons, dials, and ports function smoothly. Here’s how you can effectively clean the exterior of your JVC mini camcorder:
Start by using a soft-bristled brush or lens pen to gently remove any loose particles and debris from the crevices and contours of the camcorder’s exterior. Pay particular attention to areas around buttons, switches, and the lens housing, where dust and grime tend to accumulate. By employing gentle, sweeping motions, you can effectively dislodge and remove surface-level dirt without causing any damage.
Next, lightly dampen a microfiber cloth with water and gently wipe the entire exterior of the camcorder. This will help remove any smudges, fingerprints, or residual dirt that may be clinging to the surface. Take care to avoid using excessive moisture, as this could potentially seep into the internal components of the device.
If there are stubborn marks or blemishes that persist, a small amount of mild, non-abrasive detergent can be added to the microfiber cloth to target these areas. However, it’s crucial to ensure that the detergent is suitable for use on electronic devices and that no moisture penetrates the seams or openings of the camcorder.
For areas that are difficult to access with a cloth, such as the gaps around buttons and the lens housing, a cotton swab lightly moistened with water can be used to gently lift away any remaining dirt. Exercise caution to prevent excess moisture from entering the internal mechanisms of the camcorder.
Once the exterior is clean and free of any marks or residue, use a dry section of the microfiber cloth to gently remove any remaining moisture. Take a moment to inspect the entire surface of the camcorder under adequate lighting to ensure that it is now pristine and free from any visible imperfections.
By diligently cleaning the exterior of your JVC mini camcorder, you’re not only preserving its aesthetic appeal but also ensuring that the tactile elements of the device remain in optimal condition. With the exterior now refreshed and immaculate, you’re ready to proceed with the next phase of the maintenance process, confident in the knowledge that your camcorder is in top-notch condition.
Step 5: Clean the LCD Screen
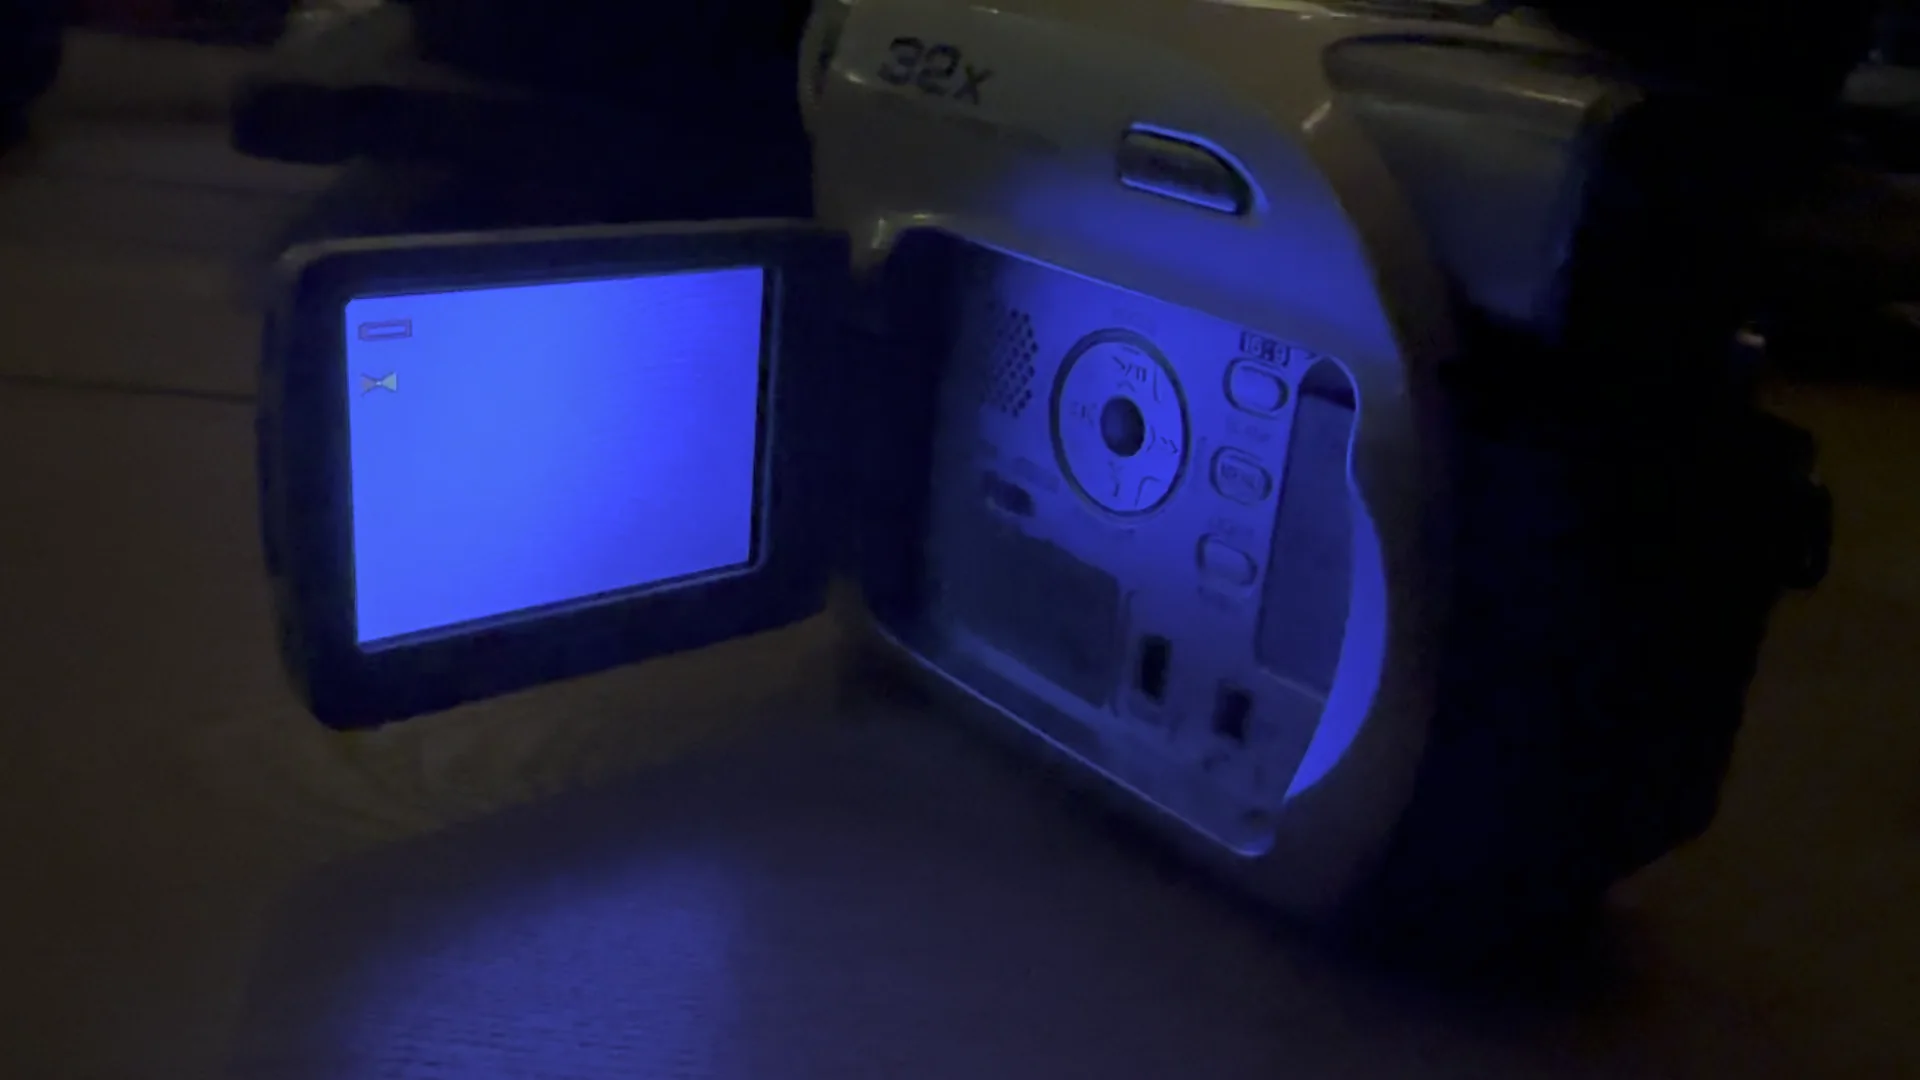
The LCD screen of your JVC mini camcorder serves as the primary interface for framing and reviewing your footage, making it essential to keep it clean and free from smudges and dirt. A pristine LCD screen not only enhances the overall viewing experience but also ensures accurate composition and playback. Here’s how you can effectively clean the LCD screen of your JVC mini camcorder:
Begin by using a camera blower or compressed air to gently remove any loose particles and dust from the surface of the LCD screen. This initial step is crucial in preventing abrasive particles from inadvertently causing scratches during the cleaning process. Ensure that the blower is used at a suitable distance to avoid direct contact with the screen.
Next, lightly dampen a microfiber cloth with water and, if necessary, a small amount of specialized LCD screen cleaning solution. It’s important to use a gentle, lint-free cloth and a solution specifically formulated for electronic screens to avoid damaging the delicate display. Avoid using excessive moisture, as this could potentially seep into the edges of the screen.
Using light, circular motions, carefully wipe the entire surface of the LCD screen with the dampened microfiber cloth. Pay particular attention to any smudges or fingerprints, ensuring that they are effectively removed without applying excessive pressure. Take care to cover the entire screen to ensure a thorough cleaning process.
If there are stubborn marks or blemishes that require additional attention, a gentle touch with a dry, lint-free microfiber cloth may be sufficient to lift them away. Avoid using excessive force, as this could potentially damage the sensitive display. If necessary, a small amount of LCD screen cleaning solution can be applied to the dry cloth to target persistent smudges.
Once the LCD screen is clean and free from any visible marks or residue, use a dry section of the microfiber cloth to gently remove any remaining moisture. Take a moment to inspect the screen from various angles to ensure that it is now pristine and free from any imperfections that could hinder your viewing experience.
By meticulously cleaning the LCD screen of your JVC mini camcorder, you’re ensuring that the primary interface of your device remains in optimal condition, guaranteeing clear and accurate visualization of your footage. With the LCD screen now sparkling clean, you’re ready to proceed confidently with the next phase of the maintenance process, knowing that your camcorder is equipped for peak performance.
Step 6: Clean the Battery Compartment
The battery compartment of your JVC mini camcorder plays a crucial role in powering your device and ensuring uninterrupted recording sessions. Keeping the battery compartment clean is essential for maintaining proper electrical connections and prolonging the lifespan of your batteries. Here’s how you can effectively clean the battery compartment of your JVC mini camcorder:
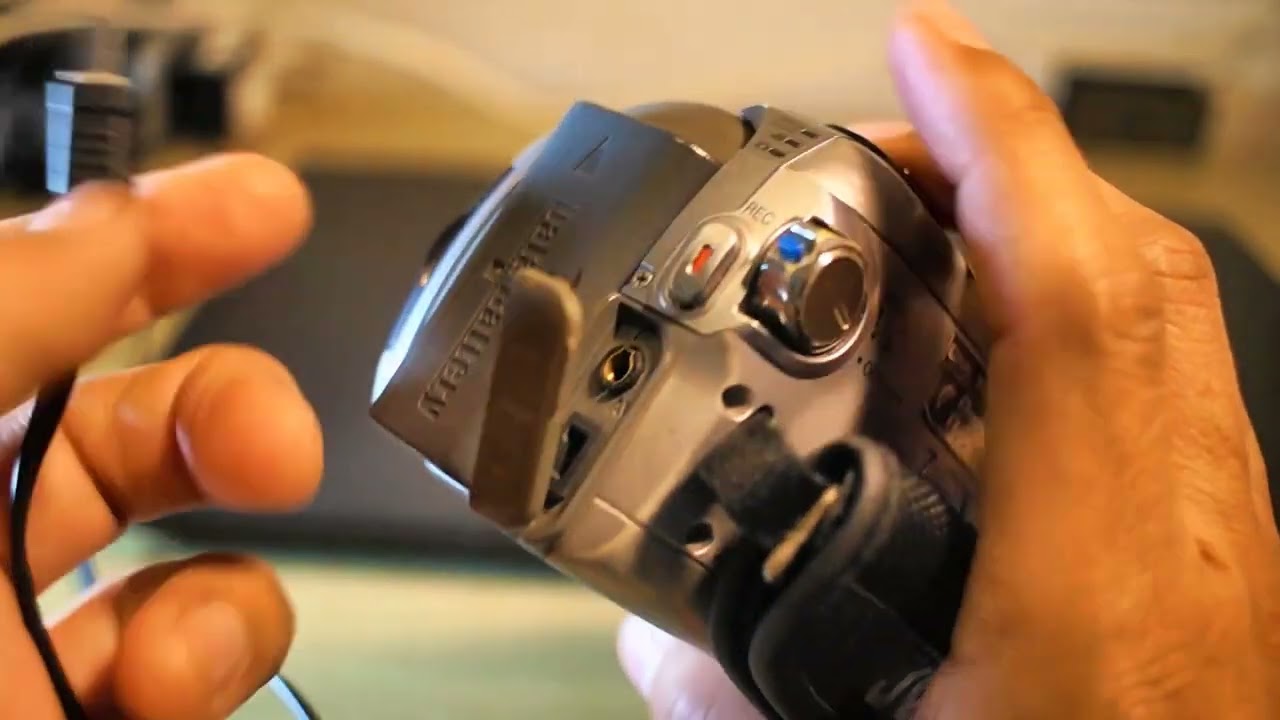
Start by removing the battery from the compartment, ensuring that the camcorder is powered off before proceeding. This step is essential to prevent any electrical mishaps and to provide clear access to the interior of the compartment for cleaning.
Inspect the battery compartment for any visible dust, debris, or residue that may have accumulated over time. Use a can of compressed air to gently blow away any loose particles and dust from the interior of the compartment. Be thorough in covering all areas to ensure that no debris remains lodged in the crevices.
Next, use a dry, lint-free cloth or a soft-bristled brush to carefully wipe and remove any remaining dust or residue from the battery compartment. Pay close attention to the electrical contacts and the edges of the compartment, ensuring that they are free from any buildup that could interfere with the proper connection and function of the batteries.
If there are stubborn particles or residue that require further attention, a cotton swab lightly moistened with isopropyl alcohol can be used to delicately target these areas. Exercise caution to prevent excess moisture from coming into contact with the internal components of the battery compartment.
After cleaning, allow the battery compartment to air dry for a few moments to ensure that any residual moisture has evaporated. Take a moment to inspect the compartment under adequate lighting to confirm that it is now clean and free from any visible debris or residue.
Once the battery compartment is pristine and free from any obstructions, reinsert the battery into the compartment, ensuring a secure fit. Power on the camcorder to verify that the battery is functioning properly and that the compartment is clean and ready for extended use.
By diligently cleaning the battery compartment of your JVC mini camcorder, you’re ensuring that the essential power source of your device remains in optimal condition, providing reliable performance during your recording sessions. With the battery compartment now refreshed and immaculate, you’re ready to proceed confidently with the next phase of the maintenance process, knowing that your camcorder is equipped for prolonged and uninterrupted use.
Step 7: Store Your Camcorder Properly
Proper storage is essential for maintaining the longevity and performance of your JVC mini camcorder, especially during periods of non-use. By following best practices for storage, you can safeguard your device from environmental factors and ensure that it remains in optimal condition for future use. Here’s how you can effectively store your JVC mini camcorder:
Before storing your camcorder, ensure that it is powered off and that all external accessories, such as memory cards and cables, have been removed. This helps prevent any potential damage and ensures that the camcorder is ready for safe and secure storage.
Choose a suitable storage location for your camcorder, ideally in a cool, dry environment away from direct sunlight and extreme temperatures. Exposure to excessive heat or moisture can adversely affect the internal components of the device, potentially leading to malfunctions and damage.
Consider utilizing a protective case or storage bag specifically designed for camcorders to shield your device from dust, scratches, and minor impacts. A dedicated case provides an added layer of protection and helps maintain the pristine condition of your camcorder during storage.
If your camcorder utilizes a rechargeable battery, it’s advisable to store the battery separately in a cool, dry place away from direct sunlight. This helps preserve the battery’s capacity and prevents potential leakage or corrosion within the camcorder’s battery compartment.
Periodically inspect your stored camcorder to ensure that it remains in optimal condition. Check for any signs of dust accumulation, moisture, or other environmental factors that may impact the device. Wipe the exterior of the camcorder with a dry, lint-free cloth if necessary to maintain its cleanliness.
Consider removing the battery from the camcorder if it will be stored for an extended period. Storing the camcorder without the battery can help prevent potential battery drain and ensures that the battery compartment remains free from corrosion or damage.
Store your camcorder in an upright position to prevent undue pressure on the lens and other sensitive components. This helps maintain the alignment of internal mechanisms and reduces the risk of damage during storage.
By following these guidelines for proper storage, you can ensure that your JVC mini camcorder remains in optimal condition during periods of non-use and is ready for action when you’re ready to capture new memories. With your camcorder safely and securely stored, you can have peace of mind knowing that it’s protected from environmental factors and is primed for future use.


