Introduction
Introduction
Attaching a lens to a DSLR camera is a fundamental skill that every photographer must master. Whether you are a novice or an experienced photographer, understanding the proper procedure for attaching a lens is crucial for capturing stunning images. A DSLR camera's interchangeable lens system allows photographers to adapt to various shooting conditions, making it essential to know how to attach different lenses securely. By following a few simple steps, you can seamlessly attach a lens to your DSLR camera and unleash its full potential.
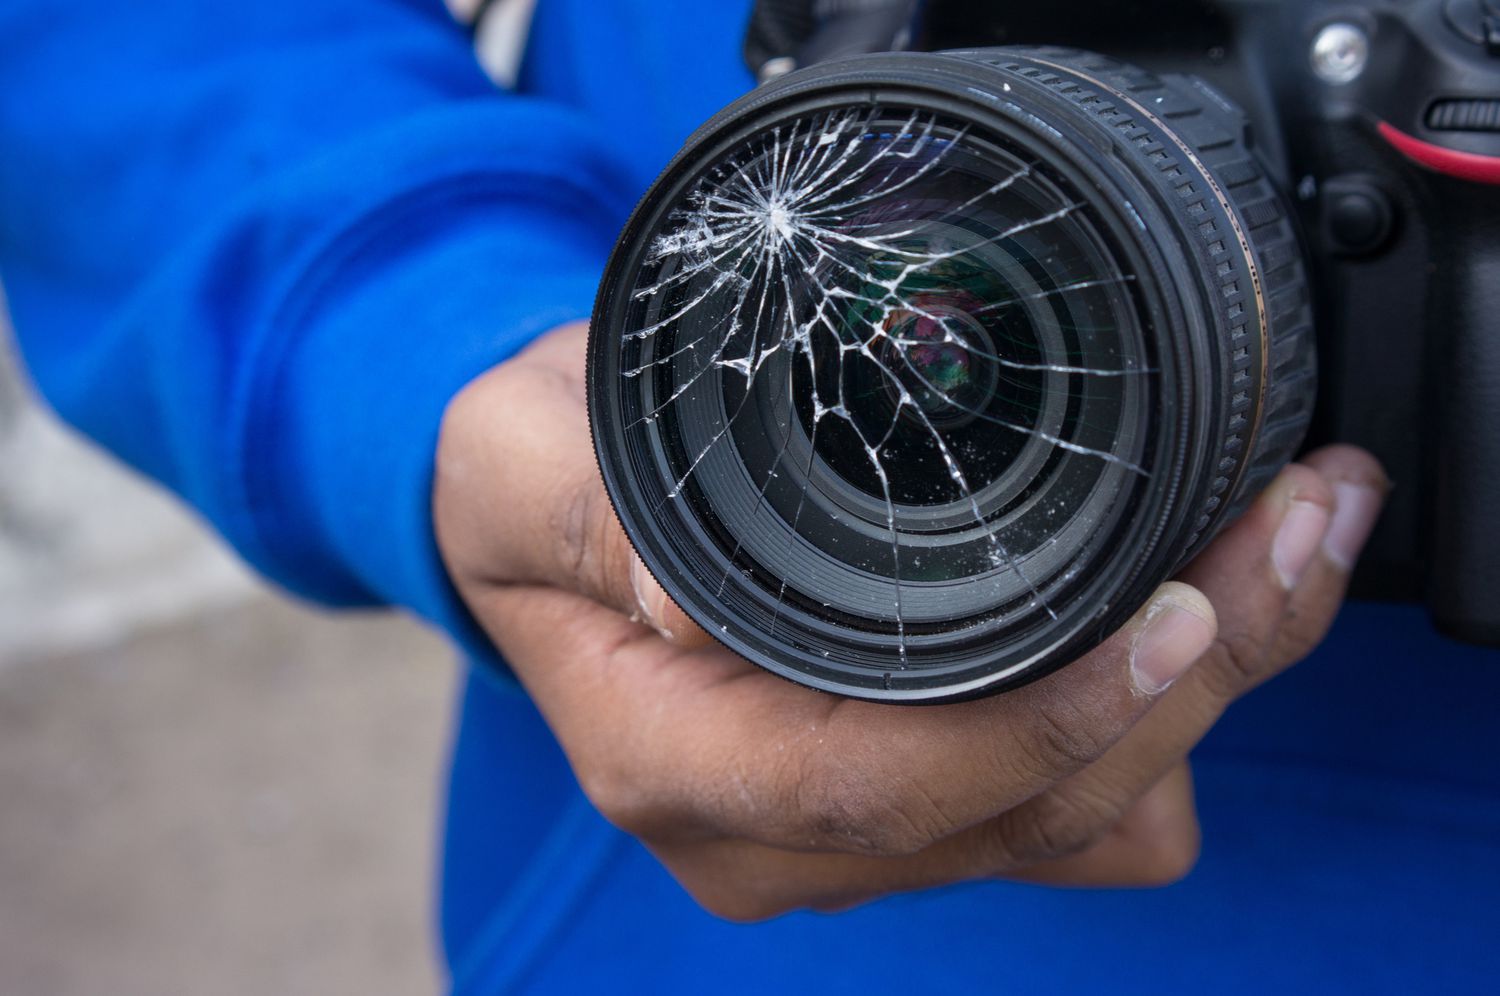
The process of attaching a lens to a DSLR camera involves precision and care to ensure that the lens is properly aligned and securely fastened to the camera body. This not only protects the delicate internal components of both the camera and the lens but also ensures optimal image quality. Additionally, attaching a lens correctly minimizes the risk of damage to the camera's sensor and lens mount, preserving the overall functionality of your equipment.
Whether you are preparing to capture breathtaking landscapes, intimate portraits, or dynamic action shots, understanding how to attach a lens to your DSLR camera is the first step in achieving photographic excellence. This guide will walk you through the essential steps to successfully attach a lens to your DSLR camera, empowering you to explore the endless creative possibilities that await through your camera's viewfinder.
Understanding the importance of securely attaching a lens to your DSLR camera is essential for capturing high-quality images. By following the steps outlined in this guide, you can confidently attach a lens to your camera and embark on your photographic journey with the assurance that your equipment is properly set up for success.
Step 1: Remove the Rear Lens Cap
Step 1: Remove the Rear Lens Cap
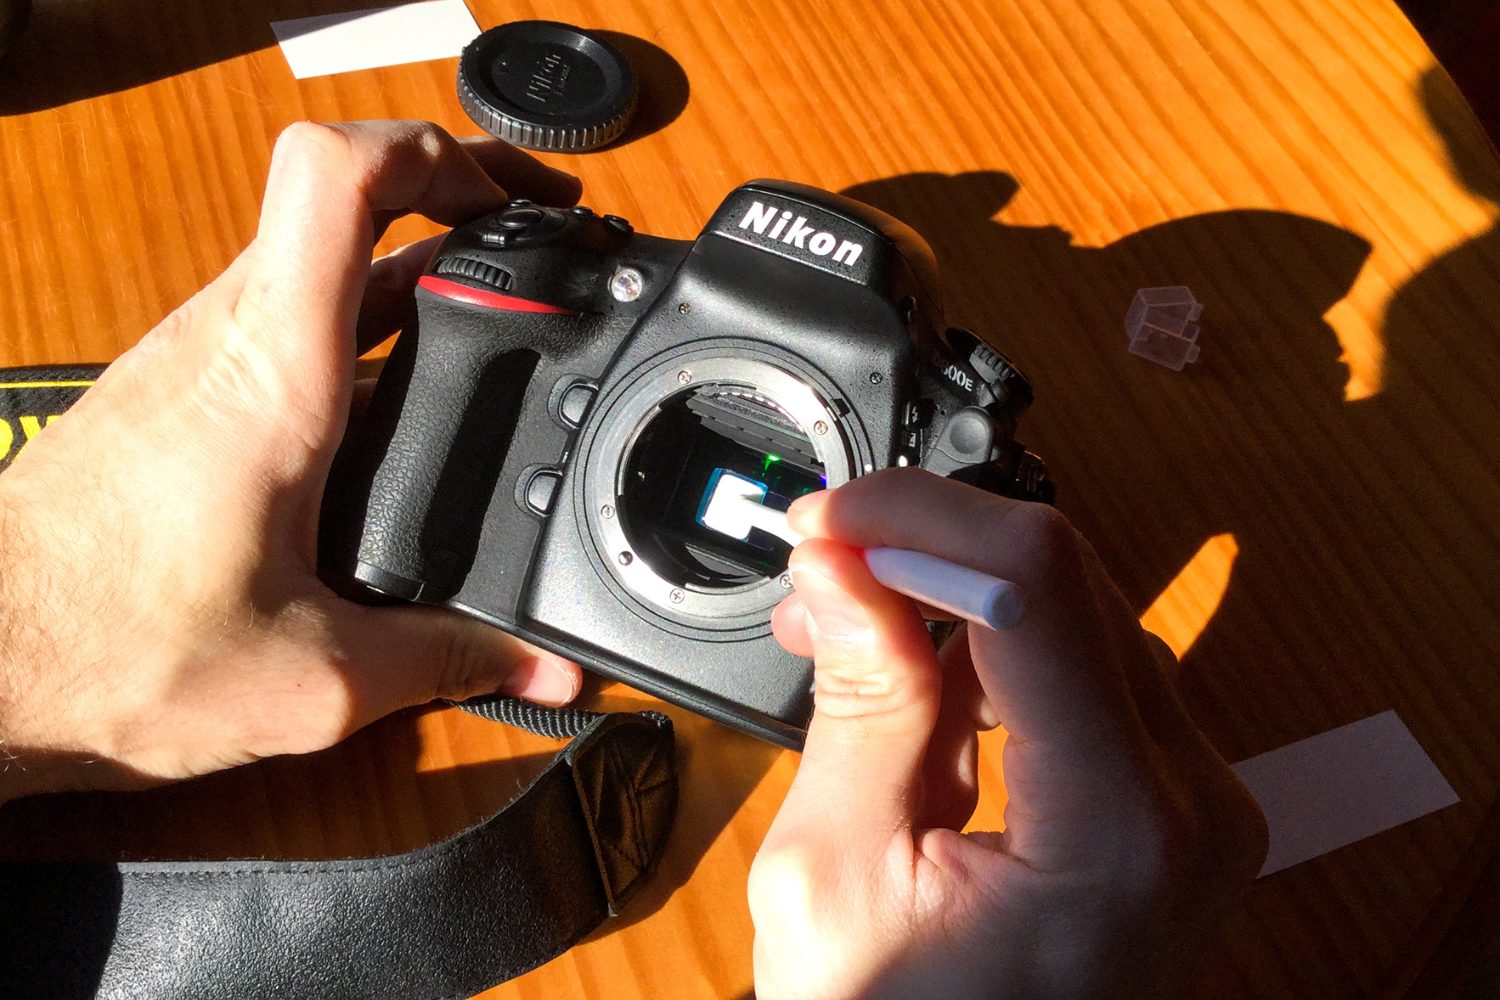
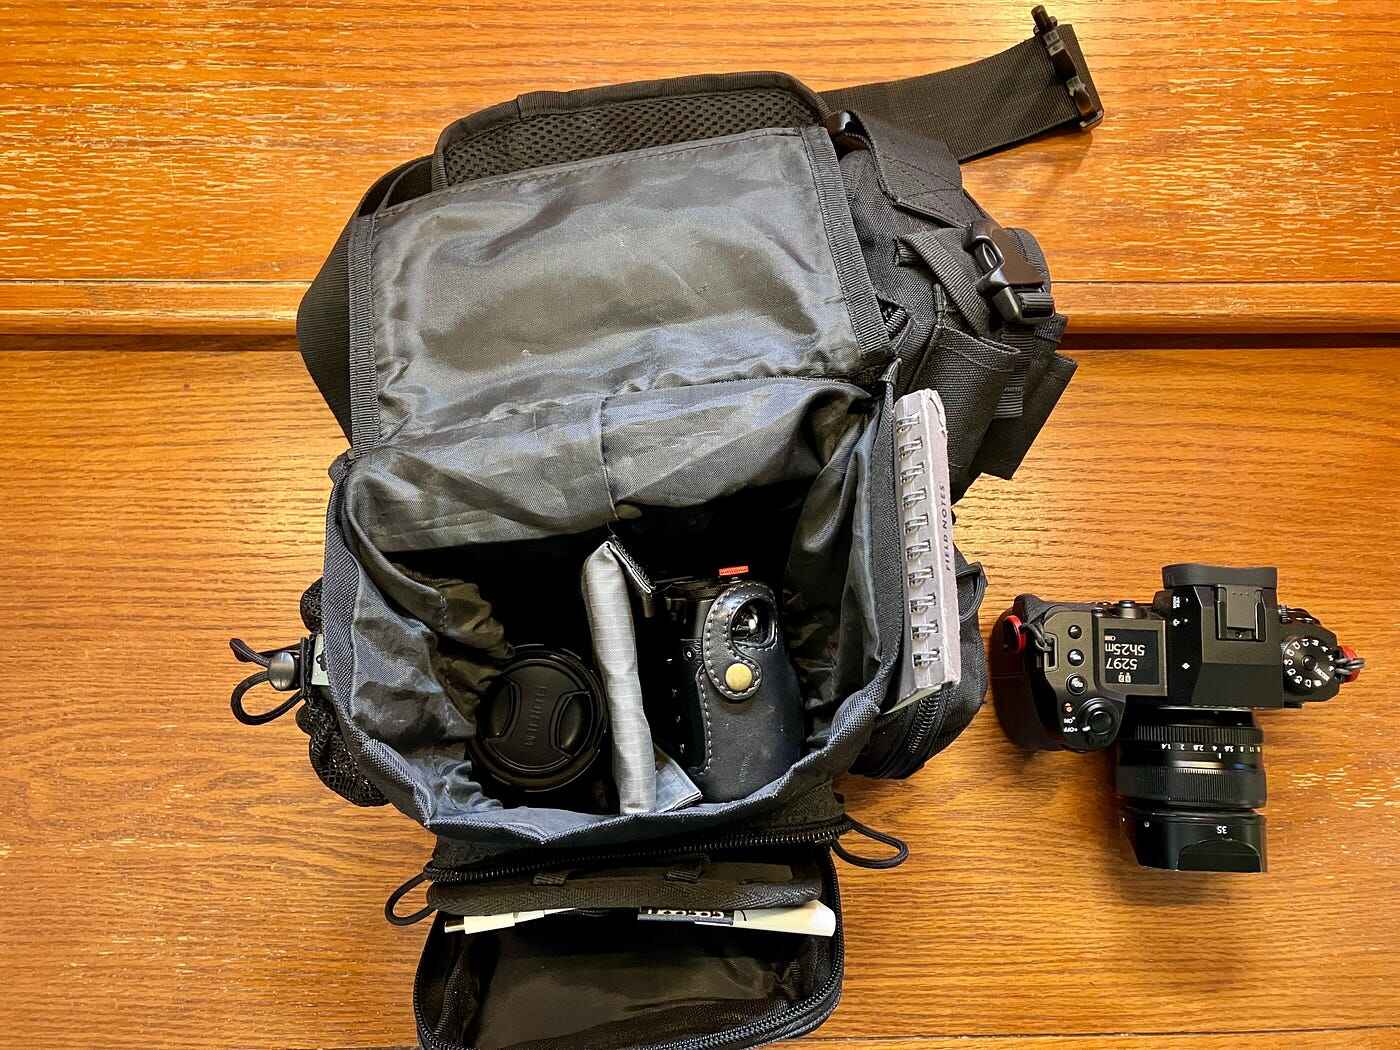
Before attaching a lens to your DSLR camera, it is essential to remove the rear lens cap from the lens. The rear lens cap protects the rear element of the lens from dust, moisture, and damage when the lens is not attached to the camera. To remove the rear lens cap, hold the lens securely with one hand and use your other hand to twist the rear lens cap counterclockwise. This simple step ensures that the rear of the lens is ready to be attached to the camera body.
Removing the rear lens cap also provides an opportunity to inspect the rear element of the lens for any dust or smudges that may affect image quality. Using a lens cleaning brush or air blower, gently remove any debris from the rear element before proceeding to attach the lens to the camera. This ensures that the lens is free from any obstructions that could potentially impact the final image.
By carefully removing the rear lens cap and inspecting the rear element, you are taking the necessary first steps to prepare the lens for attachment to your DSLR camera. This simple yet crucial step sets the stage for a seamless and secure attachment process, laying the foundation for capturing exceptional photographs with your DSLR camera and lens combination.
Step 2: Line Up the Lens with the Camera Body
Step 2: Line Up the Lens with the Camera Body
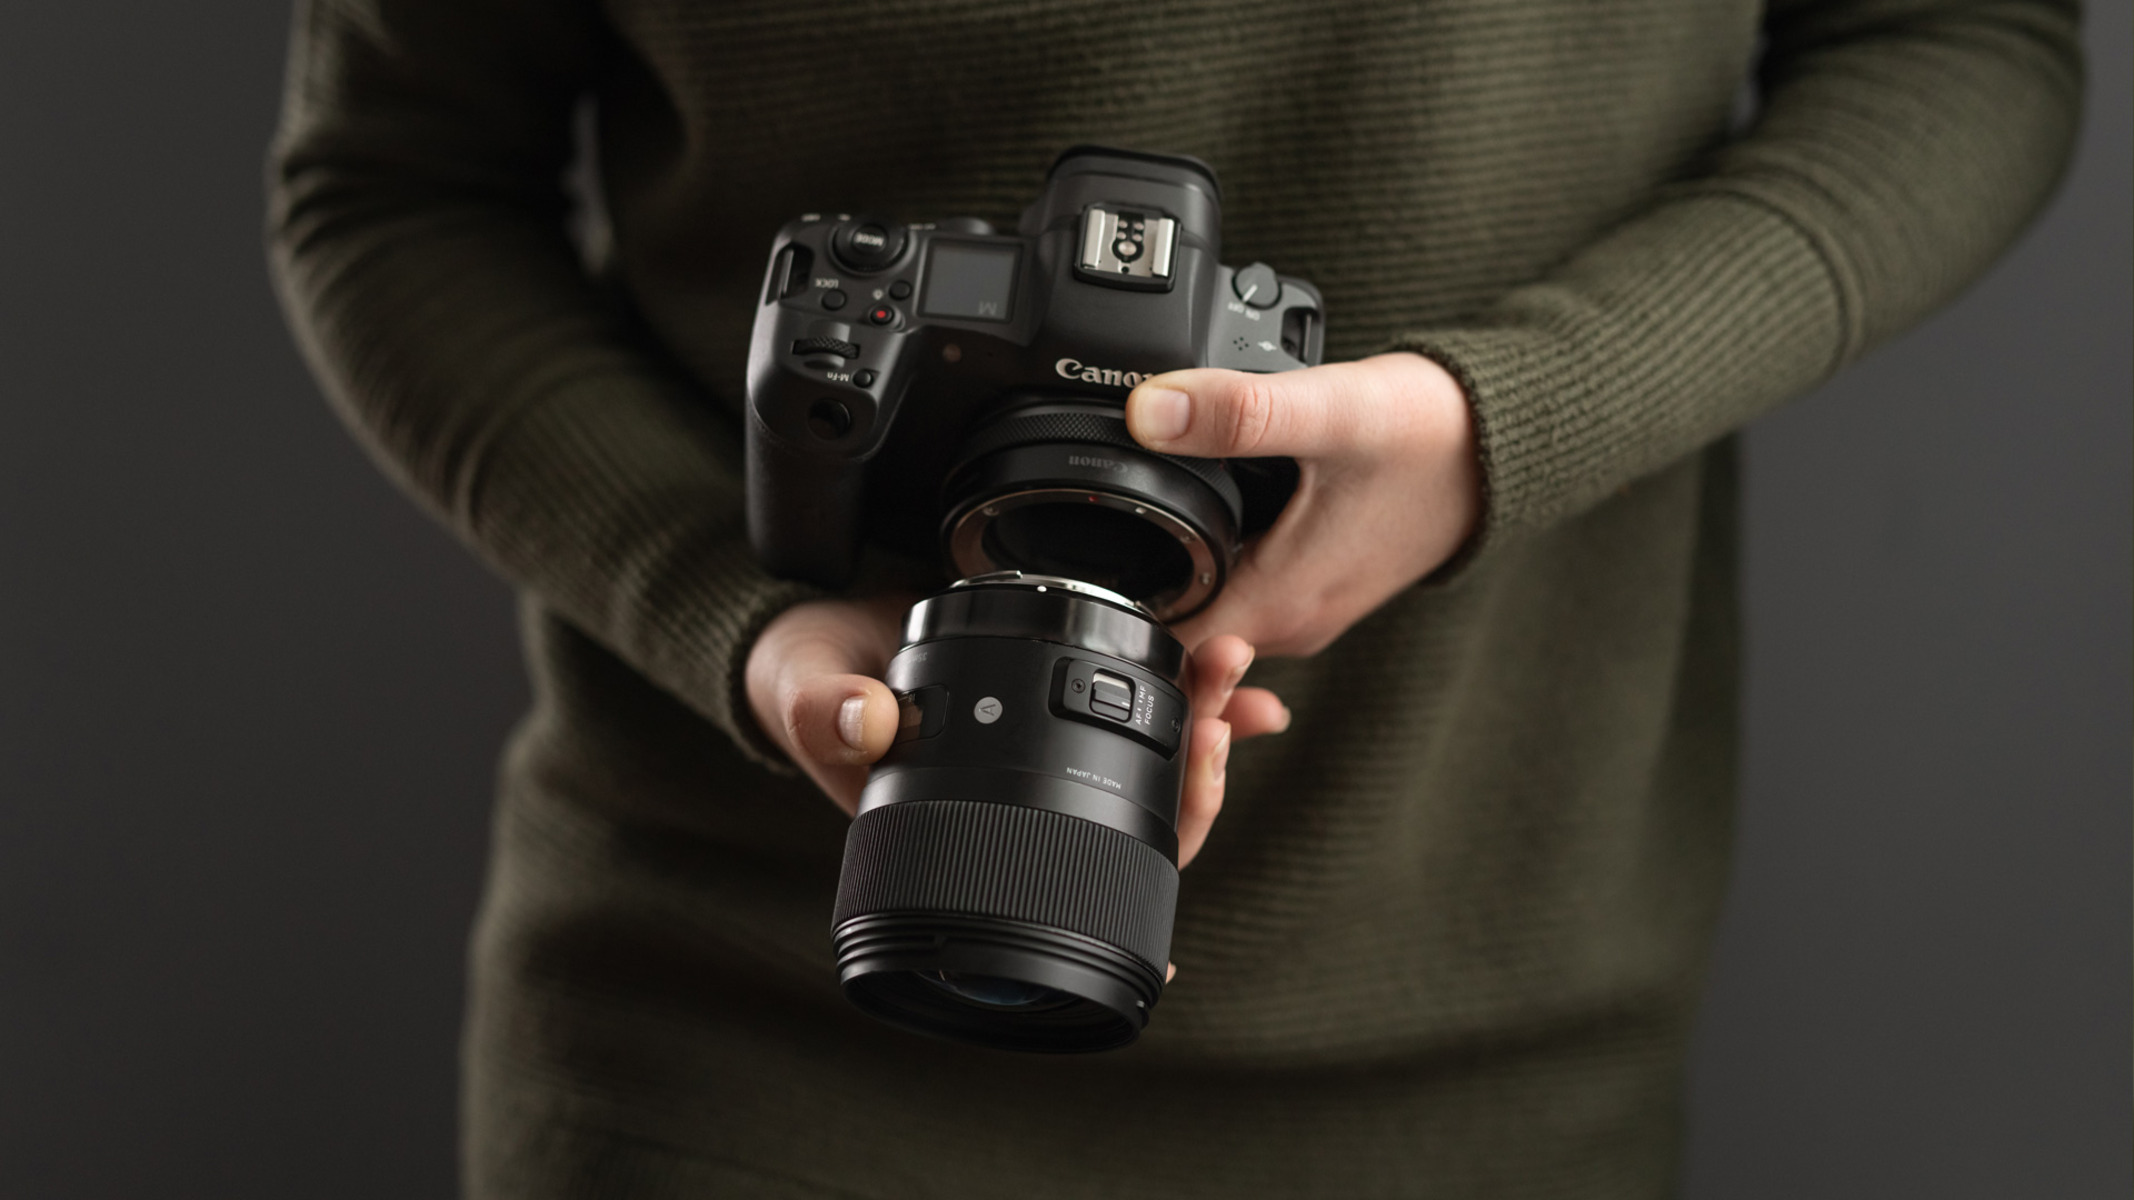
Once the rear lens cap has been removed, it’s time to line up the lens with the camera body. Proper alignment is crucial to ensure that the lens attaches securely and functions optimally with the camera. To begin, locate the lens mount on the camera body and the corresponding lens mount on the rear of the lens. These mounts are designed to fit together seamlessly, allowing for a secure attachment.
Hold the lens parallel to the camera body and align the white alignment dot or line on the lens with the corresponding mark on the camera body. This alignment ensures that the lens is positioned correctly for attachment. Depending on the camera and lens model, the alignment marks may vary, but they are typically color-coded or marked with specific symbols for easy identification.
Properly lining up the lens with the camera body sets the stage for a smooth attachment process. This step is essential for establishing a secure connection between the lens and the camera, allowing for seamless communication and functionality between the two components. By paying attention to the alignment marks and ensuring a precise fit, you are laying the groundwork for successful lens attachment and optimal photographic performance.
Step 3: Rotate the Lens Clockwise to Attach
Step 3: Rotate the Lens Clockwise to Attach
After aligning the lens with the camera body, the next step is to rotate the lens clockwise to attach it securely. While holding the lens parallel to the camera body, gently but firmly rotate the lens in a clockwise direction. As you do so, you will feel the lens mount and camera body coming together, creating a snug connection.
It’s important to apply even pressure while rotating the lens to ensure a smooth and secure attachment. Avoid using excessive force, as this may cause damage to the lens mount or camera body. The rotational movement should be steady and controlled, allowing the lens to lock into place with precision.
As you rotate the lens, be mindful of any resistance or misalignment. If you encounter significant resistance or the lens does not seem to align properly, carefully remove the lens and realign it with the camera body before attempting to attach it again. This attention to detail ensures that the lens is securely and accurately attached, minimizing the risk of damage to the lens mount or camera body.
By rotating the lens clockwise to attach it to the camera body, you are completing the crucial step of establishing a secure connection between the two components. This step sets the stage for seamless communication and functionality, allowing you to confidently proceed with capturing stunning images using your DSLR camera and attached lens.
Step 4: Listen for the Click
Step 4: Listen for the Click
As you rotate the lens to attach it to the camera body, listen for the audible confirmation of a “click.” This click indicates that the lens has been securely attached and is ready for use. The click is a reassuring signal that the lens mount and camera body have engaged, creating a firm and stable connection.
Upon hearing the click, it’s important to perform a visual check to ensure that the alignment marks on the lens and camera body are still in sync. This visual confirmation provides added reassurance that the attachment is secure and that the lens is properly aligned for optimal performance.
If you do not hear a click or if the attachment feels loose, carefully remove the lens and reattempt the attachment process. It’s crucial to achieve a distinct click, as this signifies that the lens is securely fastened and ready to be used for capturing exceptional images.
Listening for the click serves as a tactile and auditory confirmation that the lens has been successfully attached to the camera body. This step provides peace of mind, indicating that the lens is firmly in place and ready to unleash its photographic capabilities.
Step 5: Test the Lens by Taking a Photo
Step 5: Test the Lens by Taking a Photo
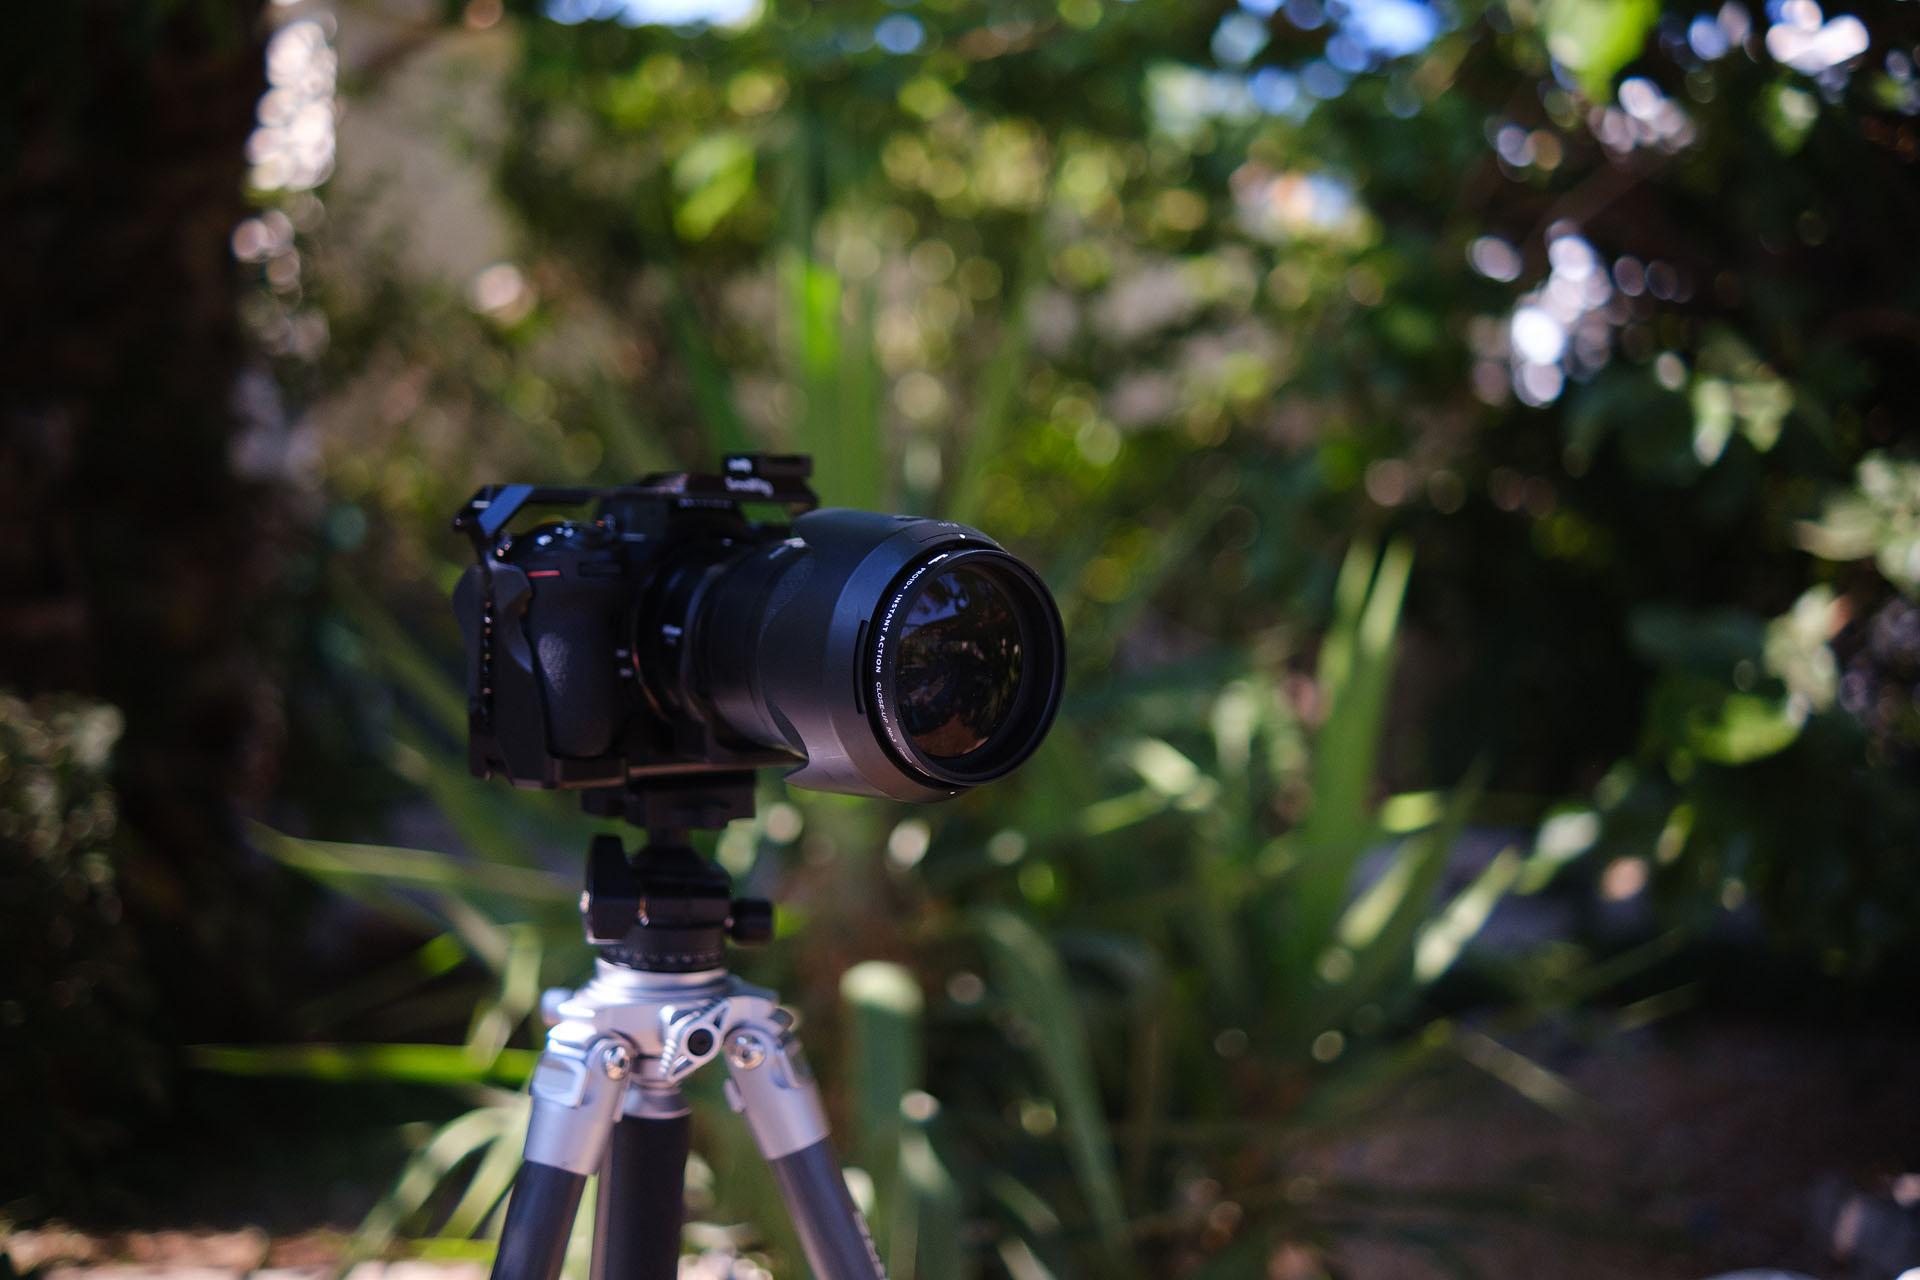
Once the lens is securely attached to the camera body, it’s time to test its functionality by capturing a photo. Turn on your DSLR camera and frame a subject to photograph. Adjust the camera settings as needed, ensuring that the lens is ready to capture an image.
Press the shutter button to take a photo, and pay attention to the autofocus and image stabilization functions if they are available on the lens. By capturing an image, you can assess the performance of the attached lens and ensure that it is functioning as expected. Review the photo on the camera’s display or transfer it to a computer for a more detailed analysis.
While reviewing the test photo, pay attention to factors such as sharpness, clarity, and overall image quality. Assess whether the lens has performed to your satisfaction and whether it has met the intended photographic requirements. Additionally, consider testing the lens in different lighting conditions and at varying focal lengths to gauge its versatility and performance across different scenarios.
Testing the lens by taking a photo allows you to evaluate its performance firsthand, providing valuable insights into its capabilities and suitability for your photographic needs. By conducting this test, you can make any necessary adjustments to the camera settings or lens configuration to optimize image quality and overall performance.
Conclusion
Conclusion
Attaching a lens to a DSLR camera is a fundamental process that sets the stage for capturing exceptional images. By following the essential steps outlined in this guide, you can confidently attach a lens to your camera, ensuring a secure connection and optimal functionality. The process begins with removing the rear lens cap, preparing the lens for attachment to the camera body. Aligning the lens with the camera body and rotating it clockwise to attach create a secure and stable connection, setting the stage for successful photography.
Listening for the click serves as a tactile and auditory confirmation that the lens has been successfully attached to the camera body. This step provides peace of mind, indicating that the lens is firmly in place and ready to unleash its photographic capabilities.
Once the lens is securely attached, testing its functionality by capturing a photo allows you to evaluate its performance and suitability for your photographic needs. This step provides valuable insights into the lens’s capabilities and allows for adjustments to optimize image quality and overall performance.
By mastering the process of attaching a lens to your DSLR camera, you are empowering yourself to explore the creative possibilities that await through your camera’s viewfinder. Understanding the importance of securely attaching a lens to your DSLR camera is essential for capturing high-quality images. By following the steps outlined in this guide, you can confidently attach a lens to your camera and embark on your photographic journey with the assurance that your equipment is properly set up for success.
With a securely attached lens, you are poised to unleash your creativity and capture captivating images that reflect your unique perspective and artistic vision. By taking the time to master the art of attaching a lens to your DSLR camera, you are laying the groundwork for a fulfilling and rewarding photographic experience, where every image tells a story and evokes emotion.