Introduction
Welcome to the exciting world of DSLR photography! Owning a DSLR camera opens up a whole new realm of creative possibilities, allowing you to capture stunning images with exceptional clarity and detail. Whether you're an aspiring photographer or a hobbyist looking to elevate your photography skills, mastering the art of DSLR photography can be immensely rewarding.
In this comprehensive guide, we'll walk you through the essential steps to set up your DSLR camera, from assembling the equipment to understanding the intricate settings that govern your photographic output. By the end of this guide, you'll feel confident and empowered to harness the full potential of your DSLR camera, enabling you to unleash your creativity and capture breathtaking moments with precision and artistry.
Embarking on this journey requires a blend of technical know-how and artistic vision. Understanding the fundamentals of DSLR photography will not only enhance your proficiency but also ignite your passion for visual storytelling. So, let's dive in and unravel the intricacies of setting up and utilizing your DSLR camera to unlock its full potential.
Whether you're venturing into the world of portrait photography, landscape photography, or macro photography, your DSLR camera is a versatile tool that can adapt to a myriad of shooting scenarios. With the right guidance and a willingness to explore, you'll soon discover the boundless opportunities that await you behind the lens of your DSLR camera.
So, grab your camera, charge up your creative spirit, and let's embark on this enlightening journey to unleash the true power of your DSLR camera. It's time to turn your photographic aspirations into captivating realities.
Understanding Your DSLR Camera
Before delving into the technical setup of your DSLR camera, it’s crucial to familiarize yourself with its key components and functionalities. A DSLR camera comprises various elements that collectively contribute to its exceptional imaging capabilities. Understanding these components will lay a solid foundation for harnessing the full potential of your camera.
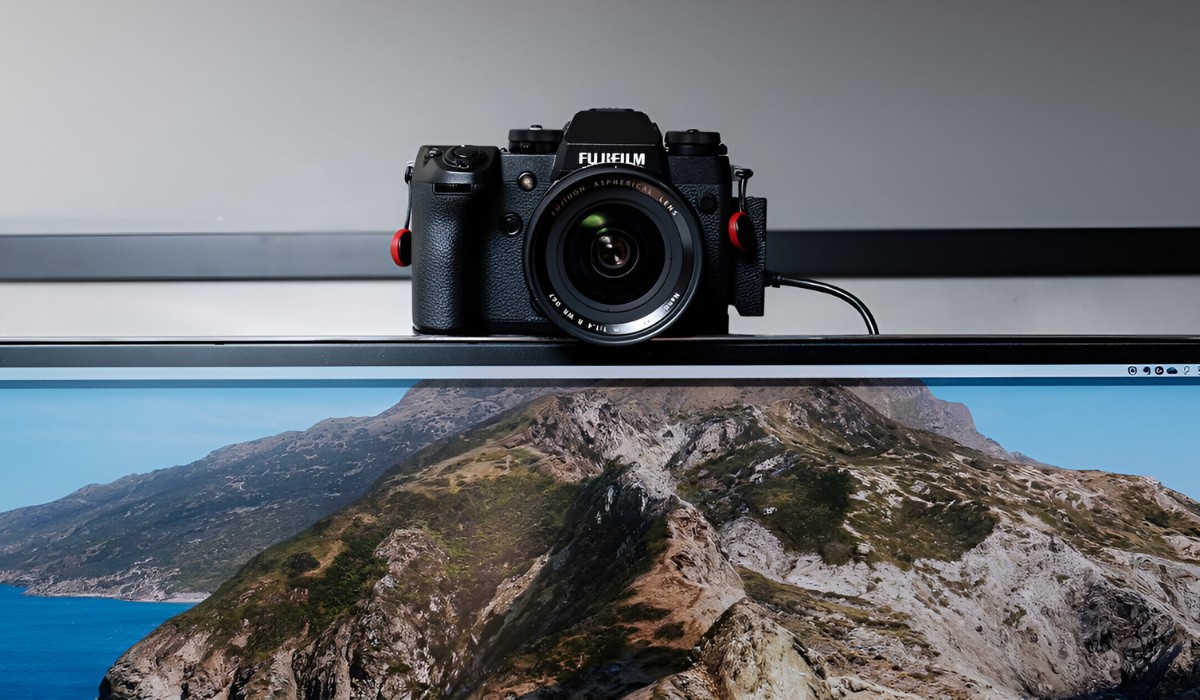
First and foremost, the lens is a fundamental part of your DSLR camera. It determines the quality, perspective, and depth of field in your photographs. Different lenses cater to specific types of photography, such as wide-angle lenses for landscapes and telephoto lenses for capturing distant subjects with precision.
Another integral aspect is the camera body, housing the sensor, processor, and various controls. The sensor plays a pivotal role in capturing light and translating it into digital information, while the processor processes this data to produce the final image. Familiarizing yourself with the controls, such as the shutter button, mode dial, and menu navigation, is essential for seamless operation.
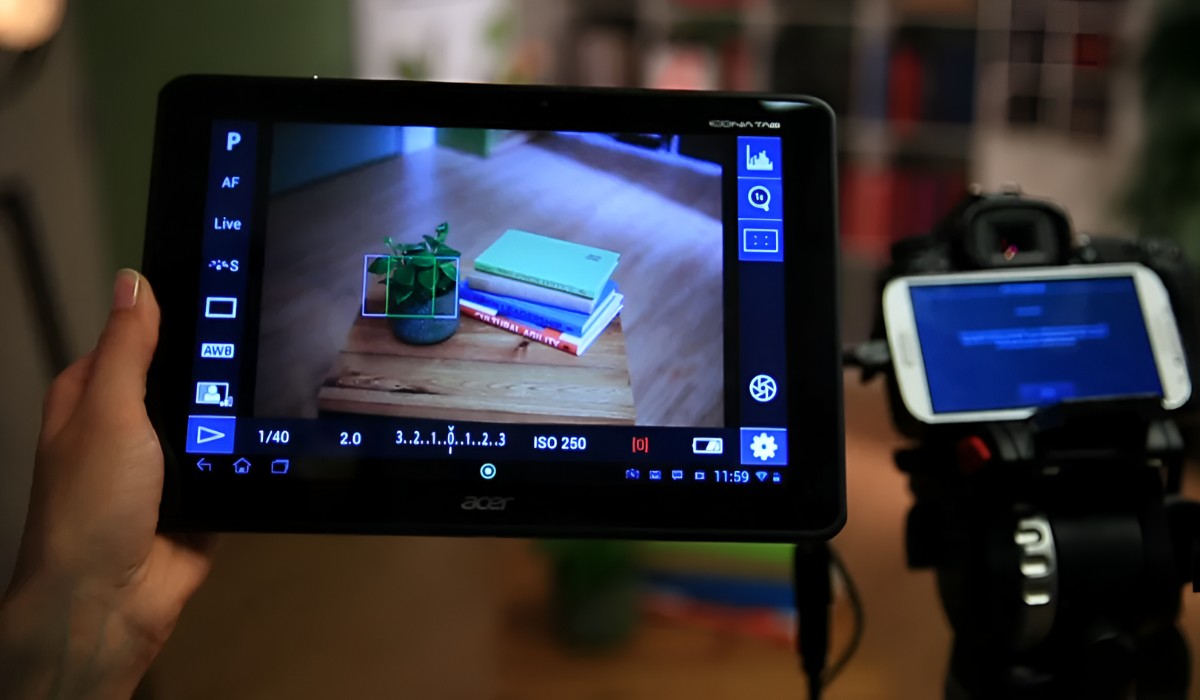
Understanding the viewfinder and LCD screen is also vital. The viewfinder allows you to compose your shots optically, providing a direct through-the-lens view, while the LCD screen enables you to review images, access menus, and make adjustments with ease.
Additionally, comprehending the concept of interchangeable lenses and their compatibility with your camera body is crucial. Different camera models support specific lens mounts, and understanding these compatibility factors will empower you to expand your lens collection strategically.
Lastly, gaining insight into the camera’s autofocus system, exposure metering, and image stabilization capabilities will enhance your proficiency in capturing sharp, well-exposed images across diverse shooting conditions.
By familiarizing yourself with these foundational aspects of your DSLR camera, you’ll be better equipped to navigate its intricacies and unleash its full potential as a powerful tool for visual expression and storytelling.
Assembling Your Camera
Assembling your DSLR camera involves the meticulous arrangement of its various components to ensure seamless functionality and optimal performance. This process not only familiarizes you with the physical aspects of your camera but also sets the stage for capturing exceptional images with precision and clarity.
The first step in assembling your camera is to attach the lens to the camera body. Begin by removing the rear lens cap and aligning the lens’s mounting index with the corresponding index on the camera body. Gently rotate the lens clockwise until it locks into place with a reassuring click. This secure attachment ensures that the lens communicates effectively with the camera body, enabling seamless autofocus and exposure control.
Next, familiarize yourself with the lens release button, typically located near the base of the lens mount. This button allows you to detach the lens effortlessly when necessary, facilitating the interchangeability of lenses to suit different photographic scenarios.
Once the lens is securely attached, it’s time to insert the battery and memory card into their respective slots. Most DSLR cameras feature a dedicated compartment for the battery and memory card, typically located on the camera’s grip side. Ensure that the battery is fully charged to power the camera, and select a memory card with adequate storage capacity to accommodate the high-resolution images captured by your DSLR.
After inserting the battery and memory card, it’s essential to power on the camera and configure basic settings, such as the date and time, to establish a personalized operational environment. This initial setup primes the camera for immediate use and ensures that each image is accurately timestamped for future reference.
By methodically assembling your DSLR camera, you lay the groundwork for a seamless and immersive photographic experience. This process not only acquaints you with the physical intricacies of your camera but also instills a sense of readiness to explore its diverse capabilities and unleash your creative vision through captivating imagery.
Installing the Battery and Memory Card
Ensuring that your DSLR camera is powered and equipped with adequate storage is essential for seamless operation and uninterrupted photography sessions. Installing the battery and memory card correctly not only prepares your camera for immediate use but also lays the foundation for capturing and preserving your photographic endeavors.
Begin by locating the battery compartment on your DSLR camera, typically situated on the grip side. Depending on the camera model, the battery compartment may feature a locking mechanism or a simple sliding cover. Carefully open the compartment and insert the fully charged battery, ensuring that the contacts align correctly with the terminals inside the compartment. Once inserted, secure the battery by closing the compartment cover, ensuring a snug fit to prevent accidental dislodging during use.
Next, locate the memory card slot, often positioned adjacent to the battery compartment. Select a compatible memory card with sufficient capacity to accommodate the high-resolution images and videos your DSLR camera is capable of capturing. Gently insert the memory card into the designated slot, taking care to align it in the correct orientation to prevent damage to the card or the camera’s internal components.
Many DSLR cameras support various types of memory cards, such as SD, SDHC, or SDXC cards. Familiarize yourself with your camera’s compatibility specifications to ensure optimal performance and compatibility with the selected memory card. Additionally, some cameras feature dual memory card slots, offering expanded storage options or the ability to configure backup storage for added data security.
After inserting the memory card, it’s crucial to ensure that it is securely seated within the slot. Most DSLR cameras feature a spring-loaded mechanism that retains the memory card, preventing accidental ejection during use. Once the memory card is inserted and secured, close the compartment cover, ensuring a firm closure to safeguard the card and maintain the camera’s weather sealing, if applicable.
By methodically installing the battery and memory card, you prepare your DSLR camera for an array of photographic opportunities, ensuring that it is poised to capture and store your visual narratives with precision and reliability.
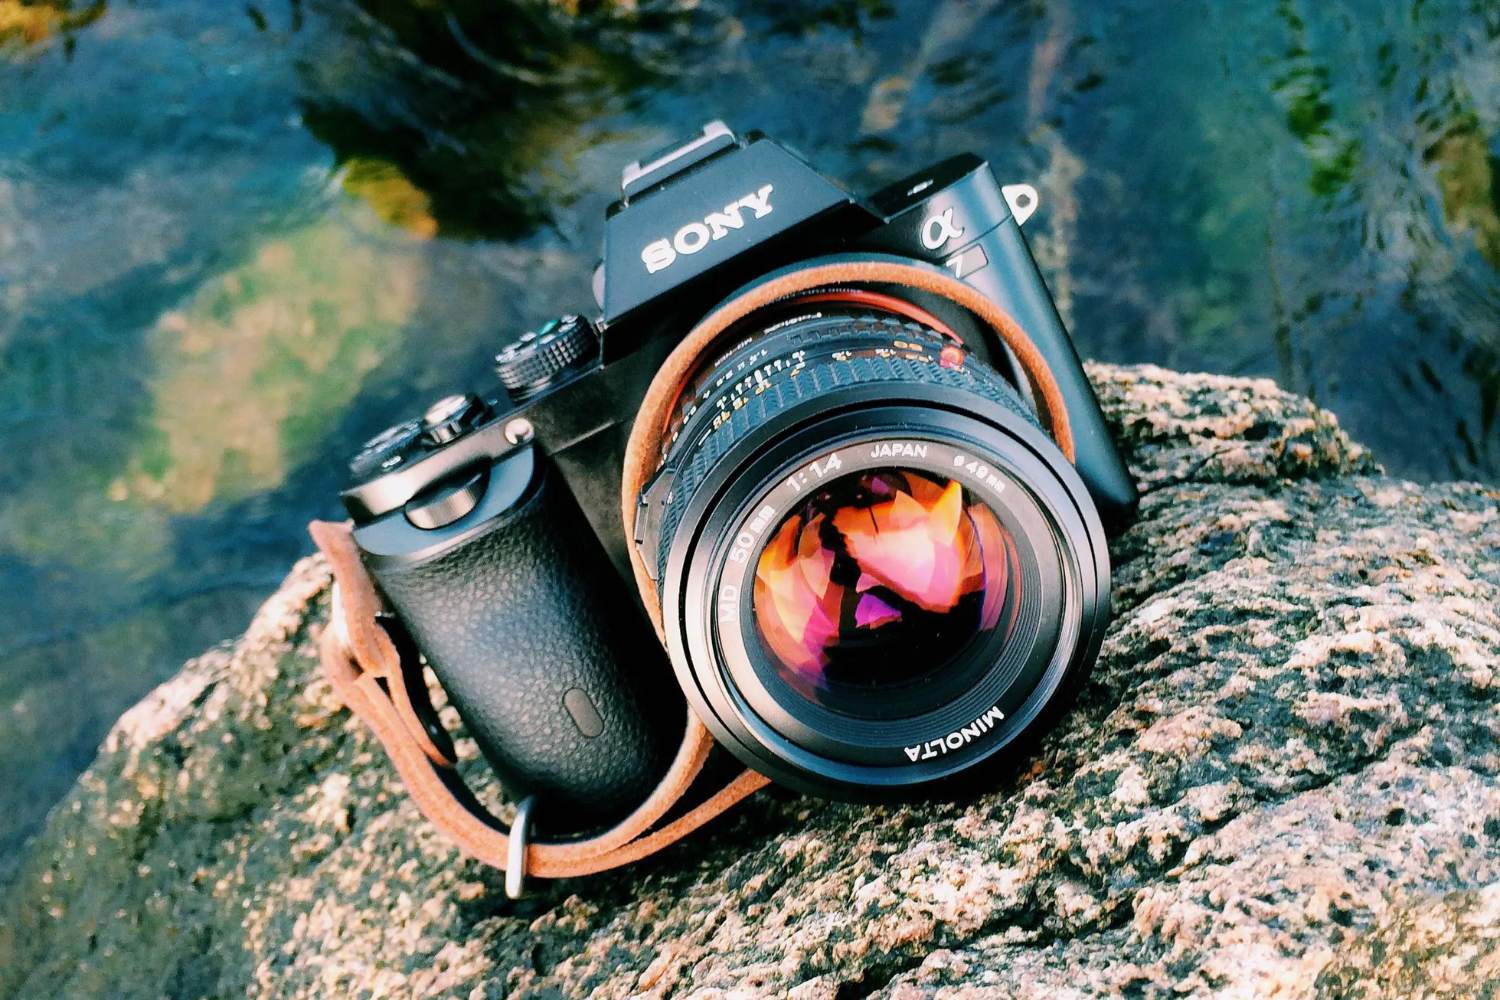
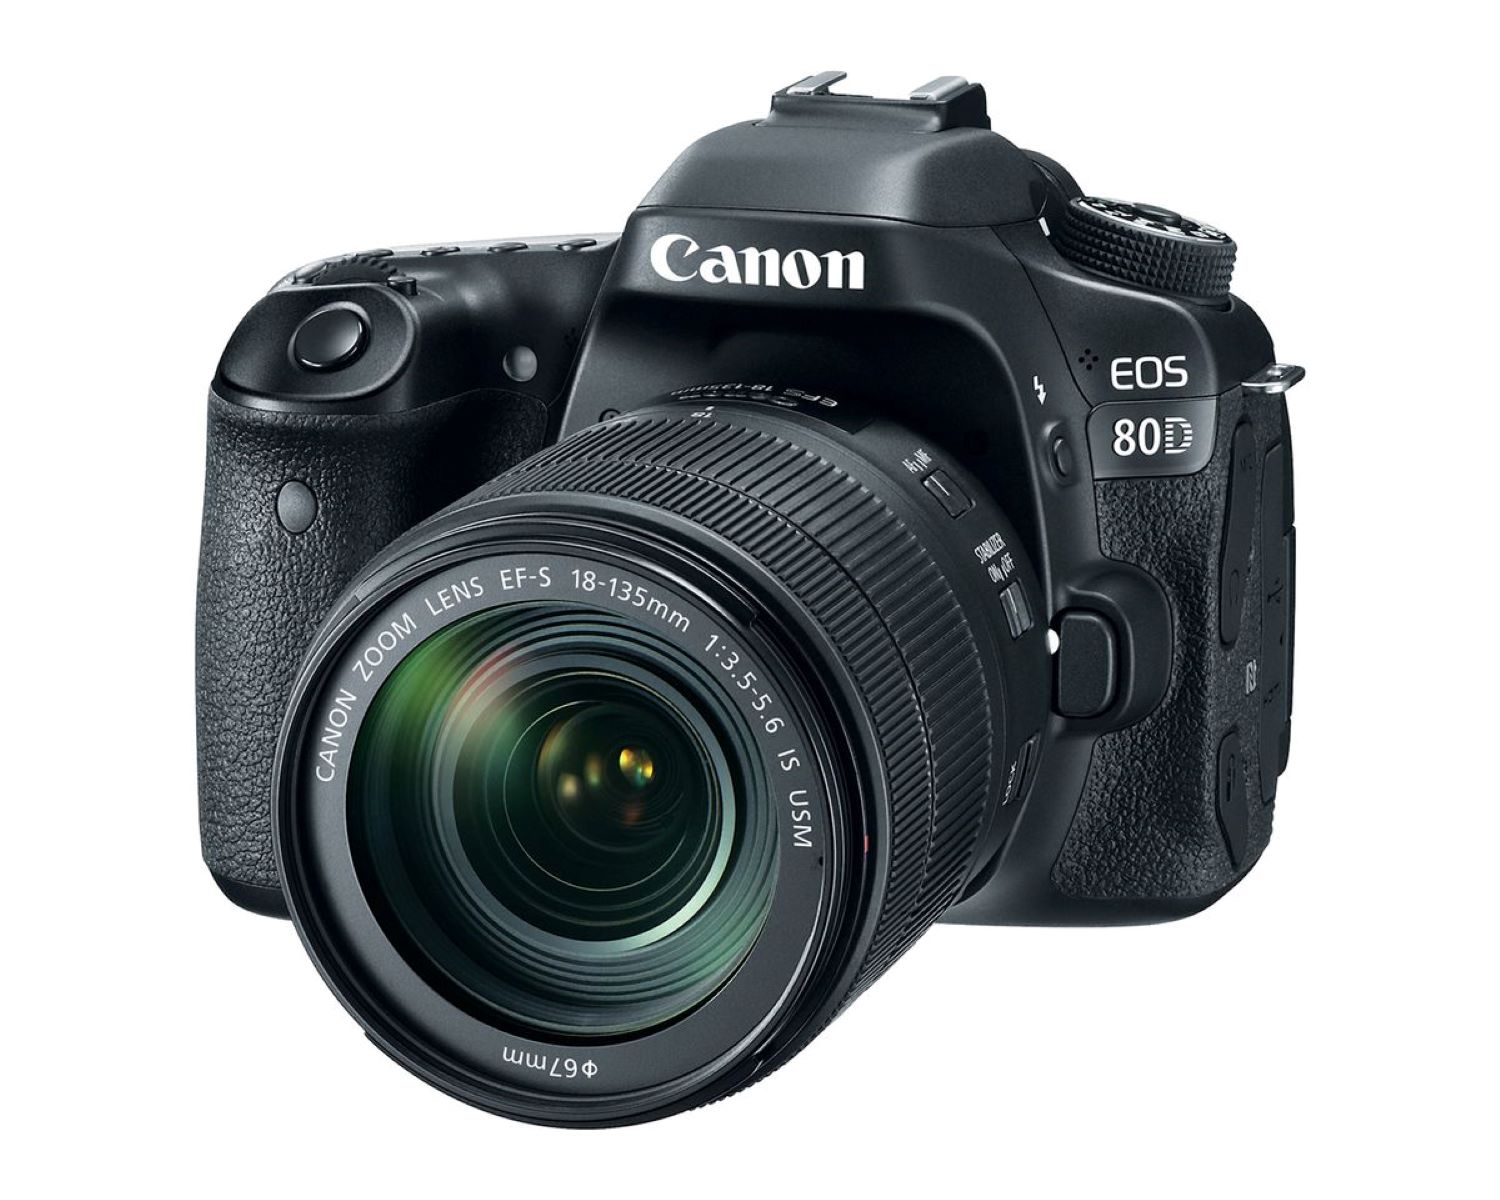
Attaching the Lens
The process of attaching a lens to your DSLR camera is a pivotal step that directly influences the quality and versatility of your photographic output. Whether you’re embarking on a portrait session, capturing sweeping landscapes, or delving into the intricate details of macro photography, selecting and attaching the appropriate lens is paramount to achieving your desired visual narrative.
Before attaching the lens, it’s essential to identify the lens mount on your camera body. Most DSLR cameras feature a standardized lens mount, such as the Canon EF mount or the Nikon F mount, ensuring compatibility with a wide range of interchangeable lenses. Understanding the specific lens mount of your camera facilitates the seamless integration of compatible lenses, enabling you to harness their unique optical characteristics and focal lengths.
When selecting a lens for a particular photographic endeavor, consider factors such as focal length, aperture, and optical stabilization capabilities. Different lenses cater to distinct genres of photography, offering varying perspectives, depth of field control, and low-light performance. For example, a prime lens with a wide aperture may be ideal for portrait photography, while a telephoto lens excels in capturing distant subjects with remarkable clarity.
To attach the lens, begin by removing the rear lens cap and aligning the lens’s mounting index with the corresponding index on the camera body. Gently rotate the lens clockwise until it locks into place with a reassuring click, indicating a secure attachment. This meticulous alignment ensures that the lens’s electronic contacts interface seamlessly with the camera body, facilitating communication for autofocus, aperture control, and image stabilization, if applicable.
Once the lens is securely attached, it’s essential to engage with its unique features, such as the manual focus ring, aperture ring, and image stabilization switches, if present. Familiarizing yourself with these controls empowers you to tailor the lens’s behavior to suit your creative vision, whether it involves precise manual focusing or adjusting the aperture for selective depth of field.
By adeptly attaching the lens to your DSLR camera, you pave the way for immersive photographic experiences, enabling you to explore diverse perspectives and genres with confidence and precision. The seamless integration of compatible lenses broadens your creative horizons, allowing you to craft compelling visual narratives that resonate with depth and authenticity.
Setting Up the Camera Menu
Delving into the intricate settings and customization options within your DSLR camera’s menu system is a pivotal aspect of optimizing its functionality and tailoring it to your specific photographic preferences. Navigating the camera menu empowers you to fine-tune a myriad of parameters, ranging from image quality and white balance to autofocus behavior and custom function assignments, thereby shaping the camera’s responsiveness to suit diverse shooting scenarios.
Upon accessing the camera menu, you’ll encounter a plethora of options organized into logical categories, allowing for intuitive navigation and efficient adjustment of settings. Familiarizing yourself with the menu structure and the corresponding functions is essential for seamless customization, ensuring that your camera becomes an extension of your creative vision.
Key menu categories often include “Shooting Settings,” encompassing parameters such as image quality, file format, and white balance. Here, you can specify the resolution, compression level, and color rendition of your images, tailoring them to suit the intended output, whether it’s high-quality prints or web-based dissemination.
Another crucial category is “Custom Functions,” offering a wealth of configurable options that govern the camera’s behavior and operational nuances. These functions enable you to assign specific behaviors to customizable buttons, fine-tune autofocus characteristics, and define exposure parameters, fostering a personalized shooting experience that aligns with your unique preferences and shooting style.
Furthermore, the “Playback Menu” presents options for reviewing and managing captured images, allowing you to zoom in for critical inspection, apply in-camera edits, and establish image rating criteria for streamlined post-capture curation.
As you navigate through the camera menu, take note of contextual help prompts and explanatory text that elucidate the purpose and implications of each setting. This guidance enhances your understanding of the camera’s capabilities, enabling you to make informed decisions when configuring its operational parameters.
By deftly maneuvering through the camera menu and customizing its settings to align with your photographic objectives, you cultivate a symbiotic relationship with your DSLR camera, transforming it into a responsive and intuitive tool that amplifies your creative expression and technical finesse.
Adjusting the Camera Settings
Mastering the art of adjusting your DSLR camera’s settings is a transformative endeavor that empowers you to fine-tune its operational parameters, optimize image quality, and adapt to diverse shooting conditions. By adeptly navigating the camera’s controls and menus, you can tailor its settings to suit specific photographic scenarios, ensuring that each image reflects your creative vision with precision and artistry.
One of the fundamental settings to consider is the exposure parameters, comprising aperture, shutter speed, and ISO sensitivity. Understanding the interplay of these elements enables you to control the exposure, depth of field, and motion blur in your images, allowing for nuanced creative expression and technical mastery.
Additionally, delving into the autofocus settings equips you with the tools to refine the camera’s focusing behavior, whether it involves selecting focus points, adjusting tracking sensitivity, or customizing autofocus modes to suit dynamic or static subjects.
White balance adjustments are pivotal for ensuring accurate color reproduction across varied lighting conditions. By selecting the appropriate white balance setting, you can neutralize color casts and preserve the natural tonalities of your subjects, fostering a faithful representation of the scene’s ambiance.
Furthermore, exploring the metering modes, exposure compensation, and bracketing options provides nuanced control over the camera’s exposure evaluation, enabling you to finesse the tonal rendition and dynamic range of your images with precision and finesse.
Customizing the image quality and file format settings allows you to tailor the camera’s output to suit your intended applications, whether it involves capturing high-resolution RAW files for extensive post-processing latitude or compressed JPEG files for immediate sharing and dissemination.
As you adjust these settings, consider the dynamic interplay between technical precision and creative intent, striving to strike a harmonious balance that elevates your imagery with authenticity and visual impact.
By deftly adjusting your DSLR camera’s settings to align with your creative vision and the demands of the photographic environment, you embark on a transformative journey of technical mastery and artistic expression, harnessing the full potential of your camera to craft compelling visual narratives that resonate with depth and authenticity.
Understanding Shooting Modes
Shooting modes on your DSLR camera offer a versatile array of preconfigured settings designed to cater to specific shooting scenarios, empowering you to adapt to varying lighting conditions, motion dynamics, and creative preferences with ease and precision. Understanding the nuances of each shooting mode equips you with the knowledge to leverage your camera’s capabilities effectively, ensuring that your imagery reflects your artistic vision and technical finesse.
One of the most commonly used shooting modes is “Auto” or “Program” mode, where the camera assumes control over most settings, including aperture and shutter speed, to deliver well-exposed images with minimal user intervention. This mode is ideal for beginners or situations where rapid image capture takes precedence over manual adjustments.
For enthusiasts seeking greater creative control, “Aperture Priority” mode allows you to set the desired aperture value while the camera automatically adjusts the corresponding shutter speed for optimal exposure. This mode is invaluable for manipulating depth of field and controlling the amount of light entering the lens, facilitating nuanced control over the visual impact of your images.
Conversely, “Shutter Priority” mode empowers you to specify the shutter speed, enabling precise control over motion blur and the depiction of dynamic subjects. This mode is particularly advantageous for sports photography, wildlife encounters, or any scenario where motion dynamics dictate the visual narrative.
Exploring “Manual” mode offers comprehensive control over both aperture and shutter speed, allowing for meticulous adjustment of exposure parameters to suit specific lighting conditions and creative objectives. While this mode demands a deeper understanding of exposure principles, it provides unparalleled flexibility for tailored image capture.
Additionally, many DSLR cameras feature specialized modes such as “Portrait,” “Landscape,” “Macro,” and “Night” modes, each optimized for the unique demands of these photographic genres. These modes streamline the camera’s settings to align with the respective shooting scenarios, affording convenience and optimized performance for capturing compelling images in diverse contexts.
Understanding the intricacies of shooting modes empowers you to select the most suitable mode for each photographic endeavor, ensuring that your camera’s settings harmonize with your creative vision and the environmental variables at play. By leveraging these modes effectively, you embark on a journey of nuanced image creation, where technical precision and artistic intent converge to produce captivating visual narratives that resonate with depth and authenticity.
Adjusting Focus and Exposure
Mastering the art of adjusting focus and exposure on your DSLR camera is pivotal to capturing images with precision, clarity, and visual impact. By deftly maneuvering through the camera’s focus and exposure controls, you can ensure that your subjects are rendered sharply and that the tonal nuances of the scene are faithfully preserved, fostering a seamless fusion of technical finesse and artistic intent.
When it comes to focus adjustment, your DSLR camera offers a range of autofocus modes and focus point selection options to suit diverse shooting scenarios. Utilizing single-point autofocus allows you to pinpoint the exact area of focus within the frame, ideal for precise subject isolation and selective focus. Alternatively, dynamic or zone autofocus modes facilitate adept subject tracking and continuous focus acquisition, ensuring sharpness and clarity in dynamic scenes or subjects in motion.
For scenarios that demand absolute precision and creative control, engaging manual focus empowers you to finely adjust the focus distance, particularly beneficial in macro photography, landscape imagery, and situations where autofocus may struggle to discern the intended point of focus.
Understanding exposure adjustment is equally crucial for refining the tonal rendition and dynamic range of your images. Utilizing the camera’s exposure compensation feature enables you to fine-tune the exposure values, compensating for challenging lighting conditions or intentionally deviating from the camera’s metered exposure settings to achieve a specific aesthetic or tonal emphasis.
Exploring exposure bracketing allows you to capture multiple exposures of the same scene at varying exposure values, facilitating the creation of high dynamic range (HDR) images or providing insurance against exposure inconsistencies, particularly in high-contrast scenes.
Moreover, the camera’s metering modes, such as evaluative, center-weighted, and spot metering, offer nuanced control over exposure evaluation, enabling you to tailor the camera’s exposure assessment to suit the scene’s characteristics and your creative intent.
By adeptly adjusting focus and exposure on your DSLR camera, you navigate the intricate interplay between technical precision and creative vision, ensuring that each image reflects your artistic intent with clarity, impact, and authenticity. This harmonious fusion of technical finesse and expressive intent fosters a seamless convergence of art and technology, culminating in captivating visual narratives that resonate with depth and emotional resonance.
Tips for Taking Great Photos
Embarking on a journey to capture exceptional photographs with your DSLR camera involves more than mastering technical settings—it requires a blend of artistic vision, creative exploration, and an intuitive understanding of the photographic process. By incorporating the following tips into your photographic endeavors, you can elevate your imagery with authenticity, visual impact, and compelling storytelling.
- Embrace Composition Principles: Familiarize yourself with composition techniques such as the rule of thirds, leading lines, and negative space. These principles guide the viewer’s gaze and imbue your images with visual harmony and narrative depth.
- Explore Diverse Perspectives: Experiment with varying vantage points and angles to infuse your images with dynamism and unique visual narratives. Whether it’s capturing a subject from a low angle to convey grandeur or adopting an aerial perspective for expansive landscapes, diverse viewpoints enrich your photographic repertoire.
- Harness Natural Light: Leverage the nuances of natural light to imbue your images with warmth, dimension, and evocative ambiance. Understanding the qualities of golden hour light, diffused overcast skies, and directional sunlight empowers you to craft images with captivating luminosity and emotional resonance.
- Seek Authentic Moments: Capture candid, unscripted moments that authentically convey emotion, connection, and human experiences. Whether it’s a fleeting expression, a spontaneous gesture, or a candid interaction, authentic moments infuse your images with narrative depth and emotional impact.
- Master Depth of Field: Manipulate aperture settings to control depth of field, allowing you to selectively emphasize subjects against artfully blurred backgrounds or maximize the sharpness of expansive scenes. This mastery of depth of field facilitates nuanced storytelling and visual emphasis.
- Embrace Post-Processing Creatively: Utilize post-processing tools to refine and enhance your images, whether it’s adjusting tonal balance, fine-tuning color rendition, or applying selective edits to accentuate specific elements. Post-processing serves as a creative extension of your photographic vision, enabling you to refine and amplify the visual impact of your images.
- Immerse Yourself in the Subject: Cultivate a deep understanding of your subjects, whether it’s nature, portraiture, architecture, or street photography. Immersing yourself in the subject matter fosters an intuitive connection that translates into images imbued with authenticity, reverence, and compelling storytelling.
- Balance Technical Precision with Artistic Intuition: Strive to achieve a harmonious balance between technical proficiency and creative intuition. While technical mastery ensures precision and fidelity, artistic intuition infuses your images with emotion, narrative depth, and personal resonance.
By integrating these tips into your photographic practice, you embark on a transformative journey of visual storytelling, where technical finesse and artistic expression converge to produce captivating imagery that resonates with depth, authenticity, and emotional resonance.