Introduction
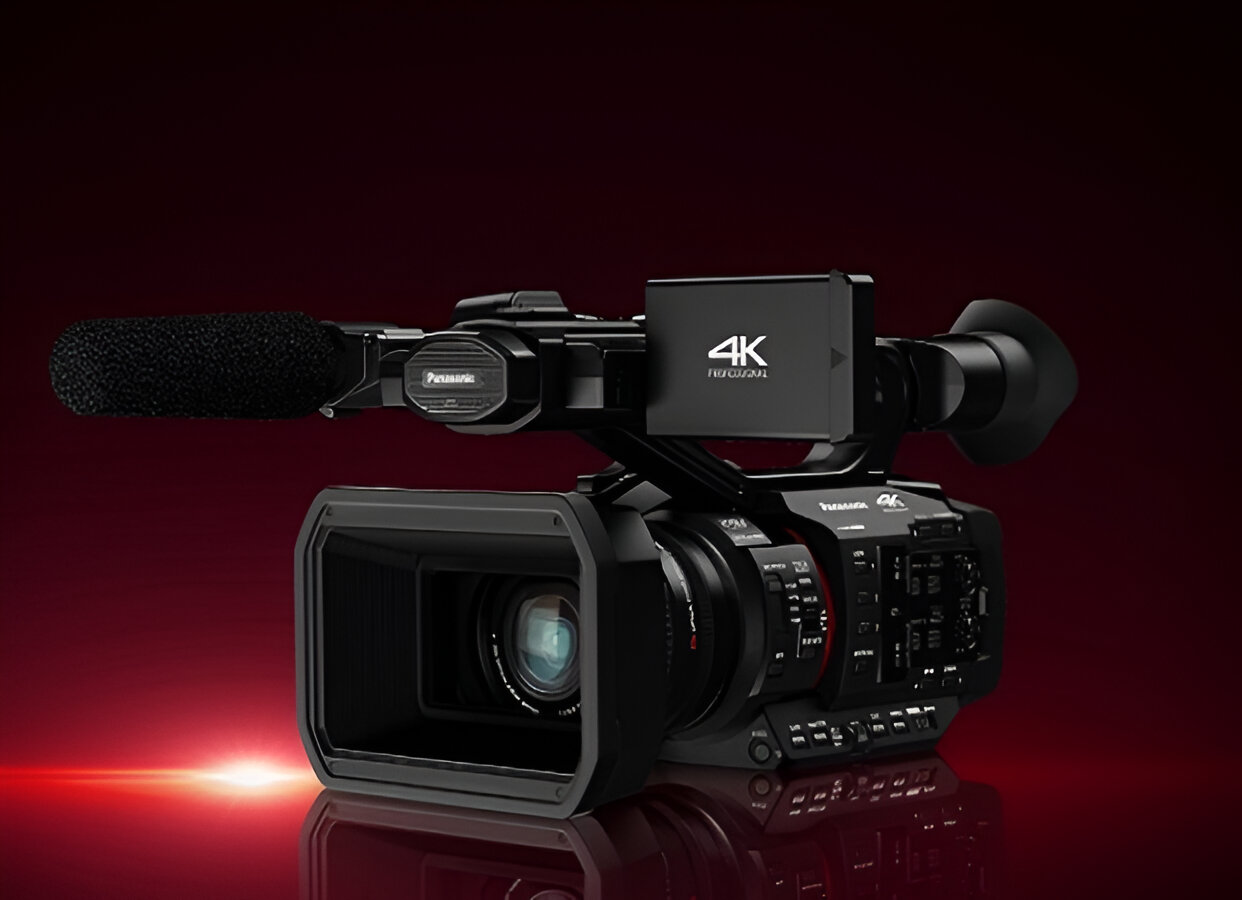
Welcome to the world of 4K video recording, where every detail is captured in stunning clarity and precision. Assembling a 4K video camcorder may seem like a daunting task, but with the right guidance, you can seamlessly bring together the components to unleash the full potential of your device. Whether you are a budding filmmaker, a vlogger, or a content creator, mastering the art of assembling a 4K video camcorder is essential for producing high-quality videos that captivate your audience.
In this comprehensive guide, we will walk you through the step-by-step process of assembling a 4K video camcorder, covering everything from unboxing the components to fine-tuning the settings. By the end of this tutorial, you will be equipped with the knowledge and confidence to set up your 4K video camcorder like a pro, ensuring that every recording session yields professional-grade results.
So, grab your camcorder, roll up your sleeves, and let's embark on this exciting journey to unlock the full potential of your 4K video recording device. Whether you are venturing into the world of videography for the first time or seeking to elevate your existing skills, this guide is tailored to empower you with the expertise needed to assemble and optimize your 4K video camcorder for unparalleled performance. Let's dive in and unleash the power of 4K video recording!
Step 1: Unboxing and Checking the Contents
The first step in assembling your 4K video camcorder is unboxing the package and meticulously checking the contents to ensure that everything is accounted for. Upon receiving your camcorder, handle the packaging with care, as it contains the essential components that will pave the way for your immersive videography experience.
As you unbox the package, you will typically find the following components:
- The 4K video camcorder body
- A high-resolution lens
- A rechargeable battery pack
- A power adapter and charging cable
- A microphone for capturing clear audio
- A user manual and warranty information
Once you have laid out all the components, carefully inspect each item to ensure that there are no visible signs of damage or missing parts. It is crucial to verify that the lens is free from scratches, the battery pack is intact, and all accompanying accessories are present and in pristine condition.
Additionally, take this opportunity to familiarize yourself with the various buttons, ports, and compartments on the camcorder body. This preliminary exploration will acquaint you with the physical layout of the device, setting the stage for a seamless assembly process in the subsequent steps.
By meticulously unboxing and checking the contents of your 4K video camcorder, you lay the groundwork for a smooth and successful assembly process. With all the components accounted for and in optimal condition, you are now ready to move on to the next step of attaching the lens to unlock the full potential of your camcorder.
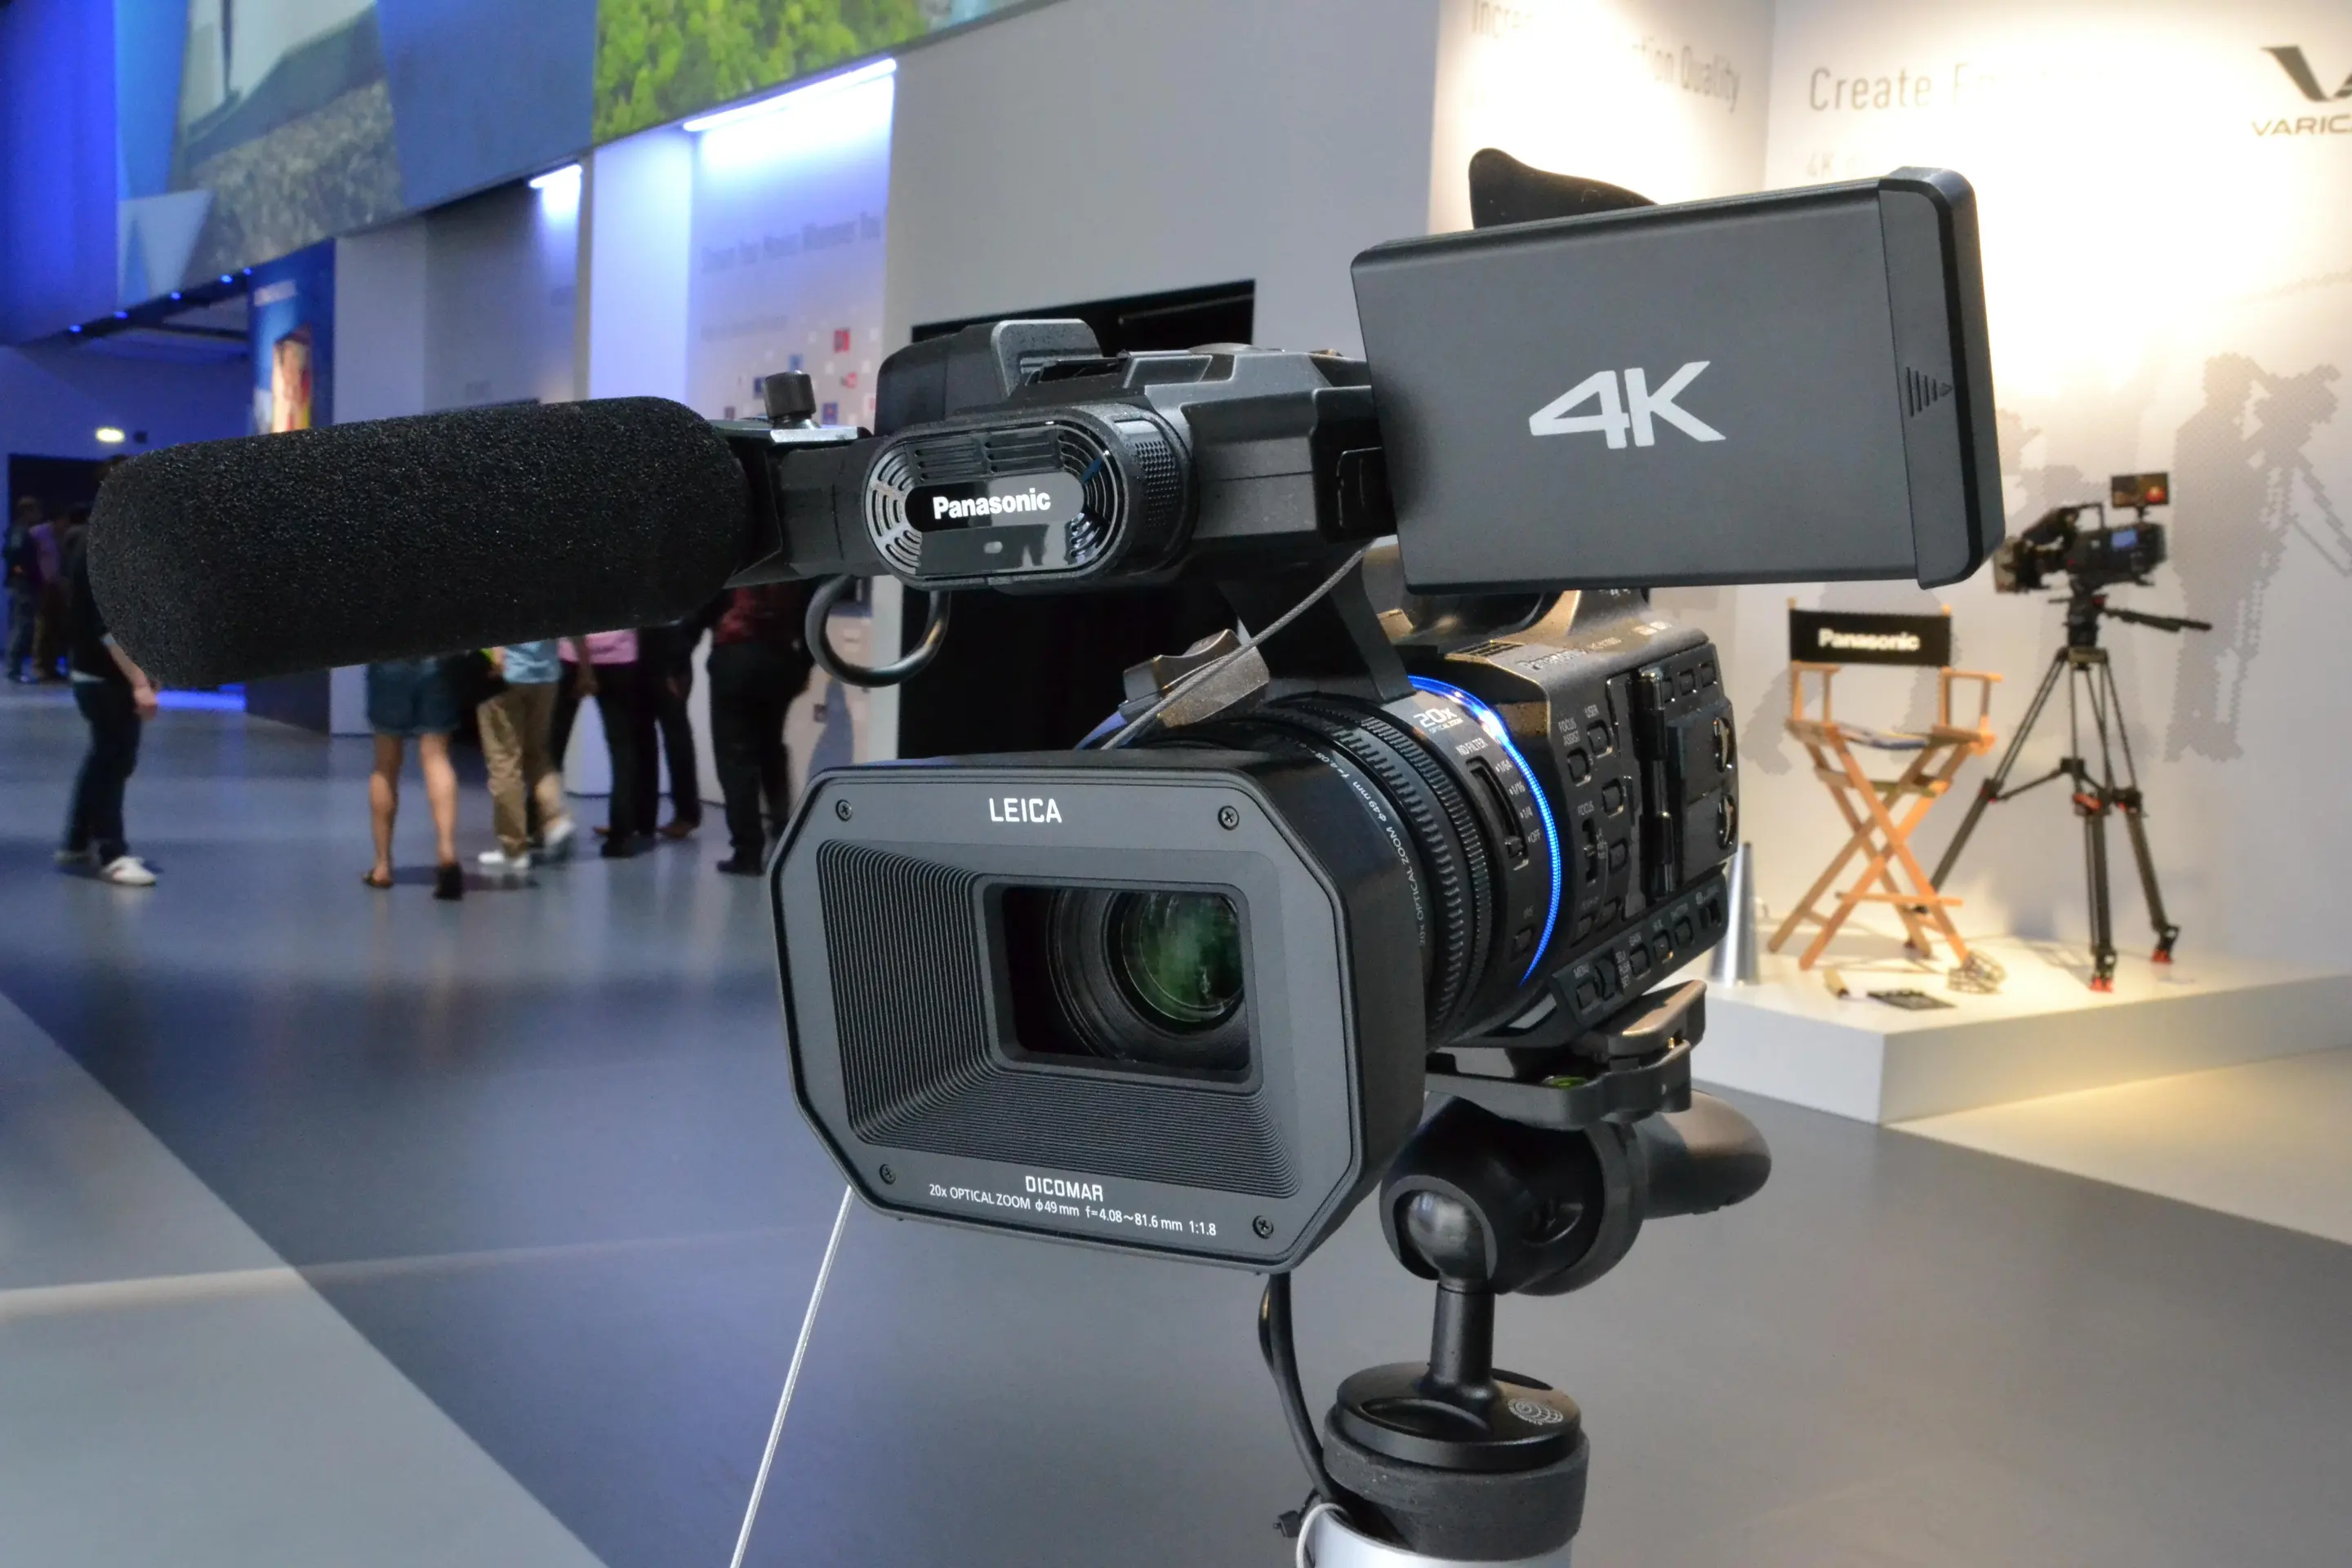
Step 2: Attaching the Lens
Attaching the lens to your 4K video camcorder is a pivotal step that directly impacts the quality and versatility of your recordings. The lens plays a crucial role in capturing sharp, detailed images and videos, making it essential to handle and install it with precision and care.
To attach the lens:
- Remove the protective cap from the lens mount on the camcorder body.
- Align the lens with the mount, ensuring that the alignment markers are matched.
- Gently rotate the lens in a clockwise motion until it locks into place with a satisfying click.
- Double-check the secure attachment of the lens to the camcorder body.
Once the lens is securely attached, take a moment to appreciate the seamless integration of this critical component. The lens serves as the window to your creative vision, allowing you to frame and capture captivating visuals with precision and clarity.
Before proceeding to the next step, it is advisable to inspect the lens for any smudges or dust particles that may have accumulated during the attachment process. Using a microfiber cloth, gently clean the lens to ensure that it remains free from any obstructions that could potentially affect the quality of your recordings.
With the lens successfully attached and meticulously maintained, you have unlocked a world of creative possibilities with your 4K video camcorder. The next step will involve inserting the battery and memory card, setting the stage for seamless recording sessions that harness the full potential of your device.
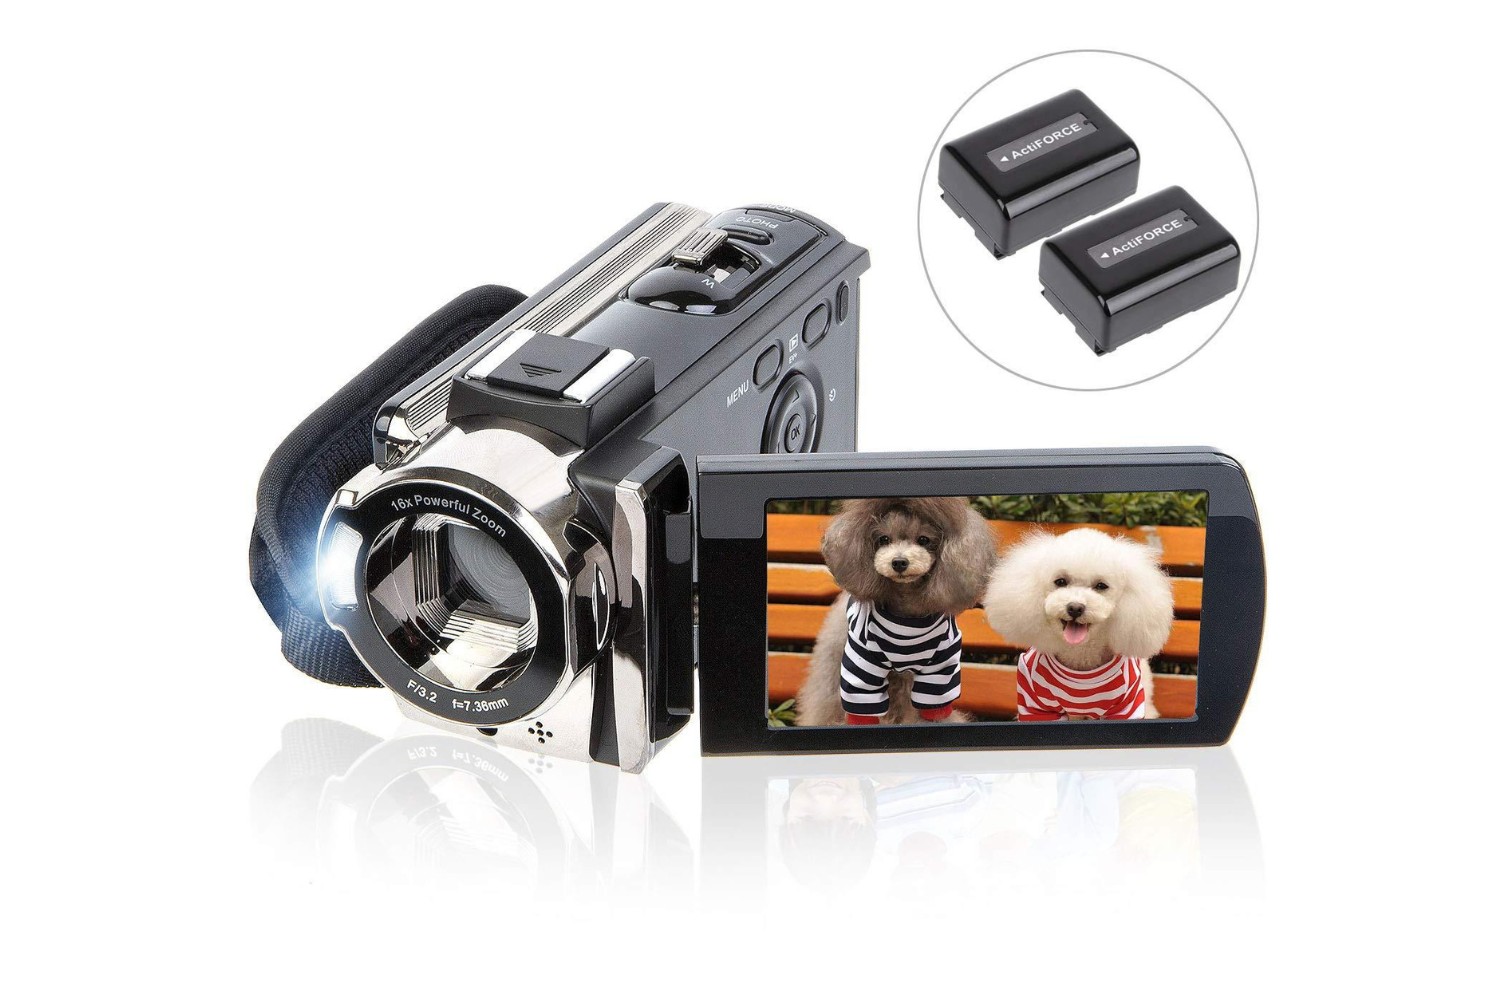
Step 3: Inserting the Battery and Memory Card
Powering up your 4K video camcorder and preparing it for recording requires the seamless insertion of the battery and memory card. These essential components are the lifeblood of your device, providing the necessary power and storage capacity to capture and preserve your creative endeavors.
To insert the battery and memory card:
- Locate the battery compartment on the camcorder body and open it using the designated release mechanism.
- Insert the fully charged battery pack into the compartment, ensuring that it securely fits in place.
- Close the battery compartment, ensuring a snug and secure closure.
- Locate the memory card slot on the camcorder and carefully insert the memory card, aligning it with the slot’s orientation guide.
- Gently press the memory card until it clicks into place, indicating a secure insertion.
Once the battery and memory card are successfully inserted, power on the camcorder to verify that it boots up and recognizes the memory card. This crucial step ensures that your device is ready to capture and store your recordings without any hiccups.
Before proceeding, it is advisable to format the memory card using the camcorder’s formatting function. Formatting the memory card prepares it for optimal performance and ensures compatibility with your device, safeguarding against potential data corruption during recording sessions.
With the battery providing the necessary power and the memory card offering ample storage capacity, your 4K video camcorder is now primed for action. The next step will involve attaching the microphone, a key component for capturing clear and immersive audio to complement your high-definition visuals.
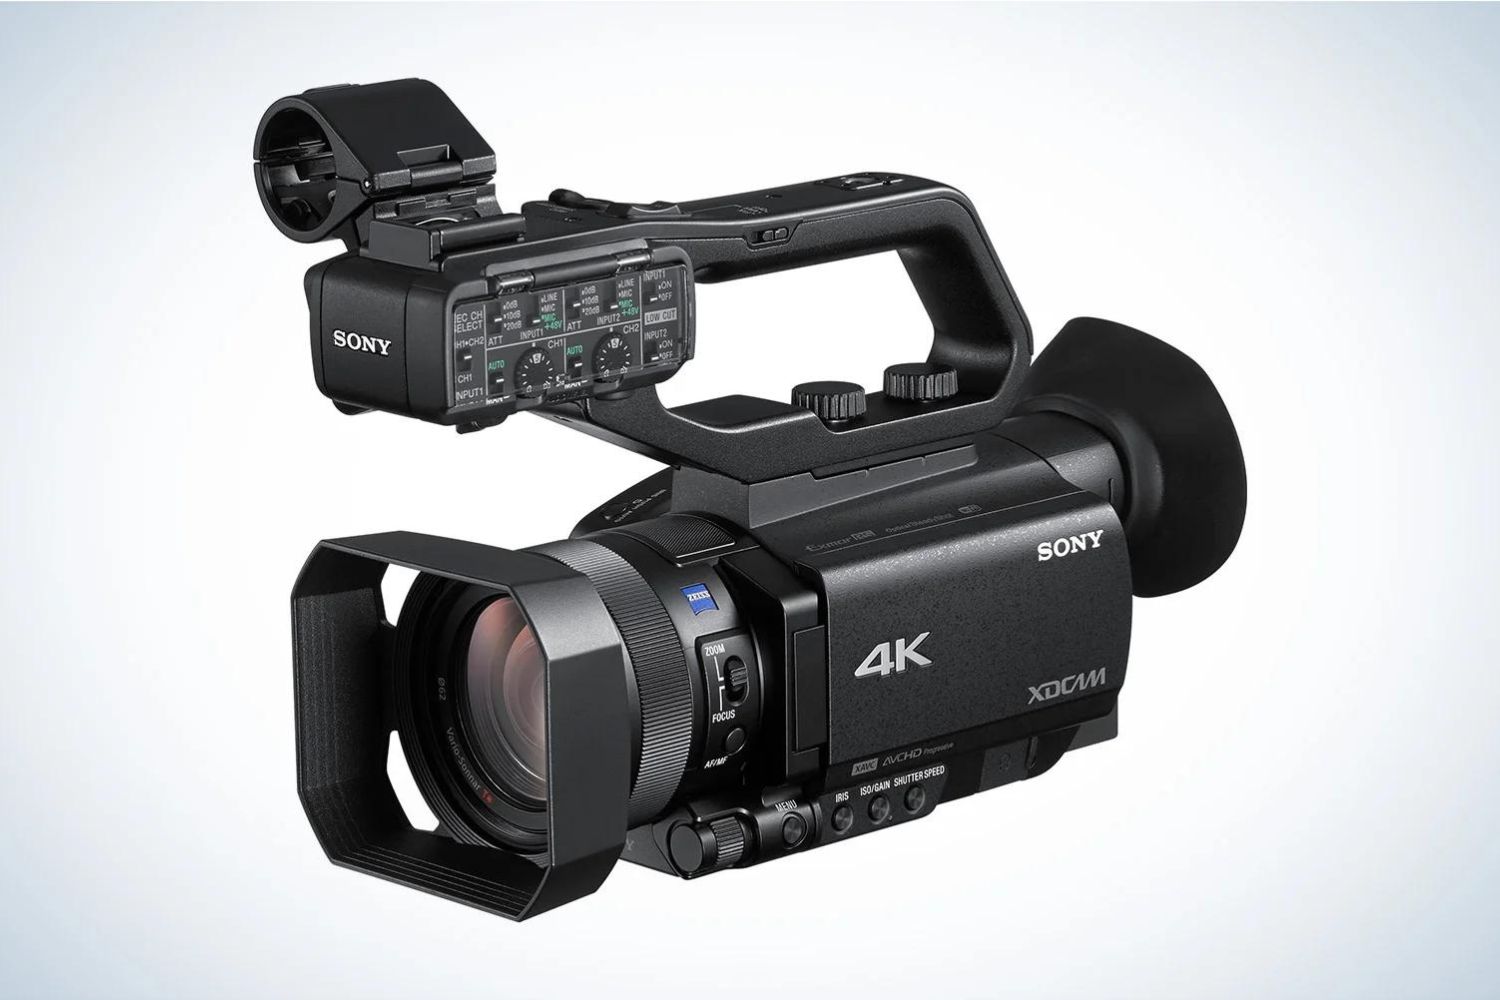
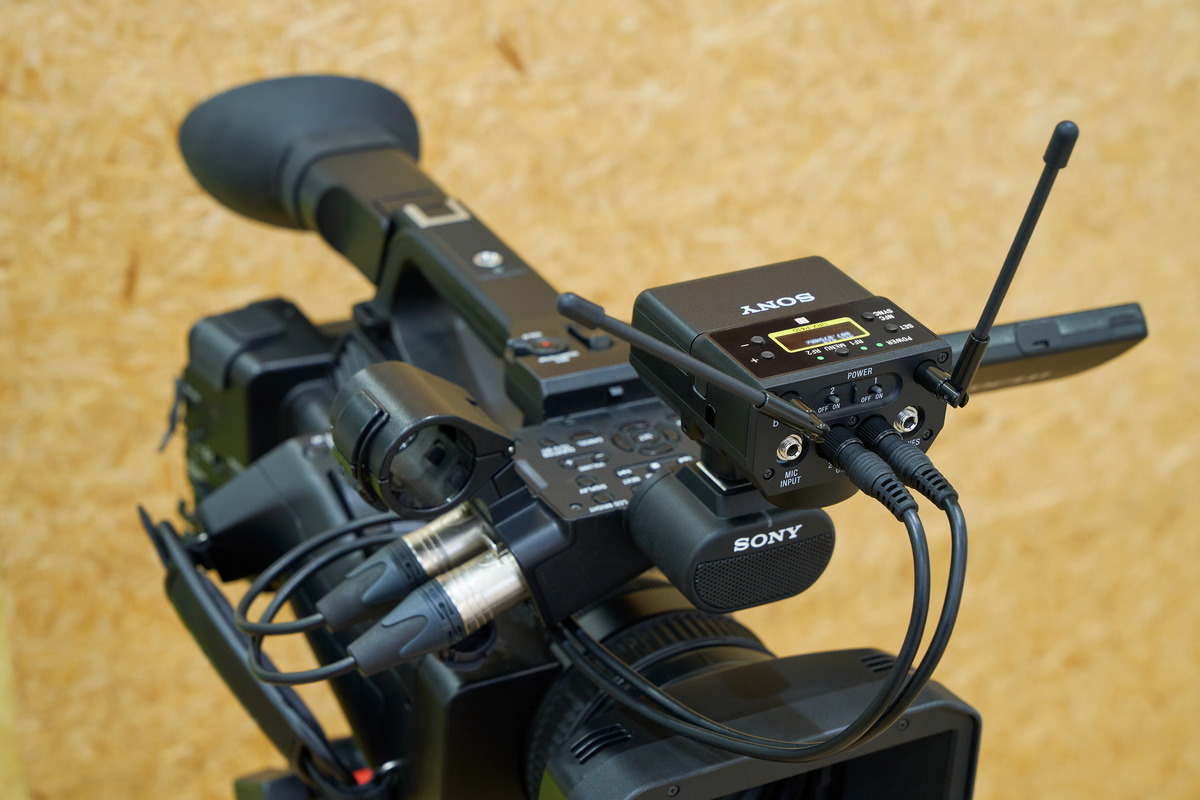
Step 4: Attaching the Microphone
Enhancing the audio quality of your 4K video recordings is paramount, and attaching a dedicated microphone to your camcorder is a crucial step in achieving pristine sound capture. Whether you are documenting a live event, conducting interviews, or narrating your visual storytelling, a high-quality microphone elevates the overall production value of your videos.
To attach the microphone:
- Locate the microphone input port on the camcorder body.
- Ensure that the microphone’s connector matches the port’s configuration for a proper fit.
- Gently insert the microphone’s connector into the designated input port, taking care not to force it in.
- Secure the microphone’s cable to prevent accidental disconnection during recording sessions.
Once the microphone is securely attached, take a moment to test its functionality by conducting a brief audio recording. This test allows you to verify that the microphone is properly recognized by the camcorder and is effectively capturing clear and crisp audio.
It is essential to position the microphone in a manner that optimizes sound capture for your specific recording scenario. Whether you are utilizing a shotgun microphone for directional audio or a lavalier microphone for hands-free convenience, positioning the microphone strategically can significantly enhance the audio immersion in your videos.
With the microphone seamlessly integrated into your setup, you are now equipped to capture not only visually stunning 4K footage but also immersive and high-fidelity audio. The next step will involve mounting the camcorder on a tripod, providing stability and flexibility for your recording sessions.
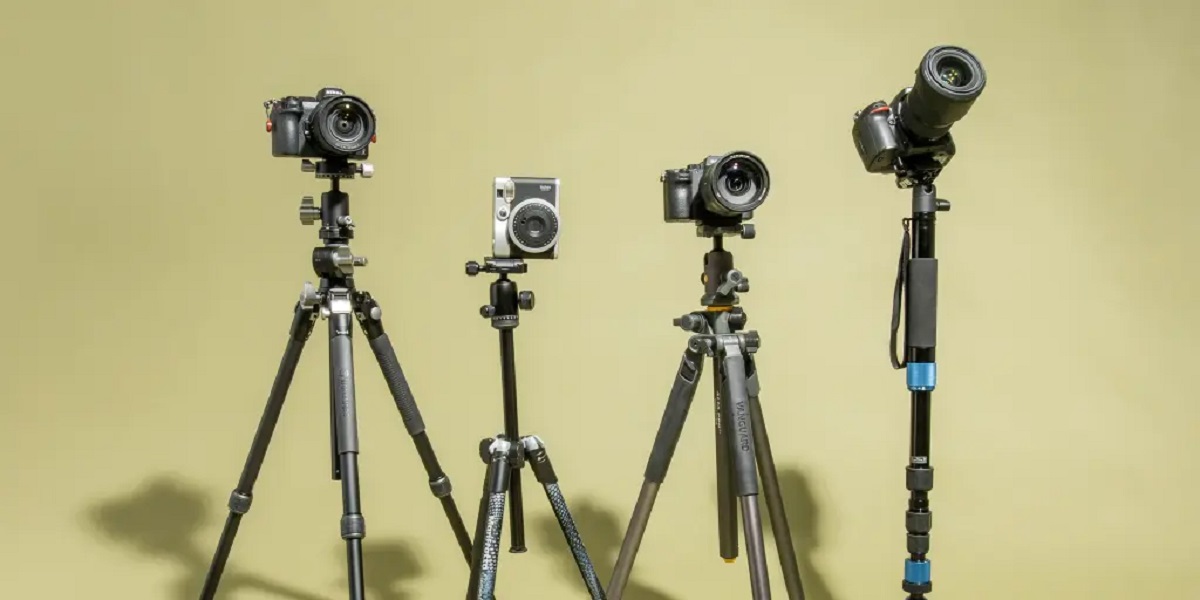
Step 5: Mounting the Camcorder on a Tripod
Stability and flexibility are essential for capturing professional-grade video footage, and mounting your 4K video camcorder on a tripod provides the foundation for steady and versatile recording sessions. Whether you are capturing dynamic scenes or conducting static interviews, a tripod offers the stability and control necessary to elevate the visual quality of your recordings.
To mount the camcorder on a tripod:
- Select a suitable location for your tripod, ensuring a level and stable surface to prevent any wobbling or tilting during recording.
- Securely attach the camcorder to the tripod’s mounting plate, ensuring that it is fastened snugly to prevent any potential slippage.
- Adjust the tripod’s height and position to achieve the desired framing and composition for your recordings.
- Secure the tripod’s position and ensure that it remains steady throughout your recording session.
Utilizing a tripod not only stabilizes your camcorder but also allows for smooth panning and tilting movements, enabling you to capture seamless and cinematic footage. Additionally, the ability to adjust the tripod’s height and angle empowers you to frame your shots with precision and creativity, enhancing the visual impact of your videos.
When mounting the camcorder on a tripod, consider the type of shots you intend to capture and the environment in which you will be recording. Whether you require a stationary setup for interviews or a mobile configuration for on-the-go filmmaking, the tripod serves as a versatile and indispensable tool for your videography endeavors.
With your camcorder securely mounted on a tripod, you are poised to embark on recording sessions with confidence, knowing that your footage will exude professionalism and visual finesse. The next step will involve adjusting the settings of your camcorder to optimize its performance for your specific recording requirements.
Step 6: Adjusting the Settings
Optimizing the settings of your 4K video camcorder is a pivotal step in tailoring its performance to suit your specific recording requirements. From adjusting the frame rate and resolution to fine-tuning the white balance and exposure, mastering the settings of your camcorder empowers you to capture stunning visuals with precision and control.
When adjusting the settings:
- Access the camcorder’s menu system and familiarize yourself with the available settings and options.
- Set the desired resolution and frame rate based on the level of detail and smoothness you wish to achieve in your recordings.
- Adjust the white balance to accurately represent the color temperature of the lighting conditions in your recording environment.
- Fine-tune the exposure settings to achieve optimal brightness and contrast for your footage.
- Explore additional settings such as focus modes, audio levels, and image stabilization to further customize your recording setup.
Understanding the impact of each setting on your recordings empowers you to craft visuals that align with your creative vision. Whether you aim to capture cinematic slow-motion sequences or vibrant, true-to-life colors, the ability to adjust the settings of your camcorder grants you full control over the visual aesthetics of your videos.
It is advisable to conduct test recordings while adjusting the settings, allowing you to assess the impact of each adjustment on the overall look and feel of your footage. This iterative process enables you to fine-tune the settings to achieve the desired visual quality and style for your recordings.
With the settings of your 4K video camcorder meticulously adjusted, you are now equipped to unleash its full potential, capturing visuals that resonate with your artistic sensibilities. The next step will involve testing the camcorder to ensure that all components are seamlessly integrated and optimized for superior performance.
Step 7: Testing the Camcorder
Before embarking on your actual recording sessions, it is crucial to conduct comprehensive tests to ensure that all components of your 4K video camcorder are seamlessly integrated and optimized for superior performance. Testing the camcorder allows you to verify the functionality of each feature and setting, providing the confidence and assurance that your recordings will meet the highest standards of quality.
When testing the camcorder:
- Initiate a test recording in a controlled environment to assess the visual and audio quality of the footage.
- Verify that the lens, microphone, and tripod are working harmoniously to capture stable, clear, and immersive recordings.
- Review the recorded footage to evaluate the impact of the adjusted settings on the overall visual aesthetics.
- Assess the battery life and storage capacity to ensure that they meet the demands of your recording sessions.
Conducting thorough tests allows you to identify and address any potential issues or discrepancies before embarking on actual recording projects. It also provides an opportunity to familiarize yourself with the operational nuances of your camcorder, ensuring that you can swiftly adapt to different recording scenarios with confidence and proficiency.
During the testing phase, consider experimenting with various shooting techniques and scenarios to gauge the versatility and adaptability of your camcorder. Whether you are capturing fast-paced action sequences or serene landscapes, testing the camcorder in diverse scenarios enables you to anticipate and prepare for the unique challenges and opportunities that each recording environment presents.
Upon completing the testing phase, take the time to review the recorded footage and assess the overall performance of your camcorder. This evaluation provides valuable insights that can inform future recording strategies and optimizations, ensuring that each recording session is characterized by exceptional quality and visual finesse.