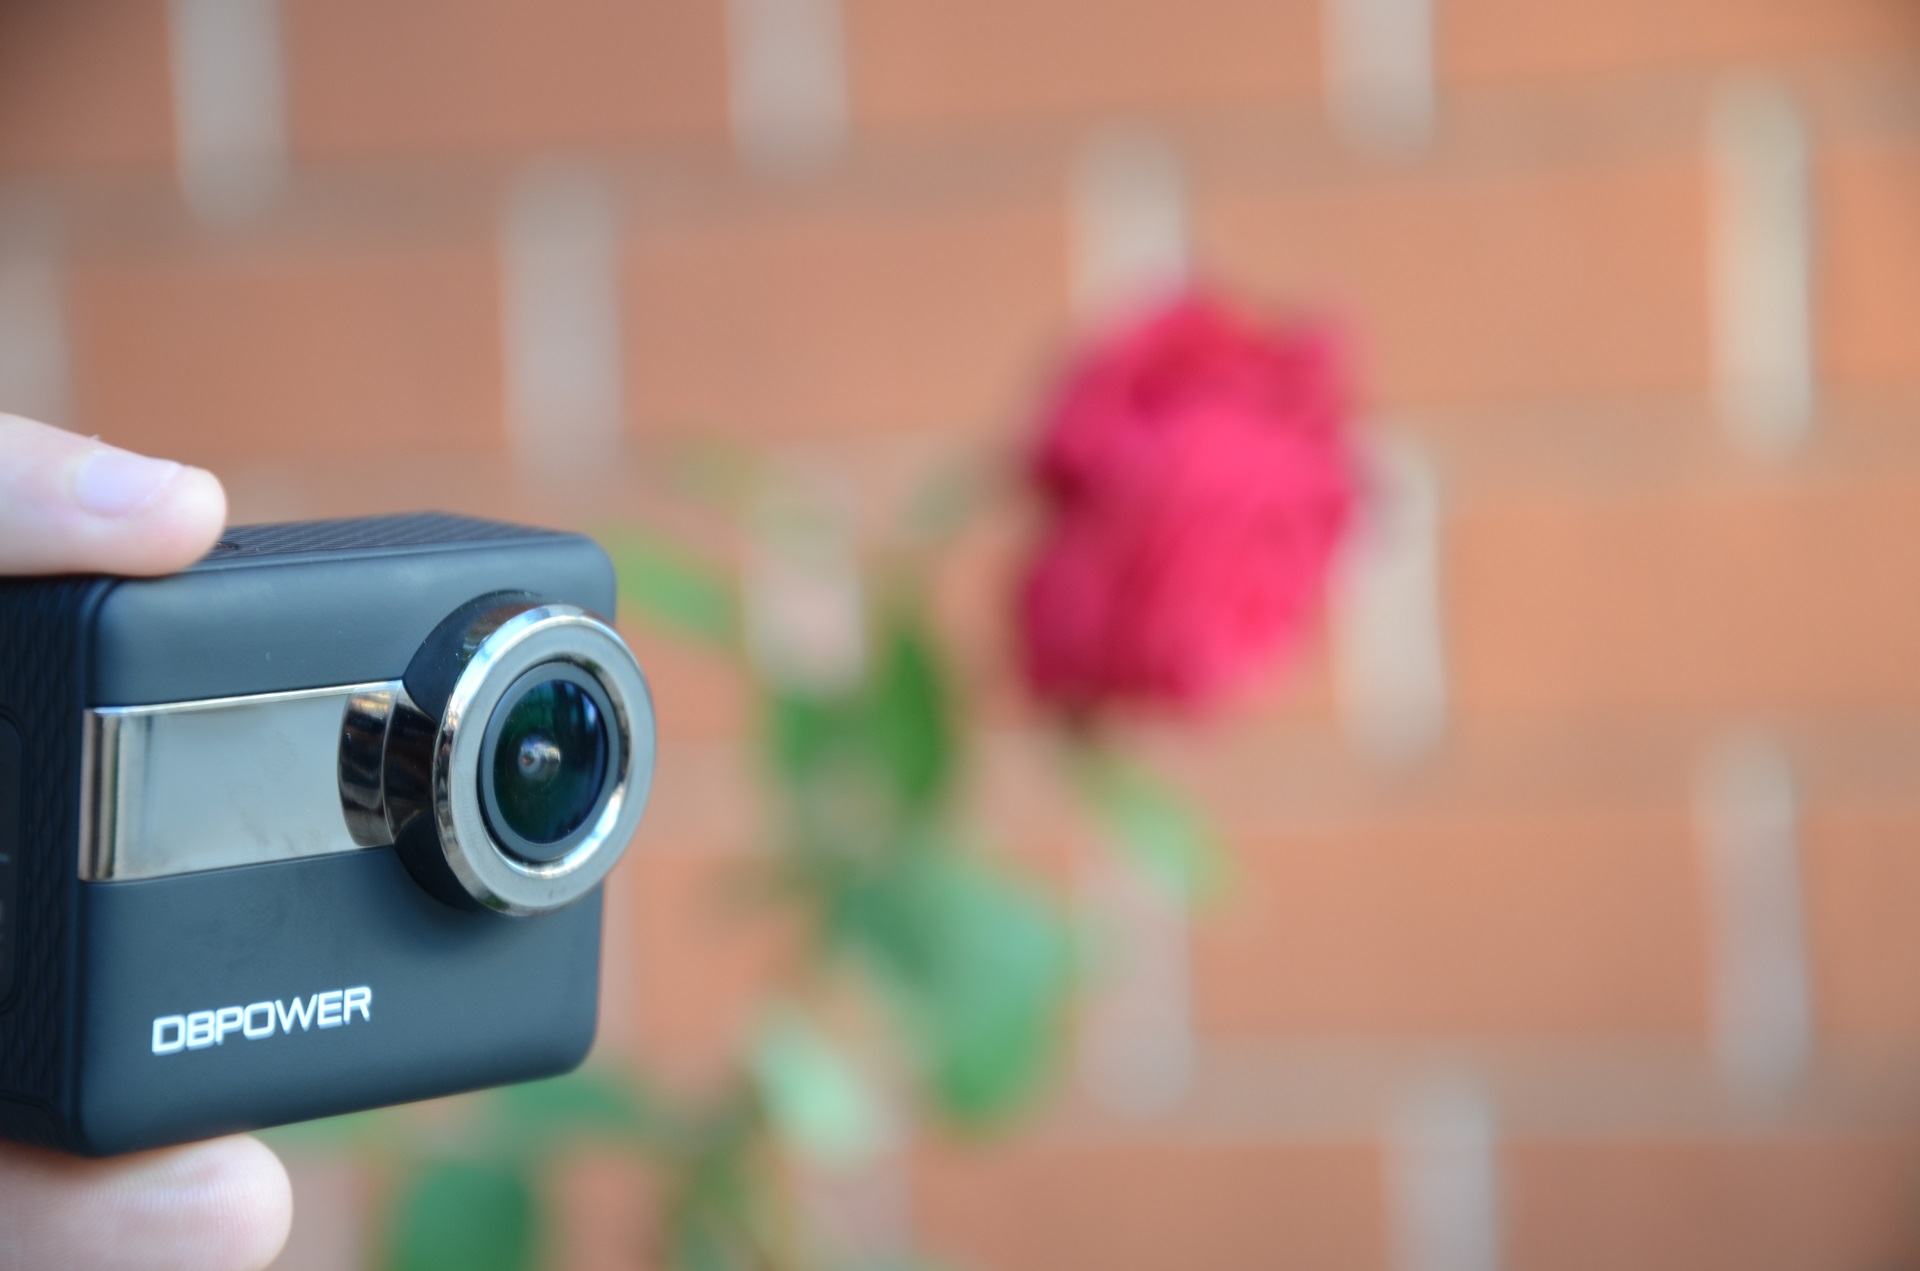
Introduction
Introduction
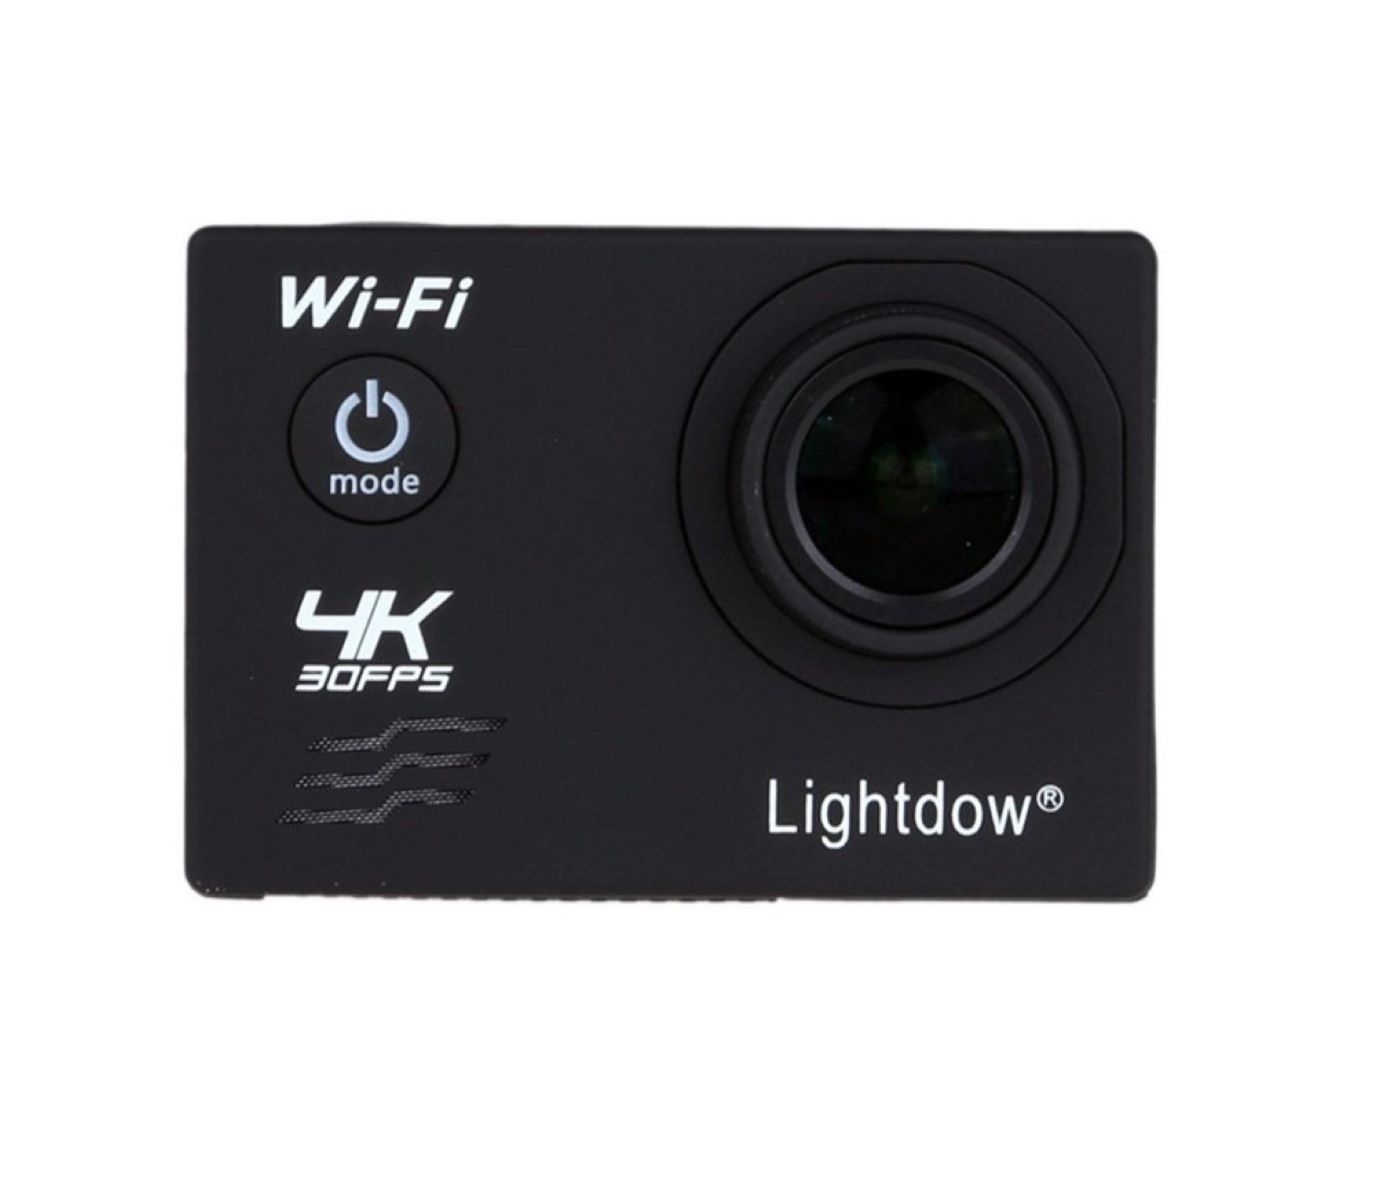
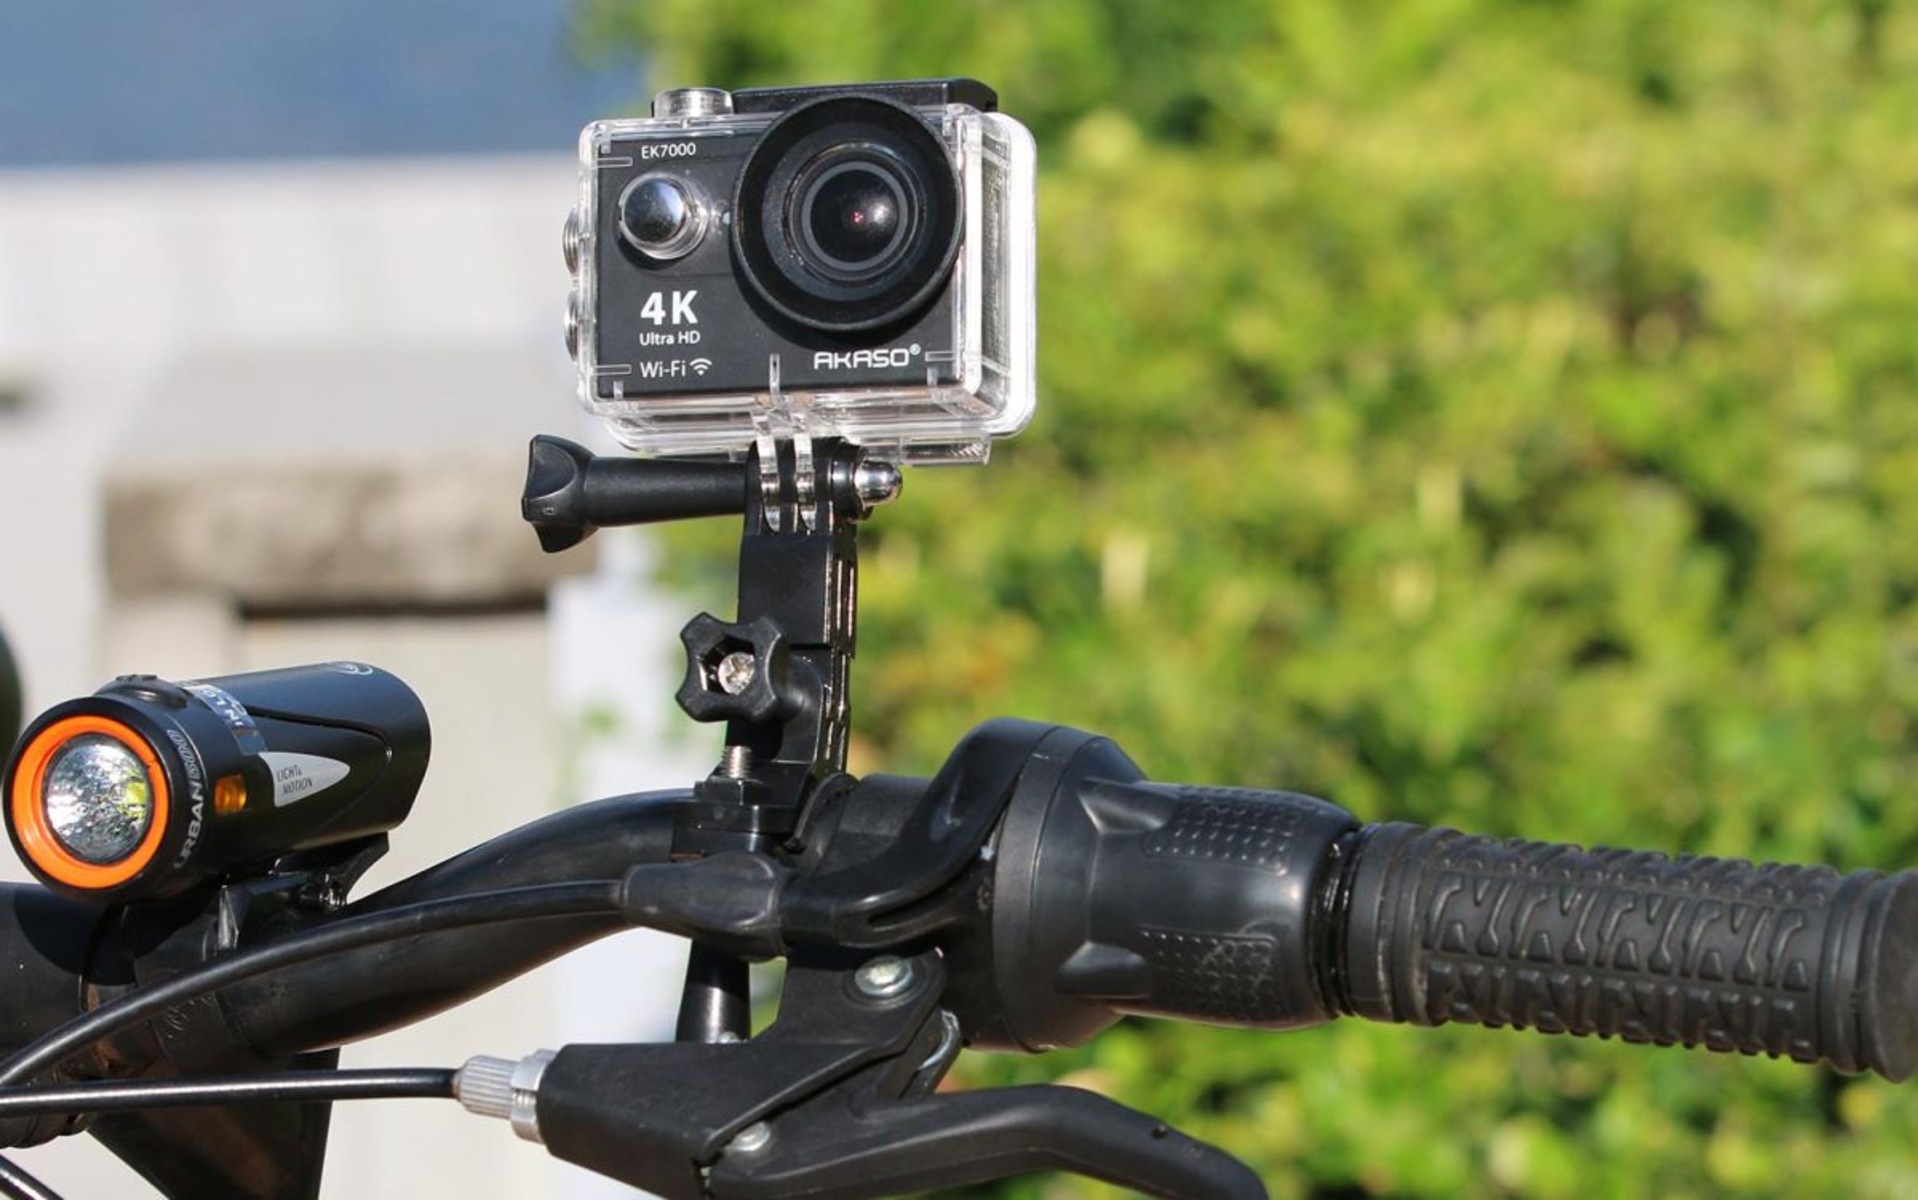
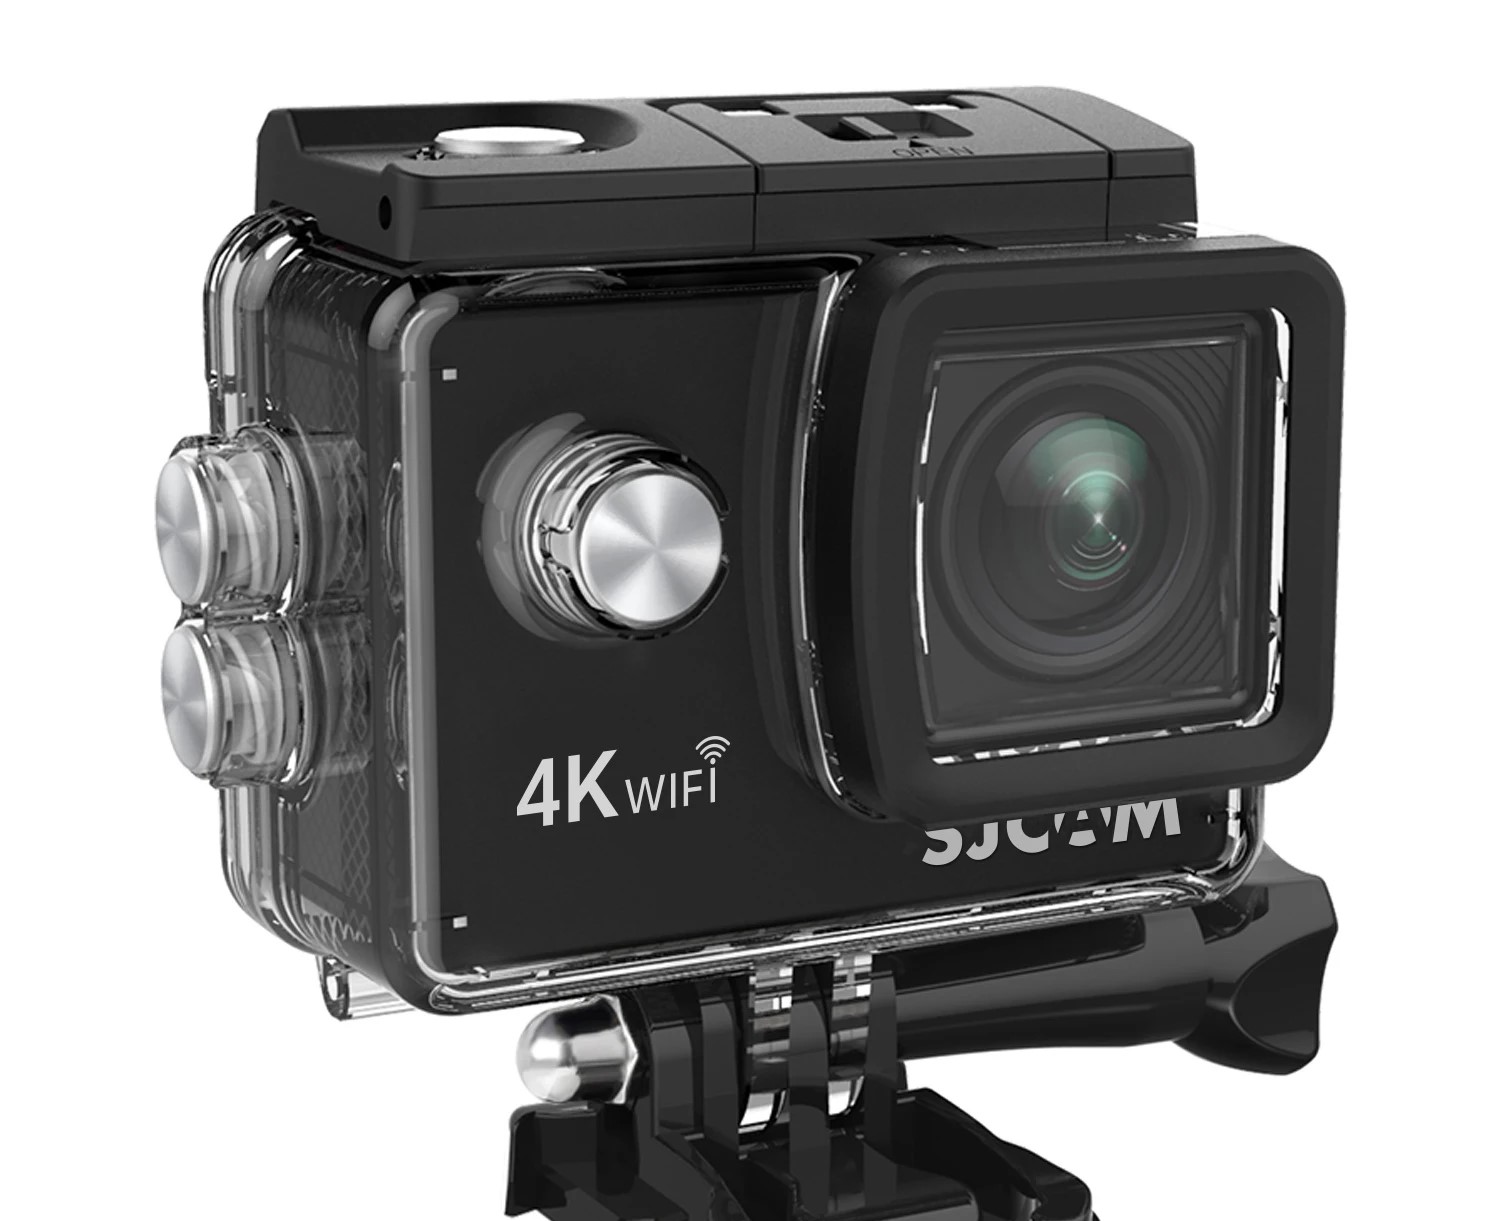
So, you've got your hands on a cutting-edge 4K Wi-Fi action camera, and you're eager to unleash its full potential by connecting it to Wi-Fi. Whether you're aiming to share your adrenaline-pumping adventures in real-time or simply seeking a convenient way to control your camera remotely, establishing a Wi-Fi connection is the key to unlocking a myriad of possibilities. In this comprehensive guide, you'll discover the step-by-step process to seamlessly connect your 4K Wi-Fi action camera to a Wi-Fi network. By following these instructions, you'll be well-equipped to harness the power of wireless connectivity and take your filming experience to new heights.
This guide is designed to demystify the sometimes daunting task of setting up a Wi-Fi connection for your action camera. From powering on the device to accessing the settings menu and navigating through the Wi-Fi setup, every crucial step will be laid out in a clear and concise manner. Moreover, you'll learn how to leverage the camera's dedicated app to effortlessly manage the Wi-Fi connection, providing you with unparalleled convenience and control. So, without further ado, let's delve into the process of connecting your 4K Wi-Fi action camera to Wi-Fi and embark on a seamless journey of capturing and sharing your most exhilarating moments.
Step 1: Powering on the Camera
Before embarking on the process of connecting your 4K Wi-Fi action camera to a Wi-Fi network, the first step involves powering on the device. This fundamental step sets the stage for initiating the Wi-Fi setup process and accessing the camera’s settings. Here’s a detailed walkthrough of how to power on your camera:
- Locate the Power Button: Begin by locating the power button on your 4K Wi-Fi action camera. The location of the power button may vary depending on the model, so refer to the user manual or familiarize yourself with the camera’s physical layout.
- Press and Hold the Power Button: Once you’ve identified the power button, press and hold it for a few seconds until the camera’s indicator lights illuminate, signaling that the device is powering on. Take note of any visual or audible cues that indicate the successful startup of the camera.
- Wait for the Initialization Process: After powering on the camera, allow it a few moments to initialize and prepare for operation. Depending on the camera model, you may see a manufacturer’s logo or a startup screen during this phase.
- Check the Battery Level: It’s advisable to check the battery level at this stage to ensure that the camera has an adequate charge for the Wi-Fi setup process. If the battery level is low, consider charging the camera before proceeding further.
By successfully powering on your 4K Wi-Fi action camera, you’ve laid the groundwork for navigating through the settings menu and initiating the Wi-Fi setup. With the device up and running, you’re now ready to delve into the subsequent steps that will guide you through the seamless process of connecting the camera to a Wi-Fi network.
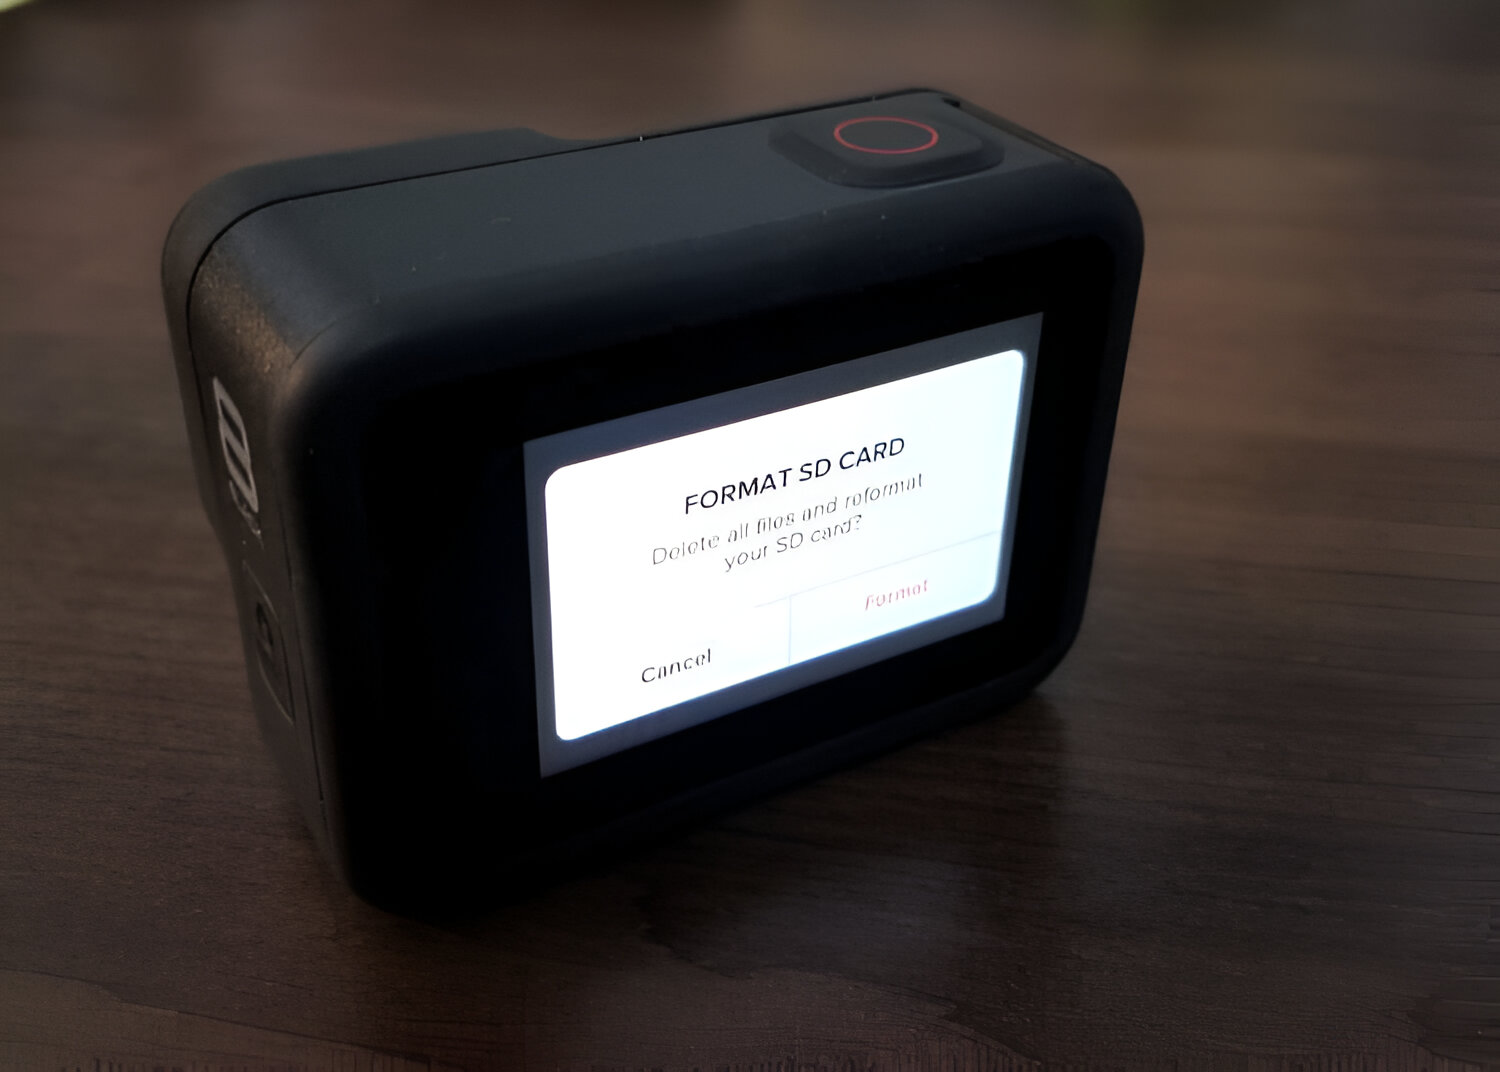
Step 2: Accessing the Settings Menu
Once your 4K Wi-Fi action camera is powered on, the next crucial step in the process of connecting it to a Wi-Fi network involves accessing the settings menu. Navigating through the settings menu allows you to configure the Wi-Fi connection and prepare the camera for wireless connectivity. Here’s a detailed guide on how to access the settings menu:
- Locate the Settings Icon: Begin by locating the settings icon or button on your camera. This may be represented by a gear symbol or an icon that denotes settings. Refer to the user manual for specific guidance on finding the settings interface.
- Press the Settings Button: Once you’ve located the settings icon, press the designated button to access the settings menu. Depending on the camera model, this action may prompt the display to transition to the settings interface, where you can adjust various parameters and configurations.
- Navigate to the Wi-Fi Option: Within the settings menu, navigate through the available options until you find the Wi-Fi setting. This option is pivotal for initiating the process of connecting your camera to a Wi-Fi network, enabling you to configure the wireless connectivity settings.
- Select the Wi-Fi Setting: Once you’ve located the Wi-Fi option, select it to enter the Wi-Fi setup interface. This is where you’ll be able to view available networks, input Wi-Fi credentials, and establish a connection to a wireless network.
By successfully accessing the settings menu and navigating to the Wi-Fi option, you’ve positioned yourself to proceed with the essential steps for connecting your 4K Wi-Fi action camera to Wi-Fi. The settings menu serves as the gateway to configuring the wireless connectivity settings, paving the way for seamless integration with a Wi-Fi network.
Step 3: Selecting the Wi-Fi Option
With the settings menu accessed, the next pivotal step in connecting your 4K Wi-Fi action camera to a Wi-Fi network involves selecting the Wi-Fi option within the settings interface. This step is instrumental in initiating the process of configuring the camera’s wireless connectivity settings. Here’s a detailed guide on how to select the Wi-Fi option:
- Navigate to the Wi-Fi Setting: Within the settings menu, navigate through the available options until you locate the Wi-Fi setting. This may involve scrolling through the settings interface or using directional buttons to highlight the Wi-Fi option.
- Highlight the Wi-Fi Option: Once you’ve located the Wi-Fi setting, highlight or select it to enter the Wi-Fi setup interface. This action will transition the display to the Wi-Fi configuration screen, where you’ll be able to view available networks and input Wi-Fi credentials.
- View Available Networks: Upon entering the Wi-Fi setup interface, the camera will scan for available Wi-Fi networks within range. Depending on the camera model, a list of detected networks will be displayed, allowing you to choose the network to which you intend to connect.
- Select the Desired Wi-Fi Network: From the list of available networks, select the Wi-Fi network to which you wish to connect your camera. This may involve using directional buttons or a touchscreen interface to navigate through the network options and make a selection.
By successfully selecting the Wi-Fi option and choosing the desired network from the available options, you’ve advanced further in the process of establishing a Wi-Fi connection for your action camera. This pivotal step sets the stage for inputting Wi-Fi credentials and initiating the connection process, bringing you closer to seamlessly integrating your 4K Wi-Fi action camera with a wireless network.
Step 4: Connecting to a Wi-Fi Network
Having selected the desired Wi-Fi network, the next critical step in the process of connecting your 4K Wi-Fi action camera to Wi-Fi involves establishing a secure and reliable connection to the chosen network. This step is pivotal in enabling wireless communication and remote control functionality for your camera. Here’s a detailed guide on how to connect to a Wi-Fi network:
- Input Wi-Fi Credentials: Upon selecting the desired Wi-Fi network, the camera will prompt you to input the necessary Wi-Fi credentials, such as the network’s password. Using the camera’s interface or app, carefully input the required information to authenticate and establish the connection.
- Confirm the Connection: After inputting the Wi-Fi credentials, confirm the connection to the selected network. This action will prompt the camera to initiate the connection process, whereby it will attempt to authenticate with the network using the provided credentials.
- Wait for Connection Confirmation: Upon confirming the connection, allow the camera a few moments to establish communication with the Wi-Fi network. Depending on the network’s security protocols and signal strength, the camera may take a brief moment to finalize the connection.
- Verify the Connection Status: Once the connection process is underway, verify the camera’s display or app interface to confirm that the connection to the Wi-Fi network has been successfully established. Look for indicators or status messages that denote a successful connection.
By successfully connecting your 4K Wi-Fi action camera to a Wi-Fi network, you’ve unlocked the potential for seamless wireless control, data transfer, and remote access to your camera’s features. This pivotal step solidifies the integration of your camera with the chosen network, paving the way for enhanced functionality and convenience in capturing and sharing your adventures.
Step 5: Using the Camera’s App to Control the Wi-Fi Connection
Now that your 4K Wi-Fi action camera is successfully connected to a Wi-Fi network, you can leverage the camera’s dedicated app to seamlessly control and manage the Wi-Fi connection. The app provides a user-friendly interface through which you can access advanced settings, remotely control the camera, and streamline the wireless connectivity experience. Here’s a comprehensive guide on how to use the camera’s app to control the Wi-Fi connection:
- Download and Install the App: Begin by downloading and installing the official app provided by the camera’s manufacturer. The app is typically available for download from the respective app stores, and its installation process is straightforward.
- Launch the App: Once the app is installed on your smartphone or tablet, launch it to initiate the connection process. Ensure that your mobile device is connected to the same Wi-Fi network to which your camera is linked for seamless communication.
- Access Wi-Fi Settings: Within the app’s interface, navigate to the Wi-Fi settings or connectivity options. This section allows you to view the current Wi-Fi connection status, manage network settings, and initiate remote control functionalities.
- Control Wi-Fi Functions: Through the app, you can remotely control various Wi-Fi functions, such as toggling the Wi-Fi connection on or off, adjusting network settings, and monitoring the signal strength and stability of the connection.
- Explore Advanced Features: The camera’s app may offer additional features for managing the Wi-Fi connection, such as initiating firmware updates, customizing network preferences, and enabling cloud-based services for seamless data synchronization and sharing.
By utilizing the camera’s app to control the Wi-Fi connection, you gain unparalleled flexibility and convenience in managing the wireless connectivity of your 4K action camera. The app serves as a powerful tool for streamlining the Wi-Fi setup, accessing advanced settings, and unlocking the full potential of wireless control and communication with your camera.
Conclusion
Congratulations! You’ve successfully navigated through the comprehensive process of connecting your 4K Wi-Fi action camera to a Wi-Fi network. By following the step-by-step guide outlined in this tutorial, you’ve gained the knowledge and confidence to seamlessly integrate your camera with a wireless network, unlocking a myriad of possibilities for capturing, controlling, and sharing your adventures. From powering on the camera to accessing the settings menu, selecting the Wi-Fi option, and establishing a secure connection, each step has paved the way for a seamless and efficient setup process.
By leveraging the camera’s dedicated app, you’ve further enhanced the wireless connectivity experience, gaining access to advanced settings, remote control functionalities, and a streamlined interface for managing the Wi-Fi connection. This integration empowers you to take full advantage of the camera’s capabilities, enabling you to capture stunning 4K footage, share your experiences in real-time, and exercise precise control over your filming endeavors.
As you embark on your journey with a connected 4K Wi-Fi action camera, remember to explore the diverse features and functionalities that wireless connectivity affords. Whether it’s remotely triggering the camera, adjusting settings on the fly, or seamlessly transferring content to your devices, the Wi-Fi connection opens up a world of convenience and creative possibilities.
With this newfound knowledge and hands-on experience, you’re well-equipped to harness the power of Wi-Fi connectivity and elevate your filming experience to new heights. Embrace the freedom and flexibility that comes with a seamlessly connected 4K Wi-Fi action camera, and embark on a thrilling adventure filled with breathtaking moments captured in stunning detail.