Introduction
Are you a content creator, podcaster, or musician looking to improve the quality of your recordings? Look no further than the Yeti USB Microphone. The Yeti is a versatile and high-quality microphone that offers professional-grade audio capture at an affordable price.
Whether you’re recording vocals, musical instruments, podcasts, or voice-overs, the Yeti USB Microphone ensures crystal-clear sound reproduction. Its plug-and-play functionality allows for easy setup without the need for complicated software installations or additional audio interfaces.
In this guide, we will walk you through the steps of setting up and using the Yeti USB Microphone to maximize its performance. From connecting the microphone to your computer to adjusting the settings and choosing the right polar pattern, we’ve got you covered.
Using the Yeti USB Microphone is a breeze for both beginners and professionals alike. With its user-friendly interface and versatile features, it’s no wonder why the Yeti has become a go-to choice for many audio enthusiasts.
In the following sections, we will provide detailed instructions on how to set up the Yeti USB Microphone, adjust its settings, and troubleshoot any common issues that may arise. We’ll also share some tips to help you achieve the best sound quality possible.
So, if you’re ready to take your audio recordings to the next level, let’s dive into the world of the Yeti USB Microphone. Get ready to unleash your creativity and produce professional-grade audio with ease!
What is the Yeti USB Microphone?
The Yeti USB Microphone is a top-notch microphone designed for recording high-quality audio. It is renowned for its exceptional sound clarity, versatility, and user-friendly functionality. The Yeti is manufactured by Blue Microphones, a leading brand in professional audio equipment.
One of the standout features of the Yeti USB Microphone is its plug-and-play capability. This means that you can simply connect it to your computer via the USB cable, and it’s ready to use without the need for any additional drivers or software installations. This makes it incredibly convenient and accessible for both beginners and experienced users.
The Yeti USB Microphone boasts a range of features that set it apart from other microphones on the market. It offers multiple recording patterns, including cardioid, stereo, omnidirectional, and bidirectional, allowing you to choose the most suitable pattern for your recording needs. Whether you’re recording solo vocals, interviews, musical instruments, or group discussions, the Yeti has got you covered.
Another noteworthy feature of the Yeti USB Microphone is its built-in headphone jack. This allows for direct monitoring of your recordings, eliminating any latency issues and providing real-time feedback on the audio quality. Additionally, the microphone has convenient controls on the front that allow for effortless adjustments of volume and microphone gain.
The Yeti USB Microphone is compatible with both Windows and Mac operating systems, making it a versatile choice for users across different platforms. It also delivers exceptional audio quality, capturing every detail with precision and accuracy.
Whether you’re a podcaster, YouTuber, musician, voice actor, or content creator, the Yeti USB Microphone is an excellent investment. It offers professional-grade sound reproduction at an affordable price, allowing you to enhance the overall quality of your recordings.
In the next sections, we’ll delve into the step-by-step process of setting up the Yeti USB Microphone, configuring its settings, and optimizing the sound quality to ensure you get the best results possible. So let’s get started on your journey to professional-grade audio with the Yeti USB Microphone!
Setting Up the Yeti USB Microphone
Setting up the Yeti USB Microphone is a straightforward process that requires minimal effort. Follow these simple steps to get your microphone up and running:
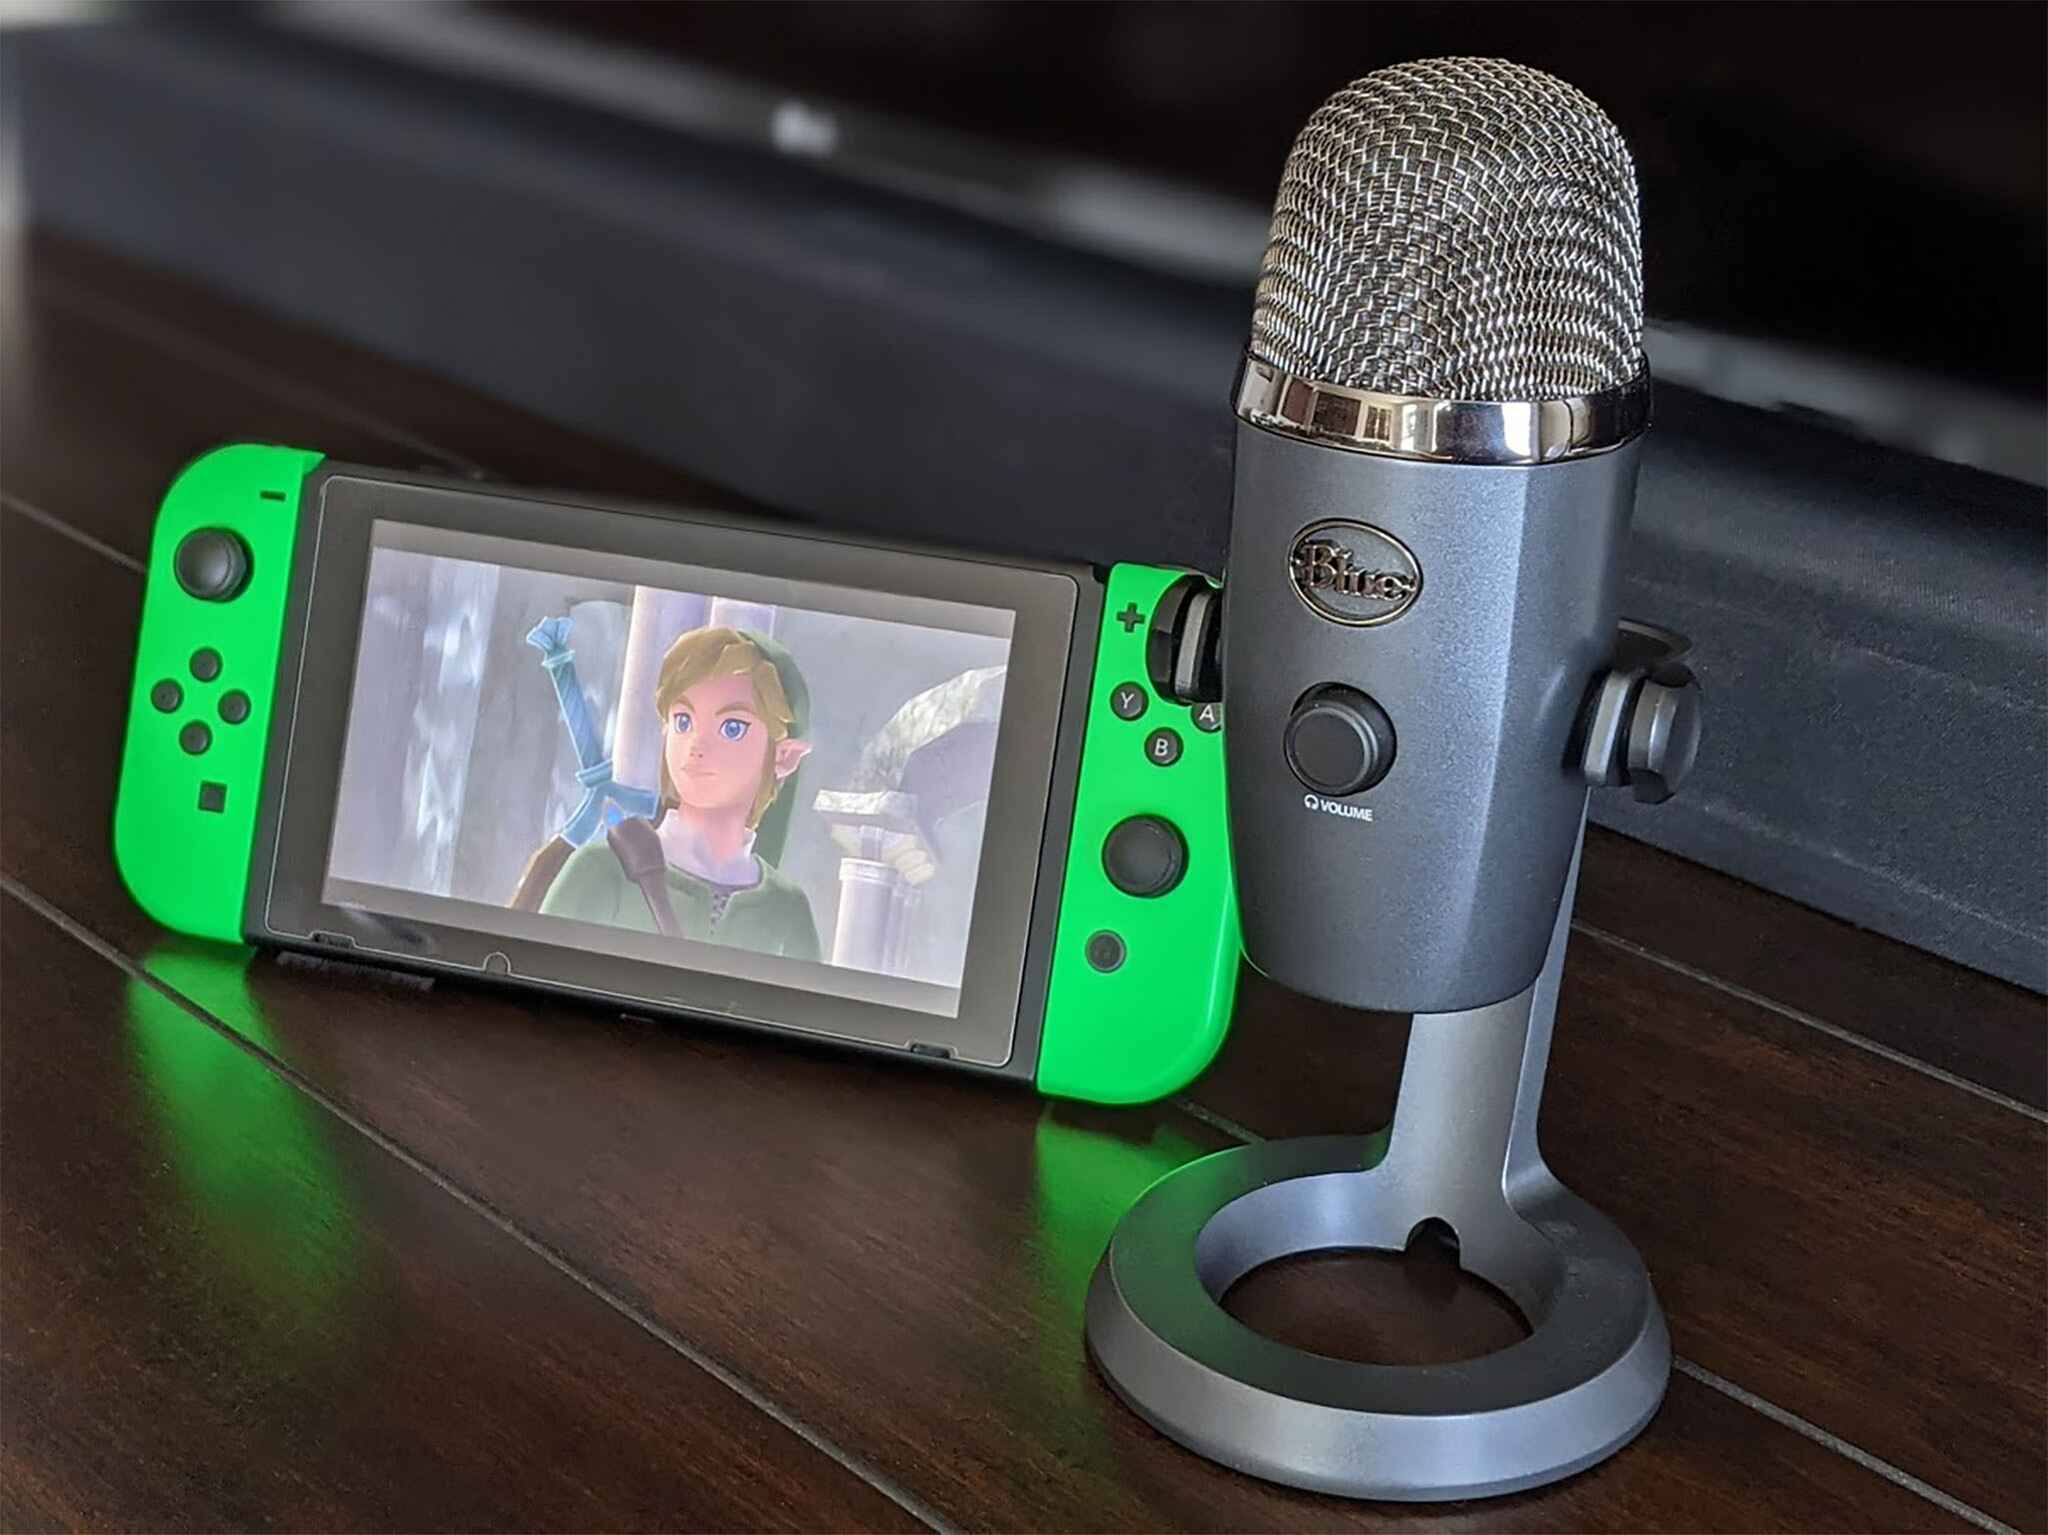
1. Find a suitable location: Choose a stable surface for your microphone, such as a desk or microphone stand. Make sure it is positioned at a comfortable height and angle for optimal recording.
2. Unbox the microphone: Carefully remove the microphone from its packaging and ensure all the necessary components are present, including the USB cable and any additional accessories.
3. Connect the USB cable: Take the USB cable provided with the Yeti and plug one end into the microphone’s USB port. For most models, the USB port can be found at the bottom of the microphone.
4. Connect to your computer: Insert the other end of the USB cable into an available USB port on your computer. Ensure that the connection is secure to prevent any audio disruptions during use.
5. Power on the microphone: Once connected, the Yeti USB Microphone will automatically turn on. You will see the indicator light illuminate, indicating that the microphone is ready for use.
6. Adjust the microphone settings: Depending on your operating system, you may need to adjust the audio settings on your computer to recognize the Yeti USB Microphone as the default audio input device. Refer to your system’s documentation or settings menu for the specific steps required.
7. Test the microphone: Open your preferred recording software or a simple voice-recording application and speak into the microphone. Monitor the audio levels on your computer to ensure that the sound is being captured properly.
8. Fine-tune as needed: If you find that the volume or sound quality needs adjustment, you can fine-tune the microphone settings using the controls located on the front of the Yeti. Experiment with the microphone gain and headphone volume until you achieve the desired sound.
That’s it! With these steps, you have successfully set up your Yeti USB Microphone. Now you’re ready to start capturing high-quality audio for your podcasts, voice-overs, music recordings, interviews, and more.
In the next section, we will explore how to adjust the settings on the Yeti USB Microphone to further optimize your recording experience.
Connecting the Yeti USB Microphone to Your Computer
Connecting the Yeti USB Microphone to your computer is a simple process that allows you to start using the microphone for recording purposes. Here’s how you can connect the Yeti to your computer:
1. Locate an available USB port on your computer: Look for a USB port on your computer where you can plug in the Yeti USB cable. USB ports are typically located on the front, back, or sides of your computer tower or on the side of your laptop.
2. Plug in the USB cable: Take the USB cable provided with the Yeti and connect one end into the USB port on your computer. Ensure that the connection is secure.
3. Connect the other end of the cable to the Yeti: Take the other end of the USB cable and plug it into the USB port located at the bottom of the Yeti microphone. Make sure the connection is secure to ensure proper functionality.
4. Wait for the computer to recognize the microphone: Once you’ve connected the Yeti USB Microphone to your computer, give it a few moments. Your computer should automatically recognize the new device and install any necessary drivers.
5. Check the device settings on your computer: After the microphone is recognized, you’ll want to ensure that it is set as the default audio input device on your computer. To do this, access the sound settings in your computer’s control panel or system preferences and select the Yeti USB Microphone as the default input device.
6. Test the microphone: Open your preferred recording software or a simple voice-recording application and speak into the Yeti microphone. Check the audio levels on your computer to ensure that it is capturing sound properly. Adjust the microphone gain or volume settings if necessary.
By following these steps, you can easily connect the Yeti USB Microphone to your computer and start using it for recording purposes. Whether you’re recording vocals, instruments, podcasts, or any other audio content, the Yeti provides exceptional sound quality and ease of use.
In the next section, we will explore how to adjust the settings on the Yeti USB Microphone to customize your recording experience and achieve the desired sound quality.
Adjusting the Settings on the Yeti USB Microphone
The Yeti USB Microphone offers various settings that allow you to customize your recording experience and achieve the best sound quality possible. Here are some key settings you can adjust on the Yeti:
1. Microphone Gain: The microphone gain controls the sensitivity of the microphone’s audio input. Adjusting the gain can help amplify or reduce the volume of your recordings. You can find the gain control dial on the front of the Yeti. Turn it clockwise to increase the gain and counter-clockwise to decrease it. Experiment with different gain levels to find the optimal setting for your recording.
2. Polar Patterns: The Yeti USB Microphone features four polar patterns – cardioid, stereo, omnidirectional, and bidirectional. Each pattern captures sound from different directions, allowing you to adapt to various recording scenarios. You can select the desired polar pattern using the pattern selector switch located on the back of the microphone. Choose cardioid for solo vocals or instruments, stereo for capturing sounds from multiple sources, omnidirectional for capturing sounds from all directions, and bidirectional for interviews or two-person recordings.
3. Headphone Volume: The Yeti USB Microphone has a built-in headphone jack for direct monitoring of your recordings. This allows you to listen to the audio in real-time without any latency issues. Adjust the headphone volume using the headphone control dial on the front of the microphone to ensure clear and balanced monitoring.
4. Mute Button: The Yeti USB Microphone has a convenient mute button located on the front. This button allows you to instantly mute the microphone’s audio output. It comes in handy when you need privacy during a recording session or when you want to pause the audio input temporarily.
5. Monitor Mix Control (On Yeti X Model): If you have the Yeti X model, you’ll have access to the monitor mix control. This feature allows you to adjust the balance between your computer audio and microphone input directly on the microphone. If you’re recording with background music or need to monitor audio from other applications, you can easily adjust the mix to your preference.
Experimenting with these settings will help you achieve the desired sound quality for your recordings. Remember to regularly monitor your audio levels and make adjustments as needed to ensure optimal recording quality.
In the next section, we will explore the different polar patterns provided by the Yeti USB Microphone and when to use each one for various recording scenarios.
Selecting the Right Polar Pattern for Your Recording
The Yeti USB Microphone offers four different polar patterns – cardioid, stereo, omnidirectional, and bidirectional. Each polar pattern is designed to capture sound from specific directions, making it crucial to choose the right pattern for your recording needs. Here’s a breakdown of each pattern and when to use them:
1. Cardioid: The cardioid polar pattern is ideal for recording a single sound source directly in front of the microphone. It captures sound from the front while minimizing background noise from the sides and rear. This pattern is perfect for vocal recordings, podcasting, voice-overs, and solo instrument recordings. Position yourself directly in front of the microphone for the best results.
2. Stereo: The stereo polar pattern captures sound from the left and right sides of the microphone, creating a realistic stereo effect. It’s suitable for recording instruments, choirs, and ambient sounds, as it provides a broader audio image. To optimize stereo recording, position the sound source in the center and ensure it’s within the microphone’s capture range.
3. Omnidirectional: The omnidirectional polar pattern captures sound from all directions equally. It’s ideal for capturing sound in a room, picking up multiple sources, or recording group discussions. Use the omnidirectional pattern when you want to create a sense of “being in the room” or capturing the ambiance of the surroundings. Place the microphone in the center of the sound source or in a central location in the room for balanced audio capture.
4. Bidirectional: The bidirectional polar pattern picks up sound from the front and back of the microphone while rejecting sound from the sides. It’s perfect for recording interviews, duets, or two-person podcasts. Position the two sound sources directly in front and behind the microphone for optimal audio capture.
To select the desired polar pattern on the Yeti USB Microphone, locate the pattern selector switch on the back of the microphone. Rotate the switch to the desired pattern, ensuring it clicks into place.
Experiment with different polar patterns to find the most suitable one for your recording scenario. Consider the number of sound sources, the directionality of the audio you want to capture, and the level of ambient noise in your environment when making your selection.
In the next section, we will share some valuable tips to help you maximize sound quality and get the best recordings with the Yeti USB Microphone.
Tips for Getting the Best Sound Quality with the Yeti USB Microphone
To ensure optimal sound quality when using the Yeti USB Microphone, consider implementing the following tips:
1. Proper microphone placement: Position the microphone at the appropriate distance from the sound source. For vocals, aim for a distance of around 6-8 inches to avoid plosive sounds and achieve a balanced tone. Experiment with placement to find the sweet spot for your specific recording needs.
2. Use a pop filter: To minimize plosive sounds and excessive sibilance, consider using a pop filter. This accessory attaches to the front of the microphone and helps reduce the harsh bursts of air that can occur when pronouncing certain words or sounds.
3. Control background noise: To achieve clean and clear recordings, minimize background noise as much as possible. Choose a quiet environment for recording, close windows, and reduce any potential sources of noise like fans or air conditioning units. If background noise is unavoidable, consider using noise reduction software during post-production.
4. Experiment with microphone gain: Adjust the microphone gain setting to capture the desired volume level without introducing distortion. Start with a moderate gain level and make fine adjustments to achieve the best balance between clarity and volume.
5. Monitor your audio levels: Keep an eye on the audio levels while recording to ensure your sound isn’t too low or too high. Aim for levels that peak around -12 dB to -6 dB for optimal headroom and avoid clipping or distortion.
6. Take advantage of the headphone monitoring: Use the built-in headphone jack to monitor your audio in real-time. This allows you to detect any unwanted noises, adjust your technique, or make immediate corrections during recording.
7. Consider acoustic treatment: If you’re recording in a room with poor acoustics, consider using acoustic treatment panels or foam to absorb reflections and reduce echo. This can significantly improve the clarity and quality of your recordings.
8. Practice proper microphone technique: Maintain a consistent distance from the microphone and speak directly into it to ensure a consistent and balanced sound. Avoid moving excessively or touching the microphone while recording to minimize unwanted noise.
By implementing these tips, you can enhance the sound quality of your recordings with the Yeti USB Microphone. Remember to experiment, listen critically, and make adjustments as needed to achieve the best results for your specific recording purposes.
In the next section, we will address some common issues that users may encounter with the Yeti USB Microphone and provide troubleshooting tips to resolve them.
Troubleshooting Common Issues with the Yeti USB Microphone
While the Yeti USB Microphone is known for its reliability and ease of use, there may be instances where you encounter some common issues. Here are some troubleshooting tips to help you resolve them:
1. No sound or low volume: Ensure that the microphone is connected properly to your computer and that the volume levels are adjusted appropriately. Check the microphone gain on the Yeti to ensure it’s set at an adequate level. Also, verify that the input device for your recording software is set to the Yeti USB Microphone.
2. Poor audio quality or distortion: If you’re experiencing poor audio quality or distortion in your recordings, first check the microphone gain. If it’s set too high, it can lead to clipping or distortion. Try reducing the gain and make sure you’re speaking at an appropriate distance from the microphone to avoid distortion. Additionally, double-check your recording software settings and make sure they are optimized for high-quality audio.
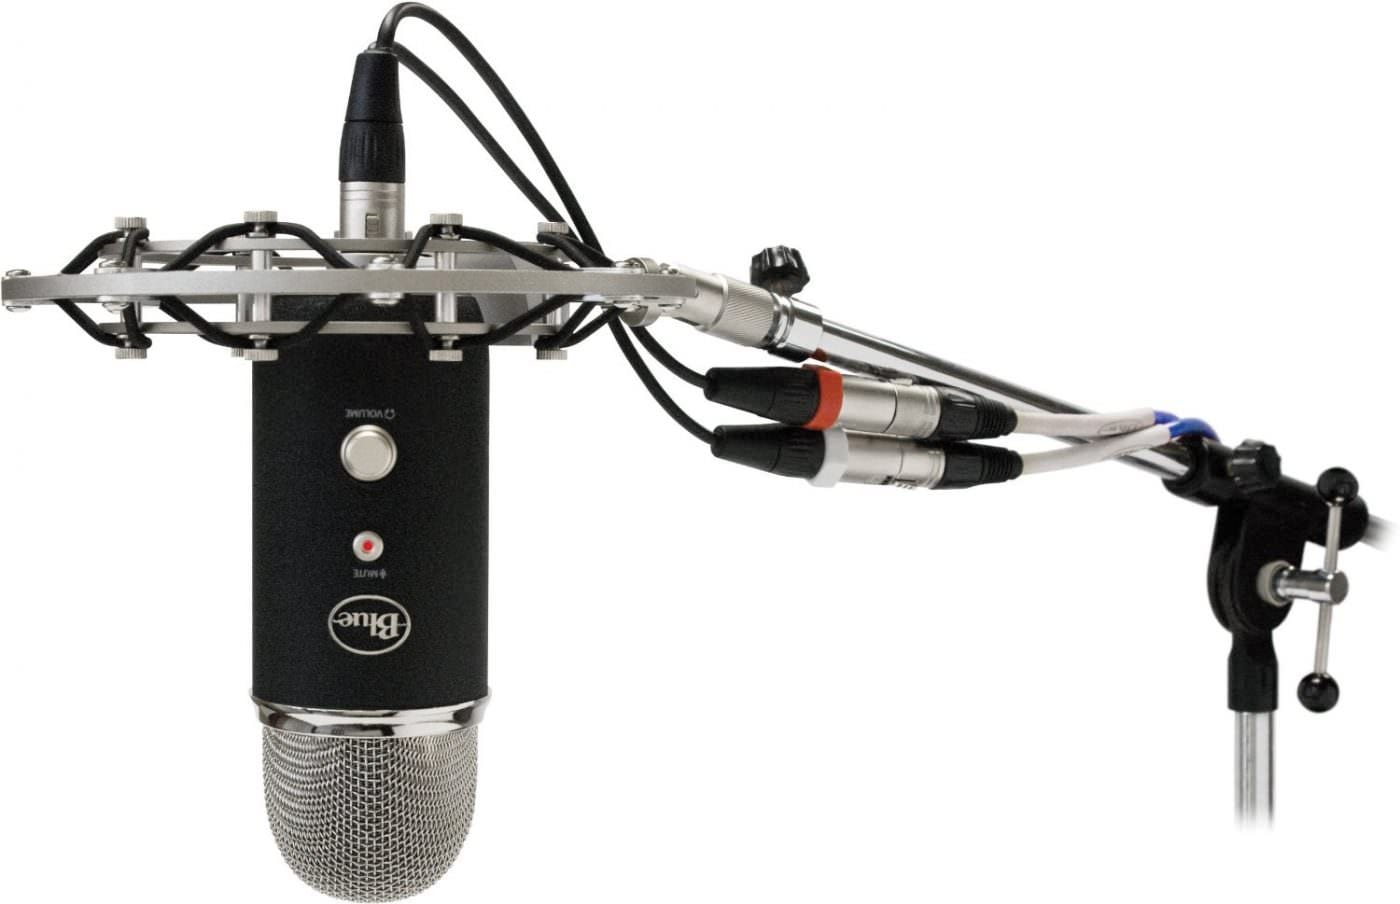
3. Background noise or interference: If you’re picking up unwanted background noise or experiencing interference, try moving the microphone away from potential sources of interference, such as electrical devices or wireless routers. Consider using an isolation or shock mount to minimize vibrations and handling noise. In addition, you can use noise reduction or audio editing software in post-production to reduce background noise.
4. Unresponsive or unrecognized microphone: If your computer fails to recognize the Yeti USB Microphone or if it becomes unresponsive, try unplugging the microphone from the USB port and reconnecting it. If the issue persists, try using a different USB cable or connecting the microphone to a different USB port. Restarting your computer can also help resolve any temporary software conflicts.
5. Inconsistent polar pattern selection: If you’re having trouble selecting a specific polar pattern or if the chosen pattern doesn’t seem to be working correctly, ensure that the pattern selector switch on the back of the microphone is properly aligned with the desired pattern. Give it a gentle but firm push to ensure it’s engaged correctly.
If these troubleshooting tips do not resolve the issue, consult the Yeti USB Microphone’s user manual or reach out to the manufacturer’s support for further assistance.
By addressing these common issues, you can ensure a smooth recording experience with the Yeti USB Microphone. Remember to stay patient and persistent when troubleshooting, as resolving these issues can greatly enhance your audio recording capabilities.
In the next section, we will discuss the importance of cleaning and maintaining your Yeti USB Microphone for its longevity and optimal performance.
Cleaning and Maintaining Your Yeti USB Microphone
Proper cleaning and maintenance of your Yeti USB Microphone are essential to ensure its longevity and optimal performance. Here are some tips to help you keep your microphone in top condition:
1. Regular dusting: Dust and debris can accumulate on the microphone’s surface and affect its sound quality. Use a soft, lint-free cloth or a microfiber cloth to gently wipe the microphone to remove any dust or dirt. Avoid using abrasive materials or excessive force that could damage the microphone.
2. Cleaning the grille: The grille, located at the front of the microphone, can gather dust, saliva, or other particles. To clean the grille, use a small brush with soft bristles or a fine-toothed brush. Gently brush away any debris without pressing too hard. If needed, you can also use a slightly damp cloth to wipe the grille carefully.
3. Prevent moisture buildup: Moisture can damage the internal components of the microphone. After use, make sure to wipe any moisture or condensation off the microphone’s body using a dry cloth. Avoid exposing the microphone to excessive moisture or humidity.
4. Store in a safe place: When not in use, store your Yeti USB Microphone in a clean and dry environment. Keep it in a protective case or cover to prevent dust, dirt, or accidental damage. Avoid storing it near heat sources or in direct sunlight, as extreme temperatures can affect the microphone’s performance.
5. Handle with care: When handling the microphone, be gentle and avoid dropping or banging it against surfaces. The internal components are delicate and could be damaged with rough handling.
6. Check cables and connections: Regularly inspect the USB cable and connections to ensure they’re in good condition. If you notice any fraying or damage, consider replacing the cable to prevent connectivity issues.
7. Stay updated: Check the manufacturer’s website regularly for firmware updates or software enhancements for your Yeti USB Microphone. Keeping your device up to date can improve its performance and resolve any known issues.
By following these simple cleaning and maintenance practices, you can prolong the life of your Yeti USB Microphone and ensure that it continues to deliver the best sound quality for your recordings.
In the final section, we will wrap up with a brief summary of the key points discussed in this guide.
Conclusion
Congratulations! You are now equipped with the knowledge and tips to make the most out of your Yeti USB Microphone. This versatile and high-quality microphone offers professional-grade audio capture at an affordable price point.
In this guide, we covered the basics of setting up the Yeti USB Microphone, connecting it to your computer, and adjusting its settings for optimal performance. We also discussed the different polar patterns available, helping you choose the right one for your specific recording needs. Additionally, we provided troubleshooting tips for common issues and guidance on cleaning and maintaining your microphone.
With the Yeti USB Microphone, you have the power to produce high-quality recordings for podcasts, vocal performances, music, interviews, and more. Remember to experiment with microphone placement, gain settings, and polar pattern selection to achieve the best sound quality.
Continue to practice good microphone technique, monitor your audio levels, and minimize background noise for professional-grade recordings. Regularly clean and maintain your microphone to ensure its longevity and peak performance.
Whether you’re a content creator, podcaster, musician, or voice actor, the Yeti USB Microphone is here to elevate your audio projects. Unleash your creativity, capture stunning sound, and immerse your audience with the professional sound quality of the Yeti.
So, go ahead, connect your Yeti USB Microphone, let your voice be heard, and make your recordings stand out from the crowd!