Introduction
Welcome to the world of Rocksmith! If you’re an acoustic guitar player looking to use Rocksmith, a popular guitar learning software, you’re in the right place. Rocksmith is primarily designed for electric guitars, but with the right setup, you can also enjoy the game with your acoustic guitar and a USB microphone.
With Rocksmith, you can learn to play your favorite songs in an interactive and engaging way. It provides real-time feedback, dynamic difficulty adjustment, and a wide range of lessons and games to help you improve your guitar skills.
While many players use Rocksmith with electric guitars, it is still possible, and quite fun, to set it up with an acoustic guitar and a USB microphone. This combination allows you to enjoy the game while experiencing the unique sound and feel of your acoustic instrument.
In this article, we will guide you through the process of setting up Rocksmith with your acoustic guitar and a USB microphone. We’ll cover everything you need to know, from connecting the devices to configuring the settings and calibrating your setup. So let’s dive in and get started with the setup process!
Components Needed
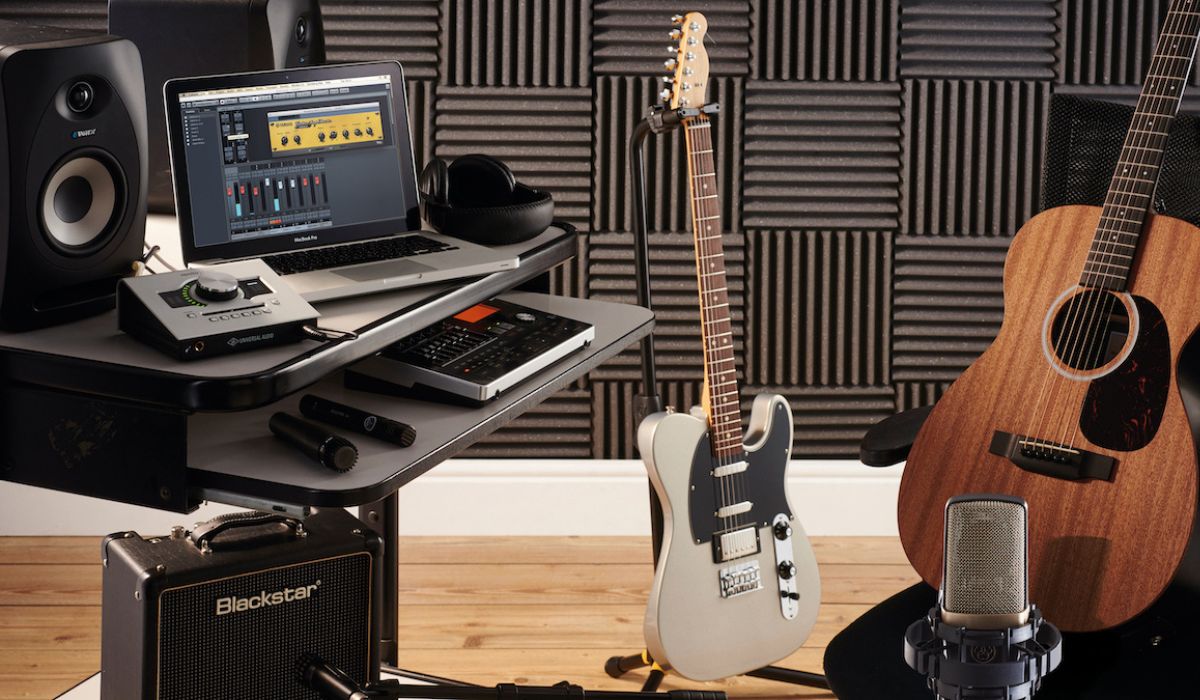
Before we begin setting up Rocksmith with an acoustic guitar and a USB microphone, let’s make sure we have all the necessary components. Here’s what you’ll need:
- An acoustic guitar: Choose a guitar that is in good condition and has a 1/4″ output jack. It’s important to have a properly functioning guitar for optimal gameplay.
- A USB microphone: Look for a USB microphone that is compatible with your console or computer. This will allow you to capture the sound of your acoustic guitar while playing.
- A console or PC: Rocksmith is available on various platforms, including Xbox, PlayStation, and PC. Make sure you have the appropriate console or a computer that meets the game’s system requirements.
- Rocksmith software: Purchase or download the Rocksmith software for your chosen platform. This is the core component that allows you to connect and play your guitar through the game.
- An audio interface (optional): While not necessary, an audio interface can improve the sound quality and reduce latency. If you’re looking for a professional audio experience, consider investing in a suitable audio interface.
- Cables and adapters: Depending on your specific setup, you may require cables and adapters to connect your guitar, USB microphone, and audio interface to your console or PC. Check the connections and make sure you have the necessary cables on hand.
Once you have gathered all the required components, you’re ready to move on to the next step: setting up the USB microphone.
Step 1: Setting Up the USB Microphone
The USB microphone is an essential component in our setup. It allows Rocksmith to capture the sound of your acoustic guitar so that you can play along with the game. Here’s how to set it up:
- Ensure that your USB microphone is connected to your console or PC via the USB cable provided. Make sure it is securely plugged into a USB port.
- If necessary, install any drivers or software that may be required for your USB microphone. Follow the manufacturer’s instructions for the specific model you are using.
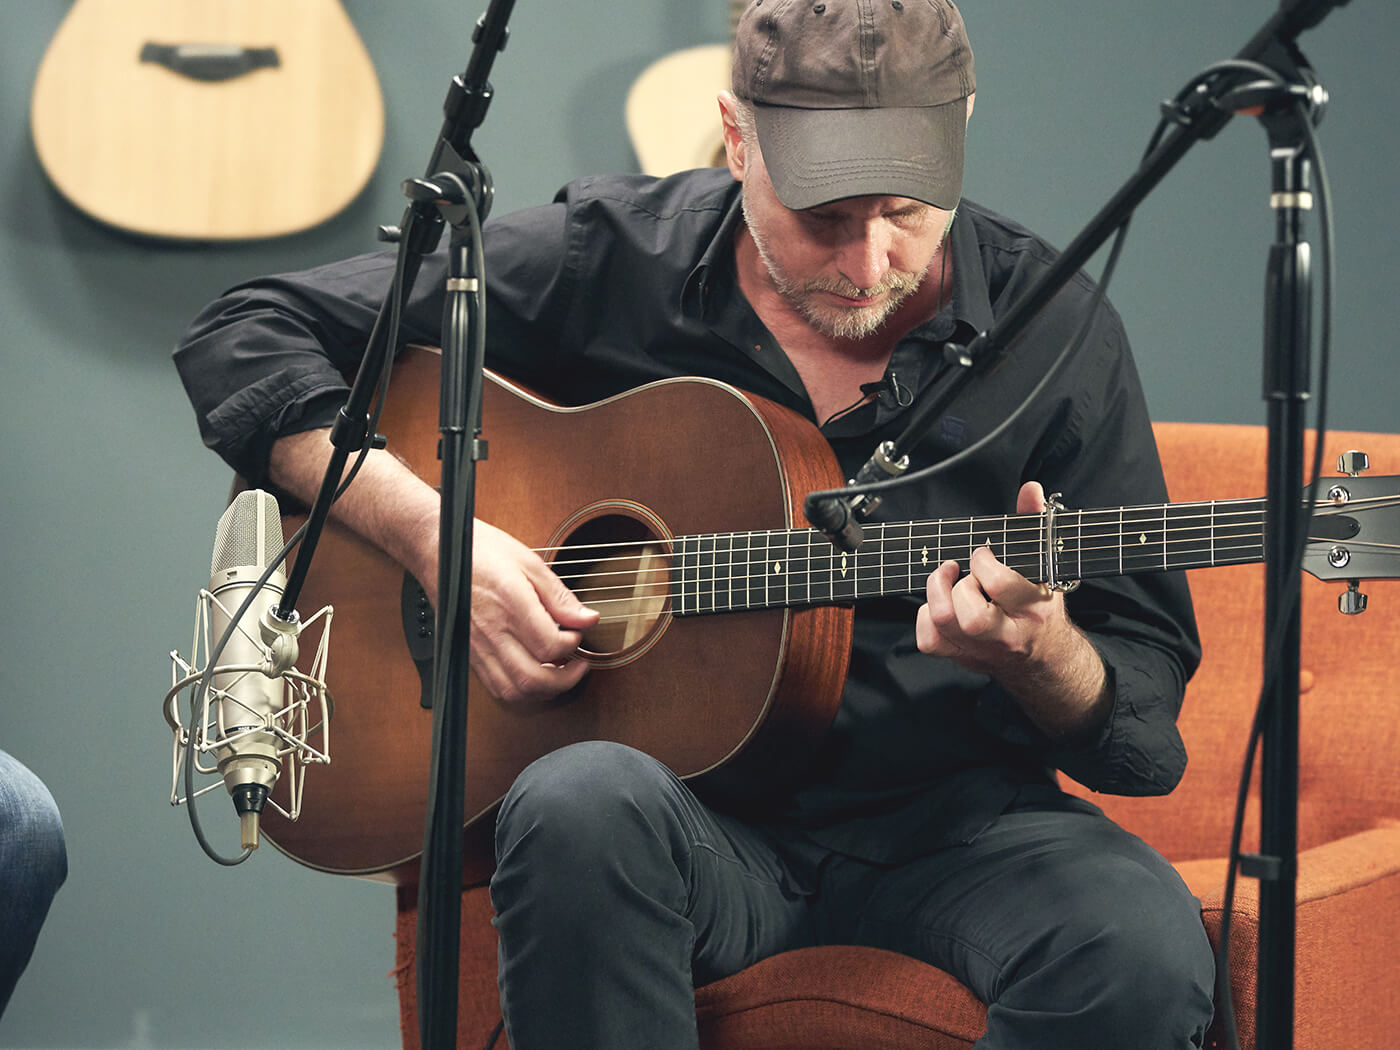
- Adjust the microphone’s position and angle so that it is pointing towards your acoustic guitar’s sound hole. This will help capture the best audio quality and minimize any unwanted background noise.
- In your console or PC’s audio settings, select the USB microphone as the default input device. This will ensure that Rocksmith recognizes and utilizes the microphone for capturing the guitar’s sound.
- Test the microphone to ensure that it is functioning properly. You can use the built-in voice recorder or any other audio recording software to check if the microphone is picking up sound correctly.
Once you have confirmed that the USB microphone is set up and working correctly, you’re ready to proceed to the next step: connecting the USB microphone to your console or PC.
Step 2: Connecting the USB Microphone to the Console/PC
Now that you have set up your USB microphone, it’s time to connect it to your console or PC. Follow these steps:
- Locate a USB port on your console or PC. These ports are usually found on the front or back of the device.
- Insert the USB end of the microphone cable into the USB port on your console or PC. Ensure that it is securely connected.
- If prompted, allow your console or PC to recognize and install the necessary drivers for the USB microphone. This may take a few moments.
- Once the microphone is connected and recognized, navigate to the audio settings in your console or PC. Ensure that the USB microphone is selected as the default input device.
- Adjust the microphone sensitivity or gain settings to achieve the desired sound level. This will help ensure that the microphone is capturing the correct audio input.
With the USB microphone successfully connected to your console or PC, you’re one step closer to enjoying Rocksmith with your acoustic guitar. Now, let’s move on to setting up the acoustic guitar itself.
Step 3: Setting Up the Acoustic Guitar
Setting up your acoustic guitar properly is essential to ensure optimal gameplay and accurate sound reproduction in Rocksmith. Here’s what you need to do:
- Start by inspecting your acoustic guitar for any signs of wear and tear. Make sure the strings are in good condition and there are no cracks or structural issues.
- Tune your guitar using an electronic tuner or a tuning app on your smartphone. It’s crucial to have your guitar properly tuned for accurate gameplay and sound recognition in Rocksmith.
- If needed, adjust the action of your guitar. Action refers to the distance between the strings and the fretboard. Lower action can make it easier to play, while higher action may result in better tone but requires more finger strength.
- Inspect the guitar’s pickguard and ensure it is securely attached. This will prevent it from interfering with the strings while playing.
- Consider installing a soundhole cover or feedback buster if you’re experiencing excessive feedback or unwanted resonances. These accessories can help mitigate these issues and provide a cleaner sound.
Once you have completed these steps, your acoustic guitar is now set up and ready to connect to your console or PC. Let’s move on to the next step: connecting the acoustic guitar.
Step 4: Connecting the Acoustic Guitar to the Console/PC
Connecting your acoustic guitar to the console or PC is the next step in getting Rocksmith up and running with your setup. Follow these steps to establish the connection:
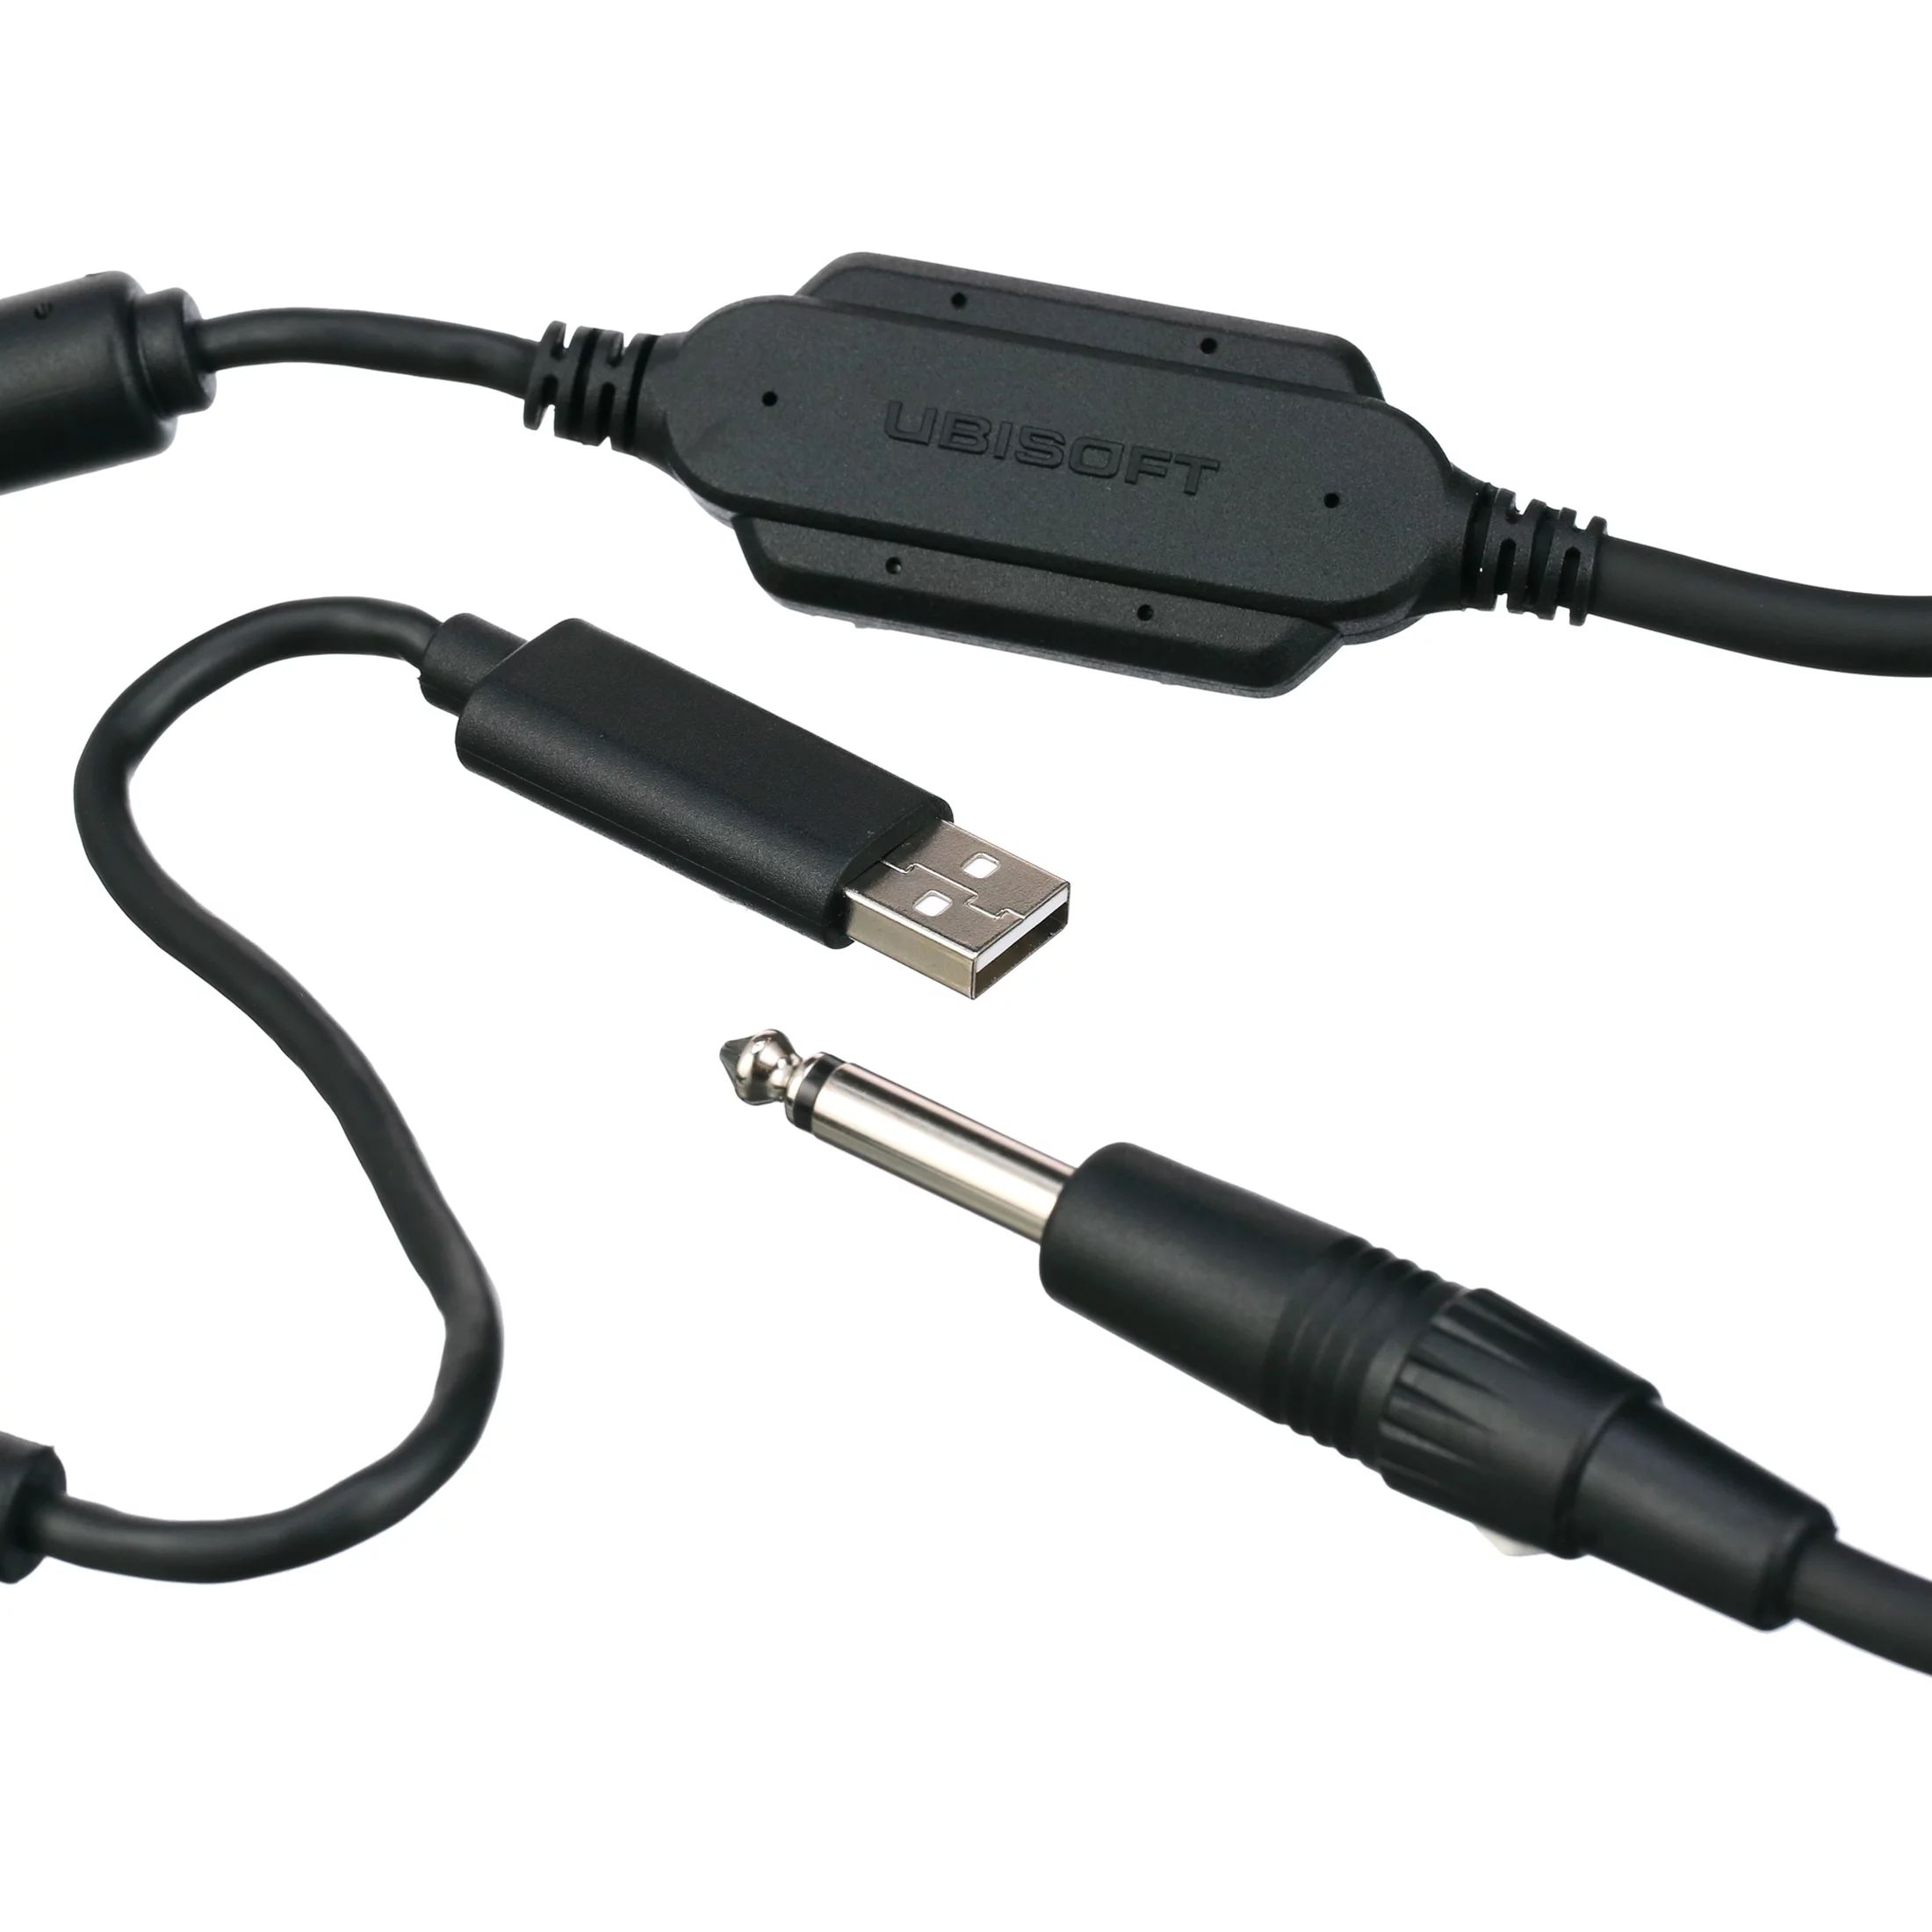
- Locate the 1/4″ output jack on your acoustic guitar. It is usually located at the bottom of the guitar body.
- Plug one end of a 1/4″ instrument cable into the output jack of your acoustic guitar. Ensure that it is inserted securely and snugly.
- Connect the other end of the instrument cable to the input or adapter of your chosen console or PC. This may involve using adapters if your console or PC requires a different input connection.
- Ensure that the cable is connected to the appropriate input on the console or PC. This may be labeled as “Line In” or “Guitar In,” depending on your device.
- Double-check the connection and make sure the cable is firmly plugged in to avoid any audio signal interruptions during gameplay.
With the acoustic guitar successfully connected to your console or PC, you’re now ready to move on to configuring the Rocksmith settings to optimize your gameplay experience. Let’s explore this in the next step.
Step 5: Configuring Rocksmith Settings
Now that your acoustic guitar is connected to your console or PC, it’s time to configure the Rocksmith settings to ensure the best possible gameplay experience. Follow these steps to optimize your Rocksmith settings:
- Launch the Rocksmith software on your console or PC.
- Navigate to the Options menu within the game.
- Select the Audio Settings section.
- Adjust the Audio Input settings to ensure that Rocksmith recognizes the input from your USB microphone. If necessary, increase the microphone sensitivity to capture the sound properly.
- Check the Calibration settings to ensure that the game accurately detects the timings of your guitar playing. Follow the on-screen instructions for the calibration process.
- Configure the Audio Output settings to match your preferred sound output device, such as speakers or headphones.
- Explore additional settings within the Options menu, such as difficulty levels and visual effects, to customize your Rocksmith experience further.
By configuring these settings, you can ensure that Rocksmith accurately detects your acoustic guitar and captures your playing, providing an immersive and enjoyable learning experience.
With the Rocksmith settings optimized for your setup, the next step is to calibrate your guitar and USB microphone to further refine the accuracy. Let’s proceed to the next step: calibrating the guitar and microphone.
Step 6: Calibrating the Guitar and Microphone
Calibrating your acoustic guitar and USB microphone is an important step to ensure accurate gameplay detection and sound capture in Rocksmith. Follow these steps to calibrate your setup:
- Enter the Calibration mode in Rocksmith. This can usually be found in the Options or Settings menu.
- Follow the on-screen instructions to calibrate your acoustic guitar. This may involve playing specific notes or strumming patterns to establish a baseline for detection accuracy.
- Once the guitar calibration is complete, proceed to calibrate the USB microphone. This allows Rocksmith to accurately capture the sound of your acoustic guitar as you play.
- Follow the instructions provided to adjust the microphone sensitivity and volume settings. This will ensure optimal sound capture without excessive background noise or interference.
- After adjusting the microphone settings, play some notes on your guitar while monitoring the in-game detection and sound quality. Make any necessary adjustments to the microphone settings until you achieve optimal performance.
Calibrating your guitar and microphone may require some trial and error to find the perfect balance. Take your time and make the necessary tweaks to ensure accurate detection and high-quality sound reproduction in Rocksmith.
With the guitar and microphone calibration complete, you’re ready for the final step: testing the setup to ensure everything is working as expected. Let’s move on to the next section.
Step 7: Testing the Setup
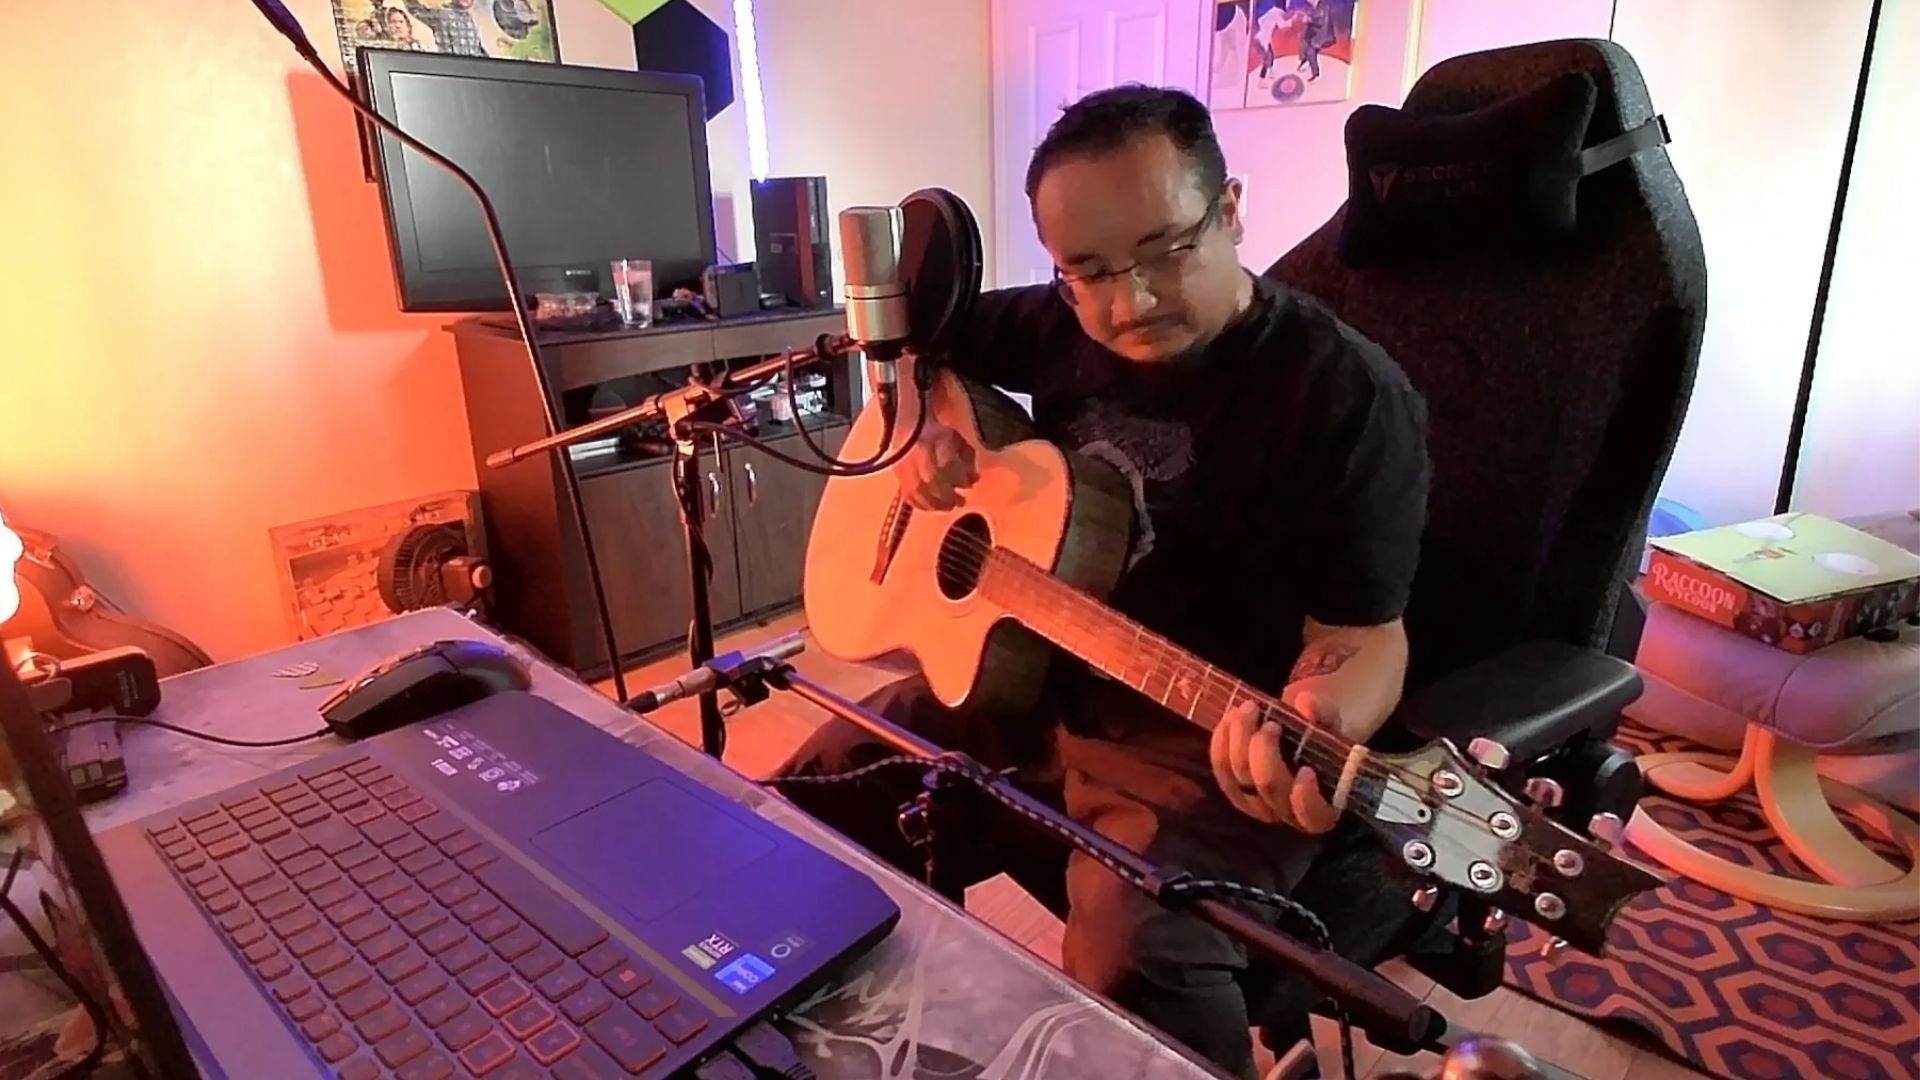
Now that you have completed the setup process for Rocksmith with an acoustic guitar and a USB microphone, it’s time to test the setup to ensure everything is working smoothly. Follow these steps to test your setup:
- Select a song or lesson within Rocksmith that you want to play.
- Strum the strings on your acoustic guitar and take note of the in-game detection. Ensure that the game accurately detects your playing and displays the correct notes on the screen.
- Pay attention to the sound output from your speakers or headphones. Confirm that the audio from your acoustic guitar is being played back accurately and in sync with the game.
- Experiment with different techniques, such as chords, single notes, and strumming patterns, to test the versatility of your setup. Make sure that Rocksmith captures the nuances of your playing accurately.
- Listen for any excessive background noise or latency issues. Adjust the microphone sensitivity, volume, or guitar settings as needed to minimize these distractions.
- Continue testing different songs and lessons to gain confidence in your setup. Feel free to explore different genres and challenges offered by Rocksmith to expand your skills and enjoy the game to its fullest.
If you encounter any issues during the testing phase, refer back to the previous steps to troubleshoot and make necessary adjustments. Don’t hesitate to consult the Rocksmith community or customer support for further assistance if needed.
Congratulations! You have successfully set up Rocksmith with your acoustic guitar and a USB microphone. Now you can embark on a musical journey, enhancing your guitar skills and enjoying the immersive experience of Rocksmith.
Conclusion
Setting up Rocksmith with an acoustic guitar and a USB microphone opens up a world of possibilities for guitarists who prefer the unique sound and feel of their acoustic instrument. By following the step-by-step guide provided in this article, you have successfully configured your setup, allowing you to enjoy the game and improve your guitar skills.
From setting up the USB microphone to connecting the acoustic guitar and configuring Rocksmith settings, each step has been carefully explained to ensure a seamless and optimized experience. By calibrating your guitar and microphone, you have fine-tuned the setup to accurately capture your playing and reproduce the sound faithfully in the game.
Testing the setup is an essential final step to ensure everything is functioning as expected. By playing different songs and lessons, you can further refine your skills and enjoy the immersive gameplay of Rocksmith with your acoustic guitar.
Remember, if you encounter any issues during the setup or testing process, don’t hesitate to seek assistance from the Rocksmith community or customer support. They can provide valuable insights and solutions to any challenges you may face.
Now that you have successfully set up Rocksmith with your acoustic guitar and USB microphone, it’s time to embark on your musical journey. Explore the extensive library of songs, lessons, and challenges offered by Rocksmith, and watch your guitar skills improve as you have fun playing along with your favorite tunes.
So grab your acoustic guitar, plug in your USB microphone, and get ready to rock with Rocksmith! The stage is set, and the spotlight is yours. Happy playing!