Introduction
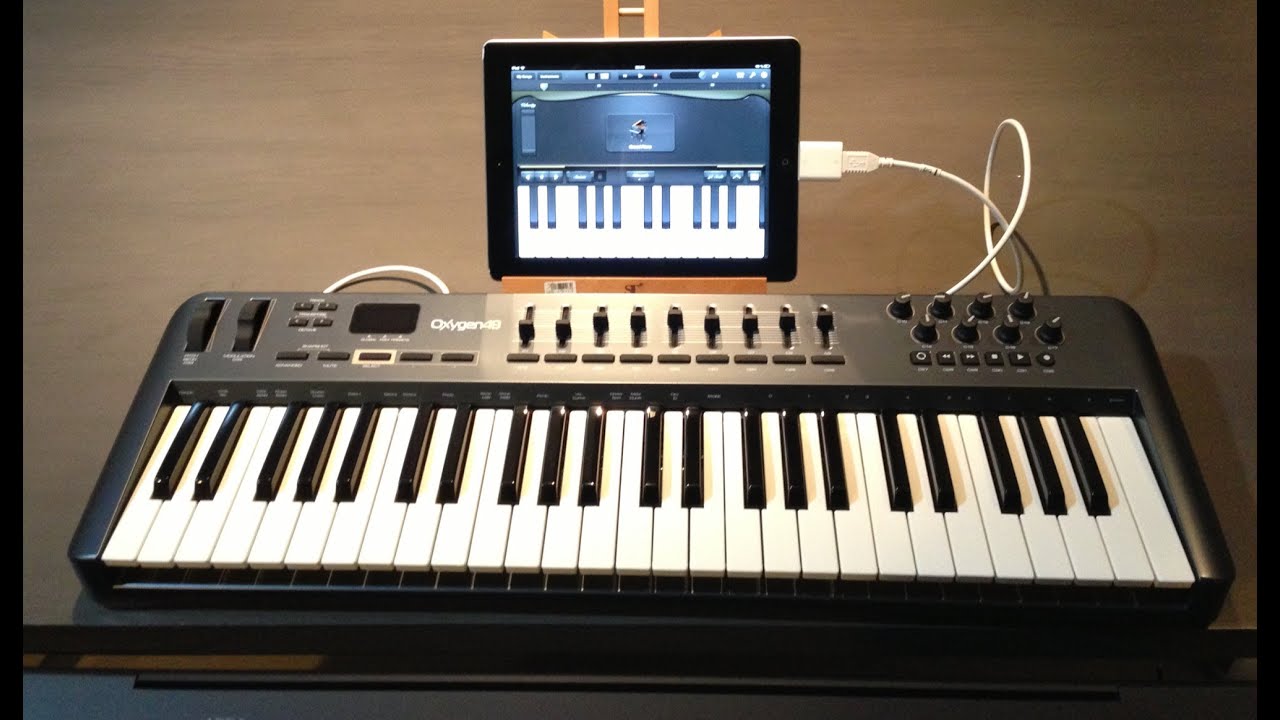
Are you tired of dealing with tangled cables on your MIDI keyboard? Do you wish to free yourself from the constraints of wired connections? Fortunately, you can transform your MIDI keyboard into a wireless, Bluetooth-enabled device. By following this step-by-step guide, you can liberate your musical creativity and mobility. Embracing the convenience of a Bluetooth MIDI keyboard allows you to play, compose, and perform without being tethered to a specific location. Whether you're a professional musician, a budding artist, or an enthusiast exploring the world of music production, this modification can elevate your musical experience to a whole new level.
The process of making a MIDI keyboard Bluetooth-enabled involves disassembling the keyboard, integrating a Bluetooth module, and reassembling the device. It's a project that combines technical know-how with a passion for music, offering a hands-on opportunity to enhance your equipment. With the right materials and a clear understanding of the steps involved, you can embark on this DIY journey and achieve the freedom of wireless connectivity for your MIDI keyboard.
In the upcoming sections, we will delve into the materials needed for this project, the disassembly process, the integration of the Bluetooth module, and the testing of the Bluetooth connection. By the end of this guide, you will have the knowledge and confidence to transform your MIDI keyboard into a versatile, Bluetooth-enabled instrument. Let's embark on this exciting endeavor to unlock the full potential of your musical creativity.
Materials Needed
Before embarking on the transformation of your MIDI keyboard into a Bluetooth-enabled device, it’s essential to gather the necessary materials. By ensuring that you have all the required components and tools, you can streamline the modification process and minimize any potential delays. Here’s a comprehensive list of the materials you’ll need:
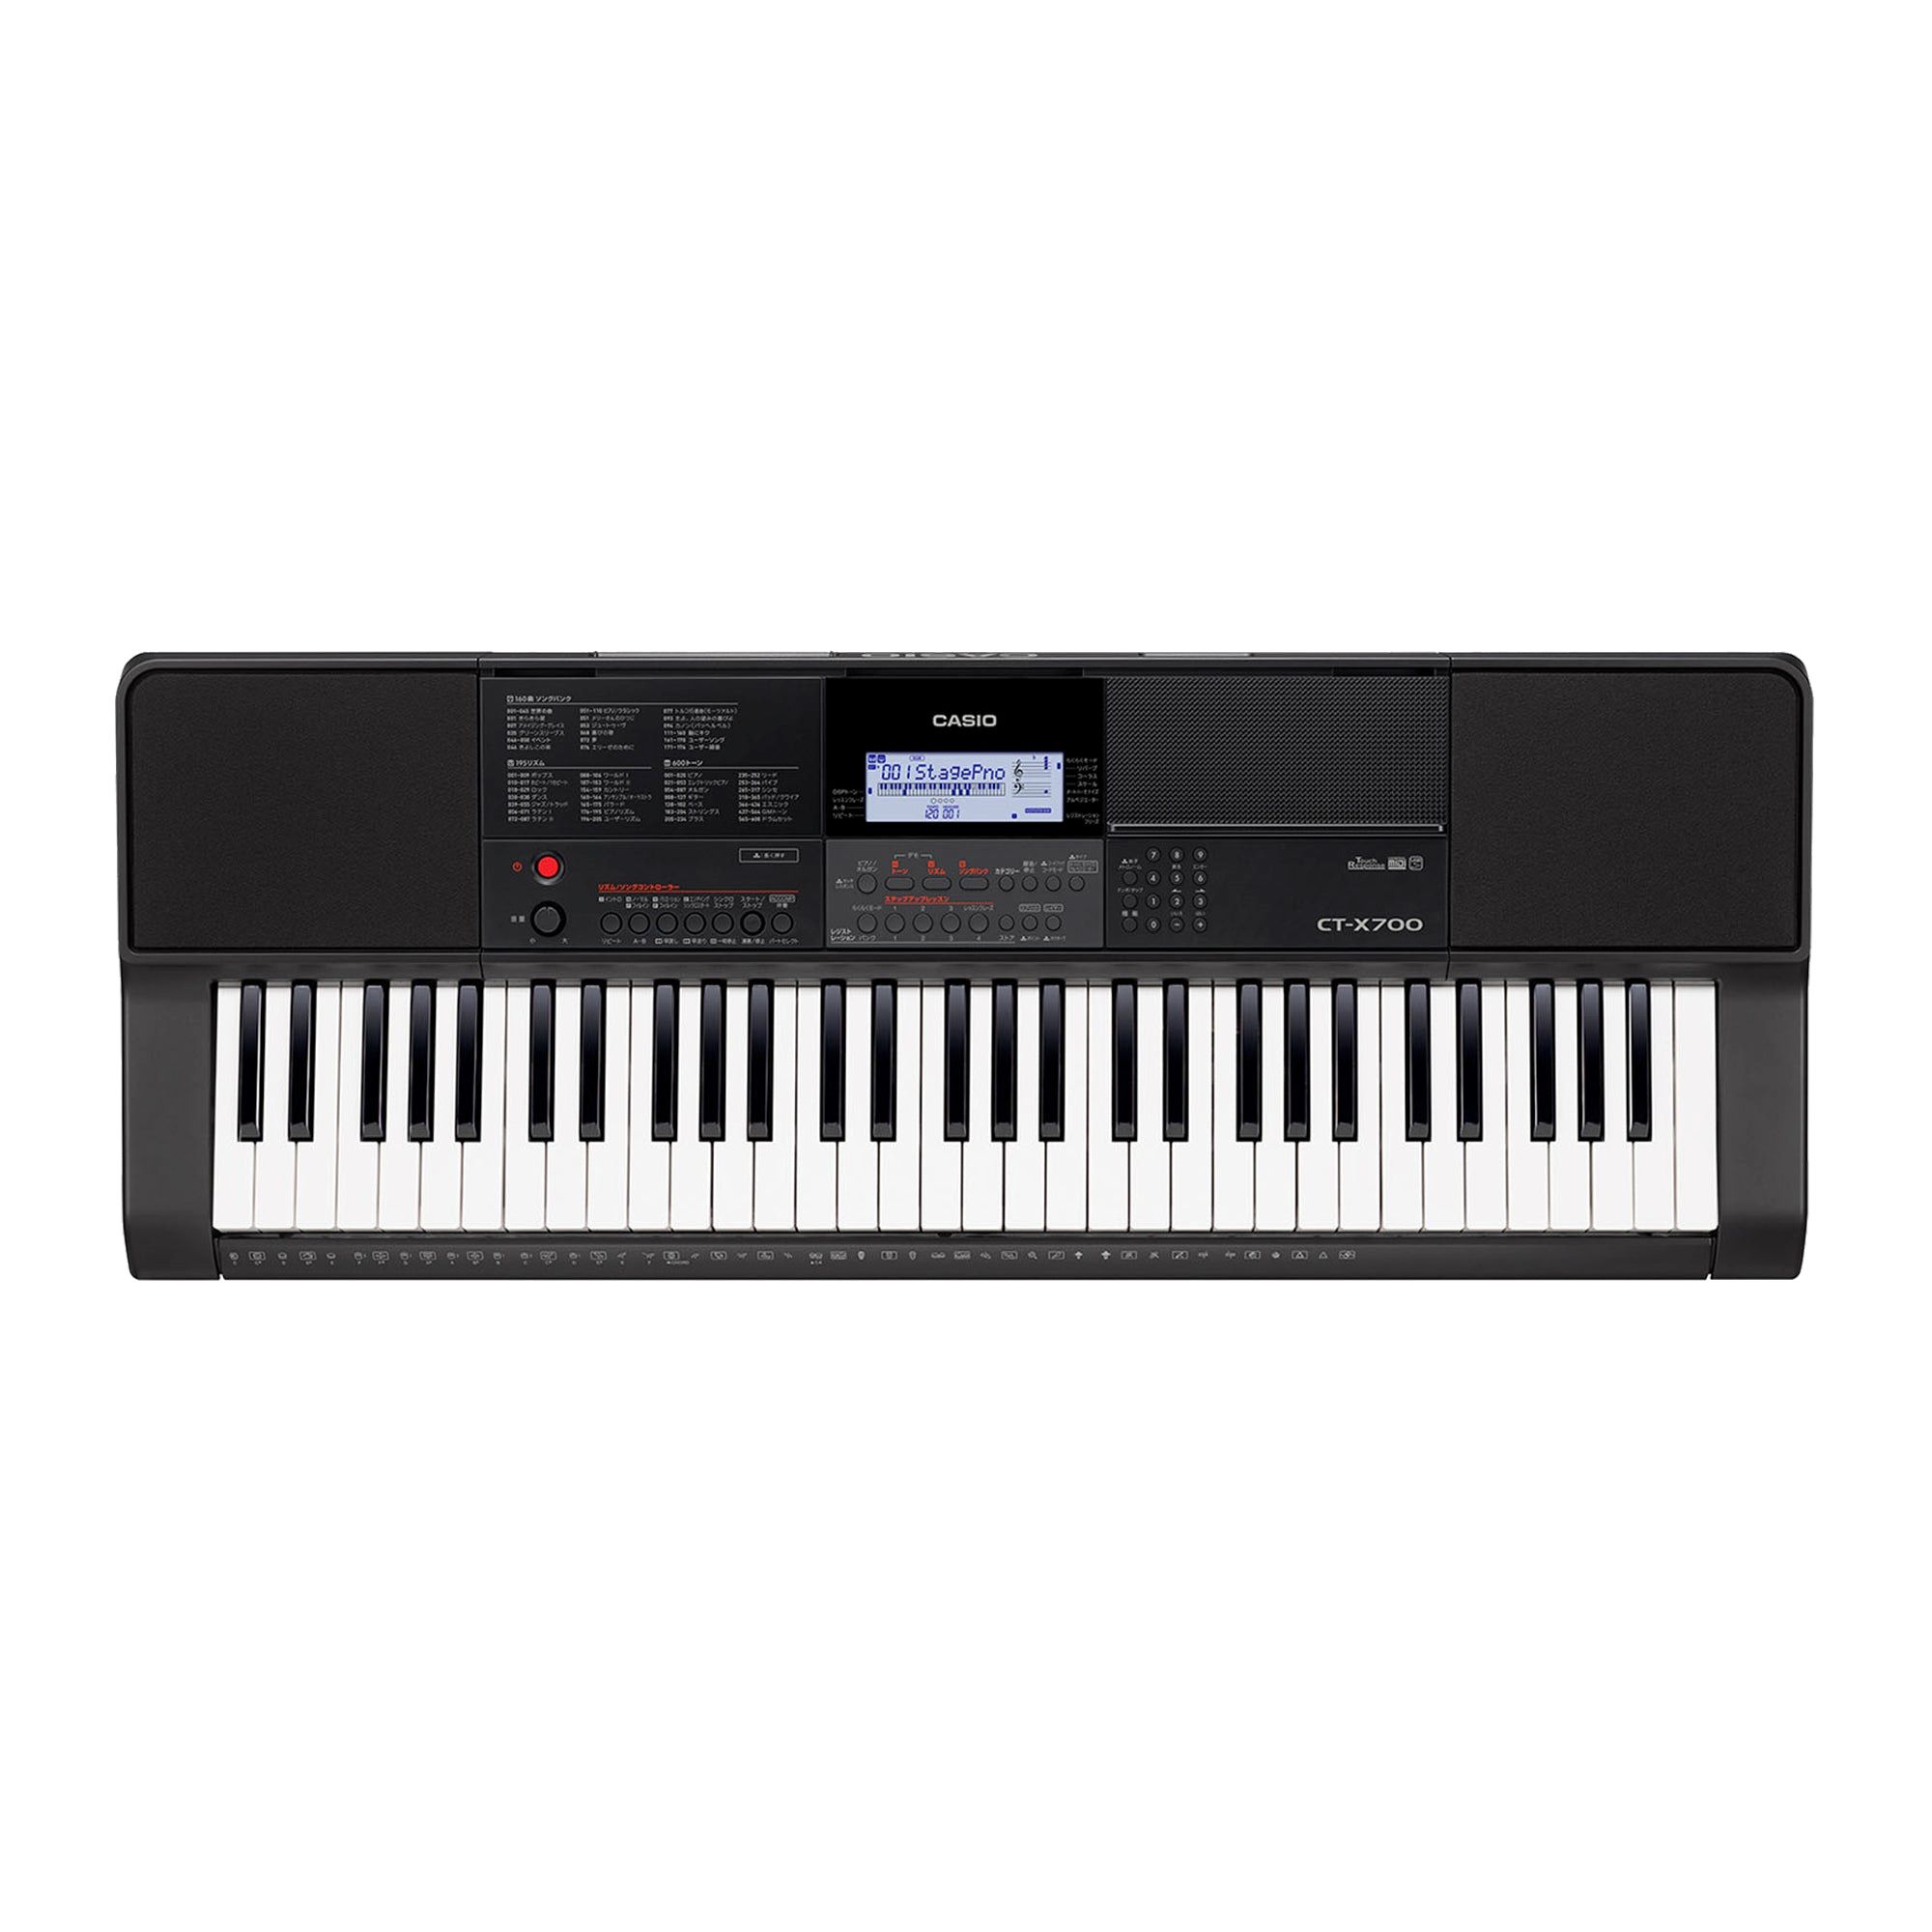
- MIDI Keyboard: Select the MIDI keyboard that you intend to modify. Ensure that it is compatible with the Bluetooth module you plan to integrate.
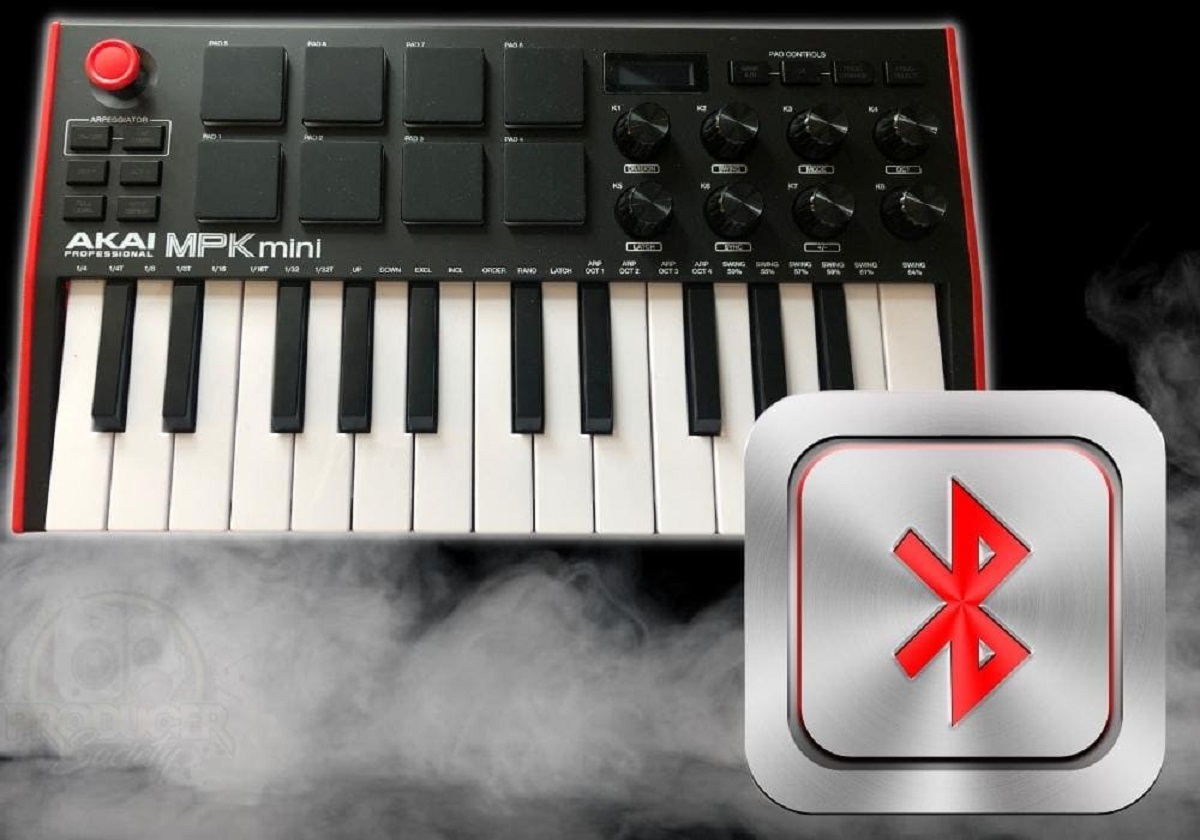
- Bluetooth Module: Acquire a reliable Bluetooth module that supports MIDI connectivity. Opt for a module with a compact form factor for seamless integration.
- Screwdriver Set: Prepare a set of precision screwdrivers to facilitate the disassembly and reassembly of the MIDI keyboard.
- Soldering Iron and Solder: You’ll need a soldering iron and solder to establish the necessary connections between the Bluetooth module and the keyboard’s circuitry.
- Wire Cutters and Strippers: These tools are essential for managing the wiring during the integration of the Bluetooth module.
- Electrical Tape: Utilize electrical tape to insulate and secure the wired connections, preventing any potential short circuits.
- Adhesive Strips or Mounting Putty: Secure the Bluetooth module in place within the MIDI keyboard using adhesive strips or mounting putty.
- User Manual or Schematics: Refer to the MIDI keyboard’s user manual or schematics to understand its internal layout and electronic components.
- Work Area with Good Lighting: Set up a well-lit work area with ample space to comfortably disassemble and modify the MIDI keyboard.
By ensuring that you have these materials at your disposal, you can proceed with confidence, knowing that you are fully equipped to undertake the Bluetooth modification for your MIDI keyboard. With these tools and components, you’re ready to embark on the exciting journey of transforming your traditional MIDI keyboard into a versatile, wireless instrument.
Disassembling the MIDI Keyboard
Before integrating the Bluetooth module, it’s crucial to carefully disassemble the MIDI keyboard to access its internal circuitry. This process requires precision and attention to detail to ensure that the keyboard remains undamaged during disassembly. Follow these steps to disassemble the MIDI keyboard:
- Prepare the Work Area: Select a clean, well-lit work surface and gather the necessary tools, including the screwdriver set and any additional tools specified in the keyboard’s user manual.
- Power Off and Disconnect: Ensure that the MIDI keyboard is powered off and disconnect it from any external power source or computer to prevent electrical hazards during the disassembly process.
- Identify and Remove Screws: Carefully inspect the exterior of the MIDI keyboard to locate and remove the screws securing the casing. Keep the screws organized to facilitate reassembly.
- Separate the Casing: Gently separate the keyboard’s casing, taking note of any clips or additional fasteners that may be securing the components together. Exercise caution to avoid damaging any internal components.
- Document the Disassembly: As you progress, consider documenting the disassembly process through photographs or written notes. This documentation can serve as a valuable reference during reassembly.
- Access the Internal Components: Once the casing is removed, carefully access the internal components of the MIDI keyboard, taking note of the location of the circuit board and relevant electronic components.
By meticulously following these steps, you can effectively disassemble the MIDI keyboard, gaining access to its internal circuitry and preparing it for the integration of the Bluetooth module. It’s essential to exercise patience and precision throughout the disassembly process to ensure that the keyboard remains in optimal condition for the subsequent modifications.
Adding Bluetooth Module
Integrating the Bluetooth module into your MIDI keyboard marks a pivotal stage in the transformation process, enabling wireless connectivity and enhancing the keyboard’s versatility. This step involves carefully establishing the necessary connections and ensuring the secure placement of the Bluetooth module within the keyboard’s framework. Follow these essential steps to add the Bluetooth module to your MIDI keyboard:
- Identify Integration Points: Assess the internal layout of the MIDI keyboard to identify suitable integration points for the Bluetooth module. Consider factors such as available space, proximity to the keyboard’s circuitry, and accessibility for future maintenance.
- Position the Bluetooth Module: Select an optimal location within the keyboard for the Bluetooth module, ensuring that it can be securely mounted and that its components align with the keyboard’s circuitry for seamless connectivity.
- Establish Electrical Connections: Carefully solder the necessary electrical connections between the Bluetooth module and the MIDI keyboard’s circuit board, following the module’s specifications and the keyboard’s schematics.
- Insulate and Secure Connections: Utilize electrical tape to insulate the soldered connections, preventing any potential short circuits. Ensure that the connections are secure and that the Bluetooth module is firmly positioned within the keyboard’s framework.
- Verify Compatibility: Confirm that the Bluetooth module’s specifications align with the MIDI keyboard’s requirements, particularly in terms of MIDI connectivity and compatibility with your intended music production setup.
By diligently following these steps, you can seamlessly integrate the Bluetooth module into your MIDI keyboard, paving the way for wireless connectivity and expanded creative possibilities. The successful addition of the Bluetooth module sets the stage for the subsequent steps, wherein you will establish the Bluetooth connection and test the functionality of your newly transformed MIDI keyboard.
Connecting the Bluetooth Module
Once the Bluetooth module has been integrated into the MIDI keyboard, the next crucial step involves establishing the necessary connections to enable seamless communication between the keyboard and external devices. This process ensures that the Bluetooth module is effectively linked to the keyboard’s circuitry, allowing for wireless MIDI transmission and connectivity. Follow these essential steps to connect the Bluetooth module within your MIDI keyboard:
- Identify Connection Points: Examine the Bluetooth module’s specifications and the MIDI keyboard’s circuitry to identify the relevant connection points for establishing the link. Refer to any provided schematics or documentation for guidance.
- Establish Signal Pathways: Carefully route the necessary signal pathways between the Bluetooth module and the MIDI keyboard’s circuit board, ensuring that the connections are secure and that the signal integrity is maintained.
- Configure Communication Protocols: Set up the communication protocols between the Bluetooth module and the MIDI keyboard, ensuring that they align with the established standards for MIDI transmission and reception.
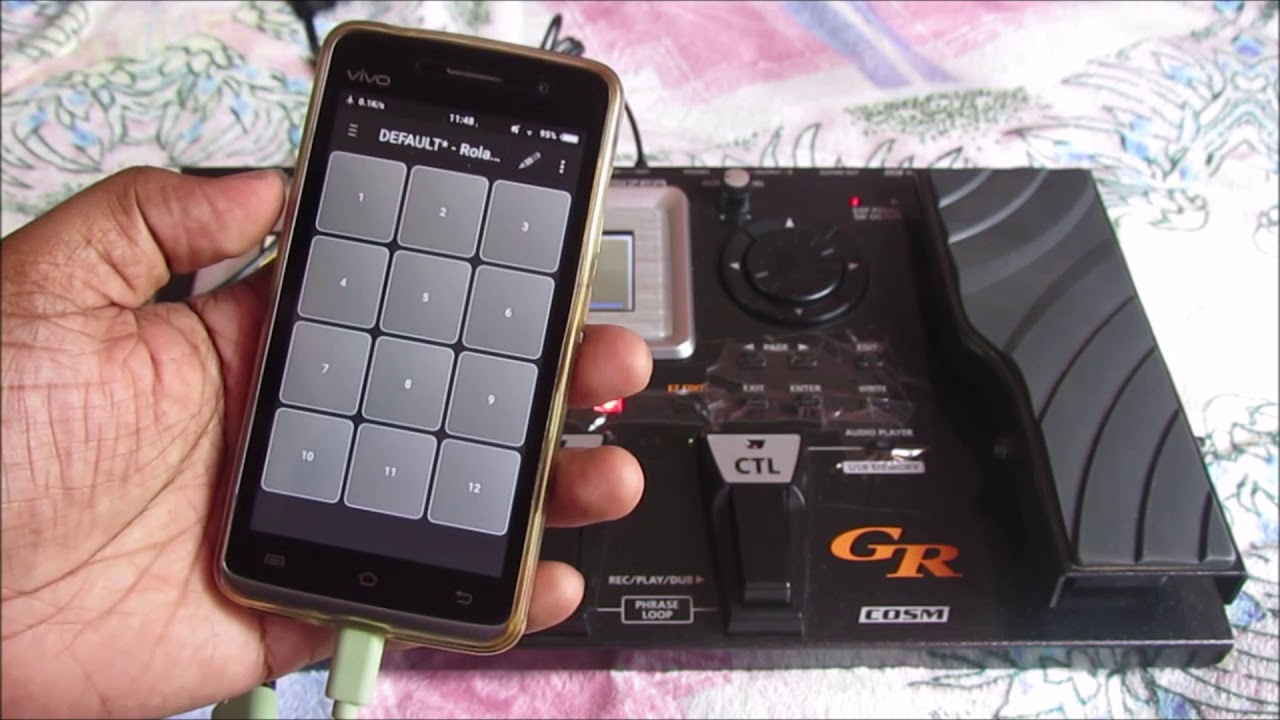
- Test Connectivity: Verify the connectivity between the Bluetooth module and the MIDI keyboard by powering on the keyboard and initiating a connection with a compatible external device, such as a computer or a mobile device equipped with Bluetooth MIDI capabilities.
- Ensure Stability and Reliability: Assess the stability and reliability of the Bluetooth connection, confirming that the MIDI keyboard consistently communicates with external devices without any signal dropouts or interference.
By meticulously following these steps, you can establish a robust and reliable connection between the Bluetooth module and the MIDI keyboard, unlocking the potential for wireless MIDI communication and enhancing the keyboard’s versatility. The successful establishment of the Bluetooth connection sets the stage for testing the functionality of your newly transformed MIDI keyboard, bringing you one step closer to experiencing the freedom of wireless musical expression.
Testing the Bluetooth Connection
With the Bluetooth module integrated and the connections established, it’s time to put the Bluetooth-enabled MIDI keyboard to the test. This critical phase involves verifying the functionality of the Bluetooth connection and ensuring that the keyboard can seamlessly communicate with external devices, such as computers, tablets, or smartphones equipped with Bluetooth MIDI capabilities. Follow these essential steps to test the Bluetooth connection of your MIDI keyboard:
- Power On the MIDI Keyboard: Ensure that the MIDI keyboard is powered on and that the Bluetooth module is active and ready to establish a connection with external devices.
- Initiate Device Discovery: Activate the Bluetooth discovery mode on your external device, such as a computer or a mobile device, and search for available Bluetooth MIDI devices within range.
- Pair the Devices: Select the Bluetooth-enabled MIDI keyboard from the list of available devices on your external device and initiate the pairing process, following any prompted instructions for authentication.
- Confirm Successful Pairing: Once the pairing process is complete, verify that the MIDI keyboard is successfully recognized and connected to your external device via Bluetooth.
- Test MIDI Transmission: Send MIDI data from the Bluetooth-enabled MIDI keyboard to your external device and vice versa, confirming that the wireless MIDI communication is stable and responsive.
- Assess Latency and Performance: Evaluate the latency and performance of the Bluetooth connection, ensuring that the MIDI keyboard’s responsiveness and timing meet the required standards for musical applications.
By meticulously following these steps, you can validate the functionality and reliability of the Bluetooth connection for your MIDI keyboard, ensuring that it seamlessly communicates with external devices and facilitates wireless MIDI transmission. The successful testing of the Bluetooth connection marks a significant milestone, confirming that your MIDI keyboard has been successfully transformed into a versatile, Bluetooth-enabled instrument, ready to unleash your musical creativity without the constraints of wired connections.
Reassembling the MIDI Keyboard
After successfully integrating the Bluetooth module and testing the wireless connection, the final phase of the transformation process involves reassembling the MIDI keyboard. This crucial step ensures that the keyboard is restored to its original form while incorporating the newly added Bluetooth functionality. Follow these essential steps to reassemble your MIDI keyboard:
- Organize Disassembled Components: Gather the components and screws that were removed during the initial disassembly, ensuring that they are organized and readily accessible for reassembly.
- Secure the Bluetooth Module: Confirm that the Bluetooth module is securely positioned within the keyboard’s framework, with its electrical connections insulated and free from any potential obstructions.
- Align Casing and Components: Carefully align the keyboard’s casing and internal components, ensuring that they fit together seamlessly without applying excessive force or causing misalignments.
- Reattach Screws and Fasteners: Securely reattach the screws and any additional fasteners, following the original configuration to ensure that the keyboard’s casing is firmly and evenly secured.
- Verify Integrity and Functionality: Conduct a visual inspection of the reassembled MIDI keyboard, confirming that all components are properly aligned and that the keyboard’s functionality, including key response and control features, remains intact.
- Power On and Test: Power on the MIDI keyboard and verify that the Bluetooth functionality remains operational, allowing for wireless connectivity and MIDI transmission as intended.
By meticulously following these steps, you can effectively reassemble your MIDI keyboard, incorporating the newly added Bluetooth functionality while ensuring that the keyboard’s original form and functionality are preserved. The successful reassembly marks the completion of the transformation process, signifying that your MIDI keyboard is now a versatile, Bluetooth-enabled instrument, ready to elevate your musical pursuits with the freedom of wireless connectivity.
Conclusion
Congratulations on successfully transforming your traditional MIDI keyboard into a cutting-edge, Bluetooth-enabled instrument. By embarking on this DIY journey, you have unlocked a new realm of musical creativity and convenience, free from the constraints of wired connections. The integration of the Bluetooth module has empowered your MIDI keyboard with wireless capabilities, allowing you to explore new possibilities in music production, performance, and composition.
Throughout this process, you have demonstrated a keen understanding of the technical aspects involved in modifying electronic devices, combining precision and creativity to achieve a seamless integration. By disassembling the keyboard, adding the Bluetooth module, establishing the necessary connections, and testing the wireless functionality, you have not only enhanced the practicality of your MIDI keyboard but also expanded your technical expertise in the realm of music technology.
As you reassemble your MIDI keyboard, you can take pride in the meticulous attention to detail and the successful preservation of the keyboard’s original form and functionality. The seamless incorporation of the Bluetooth module into the keyboard’s framework is a testament to your dedication and skill in executing this transformative project.
With the Bluetooth-enabled MIDI keyboard at your disposal, you are poised to embark on a musical journey unencumbered by cables, embracing the freedom to create, perform, and express yourself without the limitations of traditional connectivity. Whether you’re a professional musician, a passionate hobbyist, or an aspiring producer, this modification has expanded the horizons of your musical endeavors, offering a new dimension of flexibility and innovation.
Embrace this newfound freedom and let your creativity soar as you explore the boundless opportunities afforded by your Bluetooth-enabled MIDI keyboard. Your dedication to this project reflects a commitment to pushing the boundaries of musical technology, and the results speak volumes about your ingenuity and passion for innovation.
As you continue your musical pursuits with the enhanced capabilities of your MIDI keyboard, remember that your journey as a music enthusiast and a tech-savvy individual is marked by moments of transformation and growth. The successful modification of your MIDI keyboard stands as a testament to your ability to adapt, innovate, and elevate your creative tools to new heights.