Introduction
Are you a music enthusiast looking to bridge the gap between your digital piano and music notation software? The integration of your digital piano with Finale through a MIDI cord opens up a world of possibilities, allowing you to seamlessly translate your musical compositions onto the digital canvas. This article will guide you through the process of connecting your digital piano to Finale using a MIDI cord, enabling you to harness the full potential of both your instrument and the software.
As technology continues to revolutionize the music industry, the ability to connect your digital piano to music composition software has become an invaluable asset for musicians and composers alike. By leveraging the MIDI (Musical Instrument Digital Interface) protocol, you can establish a direct line of communication between your digital piano and Finale, enabling real-time input and playback of your musical creations.
Throughout this guide, you will discover the essential components required for this setup, the step-by-step process of connecting your digital piano to your computer, and the configuration of MIDI settings within Finale. Furthermore, you will learn how to test the connection to ensure seamless functionality.
By the end of this tutorial, you will be equipped with the knowledge and skills to effortlessly link your digital piano to Finale through a MIDI cord, empowering you to bring your musical compositions to life with unparalleled precision and efficiency. Let's embark on this journey to seamlessly integrate your digital piano with Finale, unlocking the full potential of your musical creativity.
What You Need
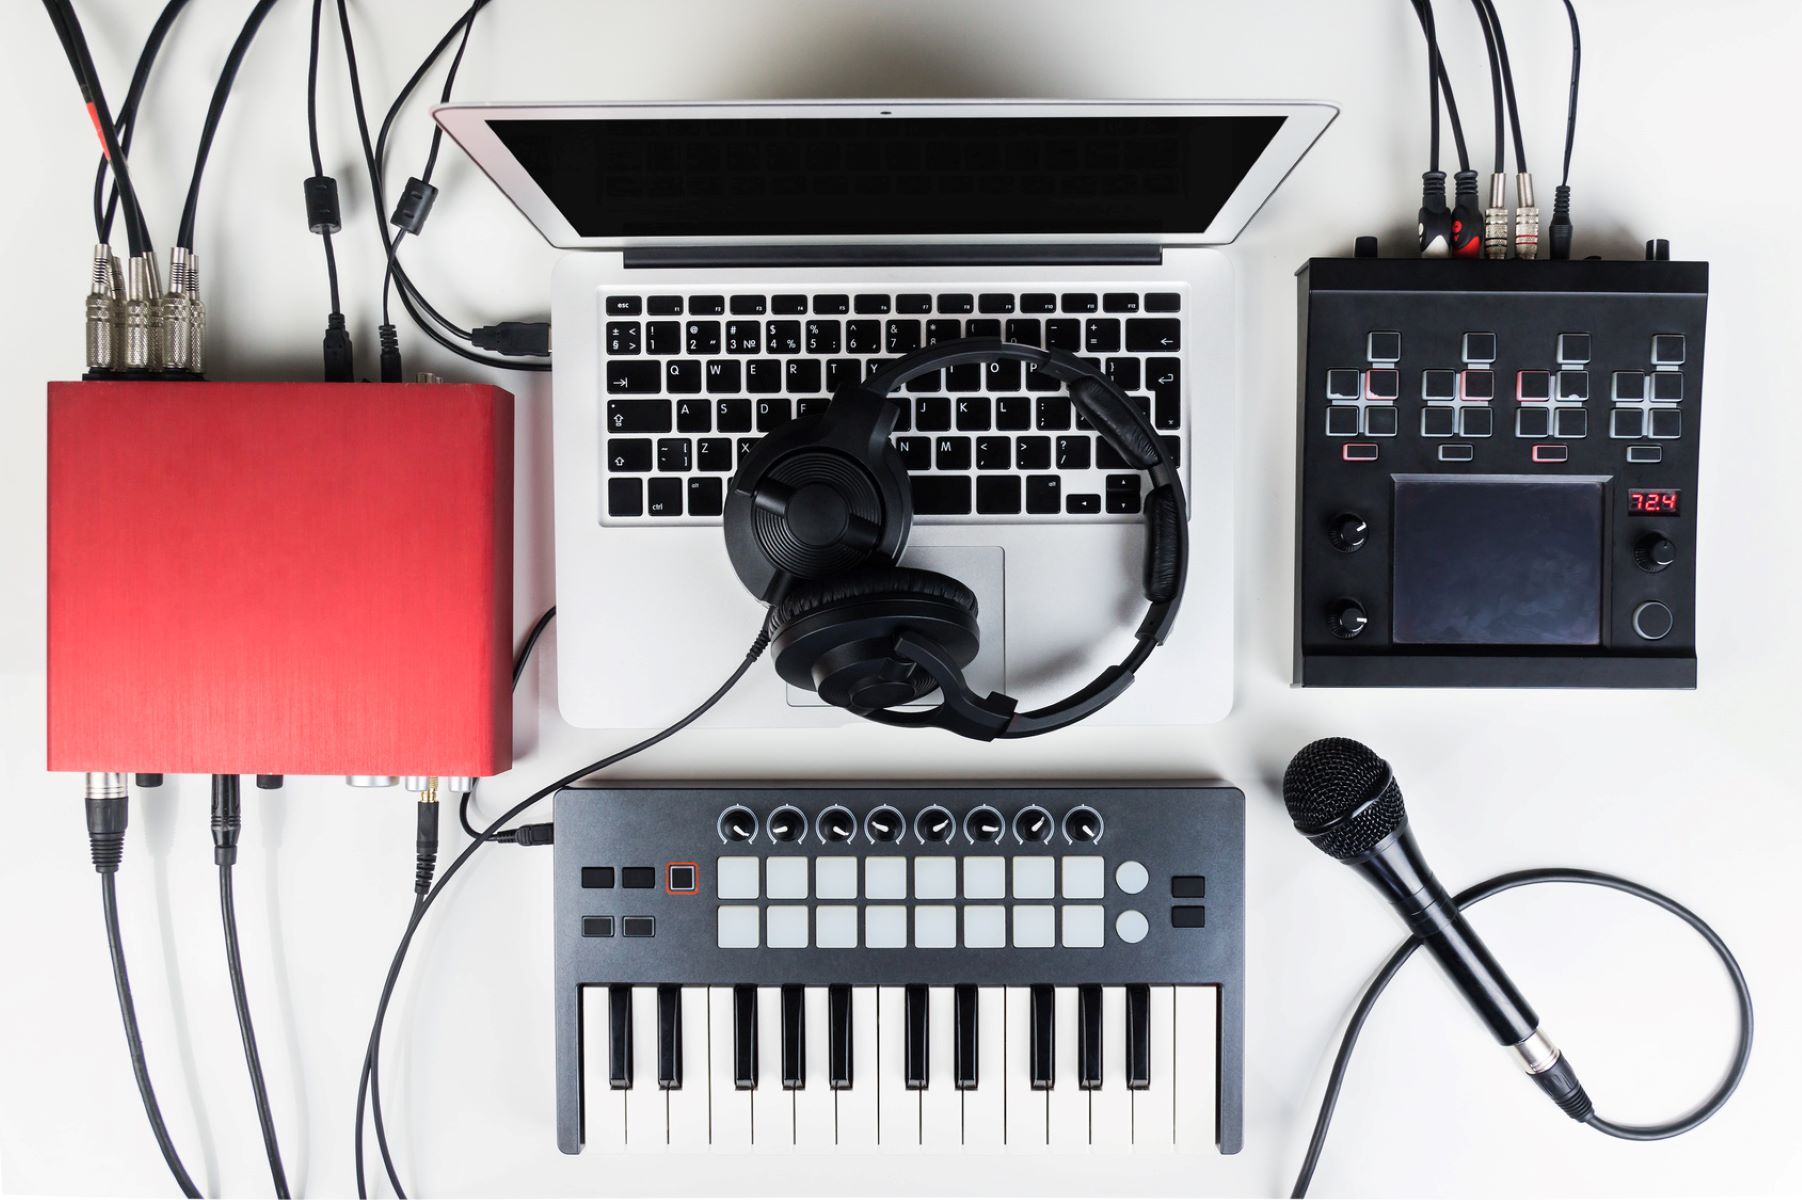
Before embarking on the process of connecting your digital piano to Finale through a MIDI cord, it is essential to gather the necessary components to ensure a seamless integration. Here’s what you’ll need:
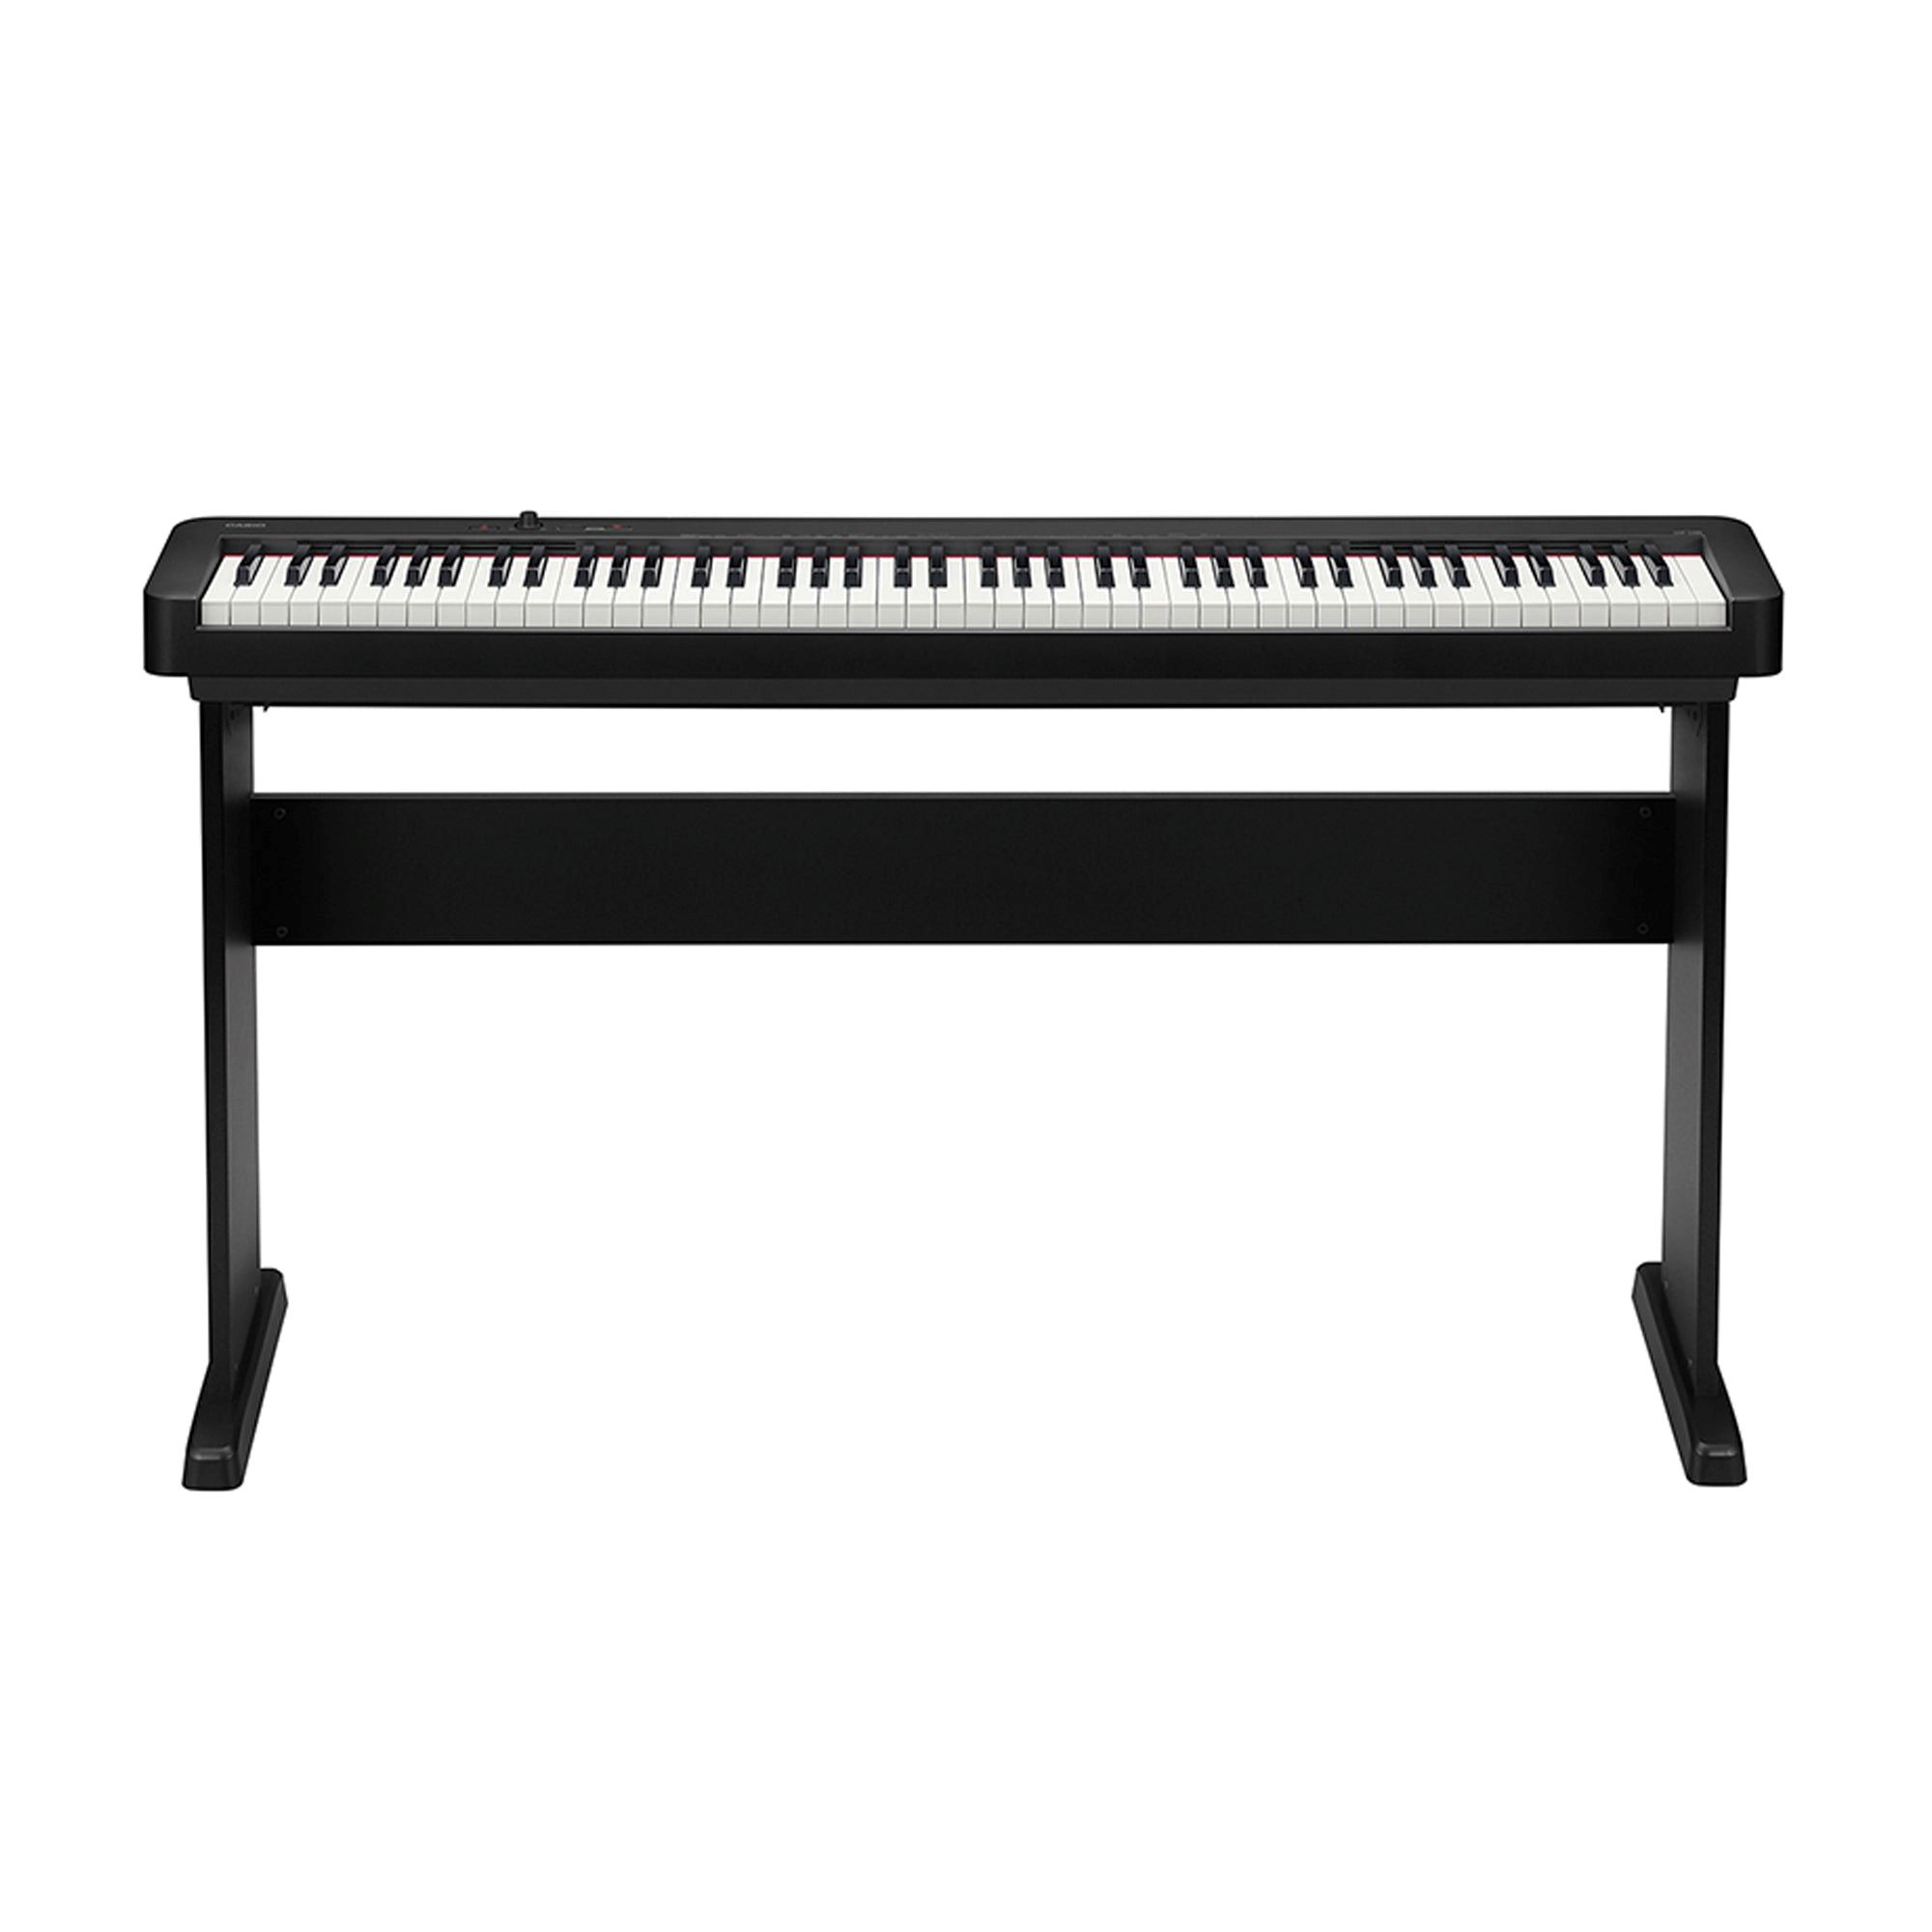
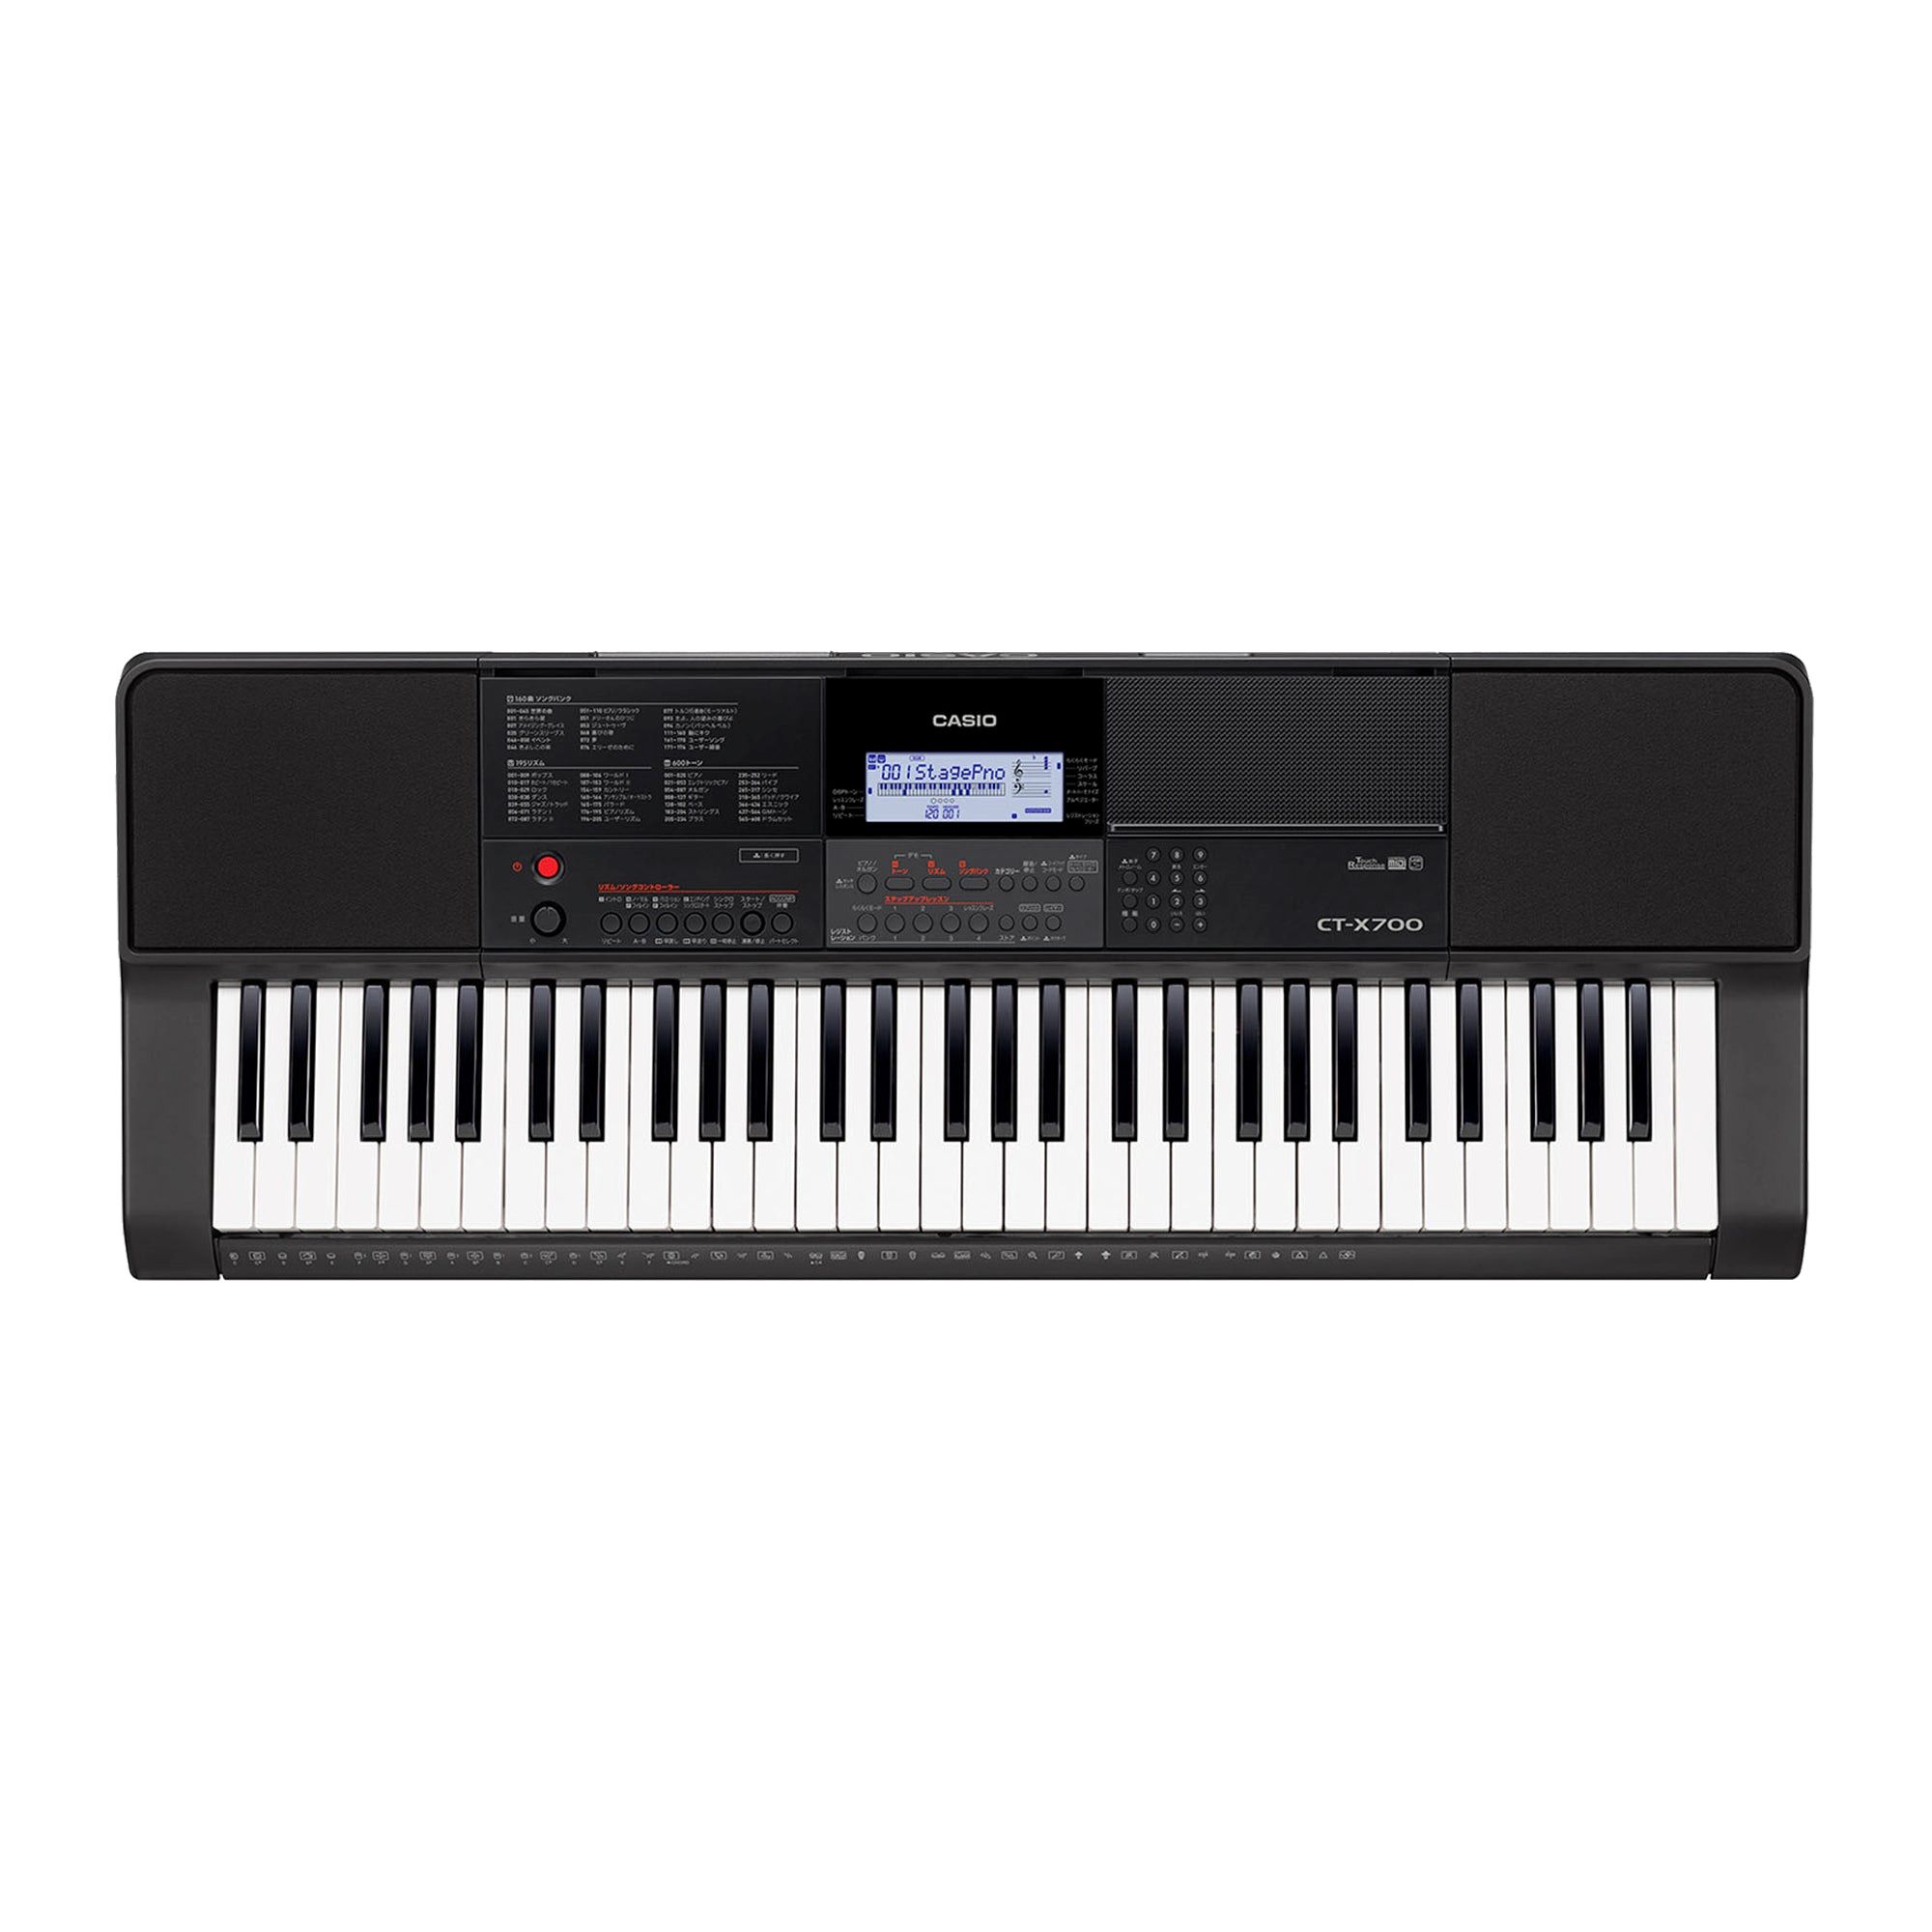
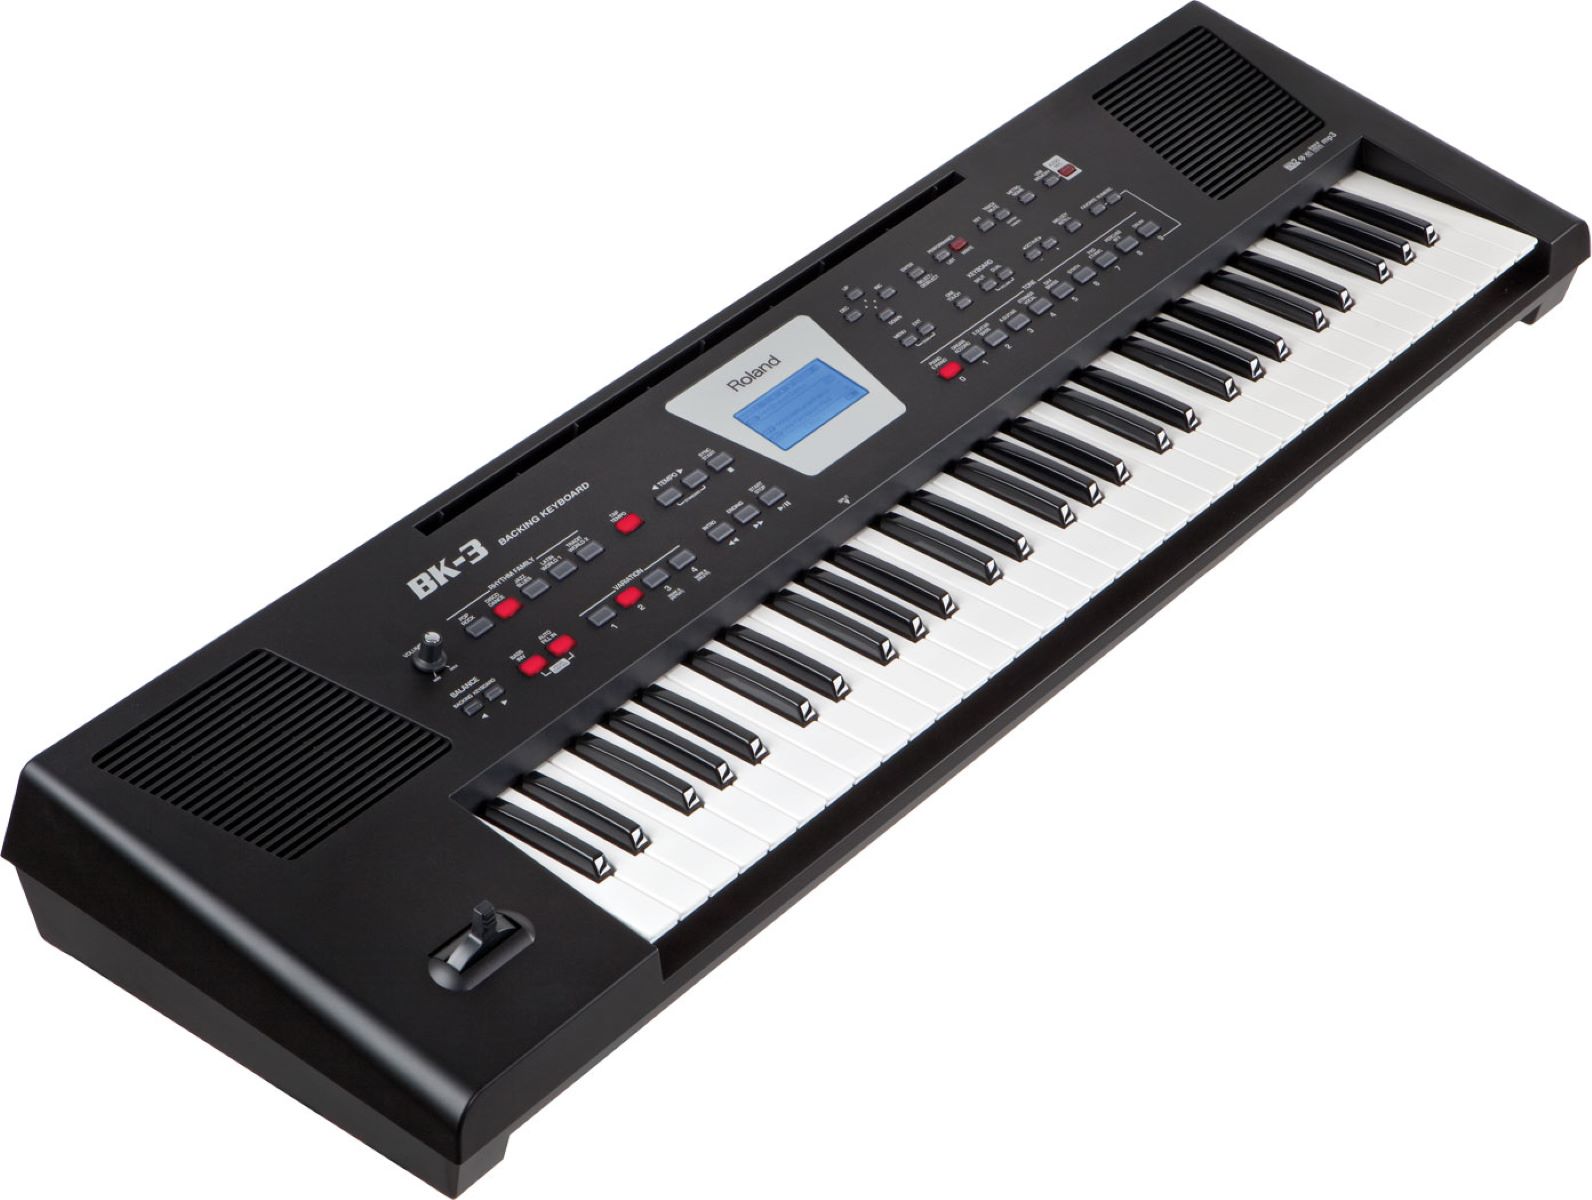
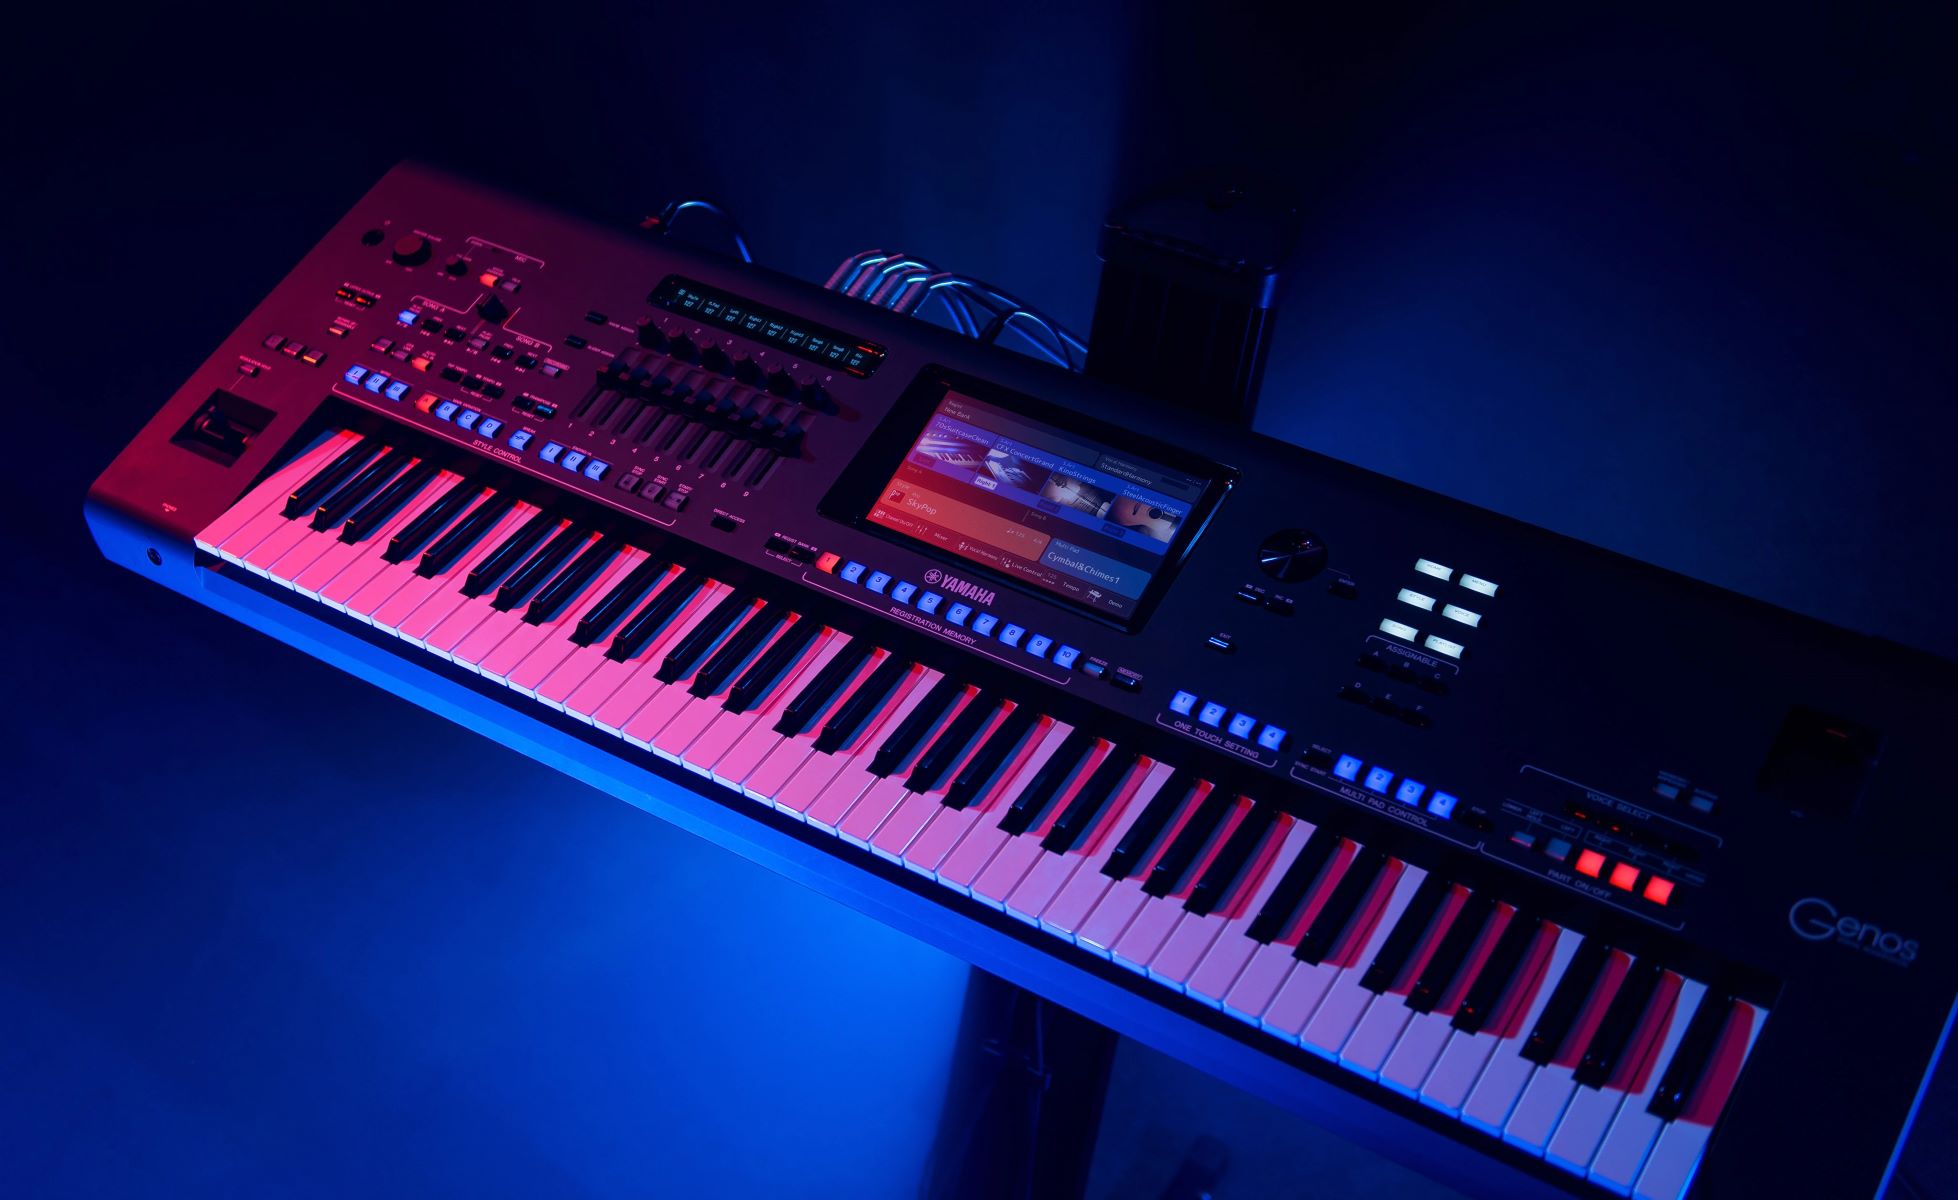
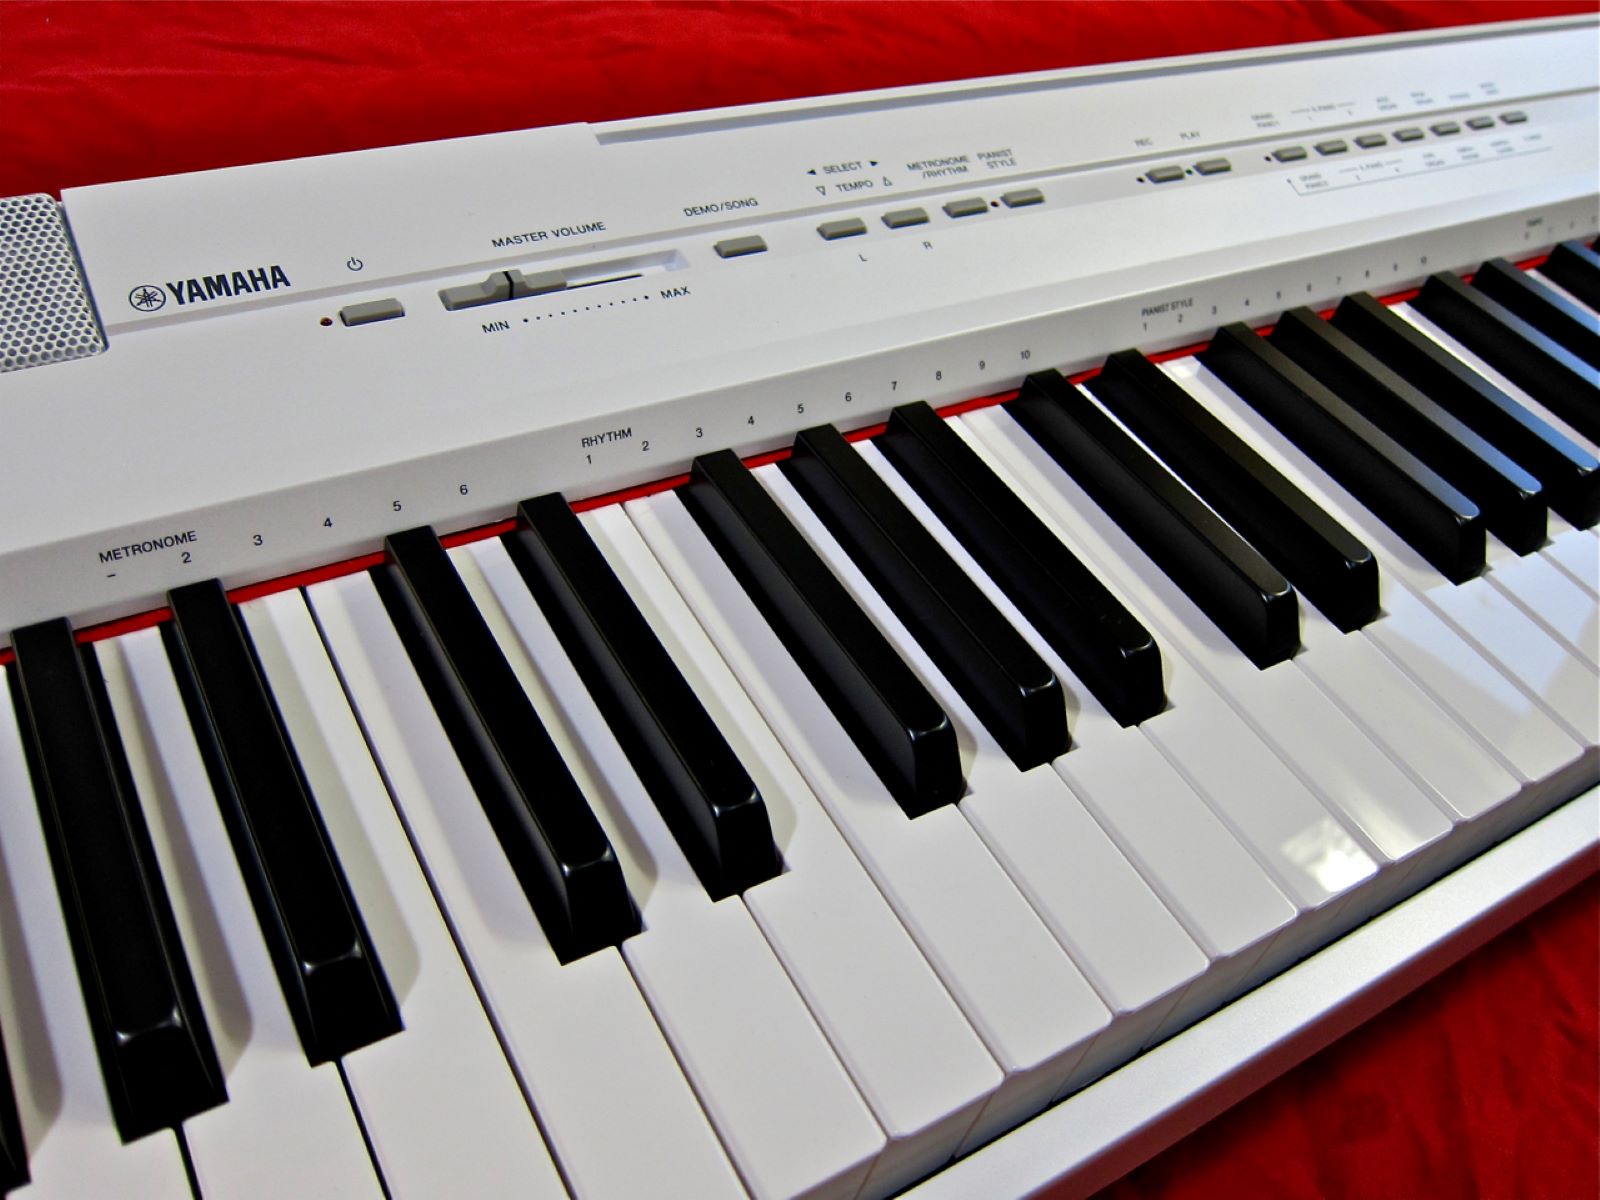
- Digital Piano: Ensure that you have a digital piano equipped with MIDI connectivity. Most modern digital pianos come with MIDI ports, allowing for the transmission of musical data to external devices such as computers.
- MIDI Cord: Acquire a MIDI cord (also known as a MIDI cable) with the appropriate connectors to establish a direct link between your digital piano and your computer. The MIDI cord serves as the conduit through which musical data is transmitted from the piano to the computer and vice versa.
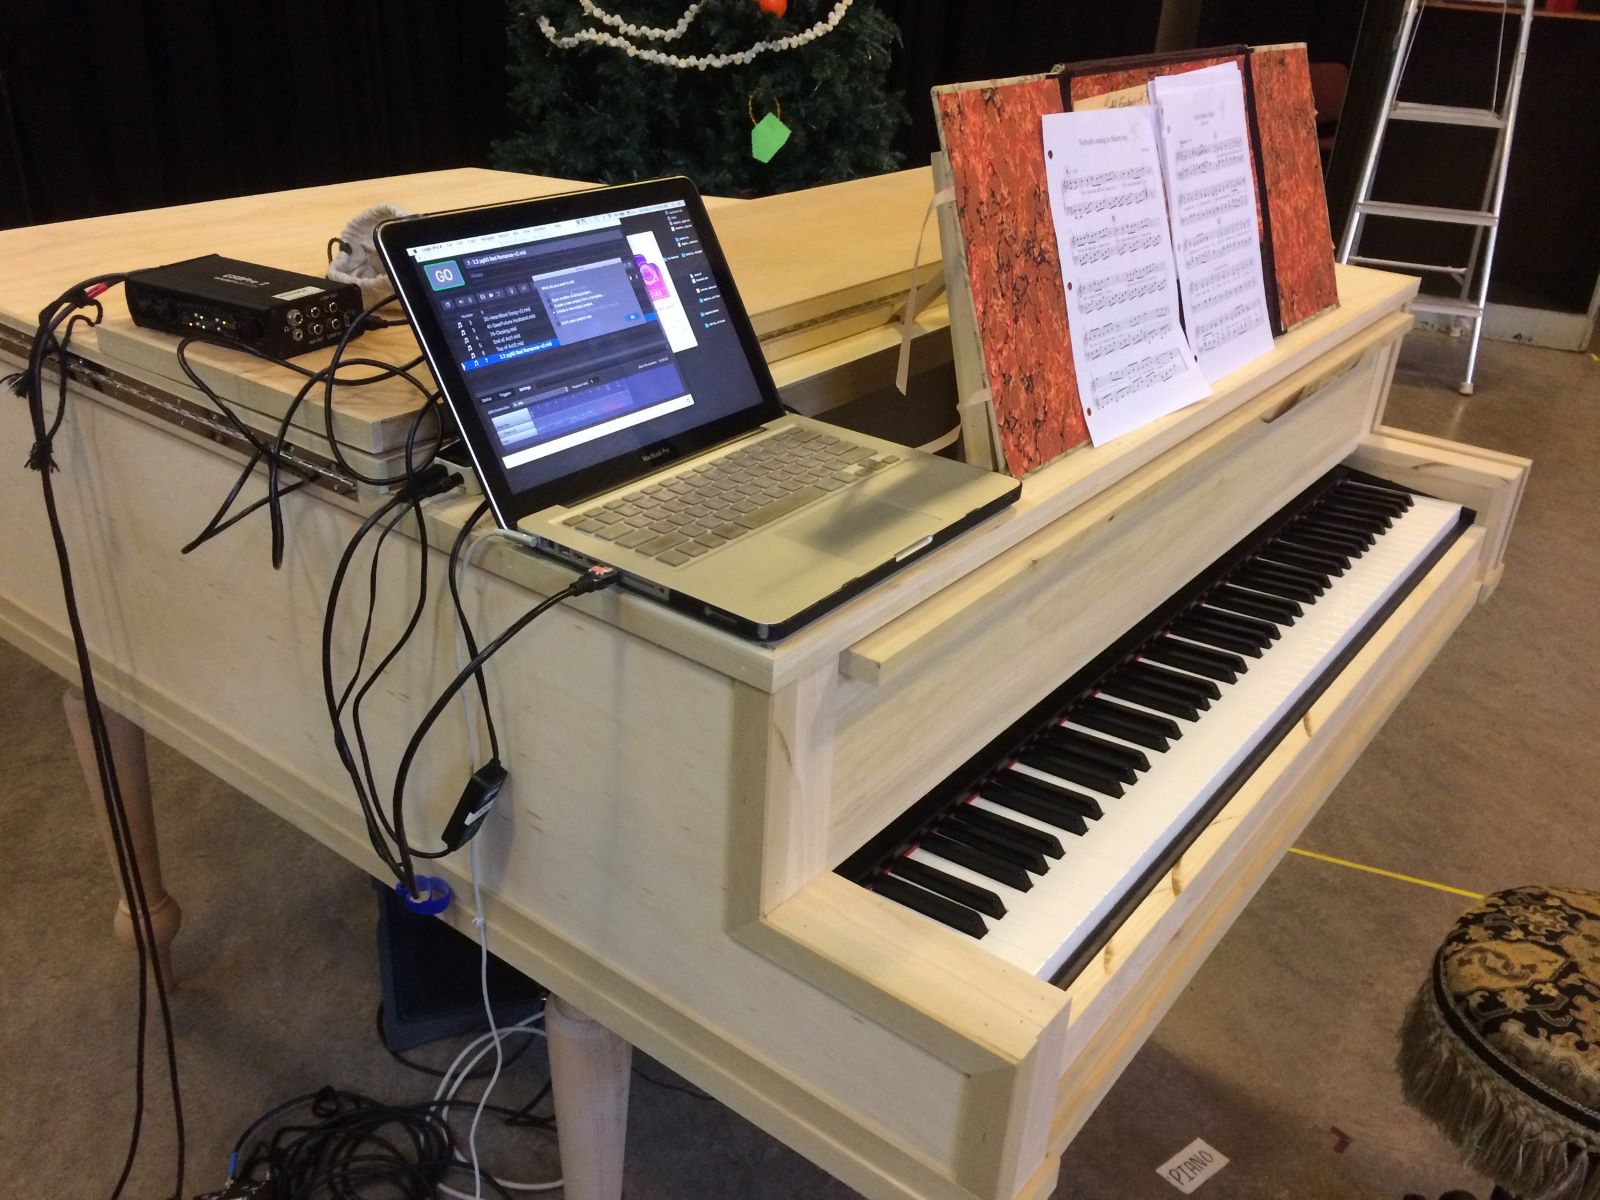
- Computer with USB Port: You will need a computer equipped with a USB port to facilitate the connection between your digital piano and Finale. The USB port serves as the interface through which the MIDI data is transmitted and received by the computer.
- Finale Software: Ensure that you have the Finale music notation software installed on your computer. This powerful software will serve as the platform for translating your musical input from the digital piano into comprehensive notation.
- Patience and Enthusiasm: While not a physical requirement, a positive attitude and a willingness to learn are essential for this process. Embracing the journey of integrating your digital piano with Finale will enhance your overall experience and pave the way for a deeper understanding of music technology.
By ensuring that you have these essential components at your disposal, you will be well-prepared to embark on the journey of connecting your digital piano to Finale through a MIDI cord. With these tools in hand, you are ready to delve into the step-by-step process of establishing a seamless connection between your musical instrument and music composition software.
Connecting Your Digital Piano to Your Computer
Once you have gathered the necessary components, it’s time to establish the physical connection between your digital piano and your computer. Follow these steps to ensure a successful linkage:
- Locate the MIDI Ports: Begin by identifying the MIDI ports on your digital piano. These ports are typically labeled as “MIDI In” and “MIDI Out.” The “MIDI Out” port on the piano should be connected to the “MIDI In” port on your computer using the MIDI cord. Ensure that the connectors are securely attached to their respective ports.
- Connect the USB End: If your MIDI cord has a USB connector on one end, plug it into an available USB port on your computer. This USB connection serves as the bridge through which MIDI data is transmitted between the digital piano and the computer. If your MIDI cord does not have a USB connector, you may need to use a MIDI to USB adapter to facilitate the connection.
- Power On Your Digital Piano: Ensure that your digital piano is powered on and ready for use. The piano should be in a functional state to enable the transmission of MIDI data to the computer.
- Check Connection Settings: Once the physical connections are in place, verify the MIDI settings on your digital piano. Some pianos may require you to enable MIDI output or select the appropriate MIDI channel for communication. Refer to your piano’s user manual for specific instructions on configuring MIDI settings.
- Computer Recognition: After completing the physical connections and ensuring the correct MIDI settings on your digital piano, your computer should recognize the connected device. Depending on your computer’s operating system, you may receive a notification indicating the detection of a new MIDI device.
By following these steps, you will establish a direct link between your digital piano and your computer, laying the groundwork for seamless communication between the two devices. The physical connection is a crucial initial step in the process of integrating your digital piano with Finale, setting the stage for the transmission of musical data from the piano to the software environment.
With the physical connection established, you are now ready to delve into the configuration of MIDI settings within Finale to enable the software to recognize and interpret the musical input from your digital piano.
Setting Up MIDI in Finale
With the physical connection between your digital piano and computer established, the next crucial step is to configure MIDI settings within Finale to facilitate seamless communication between the two devices. Follow these steps to set up MIDI in Finale:
- Open Finale: Launch the Finale software on your computer to initiate the setup process. Once the software is running, you will be ready to configure the MIDI settings to recognize and interact with your digital piano.
- Access MIDI Setup: Navigate to the MIDI setup or preferences within Finale. This may be located in the software’s settings menu or preferences panel. Look for options related to MIDI input devices or MIDI setup to access the configuration interface.
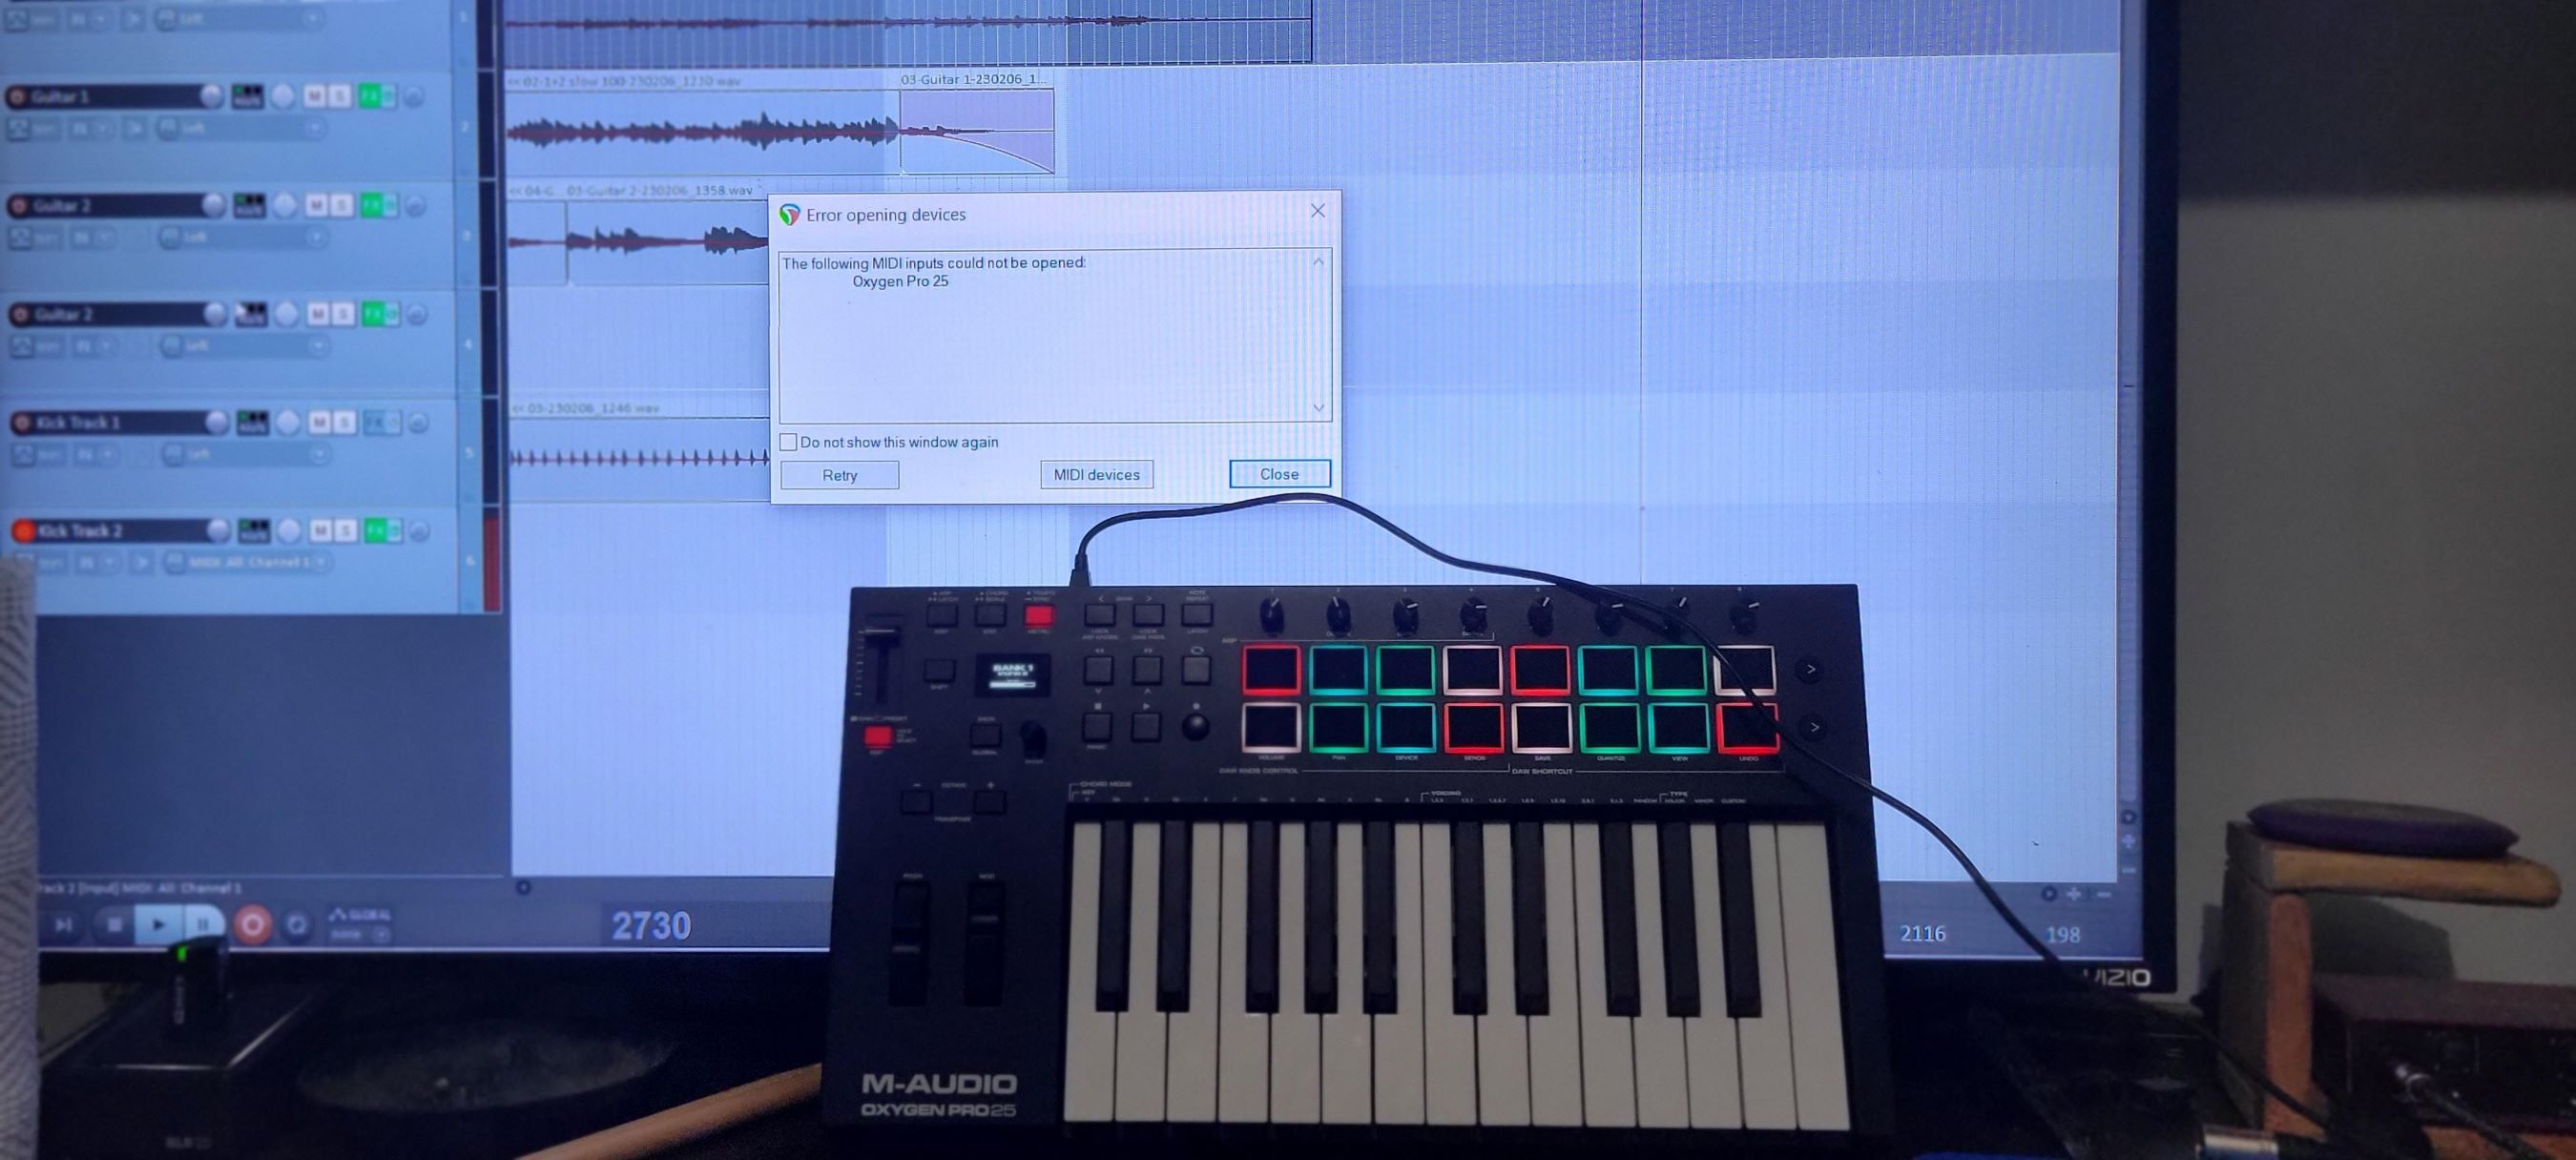
- Select MIDI Input Device: In the MIDI setup interface, locate the option to select the MIDI input device. Your digital piano should appear as an available input device in the list of MIDI devices. Select your digital piano from the list to designate it as the primary MIDI input device for Finale.
- Configure MIDI Channels: Depending on the capabilities of your digital piano, you may need to configure the MIDI channels within Finale to correspond with the channels used by the piano. This ensures that the software can receive and interpret MIDI data transmitted from the piano accurately.
- Verify MIDI Input: After selecting the MIDI input device and configuring the MIDI channels, verify that Finale is successfully receiving MIDI input from your digital piano. You can test this by playing a few notes or chords on the piano and observing the MIDI input indicators within Finale. If the software registers the MIDI input, you have successfully set up the MIDI communication between your digital piano and Finale.
By following these steps, you will establish a seamless MIDI connection between your digital piano and Finale, enabling the software to receive and interpret the musical input from your instrument. The proper configuration of MIDI settings within Finale is essential for translating your musical performances on the digital piano into comprehensive notation within the software environment.
With MIDI set up in Finale, you are now prepared to test the connection and ensure that your digital piano communicates effectively with the software, paving the way for a harmonious integration of your musical compositions and the digital platform.
Testing Your Connection
After establishing the MIDI connection between your digital piano and Finale, it’s crucial to conduct a comprehensive test to ensure that the communication between the two devices is seamless and responsive. Follow these steps to verify the functionality of your digital piano’s integration with Finale:
- Input Musical Performances: Begin by playing various musical passages, melodies, and chords on your digital piano. As you perform, observe the real-time input indicators within Finale to confirm that the software is accurately receiving and interpreting the MIDI data transmitted from your piano. The on-screen notation should reflect your musical performances in real time, providing visual feedback of the input.
- Playback and Notation: Utilize the playback functionality within Finale to hear the musical compositions you’ve input through your digital piano. After recording a segment of music, initiate playback within the software to confirm that the notated output aligns with your original performance. This step ensures that the MIDI data captured from your digital piano translates into accurate musical notation within Finale.
- Dynamic Expression and Articulation: Explore the dynamic capabilities of your digital piano by incorporating variations in touch, expression, and articulation while playing. Test the responsiveness of Finale to capture these nuances, such as varying degrees of velocity and pedal usage, to ensure that the software accurately reflects the subtleties of your musical expression in the notated output.
- Multi-Track Recording (Optional): If your digital piano supports multi-track MIDI recording, consider capturing performances across multiple tracks to test the software’s ability to manage and interpret complex MIDI data. This can provide valuable insights into how Finale handles intricate musical compositions and arrangements input through your digital piano.
By conducting these tests, you will gain confidence in the seamless integration of your digital piano with Finale, affirming that the MIDI connection functions as intended and accurately captures your musical input for notation and playback within the software environment.
Upon successful completion of the testing phase, you can proceed with leveraging the full capabilities of your digital piano in conjunction with Finale, harnessing the power of MIDI communication to bring your musical compositions to life with precision and clarity.
Conclusion
Embarking on the journey to connect your digital piano to Finale through a MIDI cord has equipped you with the knowledge and skills to seamlessly integrate your musical instrument with powerful notation software. By following the step-by-step process outlined in this guide, you have laid the foundation for a harmonious synergy between your digital piano and Finale, unlocking a world of creative possibilities.
Throughout this endeavor, you have learned the importance of gathering the essential components, including a digital piano with MIDI connectivity, a MIDI cord, and the Finale software. The physical connection between your piano and computer, coupled with the meticulous configuration of MIDI settings within Finale, has established a direct line of communication, enabling the transmission and interpretation of musical data in real time.
Furthermore, the comprehensive testing of your MIDI connection has provided valuable insights into the seamless integration of your digital piano with Finale, affirming the software’s ability to accurately capture and notate your musical performances with precision and clarity. This testing phase has instilled confidence in the functionality of the MIDI setup, paving the way for the seamless translation of your musical creativity onto the digital canvas.
As you continue to explore the boundless potential of this integration, you are poised to leverage the dynamic capabilities of your digital piano in conjunction with the robust features of Finale, empowering you to compose, notate, and playback your musical creations with unparalleled accuracy and expressiveness.
By embracing the fusion of technology and musical artistry, you have embarked on a transformative journey that bridges the gap between your digital piano and the digital realm of music composition. This integration serves as a testament to the evolving landscape of music technology, enabling musicians and composers to harness the power of MIDI communication to bring their musical visions to fruition with remarkable precision and efficiency.
With the knowledge and expertise gained from this guide, you are well-equipped to embark on a musical odyssey that seamlessly intertwines the artistry of your digital piano with the innovative capabilities of Finale, setting the stage for a harmonious symphony of creativity and technology.