Introduction
Welcome to the world of amplifying your acoustic guitar! Whether you’re a seasoned performer or just starting to explore this realm, connecting your acoustic guitar to an amp opens up a whole new range of sonic possibilities. By amplifying your guitar’s sound, you can fill larger spaces, add effects, and experiment with different tones without compromising the natural beauty of your instrument.
In this article, we’ll guide you through the process of connecting an acoustic guitar to an amp. We’ll discuss the importance of choosing the right amp, preparing your guitar for amplification, and provide you with a step-by-step guide on how to connect your guitar to the amp. Additionally, we’ll share some tips to help you achieve the best possible sound quality and troubleshoot common issues you may encounter along the way.
So whether you’re gearing up for a live performance, studio recording, or simply want to enjoy a more amplified sound during jam sessions, this guide is here to help you navigate the process with ease and confidence.
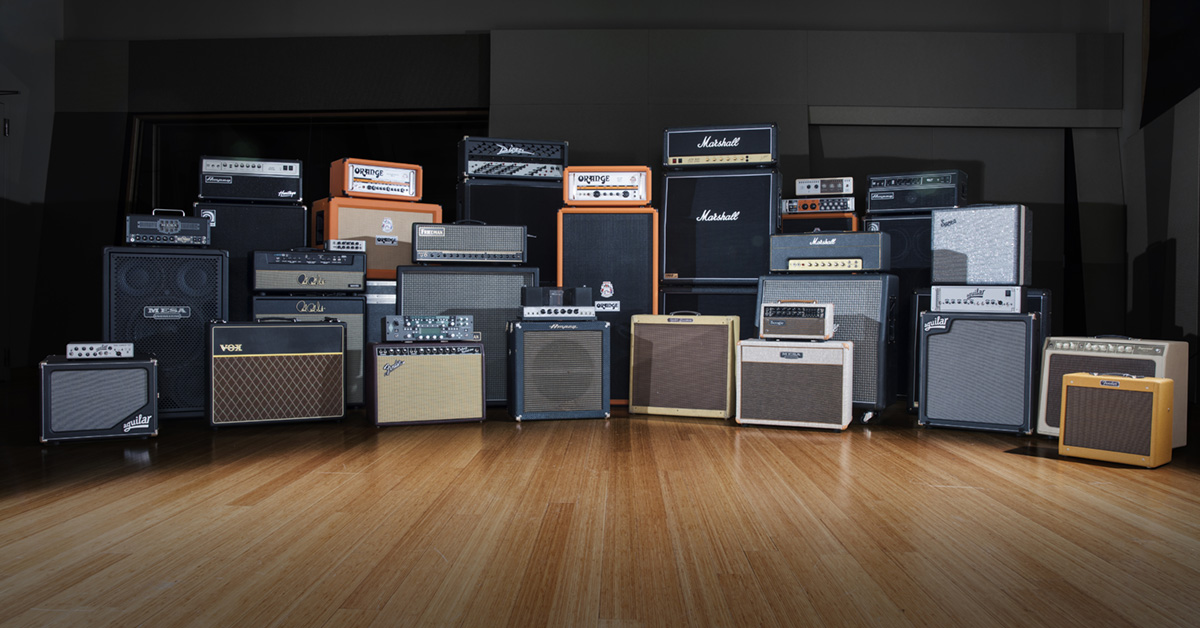
Choosing the Right Amp for Your Acoustic Guitar
When it comes to choosing an amp for your acoustic guitar, there are a few key factors to consider. The right amp can greatly enhance the sound of your instrument and ensure that it reproduces its unique tonal qualities faithfully. Here are some things to keep in mind:
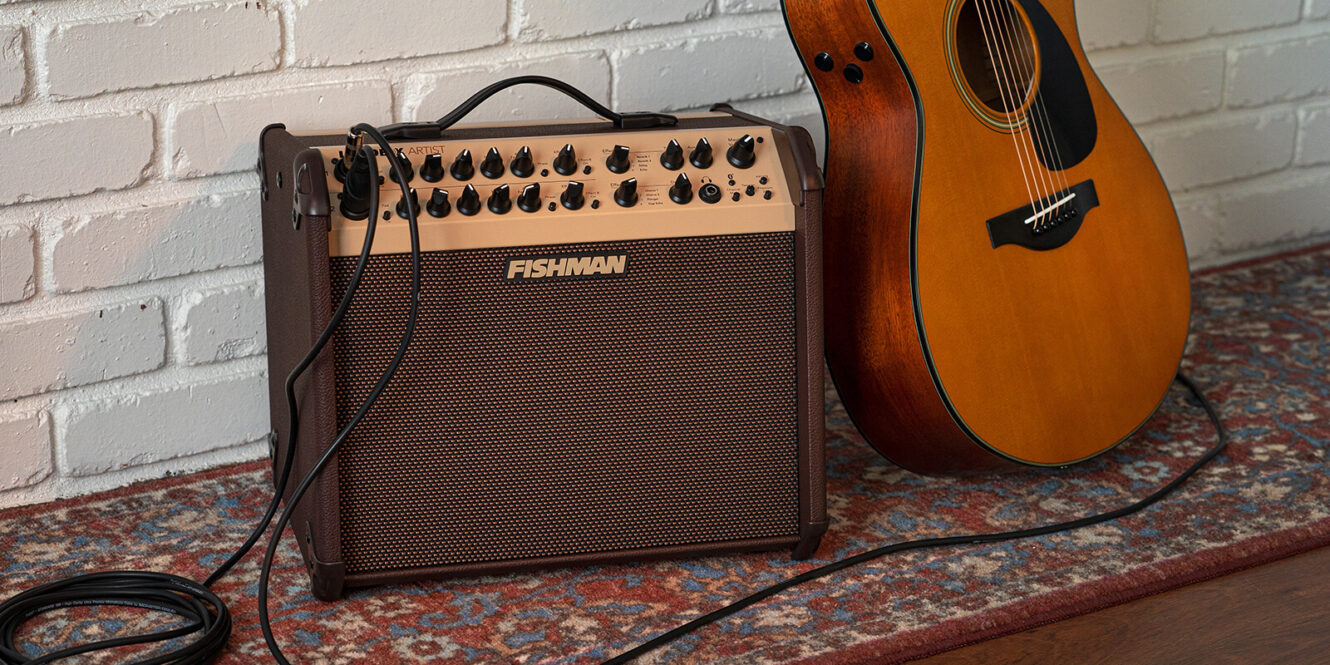
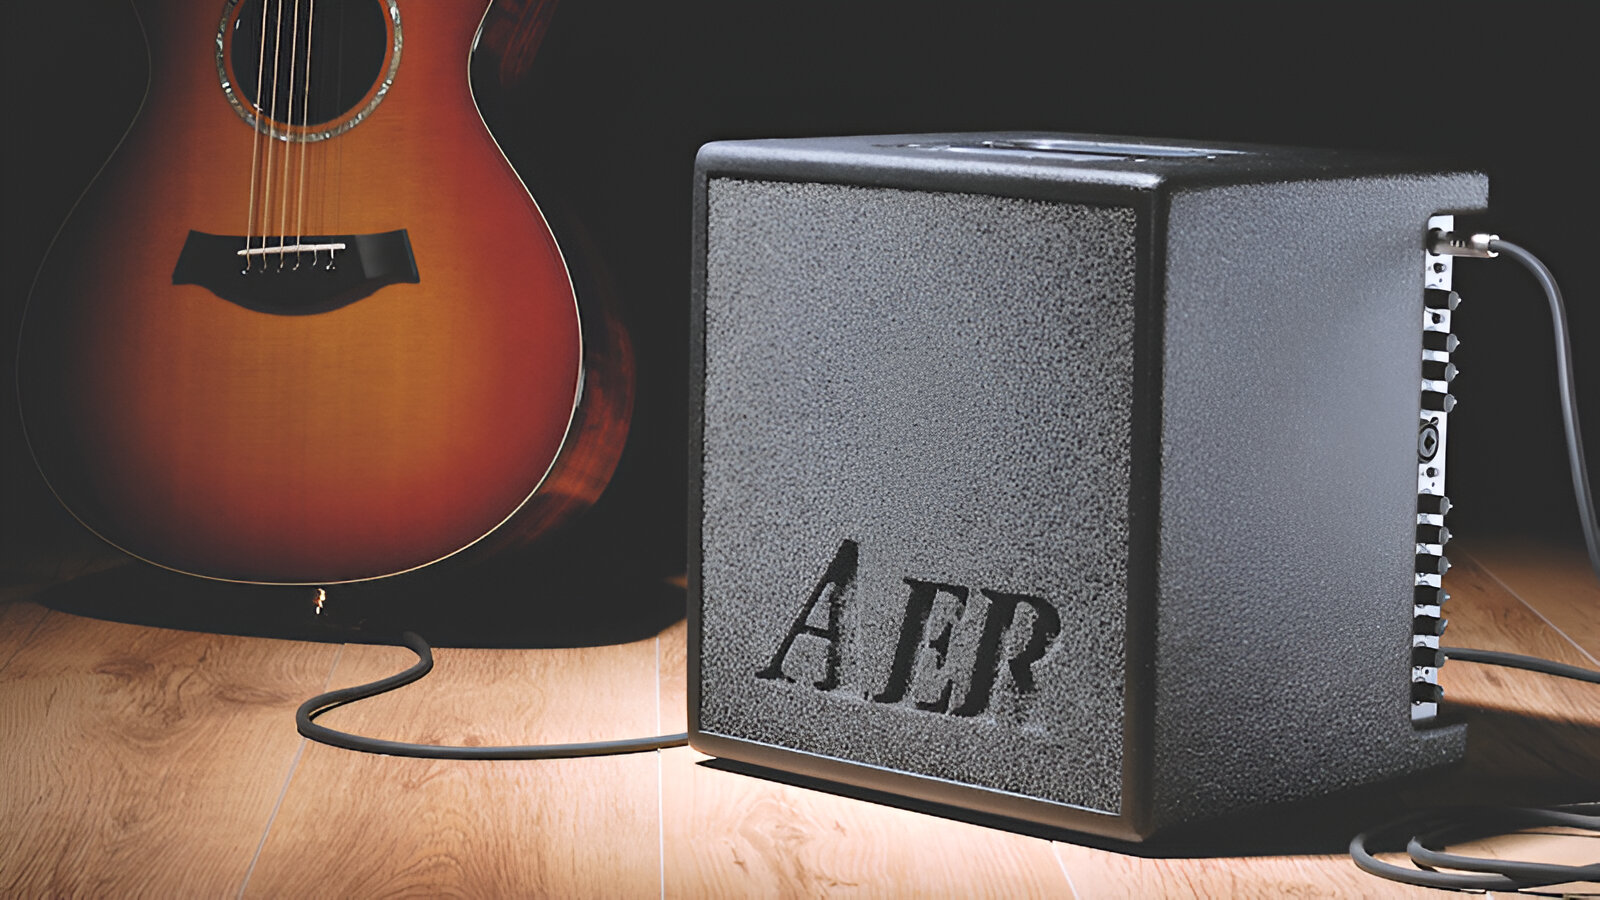
- Type of Amp: There are different types of amps available, such as solid-state amps, tube amps, and acoustic amps. Each type has its own characteristics and sonic capabilities. Solid-state amps are generally more affordable and reliable, while tube amps offer a warm, vintage sound. Acoustic amps are specifically designed to amplify the natural tones of acoustic instruments. Consider your playing style and the sound you want to achieve when deciding on the type of amp.
- Power Rating: The power rating of an amp determines its volume capabilities. For smaller venues or home use, a lower wattage amp may be sufficient. However, if you frequently perform in larger spaces or with a band, you may need a higher wattage amp to ensure adequate projection and clarity.
- Size and Portability: Think about where and how you’ll be using the amp. If you’re primarily playing at home or in a small studio, a compact and portable amp may be more suitable. On the other hand, if you’re regularly taking your acoustic guitar on the road for gigs, a durable and road-worthy amp with built-in handles or wheels may be necessary.
- Features and Controls: Consider the features and controls that are important to you. Some amps offer built-in effects like reverb or chorus, while others have EQ controls to shape your tone. Additionally, look for inputs that accommodate microphones or other instruments if you plan to use them alongside your acoustic guitar.
- Budget: Set a budget for your amp purchase and explore options within that range. While there are high-end and boutique amps available, there are also plenty of affordable options that deliver excellent sound quality. Don’t forget to factor in any additional accessories you may need, such as cables or a footswitch.
By considering these factors and your specific needs, you’ll be able to find an amp that complements your acoustic guitar and elevates your sound to new heights.
Preparing Your Guitar for Amplification
Before connecting your acoustic guitar to an amp, it’s essential to ensure that your instrument is properly prepared. Taking the time to prepare your guitar will not only optimize the sound quality but also protect your equipment and prevent any unwanted issues. Here are some steps to follow:
- Change Your Strings: Fresh strings can make a significant difference in the overall tone and projection of your acoustic guitar. Replace old or worn-out strings with a new set specifically designed for acoustic amplification. This will ensure a vibrant and balanced tone.
- Check the Battery (if applicable): If your guitar has onboard electronics or a pickup system that requires a battery, make sure it is fully charged or replaced before connecting to the amp. A weak battery can affect the sound quality and may cause intermittent signal loss.
- Adjust the Action: The action of your guitar refers to the height of the strings from the fretboard. It’s important to have a comfortable action that facilitates easy playing while avoiding excessive buzzing or string slapping. Consult a professional luthier or guitar technician to ensure your guitar’s action is properly adjusted for optimal playability and sound.
- Check for Loose Parts: Give your guitar a thorough inspection and check for any loose screws, nuts, or other components. Loose parts can cause rattling sounds or vibrations that can interfere with your amplified tone. Tighten any loose parts or seek the assistance of a qualified technician if needed.
- Clean and Condition: Wipe down your guitar’s body, fretboard, and strings with a clean, lint-free cloth to remove any dirt, sweat, or debris. Additionally, apply a guitar-specific conditioner to the fretboard (if applicable) to keep it hydrated and prevent it from drying out.
- Use a Soundhole Cover (optional): If you’re experiencing feedback issues while playing at higher volumes, consider using a soundhole cover. This simple device helps minimize the risk of feedback by reducing unwanted resonance and vibrations within the guitar’s body.
By following these steps, you’ll ensure that your acoustic guitar is in optimal condition and ready to be connected to an amp. Taking the time to prepare your instrument will greatly enhance your overall playing experience and help you achieve the best possible sound quality.
Connecting Your Acoustic Guitar to the Amp: Step-by-Step Guide
Now that your acoustic guitar and amp are ready, it’s time to connect them and get your music amplified. Follow these simple steps to ensure a seamless connection:
- Locate the Input Jack: On your acoustic guitar, find the input jack. It is usually located on the bottom edge of the instrument, near the bridge. The input jack is where you will plug in the cable to connect your guitar to the amp.
- Choose the Right Cable: Select a high-quality guitar cable that has a 1/4-inch TS (Tip-Sleeve) connector on each end. These are commonly referred to as instrument cables and are ideal for connecting your acoustic guitar to the amp.
- Insert the Cable: Take one end of the cable and plug it into the input jack of your acoustic guitar. Ensure that the connector is inserted securely and fully into the jack.
- Locate the Input Port on the Amp: Find the input port on your amp. It is typically labeled as “Input,” “Instrument In,” or “Guitar In.” This is where you will connect the other end of the cable.
- Connect to the Amp: Take the other end of the cable and plug it into the corresponding input port on your amp. Again, ensure that the connector is inserted firmly and securely.
- Turn On the Amp: Power on your amp using the designated switch or button. Adjust the volume to a low setting initially to avoid any sudden loud noises or feedback.
- Test the Connection: With the amp powered on, play your guitar while monitoring the sound from the amp. Gradually increase the volume to achieve your desired level of amplification. If you experience any issues or unusual sounds, double-check the cable connections and troubleshoot accordingly.
- Experiment with Settings: Explore the various controls on your amp, such as the equalization (EQ) knobs, volume, and effects. Adjust these settings to shape your tone and experiment with different sounds to find the perfect blend for your playing style and musical preferences.
By following these steps, you’ll be able to connect your acoustic guitar to the amp successfully. Remember to always handle your equipment with care and make adjustments as needed to achieve the best sound quality.
Tips for Optimal Sound Quality
Getting the best possible sound quality from your amplified acoustic guitar involves more than just connecting it to an amp. Here are some valuable tips to help you achieve optimal sound quality:
- Positioning: Experiment with the placement of your guitar and amp. Consider the acoustics of the room and adjust the positioning to minimize unwanted feedback and maximize the projection of your sound.
- EQ Settings: Use the EQ controls on your amp to tailor the tone to your liking. Adjust the bass, midrange, and treble frequencies to find the ideal balance that enhances the natural characteristics of your acoustic guitar.
- Volume Control: Avoid excessive volume levels that can cause distortion or compromise the integrity of your sound. Find a comfortable volume level that allows your guitar to shine without overpowering other instruments or the venue.
- Feedback Reduction: If you’re experiencing feedback issues, try angling the position of your guitar in relation to the amp or using a soundhole cover. Additionally, using a parametric EQ pedal or notch filter can help tame unwanted feedback frequencies.
- Experiment with Effects: Explore the built-in effects on your amp or consider using external effects pedals to add depth and dimension to your sound. Experiment with reverb, delay, chorus, or other effects to expand your sonic possibilities.
- Monitor Your Tone: Utilize the amp’s onboard monitor or an external monitor system to hear your amplified sound accurately. This will help you make necessary adjustments and ensure that your tone translates well to the audience.
- Regular Maintenance: Keep your guitar and amp in good condition by regularly cleaning and maintaining them. Clean the amp’s speaker grille, dust off the controls, and wipe down your guitar to remove any buildup that can affect sound quality.
- Listen and Adjust: Trust your ears and actively listen to your sound as you play. Pay attention to any areas that may need tweaking and make adjustments to your playing technique or equipment settings accordingly.
By implementing these tips, you’ll be able to optimize the sound quality of your amplified acoustic guitar and enhance your overall playing experience. Remember, finding your unique sound is a personal journey, so don’t be afraid to experiment and discover what works best for you.
Troubleshooting: Common Issues and Solutions
While connecting an acoustic guitar to an amp is usually a straightforward process, you may encounter some common issues along the way. Here are a few troubleshooting tips to help you overcome these challenges:
- No Sound: If you’re not hearing any sound from your amp, double-check the cable connections. Ensure that both ends of the cable are securely plugged into the guitar and amp. Also, make sure the amp is powered on and the volume is turned up.
- Weak or Distorted Sound: If the sound from your guitar is weak or distorted, check the battery (if applicable) in the guitar’s electronics or pickup system. A weak battery can cause fluctuations in sound quality. Additionally, test different cables to rule out any cable-related issues.
- Feedback: Feedback can occur when the sound from the amp causes the strings to vibrate and generate a high-pitched noise. To reduce feedback, try adjusting the positioning of your guitar and amp, use a soundhole cover, or experiment with EQ settings to cut specific frequencies that are causing the feedback.
- Unbalanced EQ: If your guitar sounds too bass-heavy or overly treble-heavy, adjust the EQ settings on your amp. Make subtle adjustments to the bass, midrange, and treble controls until you achieve a balanced tone that complements your playing style and the characteristics of your guitar.
- Intermittent Signal: If the signal from your guitar cuts in and out or is sporadic, check the cable connections for any looseness or damage. Try using a different cable to see if the issue persists. Additionally, inspect the input jack on your guitar for any dirt or debris that may be interfering with the connection.
- Excessive Hum or Noise: If you’re experiencing unwanted hum or noise from your amp, make sure you’re using a grounded power source. Additionally, check the surroundings for any potential sources of interference, such as fluorescent lights or other electronic devices.
- Out-of-Tune Sound: If your guitar sounds out of tune when connected to the amp, it may be an issue with intonation or the guitar’s overall setup. Consider taking your guitar to a professional for a setup or intonation adjustment to ensure accurate tuning and proper playability.
- Consult a Professional: If you’ve tried troubleshooting common issues but are still experiencing difficulties, it’s always a good idea to consult a trusted guitar technician or sound engineer. They can provide expert advice and diagnose any underlying problems that may require further attention.
Remember that troubleshooting can sometimes be a trial-and-error process. Patience and persistence are key. With a careful approach and these troubleshooting tips, you’ll be able to overcome common issues and enjoy a smooth and enjoyable experience when amplifying your acoustic guitar.
Conclusion
Connecting your acoustic guitar to an amp opens up a world of possibilities for enhancing your sound and broadening your musical horizons. By choosing the right amp, preparing your guitar, and following a step-by-step guide, you can easily connect your acoustic guitar to an amp and enjoy the benefits of amplified sound.
Remember to consider factors such as the type of amp, power rating, size and portability, and your budget when selecting an amp. Preparing your guitar by changing the strings, checking the battery (if applicable), adjusting the action, and ensuring everything is in good working order will help optimize your sound quality.
Follow the step-by-step guide, including locating the input jack, choosing the right cable, and connecting it to the amp. Take the time to experiment with different settings, explore effects, and adjust the volume to find your desired sound. Additionally, troubleshoot common issues such as no sound, feedback, or weak signal using the tips provided in this article.
By adhering to these guidelines and troubleshooting techniques, you’ll be able to connect your acoustic guitar to an amp successfully and unlock new sonic possibilities. Remember to trust your ears, listen carefully, and make adjustments to achieve optimal sound quality.
Whether you’re a gigging musician, a recording enthusiast, or simply enjoy playing your guitar amplified at home, connecting your acoustic guitar to an amp will undoubtedly take your playing experience to new heights. So go ahead, plug in, and let your music soar!