Introduction
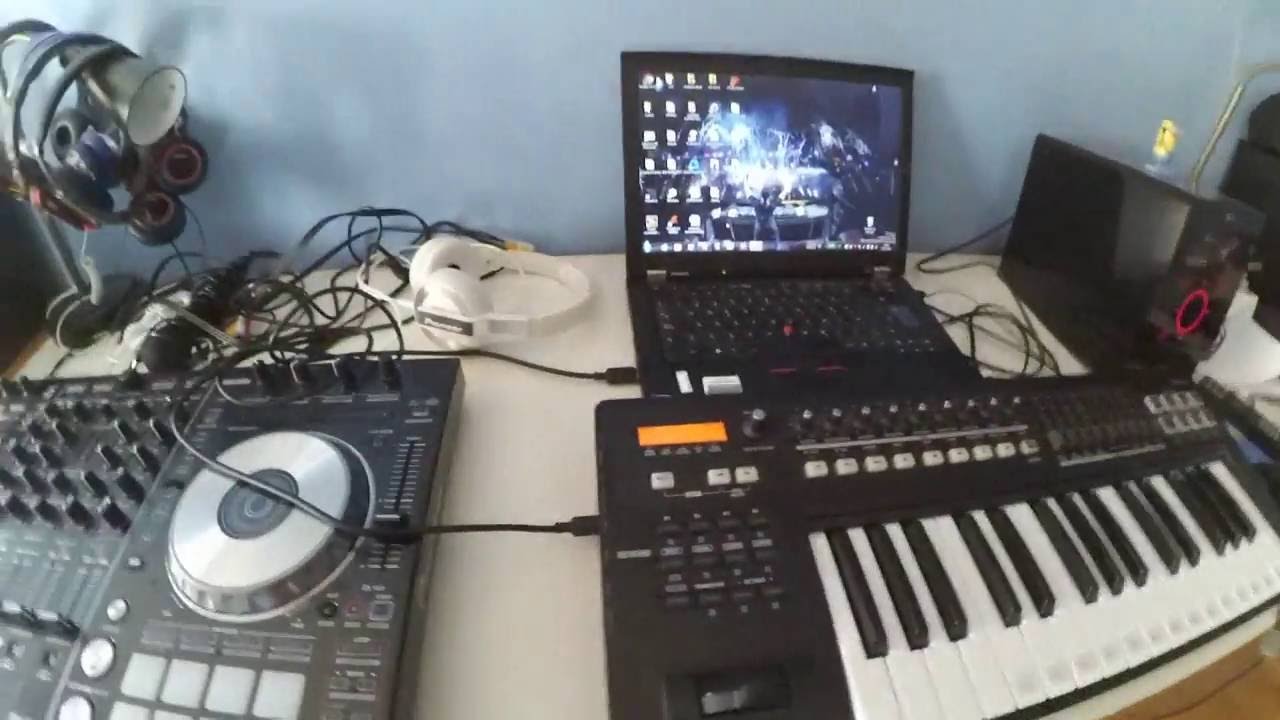
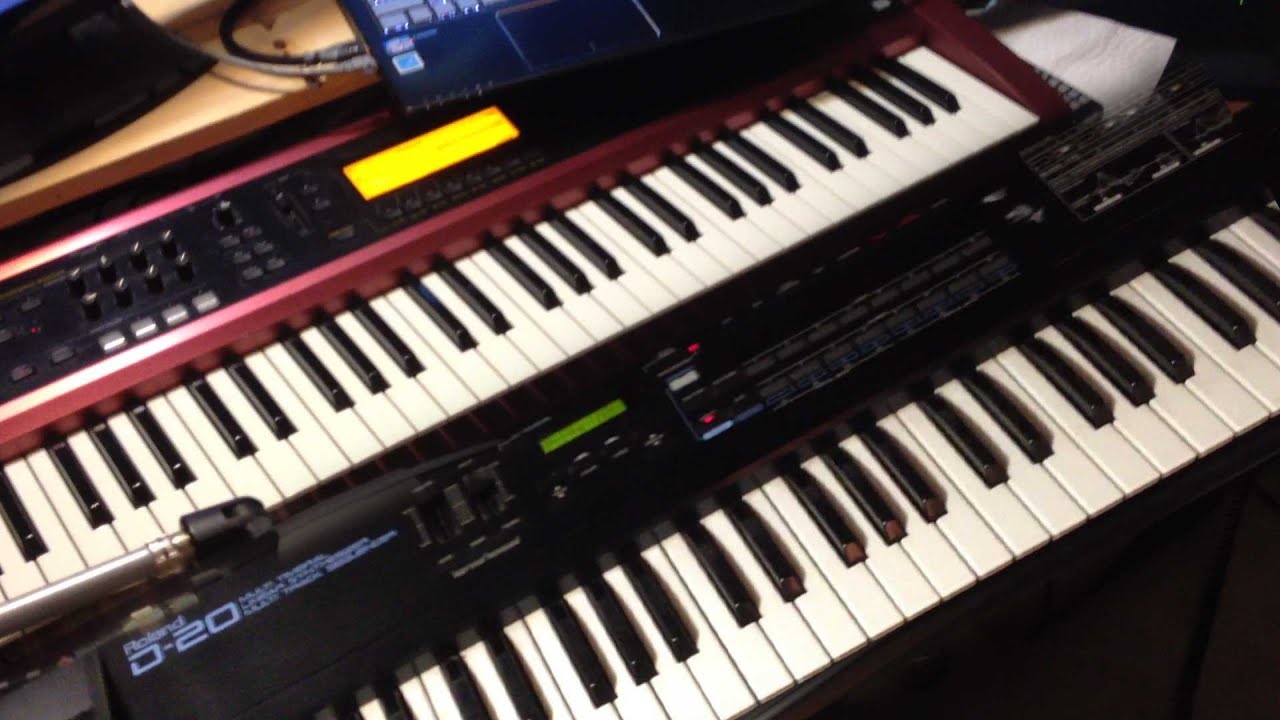
When it comes to creating music using electronic instruments, MIDI keyboards play a pivotal role in generating and controlling sounds. Understanding how to assign MIDI channels to a MIDI keyboard is essential for optimizing its functionality and ensuring seamless integration with other devices and software. This process enables musicians and producers to control multiple instruments, synthesizers, and software instruments independently, allowing for a more versatile and dynamic music production experience.
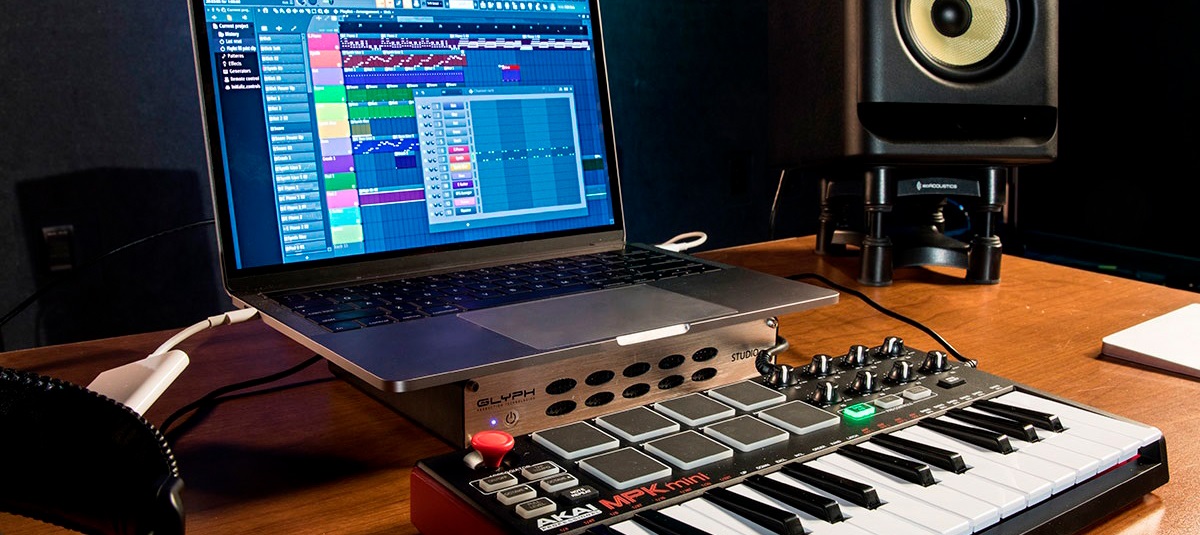
MIDI, short for Musical Instrument Digital Interface, is a universal communication protocol that allows electronic musical instruments, computers, and audio devices to communicate with each other. MIDI keyboards, equipped with various keys, knobs, and sliders, serve as versatile controllers for creating and manipulating sounds in digital audio workstations (DAWs) and other music production software.
Assigning MIDI channels to a MIDI keyboard is akin to designating specific communication pathways between the keyboard and external devices or software. By assigning different MIDI channels to various instruments or software instruments, musicians can control and play multiple sounds from a single MIDI keyboard. This capability is particularly valuable in live performances and studio recordings, as it enables seamless transitions between different sounds and instruments, enhancing the overall musical expression and creativity.
In the following sections, we will delve into the intricacies of MIDI channels and elucidate the process of assigning MIDI channels on a MIDI keyboard. Understanding this fundamental aspect of MIDI technology will empower musicians and producers to harness the full potential of their MIDI keyboards and unlock a world of creative possibilities in music production and performance.
Understanding MIDI Channels
MIDI channels serve as the communication pathways through which MIDI data is transmitted between devices. In the realm of MIDI technology, there are 16 available channels, numbered from 1 to 16, each capable of carrying unique streams of MIDI information. These channels facilitate the independent control and manipulation of various instruments and sound sources, allowing for versatile and dynamic music production and performance.
It’s important to note that MIDI channels are distinct from audio channels. While audio channels represent individual audio signals in a mixer or audio interface, MIDI channels are utilized for transmitting control data, such as note information, velocity, modulation, pitch bend, and other performance parameters. This differentiation underscores the crucial role of MIDI channels in shaping the expressive and creative aspects of music production.
When a MIDI keyboard is set to a specific MIDI channel, it means that the keyboard will transmit MIDI data, such as note-on and note-off messages, control changes, and other performance data, through that designated channel. This allows for the targeted control of external synthesizers, software instruments, and other MIDI-compatible devices that are set to receive input on the same MIDI channel.
Furthermore, MIDI channels enable musicians to play and control multiple instruments from a single MIDI keyboard. By assigning different instruments to different MIDI channels, performers can seamlessly switch between various sounds during a live performance or manipulate multiple software instruments in a studio setting. This flexibility and versatility are integral to the creative process, empowering musicians to explore diverse sonic landscapes and craft intricate musical arrangements.
Understanding the role and functionality of MIDI channels is paramount for harnessing the full potential of MIDI technology. By grasping the concept of MIDI channels and their impact on musical expression and control, musicians and producers can optimize their workflow, enhance their performances, and elevate the sonic richness of their musical creations.
Assigning MIDI Channel on a MIDI Keyboard
Assigning a MIDI channel on a MIDI keyboard is a fundamental process that empowers musicians to control and interact with external devices and software instruments. This procedure involves configuring the MIDI settings on the keyboard to designate a specific channel for transmitting MIDI data, thereby enabling seamless communication with other MIDI-compatible equipment and software. Here’s a step-by-step guide to assigning a MIDI channel on a MIDI keyboard:
- Accessing the MIDI Settings: Begin by accessing the MIDI settings or configuration menu on the MIDI keyboard. This can typically be done by navigating through the keyboard’s menu system using the designated buttons, knobs, or touchscreen interface. Consult the user manual for specific instructions on accessing the MIDI settings for your particular MIDI keyboard model.
- Selecting the MIDI Channel: Once in the MIDI settings menu, locate the option for selecting the MIDI channel. Depending on the keyboard model, this may be represented as “MIDI Channel,” “Transmit Channel,” or a similar designation. Use the keyboard’s controls to choose the desired MIDI channel from the available options, typically ranging from MIDI Channel 1 to MIDI Channel 16.
- Confirming the Selection: After selecting the MIDI channel, it’s essential to confirm the choice to ensure that the keyboard is now set to transmit MIDI data on the designated channel. This confirmation step may involve pressing a dedicated “Enter” or “Confirm” button on the keyboard to save the MIDI channel selection.
- Testing the MIDI Output: To verify that the MIDI channel assignment has been successful, connect the MIDI keyboard to an external MIDI-compatible device or software instrument that is set to receive input on the same MIDI channel. Play the keyboard and observe whether the external device or software instrument responds to the MIDI data transmitted from the keyboard. If the communication is successful, the MIDI channel assignment has been effectively configured.
It’s important to note that the specific steps for assigning a MIDI channel may vary depending on the make and model of the MIDI keyboard. Therefore, consulting the user manual provided by the manufacturer is highly recommended to ensure accurate configuration of MIDI settings.
By mastering the process of assigning MIDI channels on a MIDI keyboard, musicians can harness the full potential of their equipment, enabling seamless integration with an array of MIDI-compatible devices and software instruments. This capability paves the way for boundless creativity and expressive control in music production and performance.
Testing the Assigned MIDI Channel
Once the MIDI channel has been successfully assigned on the MIDI keyboard, it is crucial to test the functionality to ensure seamless communication with external devices or software instruments. Testing the assigned MIDI channel involves verifying that the MIDI data transmitted from the keyboard is correctly received and interpreted by the target device or software instrument set to receive input on the same MIDI channel. Here’s a comprehensive guide to testing the assigned MIDI channel:
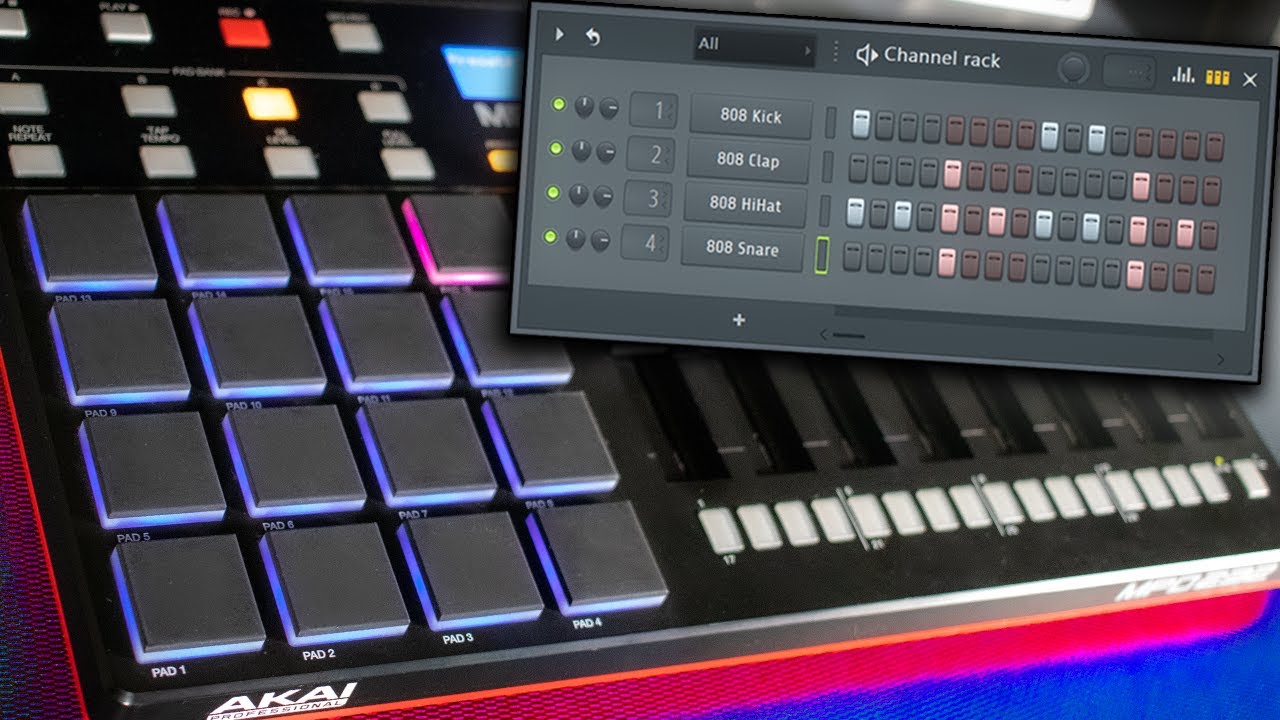
- Connecting External Devices: Begin by connecting the MIDI keyboard to the external MIDI-compatible devices, such as synthesizers, sound modules, or computer interfaces, using MIDI cables or USB connections, depending on the available connectivity options on the keyboard and the target devices.
- Configuring Software Instruments: If the MIDI keyboard is intended to control software instruments within a digital audio workstation (DAW) or music production software, ensure that the software instrument is set to receive MIDI input on the same MIDI channel that has been assigned to the keyboard. This configuration is typically performed within the settings or preferences of the software instrument.
- Playing and Monitoring Output: With the MIDI keyboard and external devices or software instruments connected and configured, begin playing the keyboard to transmit MIDI data on the assigned channel. Monitor the output from the connected devices or software instruments to verify that they respond to the MIDI input from the keyboard. This may involve listening for sound output from synthesizers or observing MIDI activity indicators on software instruments or audio interfaces.
- Verifying Control and Responsiveness: As you play the MIDI keyboard, assess the control and responsiveness of the connected devices or software instruments. Ensure that parameters such as note triggering, modulation, pitch bend, and other performance controls function as expected, reflecting the expressive input from the keyboard on the assigned MIDI channel.
During the testing phase, it is essential to troubleshoot any potential issues that may arise, such as unresponsive MIDI communication, incorrect parameter mapping, or latency in software instrument response. By systematically addressing these issues, musicians can fine-tune the MIDI setup to achieve optimal responsiveness and control, thereby enhancing the overall musical experience.
Ultimately, thorough testing of the assigned MIDI channel ensures that the MIDI keyboard effectively communicates with external devices and software instruments, enabling seamless integration and expressive control in music production and performance scenarios. This verification process is integral to the seamless implementation of MIDI technology, empowering musicians to unleash their creative potential and craft captivating musical compositions.