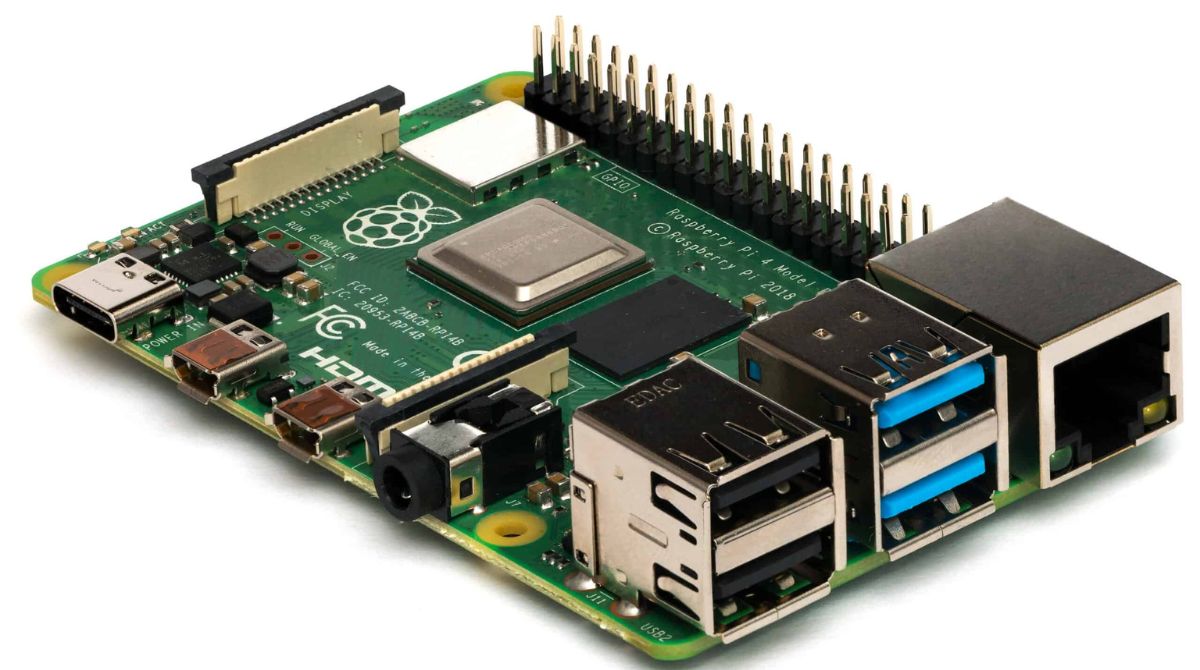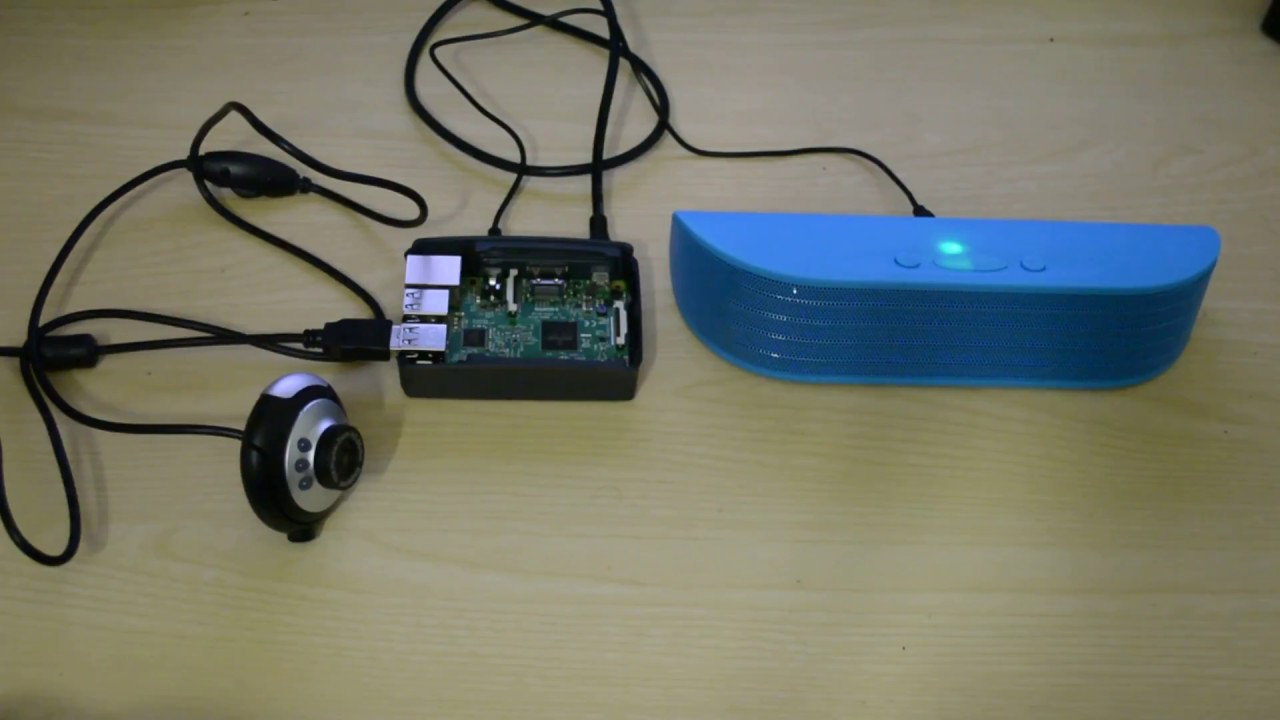
To get your Raspberry Pi to recognize a USB microphone, you need to do two things: verify that the system detects it, then set it as the default input device. On modern Raspberry Pi OS with PipeWire, USB microphones are plug-and-play, so the process is quick and straightforward.
Step 1: Connect and verify your USB microphone
Start by physically connecting the USB microphone to an available USB port on your Raspberry Pi. If the Pi is already running, you can plug it in now, no need to shut down first. Once connected, open a terminal window and run the following command to list all capture devices:
- Run
arecord -lin the terminal. - Look for your microphone in the output. It will appear as a "CAPTURE Hardware Device" with a card and device number, such as "card 0: Device [USB Audio], device 0: USB Audio".
If you see your USB microphone listed, the system recognizes it. If not, try unplugging and re-plugging it, or check that the mic is compatible with the Raspberry Pi.
Step 2: Update your system for best compatibility
Before relying on the microphone for important tasks, make sure your operating system has the latest drivers and PipeWire updates. Open a terminal and run:
sudo apt updateto refresh the package lists.sudo apt upgradeto install any available updates.
This ensures your Raspberry Pi OS is fully up to date, which is especially important because PipeWire, the default audio system since late 2023, receives regular improvements for USB audio devices. Keeping your system current also helps if you plan to use the mic for projects like voice recognition, where you might otherwise wonder why you can't install more RAM on a Raspberry Pi or how to check the health of my Raspberry Pi sd card, both common concerns that have nothing to do with audio but are easier to address when your system is stable.
Step 3: Set the USB microphone as the default input
Even if the system recognizes your mic, it might not be the default input device. The easiest way to fix this is with the Raspberry Pi configuration tool:
- Run
sudo raspi-configin the terminal. - Navigate to "System Options" and then "Audio".
- Select your USB microphone from the list of available audio devices.
If you prefer a manual approach, you can edit the ALSA configuration file instead. Open /usr/share/alsa/alsa.conf with a text editor and change the defaults.pcm.card and defaults.ctl.card values to match the card number of your USB microphone, which you found in Step 1. Save the file and reboot for the changes to take effect.
Step 4: Test your microphone
Once the mic is set as the default, test it to confirm it captures audio properly. In the terminal, run:
arecord -d 5 test.wavto record five seconds of audio.- Speak or make noise into the microphone during those five seconds.
- Run
aplay test.wavto play back the recording.
If you hear your voice clearly, the microphone is working. If the audio sounds distorted or too quiet, check the volume levels with alsamixer or try a different USB port. Be aware that inexpensive, generic USB sound cards may exhibit significant quality issues, particularly during recording. If you're experiencing poor audio, it might not be a configuration problem, it could be the hardware itself. This is worth keeping in mind if you later wonder why isn't my USB microphone working on BandLab, as cheap sound cards often lack the frequency response needed for music production.
With the microphone tested and working, you're ready to use it for recording, voice control, or any other audio project on your Raspberry Pi.