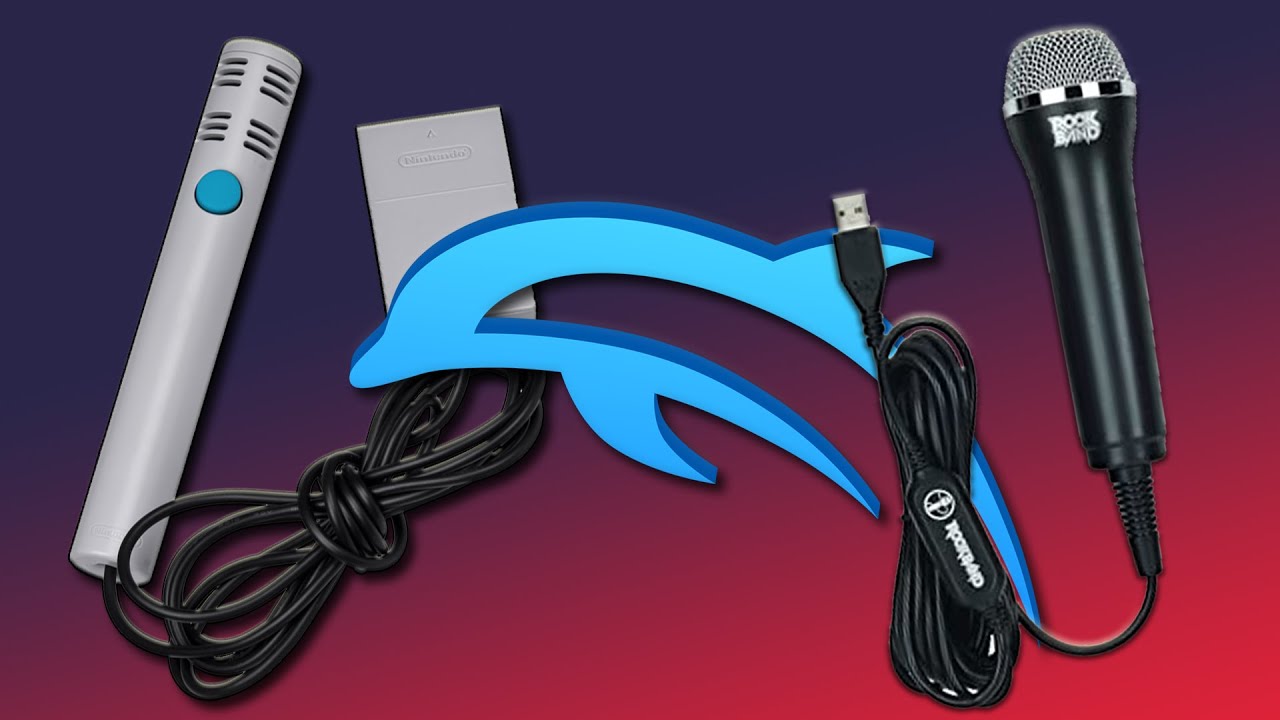
To connect a USB microphone to Dolphin, you have two reliable paths: standard microphone emulation, which works for most games by emulating a Logitech USB Microphone, and USB passthrough, which gives emulated Wii software direct control over your physical device. The method you choose depends on the game you want to play and whether it needs direct hardware access, so check your game's requirements before starting.
How to connect a USB microphone to Dolphin: two methods explained
Dolphin offers two distinct ways to use a USB microphone. The first method, standard microphone emulation, is the most common and straightforward approach. It works by having Dolphin emulate a Logitech USB Microphone using any standard PC microphone, which is perfect for the majority of games that simply need voice input. The second method, USB passthrough, is more advanced and designed for games that require direct hardware access to the microphone, giving the emulated Wii software full control over the physical device. Choose standard emulation for ease and broad compatibility, or choose USB passthrough when a specific game demands it.
What you need before you start
Before you begin, ensure you have the right prerequisites in place. For reliable USB passthrough on Windows, you need Dolphin version 5.0-10617 or newer, as this version includes important fixes for microphone compatibility. Additionally, for standard microphone emulation, you must dump the DSP firmware from a real Wii console, this is a legal requirement and essential for enabling microphone support. Finally, not all Wii or GameCube games are designed to utilize microphone input, so check the game-specific compatibility list on the Dolphin wiki to confirm your title supports voice features.
Method 1: Connect using standard microphone emulation
This is the recommended method for most users because it works with any USB microphone and doesn't require driver modifications. Follow these steps to set it up:
Dump the DSP firmware from a Wii console
To enable microphone emulation, you first need the DSP firmware files from a real Wii. Copy the resulting dsp_rom.bin and dsp_coef.bin files to a safe location on your computer.
Place the files in Dolphin's GC folder
Navigate to your Dolphin user directory (usually Documents/Dolphin Emulator on Windows). Create a folder named GC if it doesn't exist, and inside it, create another folder called DSP. Place both dumped firmware files into this DSP folder.
Switch the audio backend to DSP LLE
Open Dolphin and go to Options → Configure → Audio. In the "Audio Backend" dropdown, select DSP LLE (Low-Level Emulation). This setting is required for microphone input to work with standard emulation. If you see a warning about performance, note that DSP LLE is necessary for this feature.
Enable microphone input in audio settings
Still in the Audio settings, look for the "Enable Microphone" checkbox and make sure it is ticked. You can also adjust the microphone volume slider here to set your preferred input level. Click "Apply" and "OK" to save your changes.
Method 2: Connect using USB passthrough
If your game requires direct hardware access to the microphone, USB passthrough is the way to go. This method gives the emulated Wii software full control over your physical USB device. Here's how to set it up on Windows:
Use Zadig to install the libusbk driver
First, download and run the Zadig utility. In Zadig, open the Options menu and ensure "List All Devices" is enabled and "Ignore Hubs or Composite Parents" is disabled. This ensures you can see all USB devices connected to your system.
Select your microphone's composite parent
In the main Zadig window, locate the composite parent of your USB microphone from the dropdown list. This is often listed as "Composite Parent" or similar. Select it, then in the right column, choose libusbk as the driver to replace. Click "Replace Driver" and confirm any kernel driver modification prompts that appear.
Add the microphone to Dolphin's whitelist
After the driver is installed, open Dolphin and go to Options → Configure → Wii. In the "Whitelisted USB passthrough devices" section, click "Add..." and select your USB microphone from the list. Click "Apply" and "OK" to save. Your microphone is now set up for direct passthrough.
Test your microphone in Dolphin
Once you've chosen and configured your method, it's time to verify everything works. Launch a compatible game that supports microphone input. Navigate to the game's audio or voice settings and ensure microphone input is enabled. Look for a "Test Microphone" option or a similar feature, then speak into your microphone. Monitor the audio input levels to confirm the game is picking up your voice. If the volume is too low or too high, adjust the microphone volume slider in Dolphin's audio settings or in your operating system's sound settings until you get clear, audible input.
Troubleshooting common microphone issues
If your microphone isn't working, start with these common fixes. Missing DSP firmware files will also prevent microphone emulation, so double-check that dsp_rom.bin and dsp_coef.bin are correctly placed in the GC/DSP folder. For USB passthrough, driver conflicts can occur if the libusbk driver wasn't installed properly or if another device is using the same driver, re-run Zadig and ensure the correct composite parent is selected. Finally, always verify the physical connection: try a different USB port on your computer, and confirm your operating system recognizes the microphone as the default input device in its sound settings. With these steps, you'll resolve most issues and get your USB microphone working seamlessly with Dolphin.
Related reading: How To Set Up The Wii On A Smart TV, How To Download Wii Games For Dolphin, and How To Download Games On Dolphin Emulator.