Introduction
Are you ready to immerse yourself in the world of gaming with the HyperX Cloud Stinger Gaming Headset? This guide will walk you through the process of setting up your headset with your Playstation controller, so you can experience top-notch audio quality and seamless communication while gaming. Whether you're a casual gamer or a dedicated enthusiast, the HyperX Cloud Stinger Gaming Headset offers comfort, convenience, and exceptional sound performance, enhancing your gaming experience to a whole new level.
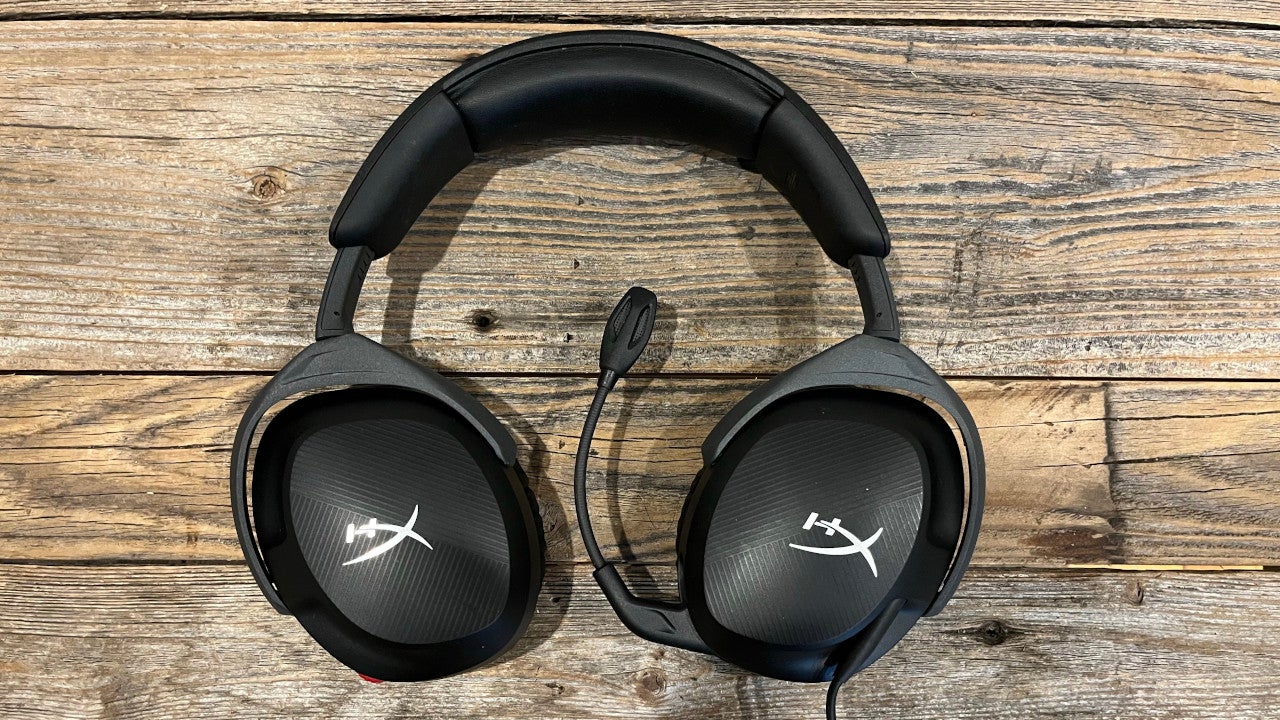
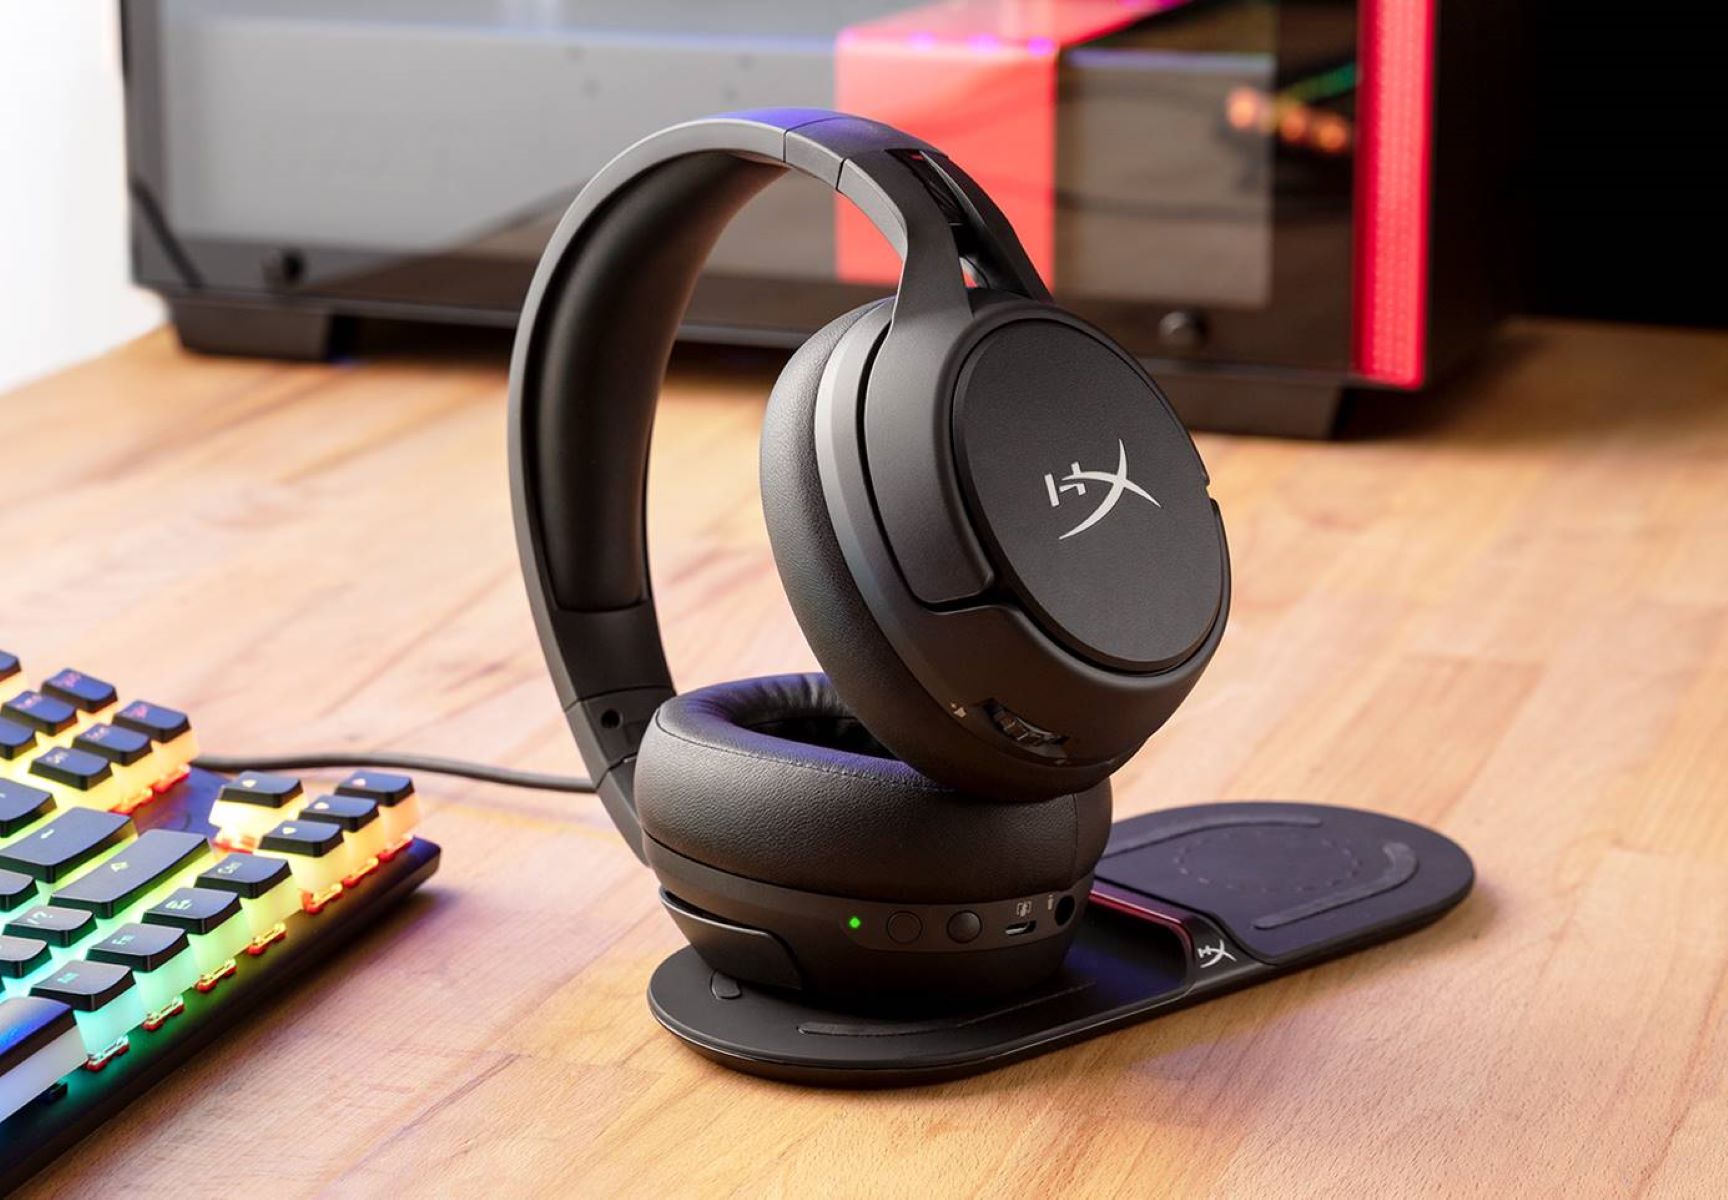
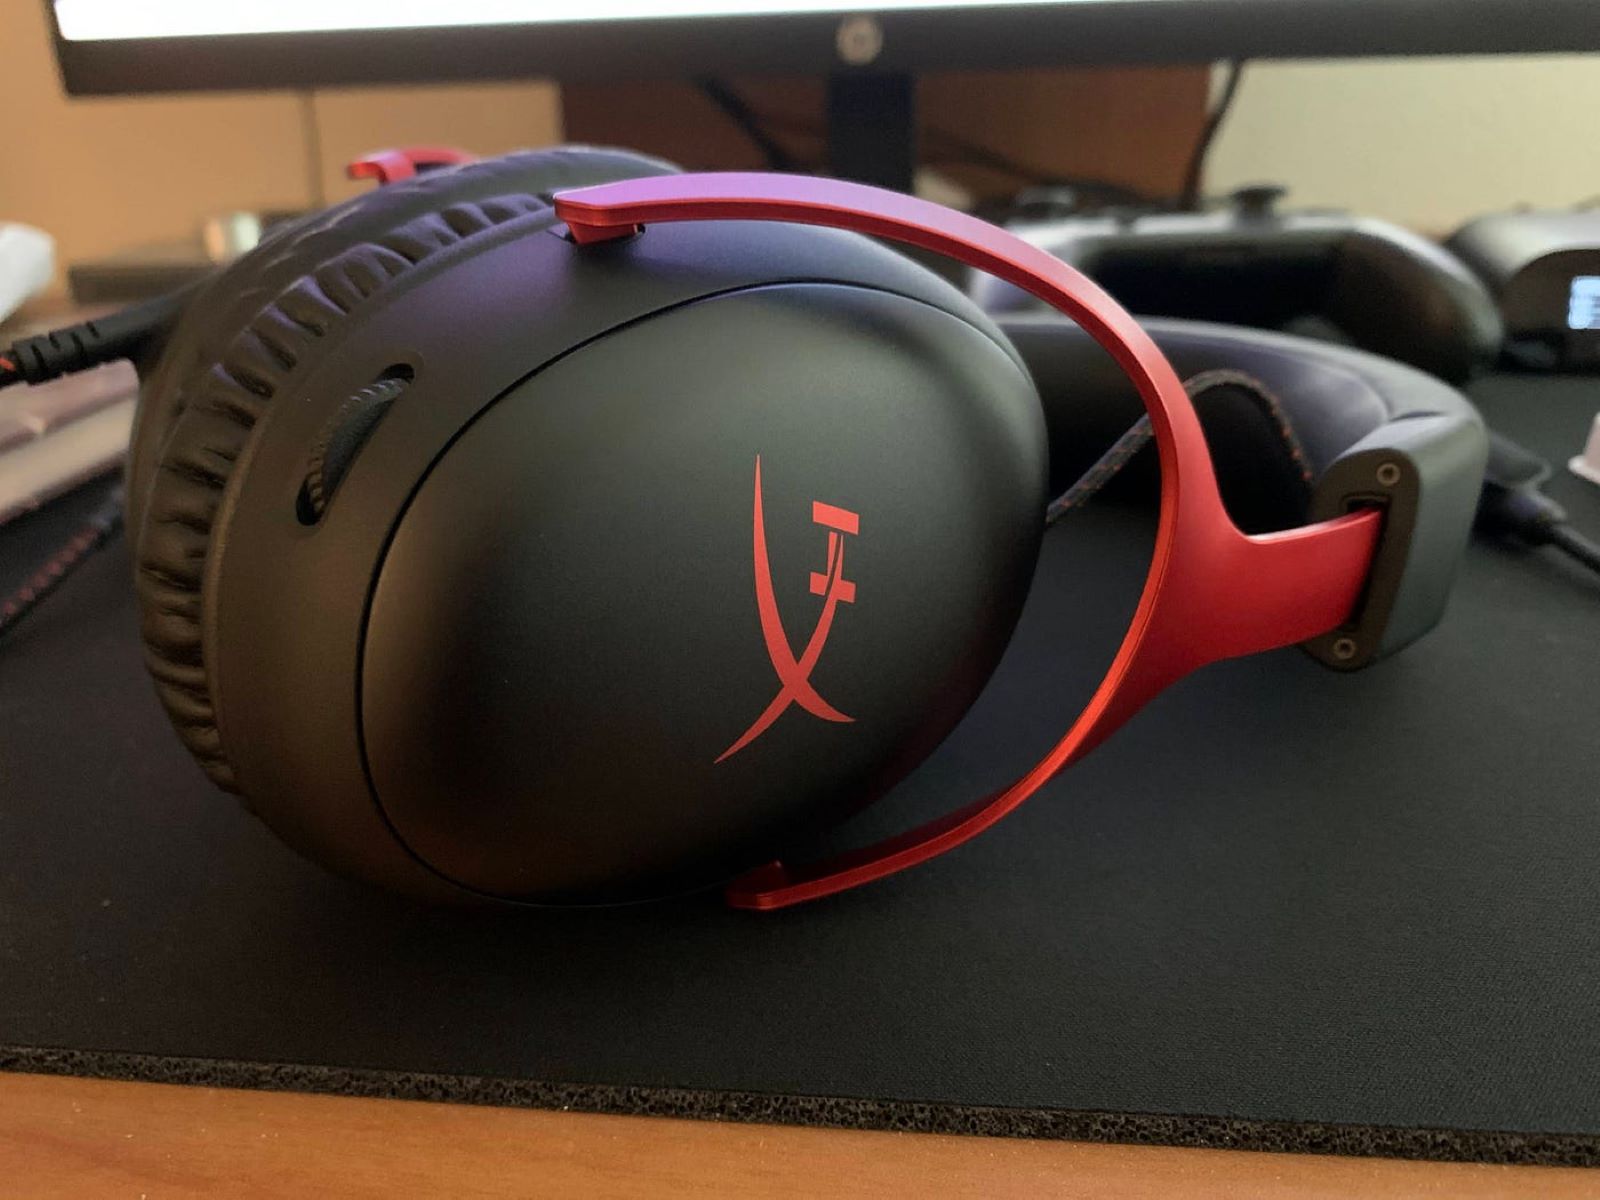
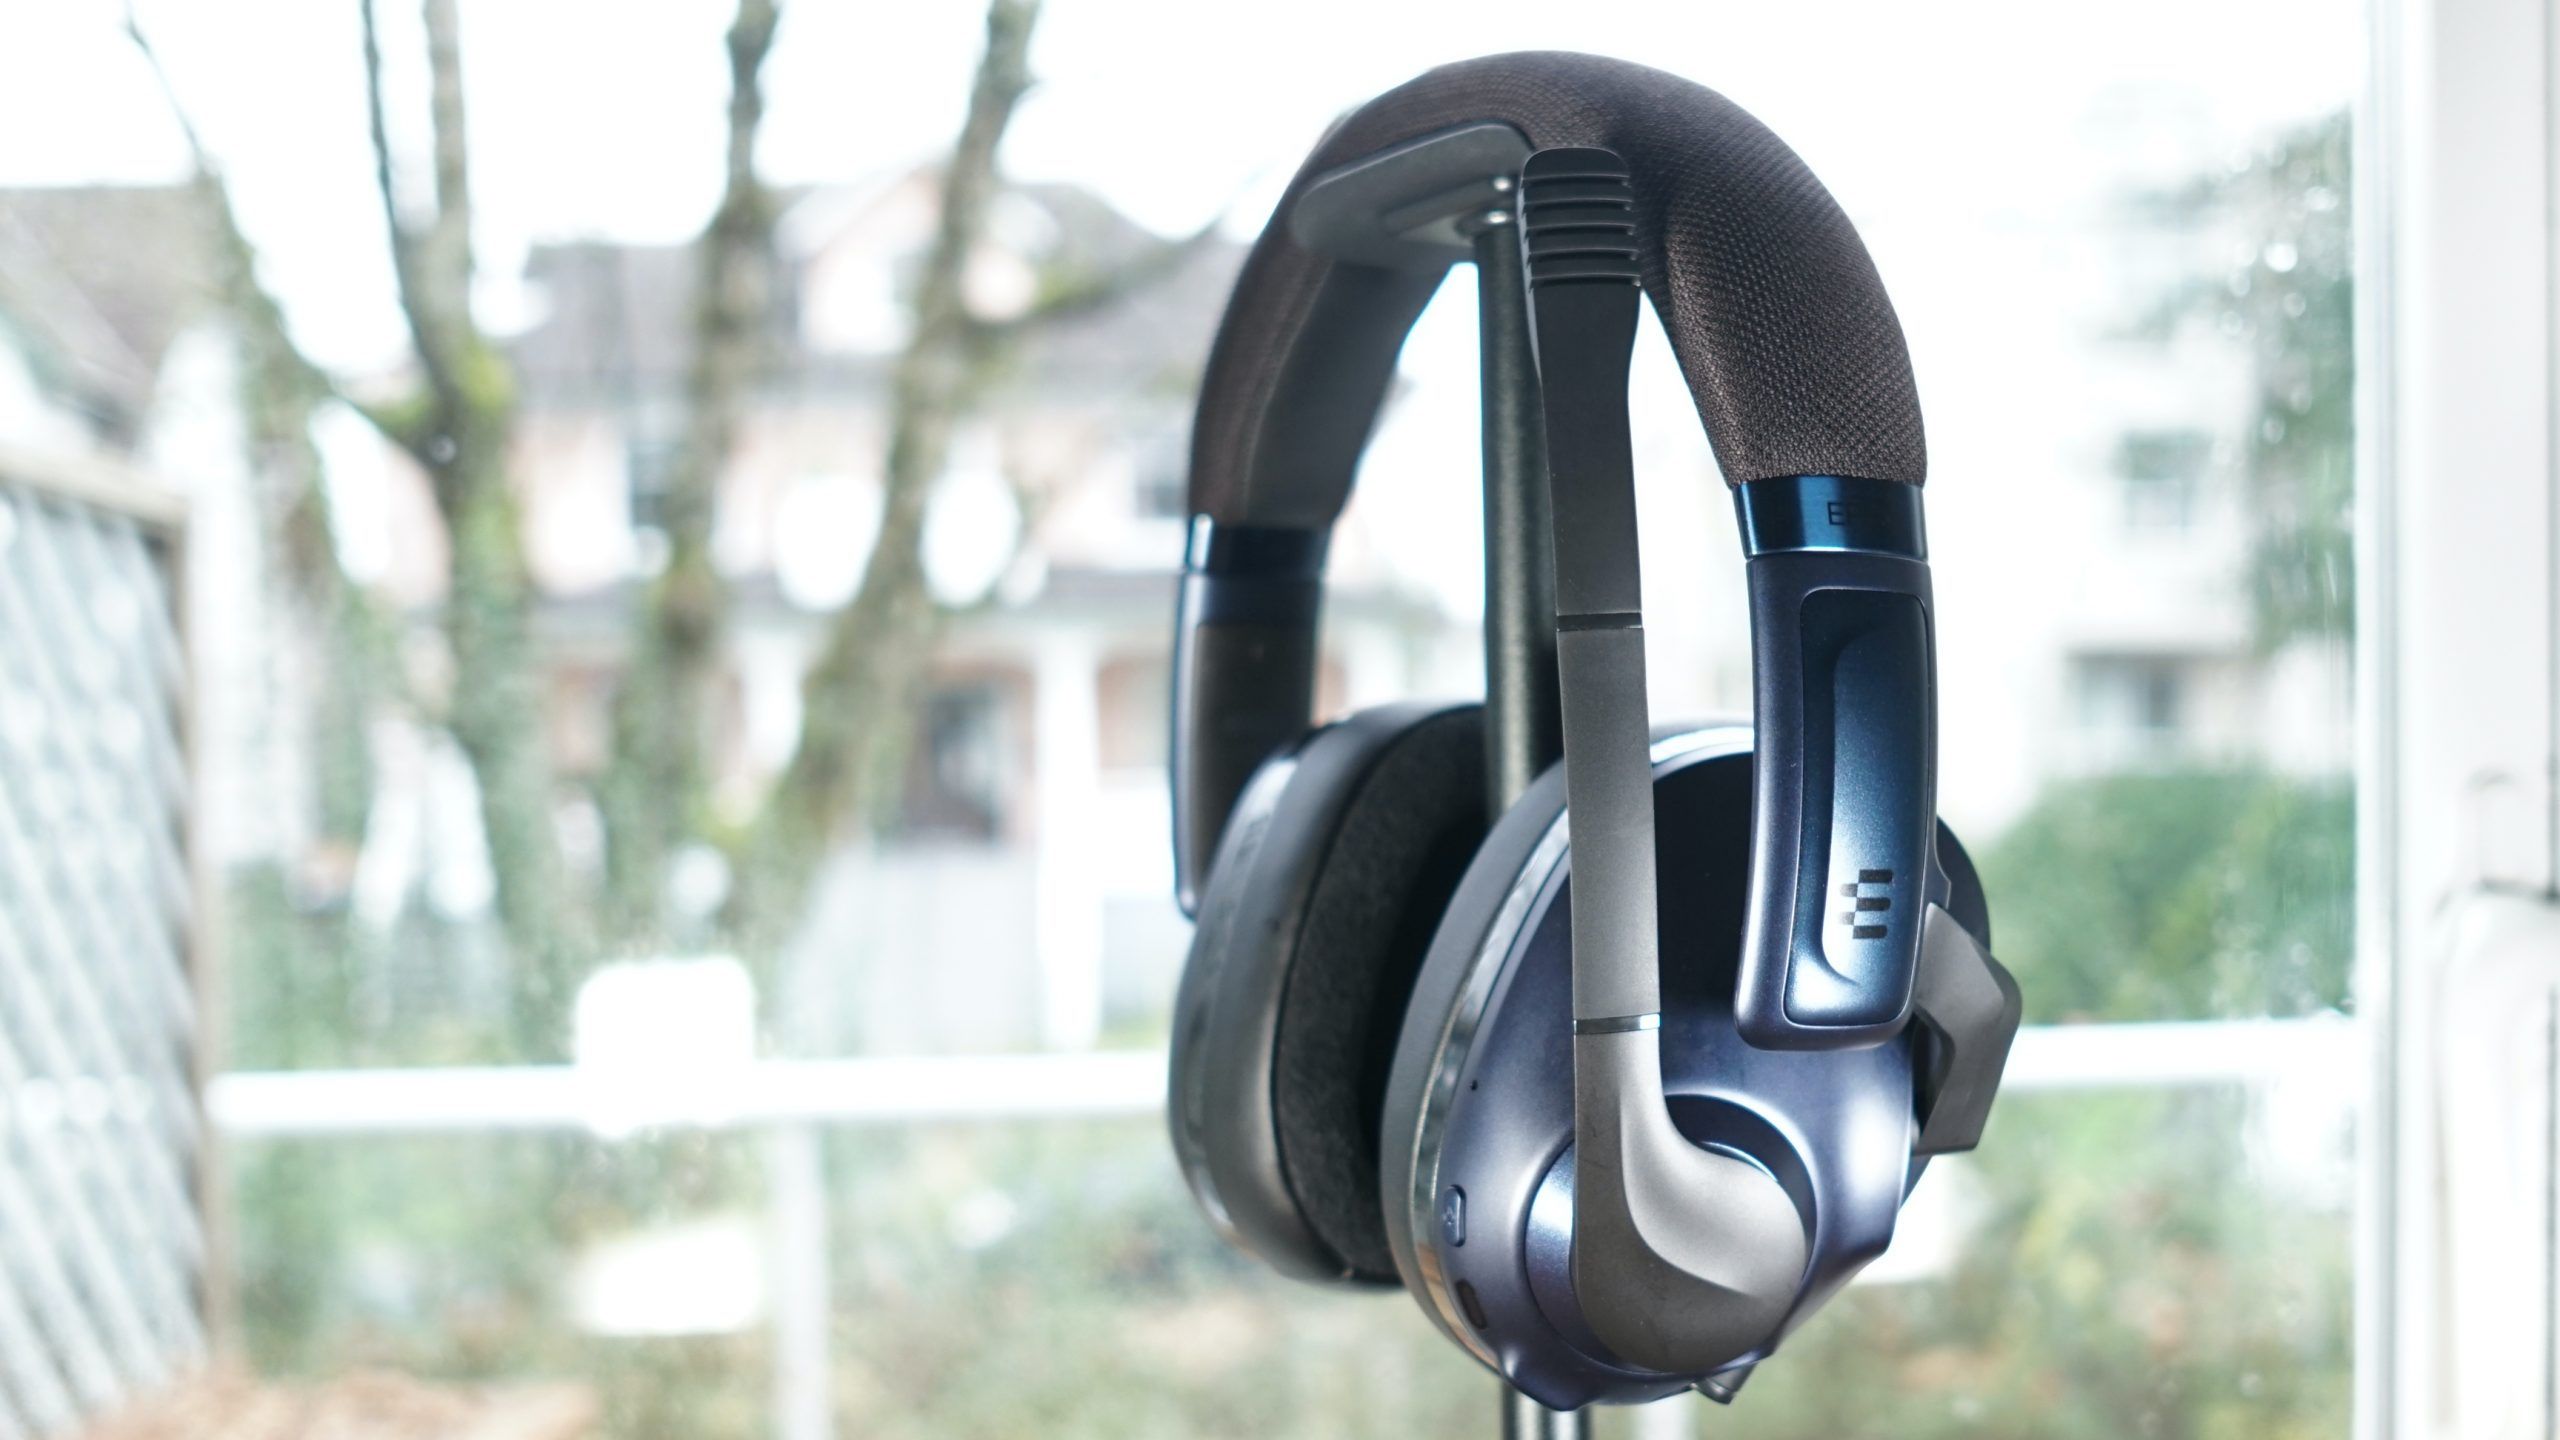
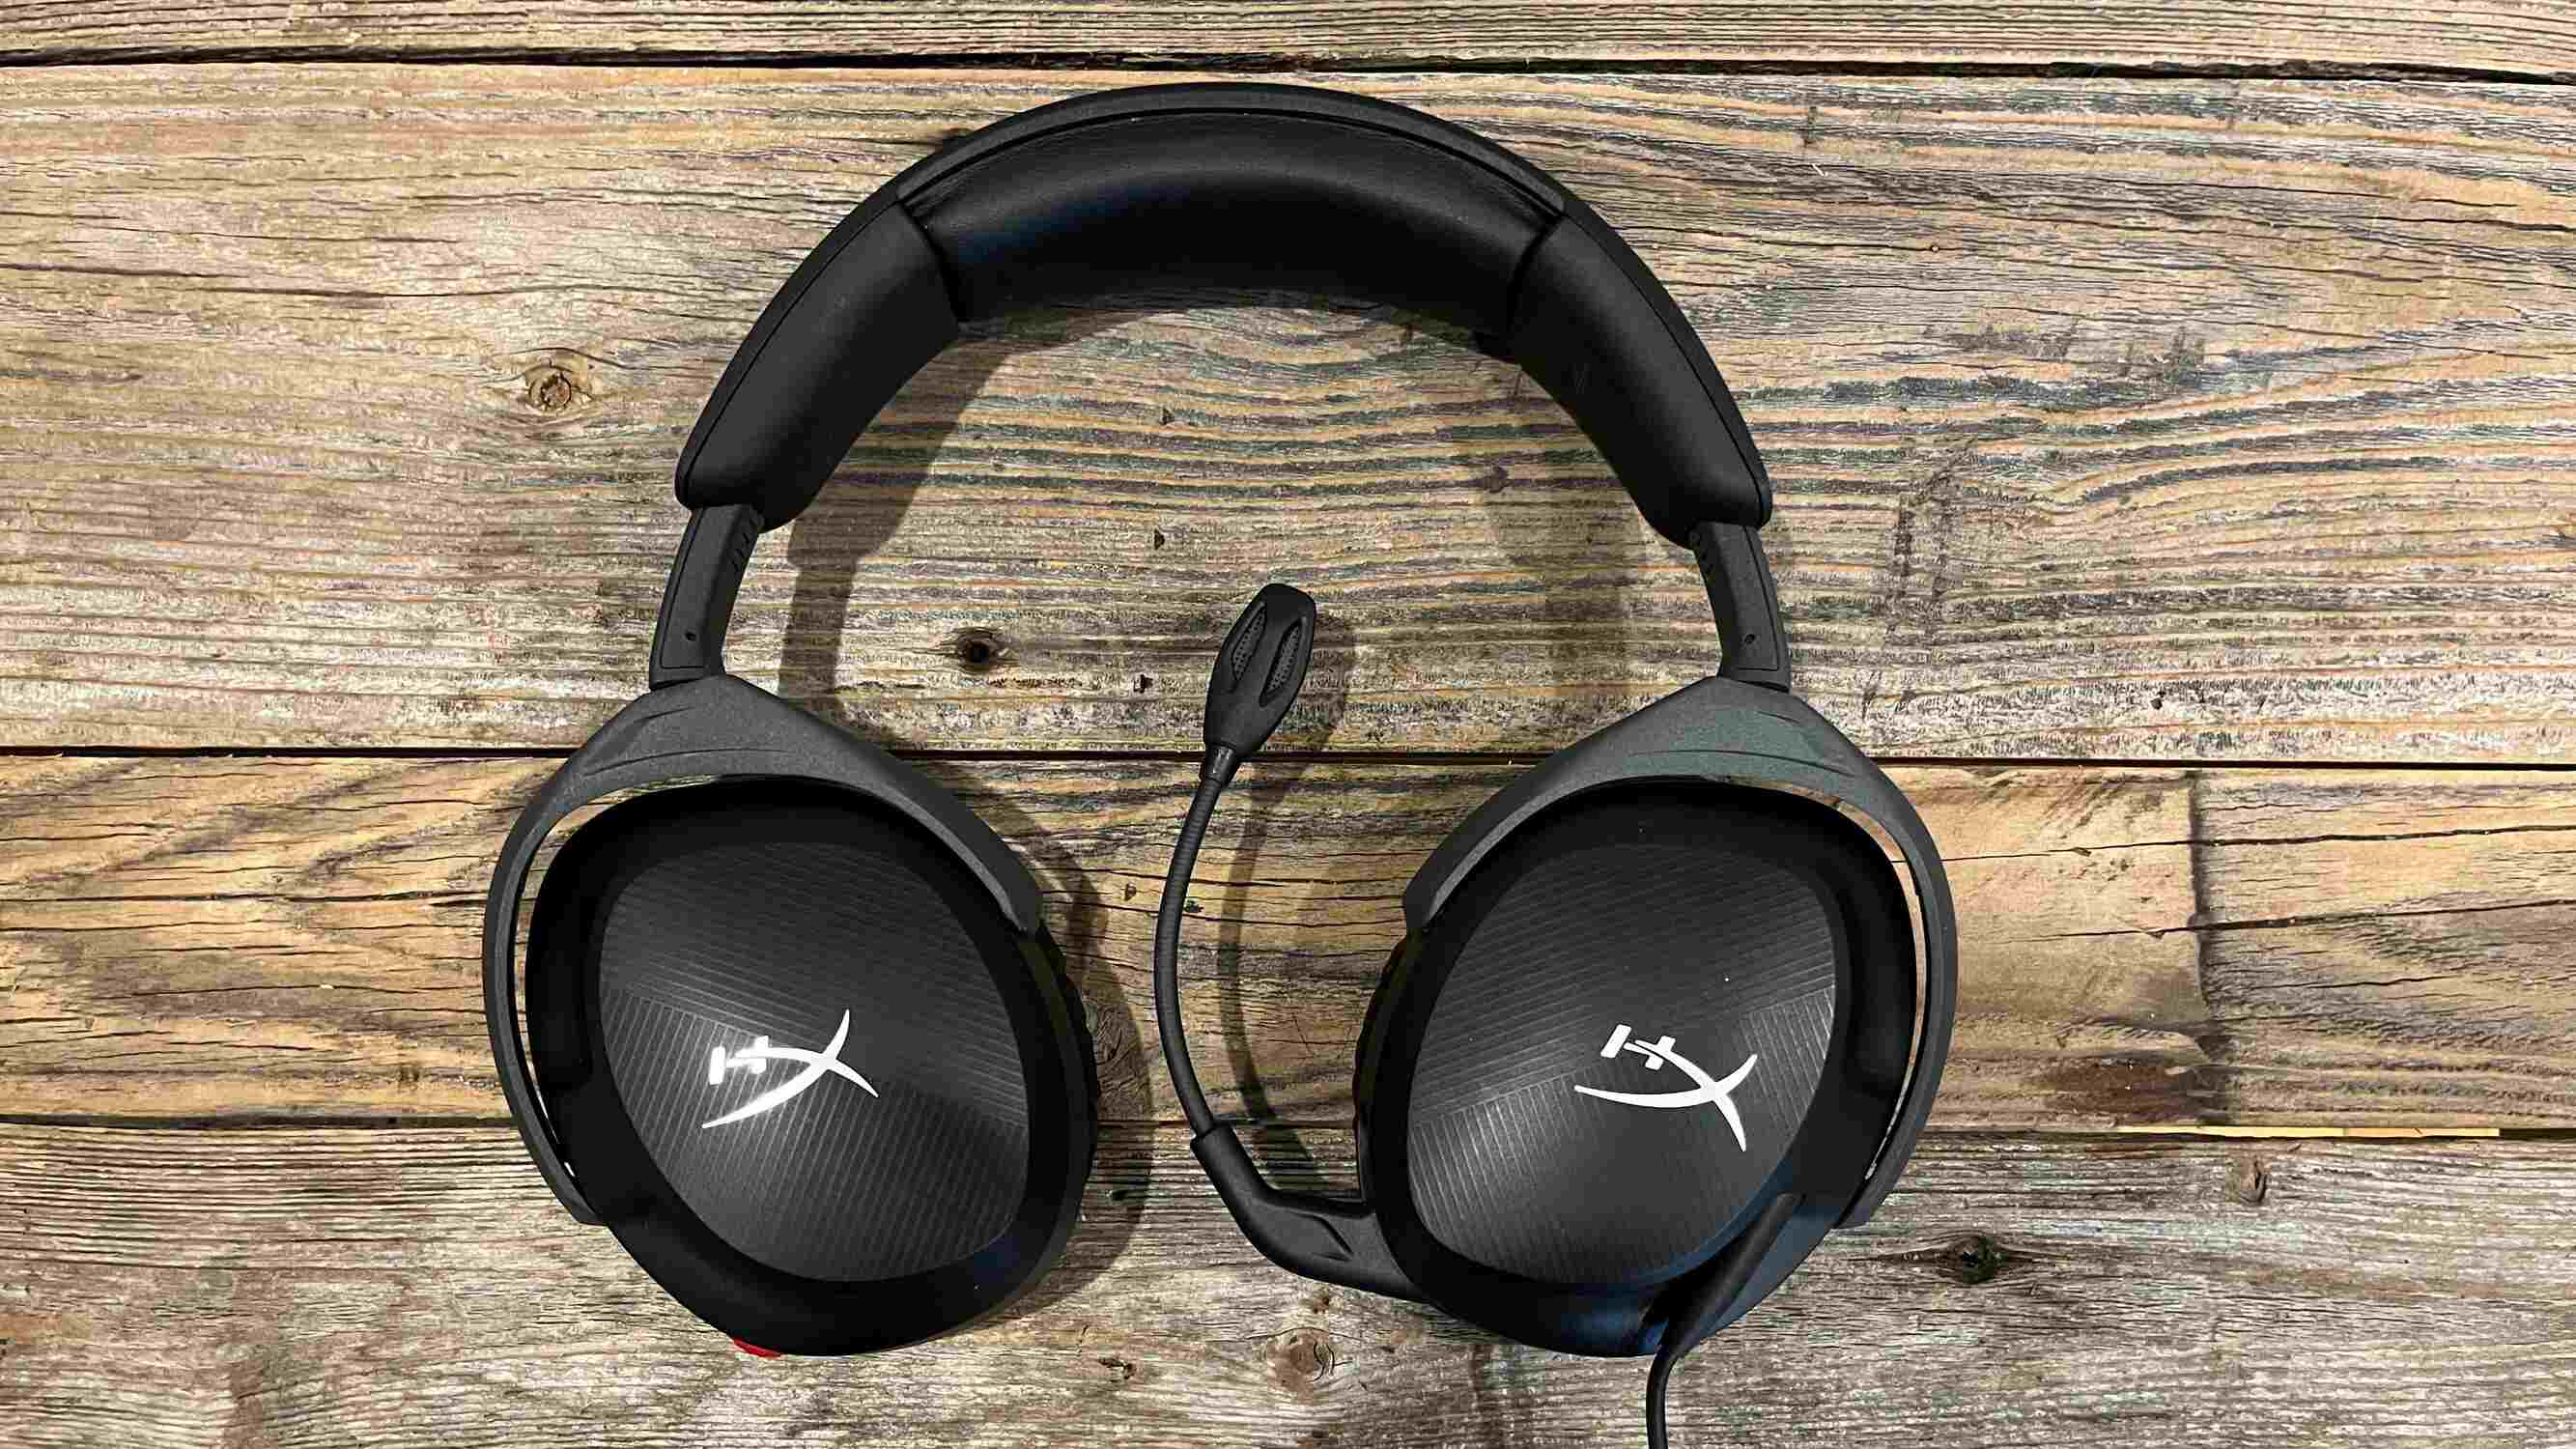
The HyperX Cloud Stinger Gaming Headset is designed with the gamer in mind, featuring lightweight construction and plush ear cups for extended comfort during those marathon gaming sessions. Its swivel-to-mute noise-cancellation microphone ensures clear communication with your teammates, while the intuitive volume control located on the ear cup allows for quick adjustments without disrupting your gameplay. With its compatibility with multiple platforms, including the Playstation, this headset is a versatile choice for gamers seeking an immersive audio experience.
In the following steps, we'll guide you through unboxing the headset, connecting it to your Playstation controller, adjusting the settings on your console, and testing the headset to ensure everything is functioning as it should. By the end of this guide, you'll be ready to dive into your favorite games with the HyperX Cloud Stinger Gaming Headset, enjoying crisp, clear sound and seamless communication with your fellow gamers. Let's get started on setting up your HyperX Cloud Stinger Gaming Headset with your Playstation controller.
Step 1: Unboxing the HyperX Cloud Stinger Gaming Headset
Before delving into the setup process, it’s essential to unbox your HyperX Cloud Stinger Gaming Headset. The packaging is designed to secure the headset and its accessories, ensuring they remain in pristine condition during transit. As you open the box, you’ll be greeted by the sleek and stylish design of the headset, along with the accompanying components that contribute to its functionality.
Inside the box, you’ll find the HyperX Cloud Stinger Gaming Headset, carefully nestled within protective padding to prevent any damage. As you lift the headset from the box, you’ll notice its lightweight construction, making it comfortable to wear for extended gaming sessions. The adjustable steel slider allows you to customize the fit, ensuring a snug and secure feel on your head. The 90-degree rotating ear cups are designed for convenience, enabling the headset to rest comfortably around your neck when not in use.
Additionally, you’ll discover the swivel-to-mute noise-cancellation microphone, an integral component for clear and uninterrupted communication with your gaming allies. The microphone’s intuitive design allows you to effortlessly mute it by swiveling it upwards, providing a visual cue to indicate when you’re not transmitting audio. This feature is particularly useful during intense gaming moments when quick adjustments are necessary without disrupting the gameplay.
Accompanying the headset is the quick start guide, which provides concise and clear instructions for setting up the device with various platforms, including the Playstation. This guide serves as a valuable resource, offering insights into the headset’s features and functionalities, ensuring you can maximize its potential from the moment you begin using it.
By unboxing the HyperX Cloud Stinger Gaming Headset, you’ve taken the first step toward enhancing your gaming experience. The next steps will guide you through the process of connecting the headset to your Playstation controller, adjusting the settings, and testing its performance. Let’s proceed to the next step and seamlessly integrate the headset with your gaming setup.
Step 2: Connecting the Headset to the Playstation Controller
Now that you’ve unboxed the HyperX Cloud Stinger Gaming Headset, it’s time to seamlessly integrate it with your Playstation controller. The process is straightforward, ensuring that you can swiftly transition from unboxing to enjoying the immersive audio experience offered by the headset while gaming on your Playstation console.
To begin, locate the 3.5mm audio jack on your Playstation controller. This is where you’ll connect the headset’s 3.5mm audio plug. With the controller in hand, gently insert the audio plug from the headset into the audio jack, ensuring a secure connection. The plug should fit snugly into the jack, establishing a reliable link between the headset and the controller.
Once the headset is connected to the controller, you’ll experience a seamless integration that allows you to enjoy the audio output directly from the headset. The HyperX Cloud Stinger Gaming Headset’s compatibility with the Playstation controller ensures that you can experience the full spectrum of sound while gaming, from subtle environmental cues to explosive in-game effects, enhancing your overall gaming immersion.
With the physical connection established, you’re now ready to experience the exceptional audio quality and crystal-clear communication offered by the HyperX Cloud Stinger Gaming Headset. The next step will guide you through adjusting the settings on your Playstation console to optimize the headset’s performance, ensuring that you can tailor the audio output to your preferences and gaming environment.
By seamlessly connecting the headset to your Playstation controller, you’ve unlocked a world of immersive audio experiences that will elevate your gaming adventures. Let’s proceed to the next step and fine-tune the settings on your console to maximize the potential of the HyperX Cloud Stinger Gaming Headset.
Step 3: Adjusting the Settings on the Playstation
Having successfully connected your HyperX Cloud Stinger Gaming Headset to the Playstation controller, it’s time to optimize the audio settings on your console to ensure an immersive and personalized gaming experience. By adjusting the settings, you can tailor the audio output to suit your preferences, creating an environment where every sound effect and communication comes through with exceptional clarity.
Begin by navigating to the settings menu on your Playstation console. Once there, locate the “Devices” or “Audio Devices” section, where you can access the audio settings related to connected devices, including headsets and controllers. Within this menu, you’ll find options to adjust the volume levels, microphone settings, and audio output configurations specific to the connected headset.
Adjust the volume levels to your preferred settings, ensuring that the audio output from the HyperX Cloud Stinger Gaming Headset aligns with your desired experience. Whether you prefer a more immersive, high-volume audio environment or a balanced, nuanced soundscape, customizing the volume levels allows you to create an audio atmosphere that complements your gaming style.
Additionally, explore the microphone settings to fine-tune the input levels and monitor the microphone’s performance. This step is crucial for ensuring that your communication with teammates or fellow gamers is clear and uninterrupted, enhancing the collaborative aspects of gaming while using the headset’s microphone feature.
Furthermore, delve into the audio output configurations to optimize the sound profile according to your preferences. The Playstation console offers various audio presets and equalizer settings that allow you to enhance specific frequencies or choose preset profiles tailored for different gaming genres, such as action, adventure, or competitive gaming.
By adjusting the settings on your Playstation console, you’re personalizing the audio experience to suit your gaming preferences, ensuring that the HyperX Cloud Stinger Gaming Headset delivers exceptional sound quality and communication capabilities. With the settings optimized, you’re now prepared to test the headset and experience its performance firsthand. Let’s move on to the next step and ensure that the headset is functioning as intended.
Step 4: Testing the Headset
With the HyperX Cloud Stinger Gaming Headset connected to your Playstation controller and the settings adjusted to your preferences, it’s time to put the headset to the test. By conducting a comprehensive test, you can ensure that the audio output, microphone performance, and overall functionality of the headset meet your expectations, providing a seamless and immersive gaming experience.
Begin the testing process by launching a game on your Playstation console that offers dynamic audio environments, including a range of sound effects, ambient noise, and character dialogue. As you delve into the game, pay close attention to the audio output from the headset, focusing on the clarity, depth, and positional accuracy of the sound effects. Notice how the headset reproduces subtle environmental sounds and delivers impactful in-game audio cues, enhancing your gaming immersion.
During gameplay, engage in communication with your gaming allies or teammates to evaluate the performance of the headset’s microphone. Test the microphone’s noise-cancellation feature by speaking clearly and monitoring how background noise is minimized, ensuring that your voice comes through with exceptional clarity and minimal interference from external distractions.
As you continue testing the headset, explore different gaming scenarios and genres to assess its versatility and performance across various audio profiles. Whether you’re engaging in fast-paced action sequences, exploring atmospheric environments, or participating in multiplayer battles, the headset should consistently deliver high-quality audio and reliable communication capabilities.
Furthermore, take note of the headset’s comfort and ergonomic design during the testing phase. Evaluate how well it conforms to your head and ears, ensuring prolonged comfort during extended gaming sessions. The lightweight construction and adjustable features of the HyperX Cloud Stinger Gaming Headset should contribute to a fatigue-free gaming experience, allowing you to focus on the game without discomfort.
By conducting a thorough test of the HyperX Cloud Stinger Gaming Headset, you’re affirming its performance and functionality, ensuring that it aligns with your gaming preferences and requirements. With the testing phase completed, you can confidently immerse yourself in your favorite games, equipped with a reliable and high-performance gaming headset that enhances every aspect of your gaming experience.
Conclusion
Embarking on the journey to set up the HyperX Cloud Stinger Gaming Headset with your Playstation controller has equipped you with a powerful tool to elevate your gaming experience. From unboxing the headset to seamlessly connecting it to your controller, adjusting the console settings, and conducting comprehensive testing, you’ve successfully integrated the headset into your gaming setup, ensuring that you’re poised to enjoy immersive audio and seamless communication while gaming.
As you unboxed the HyperX Cloud Stinger Gaming Headset, you were introduced to its lightweight construction, intuitive design, and essential components, setting the stage for an exceptional gaming accessory. The process of connecting the headset to the Playstation controller was seamless, establishing a reliable link that delivers high-quality audio output directly from the headset, enhancing your overall gaming immersion.
By adjusting the settings on your Playstation console, you personalized the audio experience, fine-tuning the volume levels, microphone settings, and audio output configurations to align with your gaming preferences. This step ensured that the HyperX Cloud Stinger Gaming Headset delivers exceptional sound quality and communication capabilities tailored to your needs.
Conducting a comprehensive test of the headset allowed you to evaluate its audio performance, microphone clarity, and ergonomic comfort, affirming its reliability and functionality. The headset’s ability to reproduce immersive soundscapes, facilitate clear communication, and provide extended comfort during gaming sessions positions it as an indispensable asset for your gaming endeavors.
As you conclude this setup process, you’re now equipped with the HyperX Cloud Stinger Gaming Headset, a versatile and high-performance accessory that enhances every aspect of your gaming experience. Whether you’re delving into captivating single-player adventures, engaging in competitive multiplayer battles, or immersing yourself in atmospheric gaming environments, the headset’s exceptional audio quality and communication features will enrich your gaming adventures.
With the HyperX Cloud Stinger Gaming Headset seamlessly integrated into your gaming setup, you’re poised to embark on thrilling gaming experiences, empowered by crystal-clear sound, immersive audio environments, and seamless communication with fellow gamers. The setup process has equipped you with a powerful tool to unlock the full potential of your gaming adventures, ensuring that every gaming session is enriched by the exceptional performance of the HyperX Cloud Stinger Gaming Headset.