Introduction
Are you ready to elevate your Skype experience to a whole new level? By using a gaming headset with Skype, you can enjoy crystal-clear audio, seamless communication, and immersive conversations. Whether you're engaging in important business calls, catching up with friends and family, or teaming up with fellow gamers, a gaming headset can make a significant difference in your Skype interactions. This comprehensive guide will walk you through the process of setting up and optimizing your gaming headset for use with Skype, ensuring that you get the most out of this powerful combination.
Gaming headsets are designed to deliver high-quality audio, featuring advanced sound technologies and ergonomic designs that prioritize comfort during extended use. When integrated with Skype, these headsets provide a seamless and immersive communication experience, allowing you to hear every word clearly and communicate with precision. Whether you’re engaging in professional video conferences, virtual meetings, or casual conversations, a gaming headset can enhance the overall quality of your Skype interactions.
In this guide, we will explore the step-by-step process of setting up your gaming headset, adjusting audio settings within Skype, and testing your headset to ensure optimal performance. Additionally, we will address common troubleshooting issues that may arise, providing solutions to help you overcome any technical challenges. By the end of this guide, you will be well-equipped to harness the full potential of your gaming headset in conjunction with Skype, unlocking a new realm of clarity and immersion in your virtual communication endeavors.
So, let's dive into the world of gaming headsets and Skype, and discover how this dynamic duo can revolutionize the way you communicate and connect with others. Get ready to experience Skype in a whole new light as we embark on this journey to unleash the power of your gaming headset.
Setting up your gaming headset
Before delving into the world of seamless communication on Skype, it’s essential to ensure that your gaming headset is properly set up and ready to deliver an exceptional audio experience. The initial steps involve connecting your gaming headset to your computer or gaming console, ensuring that the necessary drivers are installed, and configuring the audio settings to optimize performance.
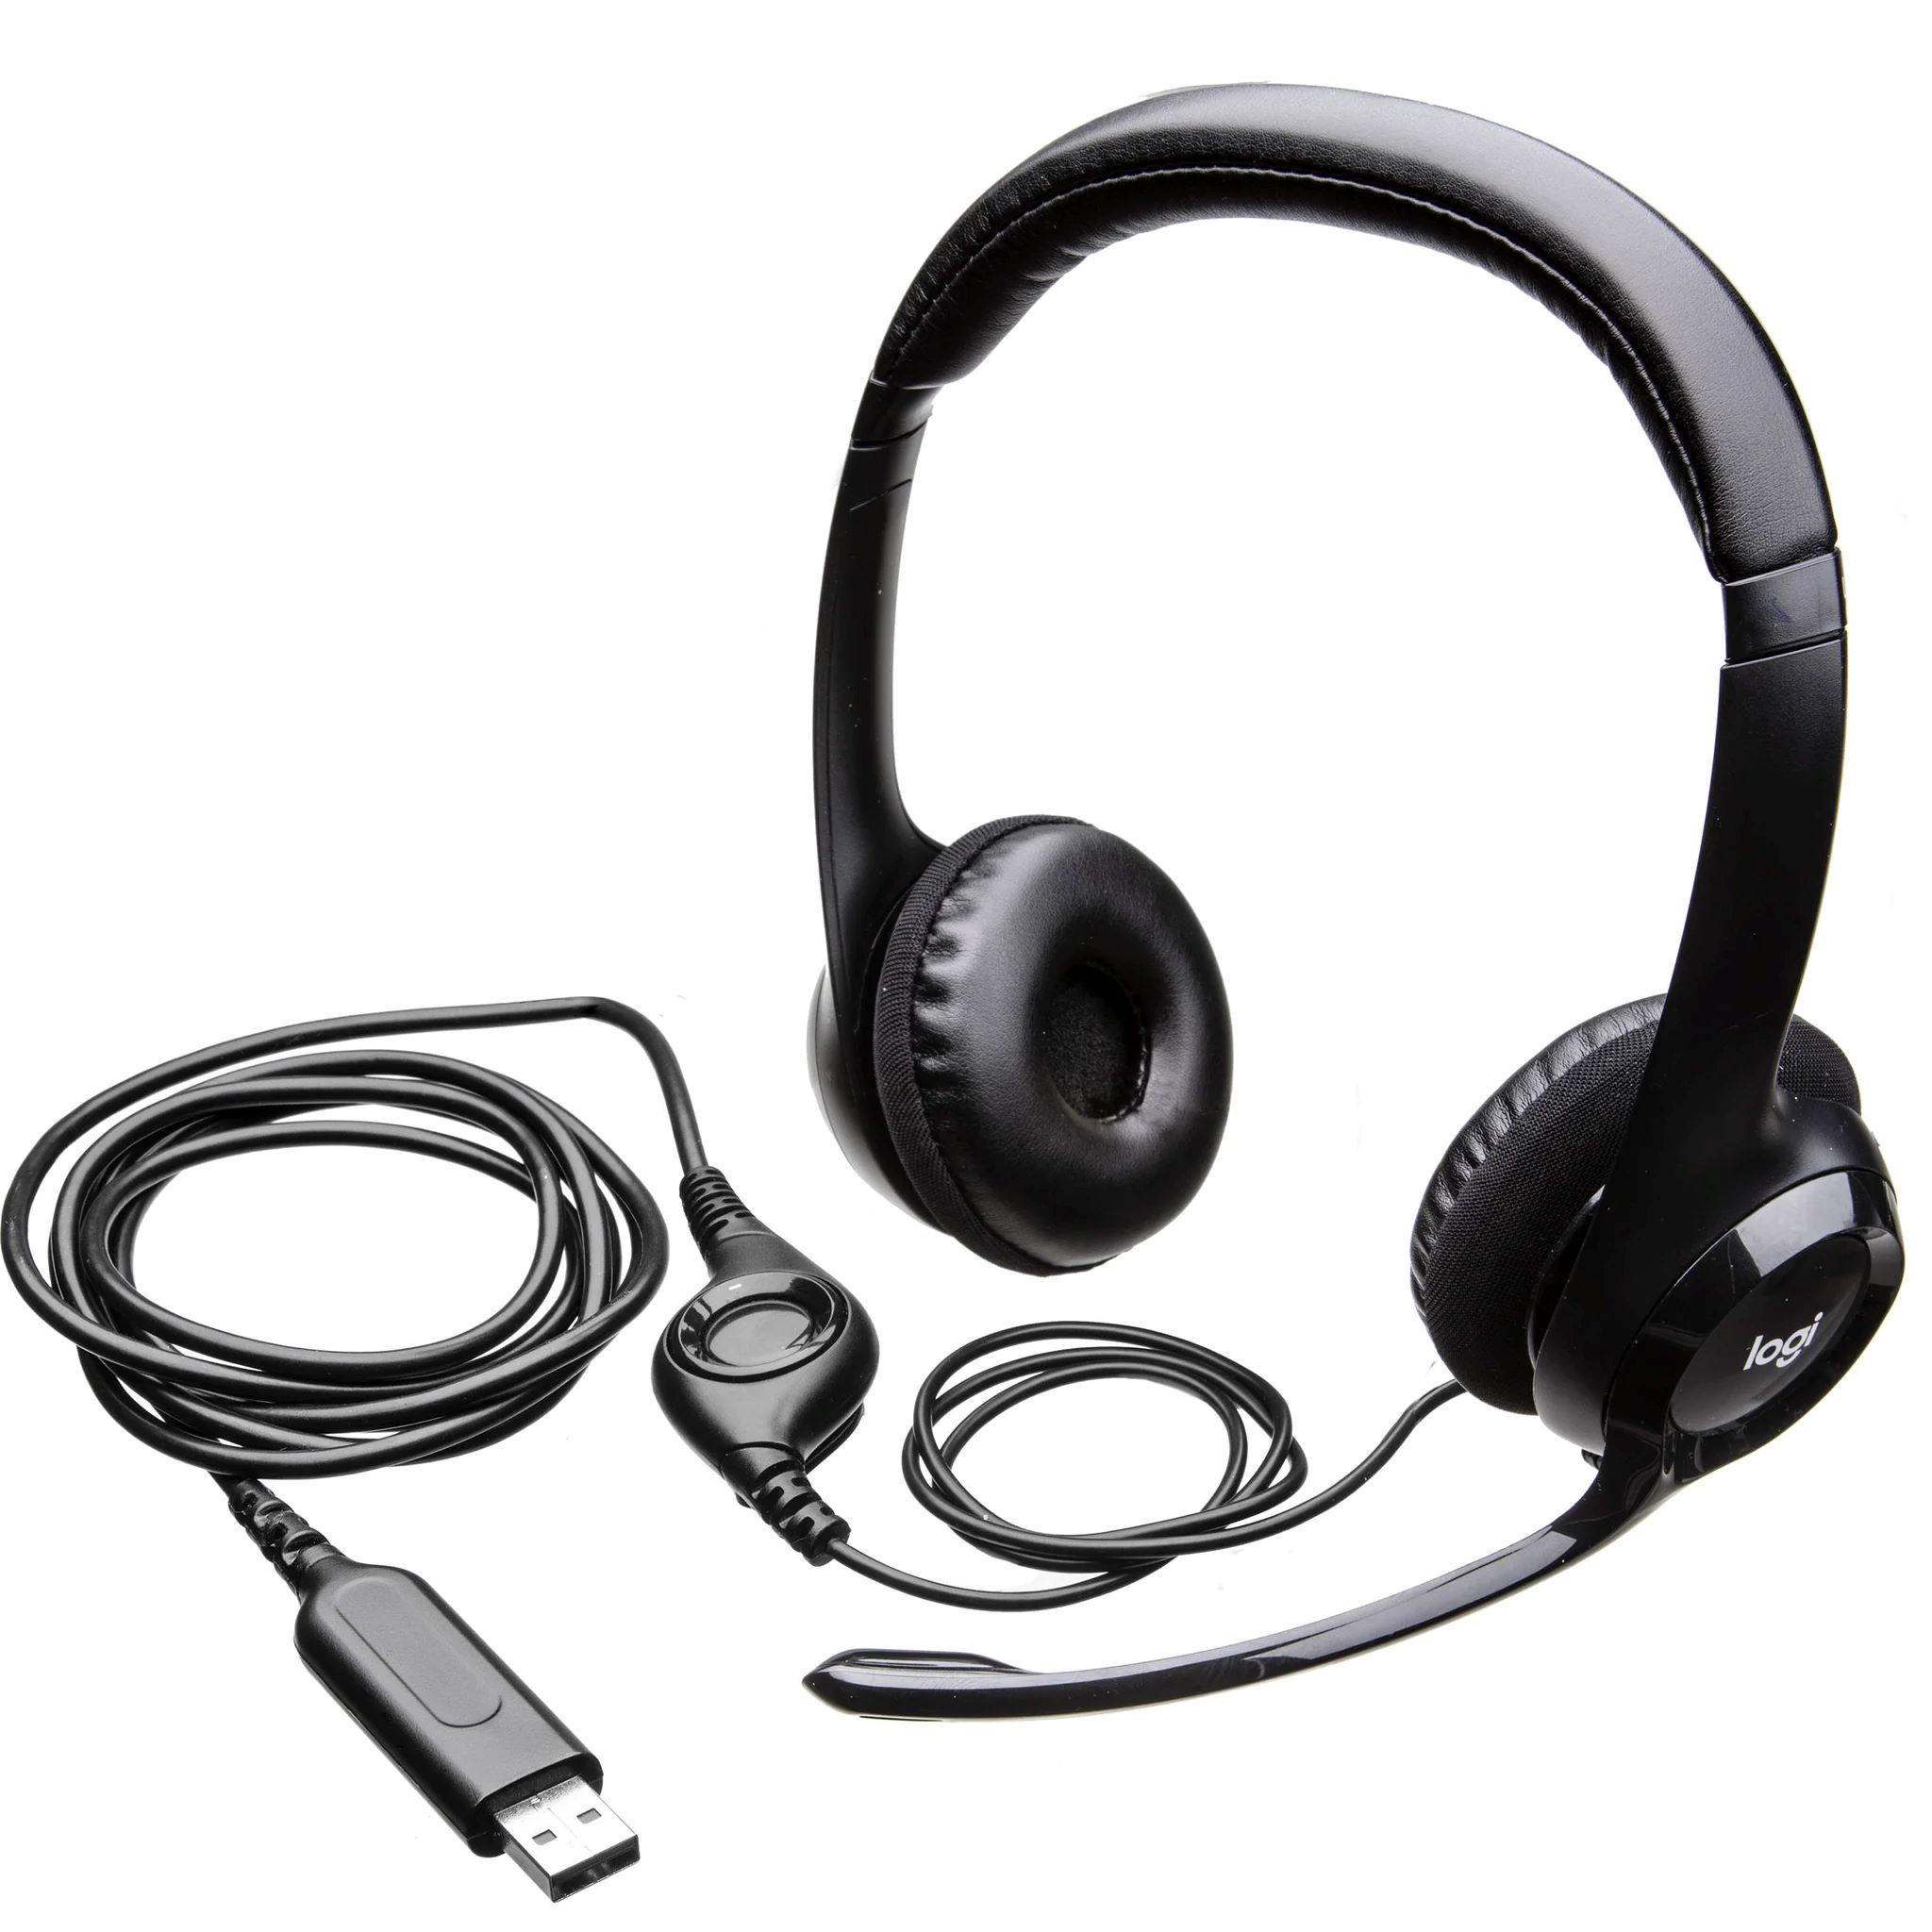
1. Connecting the headset: Begin by identifying the appropriate ports on your computer or gaming console for connecting the gaming headset. Most gaming headsets utilize a USB connection for power and audio transmission, while others may feature separate audio and microphone jacks. Once connected, ensure that the headset is securely plugged in to prevent any audio interruptions during Skype calls.
2. Installing drivers (if necessary): Some gaming headsets require specific drivers to be installed on your computer to enable full functionality. Check the manufacturer’s website for the latest drivers and follow the provided instructions for installation. This step is crucial for ensuring that your headset’s features, such as surround sound and microphone enhancements, are fully accessible when using Skype.
3. Configuring audio settings: Access the audio settings on your computer or gaming console to designate the gaming headset as the default audio output and input device. This ensures that Skype recognizes and utilizes the headset for both playback and recording. Additionally, adjust the volume levels to a comfortable setting, allowing you to hear incoming audio clearly without distortion.
4. Customizing headset features: Many gaming headsets come with customizable features, such as equalizer settings, microphone monitoring, and noise cancellation options. Take advantage of these features by configuring them to your preferences, ensuring that your Skype conversations are optimized for clarity and precision.
By following these steps, you can seamlessly integrate your gaming headset into your Skype communication setup, setting the stage for immersive and high-fidelity audio experiences. The next crucial phase involves adjusting the audio settings within Skype to ensure that your headset is fully optimized for seamless communication.
Adjusting audio settings in Skype
Once your gaming headset is successfully connected and configured on your computer or gaming console, it’s time to fine-tune the audio settings within Skype to ensure optimal performance during calls and conversations. Skype offers a range of audio settings that allow you to customize your communication experience, from adjusting microphone sensitivity to optimizing playback quality. By exploring and adjusting these settings, you can enhance the clarity and precision of your voice and audio input, as well as the quality of incoming audio from other participants.
1. Accessing Skype audio settings: Launch the Skype application and navigate to the settings or options menu. Look for the audio settings section, which typically includes options for configuring audio input (microphone) and output (speakers or headset). Select your gaming headset as the preferred audio input and output device within Skype to ensure that it is utilized during calls.
2. Microphone sensitivity and volume: Adjust the microphone sensitivity settings to optimize voice input without capturing excessive background noise. Test the microphone by speaking at varying volumes to ensure that your voice is clear and audible to other participants. Additionally, adjust the microphone volume to achieve a balanced and natural sound without distortion.
3. Speaker and headset configuration: Customize the playback settings to optimize audio output through your gaming headset. This may involve adjusting the volume levels, enabling surround sound features if available, and fine-tuning equalizer settings to enhance the quality of incoming audio during Skype calls.
4. Testing audio quality: Utilize Skype’s built-in audio testing features to ensure that your gaming headset is delivering the intended audio quality. Conduct test calls or utilize the audio testing tools within Skype to evaluate the clarity, volume, and overall quality of your headset’s audio input and output.
By carefully adjusting these audio settings within Skype, you can harness the full potential of your gaming headset, ensuring that your voice is conveyed with precision and clarity, while also experiencing incoming audio with enhanced richness and detail. With the audio settings optimized, it’s time to put your gaming headset to the test within the Skype environment to ensure that it meets your communication needs.
Testing your headset in Skype
After setting up and fine-tuning your gaming headset and adjusting the audio settings within Skype, it’s crucial to conduct thorough testing to ensure that the headset performs optimally during calls and conversations. Testing your headset in the Skype environment allows you to verify the audio quality, microphone functionality, and overall performance, providing the assurance that your communication setup is ready for seamless interactions.
1. Test call with a friend or colleague: Initiate a test call with a trusted friend, family member, or colleague to evaluate the audio quality and clarity of your gaming headset. Engage in a conversation while paying attention to the incoming audio as well as the performance of your microphone. Request feedback from the other party regarding the clarity of your voice and the quality of the incoming audio through your headset.
2. Audio and microphone check: Utilize Skype’s audio testing features to conduct a comprehensive check of your headset’s audio input and output. Verify that your voice is captured clearly by the microphone without distortion or background noise. Similarly, assess the quality of incoming audio through your headset, ensuring that it delivers the intended richness and detail during calls.
3. Multi-party call simulation: If possible, arrange a multi-party call with multiple participants to gauge the performance of your gaming headset in a group conversation scenario. Pay attention to how your headset handles simultaneous audio input from multiple sources and assess the overall clarity and balance of the communication experience.
4. Recording and playback test: Record a brief segment of your conversation using Skype’s recording feature and play it back to assess the overall audio quality, including voice clarity, background noise suppression, and the fidelity of incoming audio. This test allows you to evaluate the performance of your gaming headset in a real-world communication scenario.
By conducting these comprehensive tests within the Skype environment, you can ensure that your gaming headset delivers the intended audio quality, microphone performance, and overall communication experience. Address any issues or inconsistencies that arise during testing by revisiting the setup and audio settings, and make necessary adjustments to achieve the desired level of performance.
Troubleshooting common issues
While setting up and using a gaming headset with Skype can significantly enhance your communication experience, it’s not uncommon to encounter occasional technical challenges. Understanding and addressing common issues that may arise with your gaming headset and Skype integration is essential for maintaining a seamless and reliable communication setup. By identifying and troubleshooting these issues, you can ensure that your Skype calls and conversations proceed without disruptions or audio-related complications.
1. Microphone not detected: If your gaming headset’s microphone is not being recognized by Skype, first verify that the headset is properly connected to your computer or gaming console. Check the audio settings within Skype to ensure that the correct microphone input device is selected. If the issue persists, consider updating the headset’s drivers or testing the microphone on another device to isolate the problem.
2. Audio playback issues: In the event that you encounter audio playback problems, such as distorted sound or one-sided audio, inspect the headset’s connection to your computer or gaming console. Ensure that the audio output settings within Skype are configured to utilize the gaming headset. Additionally, check for any physical damage to the headset’s cables or connectors that may be affecting audio playback.
3. Background noise and echo: If background noise or echo is present during Skype calls, adjust the microphone sensitivity settings within Skype to minimize ambient sound pickup. Position the microphone away from sources of noise and ensure that the headset’s microphone is not picking up audio from the headset’s speakers, which can cause echo. Consider utilizing noise cancellation features if available on your gaming headset.
4. Inconsistent audio quality: Should you experience inconsistent audio quality during Skype calls, verify that your gaming headset’s drivers are up to date and compatible with your operating system. Adjust the audio settings within Skype to optimize the headset’s playback and recording capabilities. Additionally, consider testing the headset on another device to determine if the issue is specific to your computer or gaming console.
By addressing these common issues and implementing the recommended troubleshooting steps, you can resolve technical challenges that may impact the performance of your gaming headset in conjunction with Skype. Should persistent issues arise, consider reaching out to the headset’s manufacturer for further assistance or exploring online communities for additional support and insights.
Conclusion
Congratulations on successfully integrating your gaming headset with Skype, unlocking a world of enhanced communication and immersive experiences. By following the comprehensive guide provided, you have gained valuable insights into the process of setting up, optimizing, and troubleshooting your gaming headset for seamless integration with Skype. The combination of a high-quality gaming headset and the versatile communication platform of Skype has empowered you to engage in crystal-clear conversations, virtual meetings, and collaborative sessions with unparalleled audio precision and clarity.
Through the meticulous setup process, you have learned to connect and configure your gaming headset, ensuring that it serves as the primary audio input and output device for Skype calls. By adjusting the audio settings within Skype, you have fine-tuned the microphone sensitivity, optimized playback quality, and customized the communication experience to suit your preferences. Thorough testing has allowed you to verify the performance of your gaming headset in real-world scenarios, ensuring that it delivers the intended audio quality and microphone functionality during calls and conversations.
Furthermore, by addressing common technical issues and implementing effective troubleshooting measures, you have equipped yourself with the knowledge and skills to overcome potential challenges that may arise with your gaming headset and Skype integration. This proactive approach ensures that your communication setup remains reliable and resilient, allowing you to engage in seamless conversations without disruptions or audio-related complications.
As you embark on your journey with your gaming headset and Skype, remember that ongoing maintenance and periodic checks can further optimize your communication experience. Stay informed about software updates, explore new features offered by your gaming headset, and remain attentive to evolving communication needs to maximize the potential of this dynamic combination.
With your gaming headset seamlessly integrated with Skype, you are poised to embark on a new era of communication, collaboration, and connection. Embrace the enhanced audio clarity, immersive experiences, and seamless interactions that this integration offers, and continue to explore the boundless possibilities of virtual communication with confidence and precision.