Introduction
Are you tired of bulky over-ear headphones but love the sound quality they provide? Perhaps you find earbuds more convenient but miss the immersive audio experience of over-ear headphones. What if you could combine the best of both worlds? In this guide, I will walk you through the process of transforming your over-ear headphones into earbuds. By following these steps, you can enjoy the portability of earbuds without sacrificing the superior sound quality of over-ear headphones.
Whether you want to repurpose an old pair of over-ear headphones or simply experiment with a DIY project, this transformation offers a unique solution. Not only does it allow you to customize your listening experience, but it also gives a new lease of life to your old headphones. With a few simple tools and a bit of patience, you can achieve a seamless transition from over-ear headphones to earbuds.
Throughout this guide, I will provide detailed instructions, accompanied by helpful tips to ensure a smooth and successful conversion. From gathering the necessary materials to testing the newly transformed earbuds, each step is crucial in the transformation process. So, let's dive in and discover how to turn over-ear headphones into earbuds, unlocking a world of versatility and convenience in your audio experience.
Step 1: Gather Necessary Materials
Before embarking on the transformation journey, it’s essential to gather the required materials. Here’s what you’ll need:
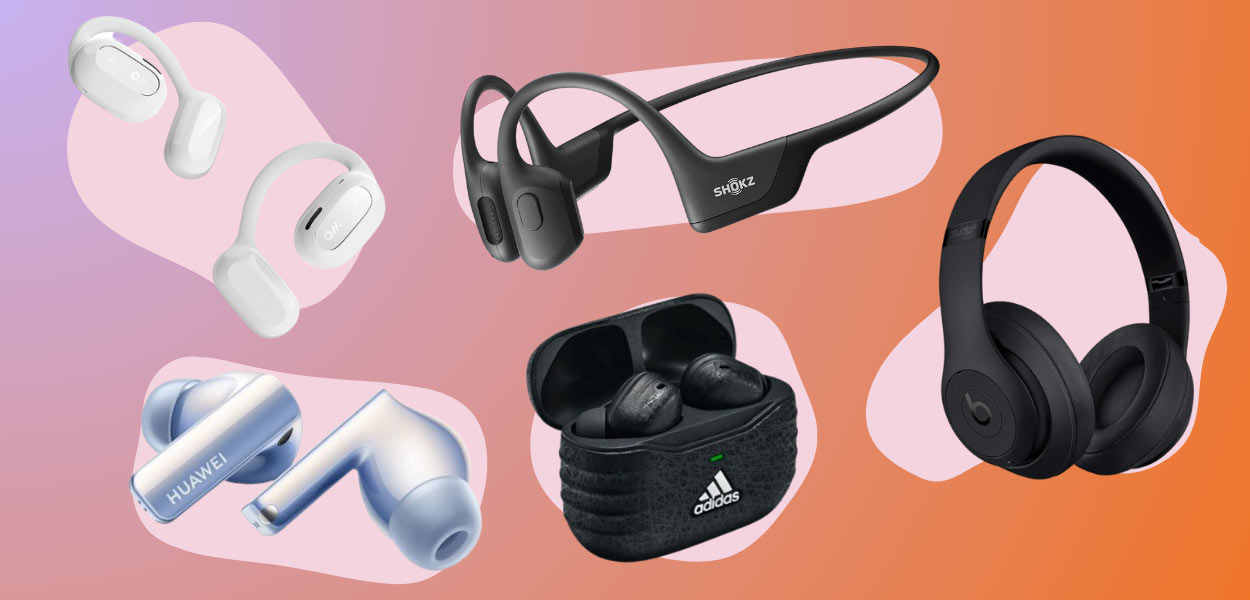
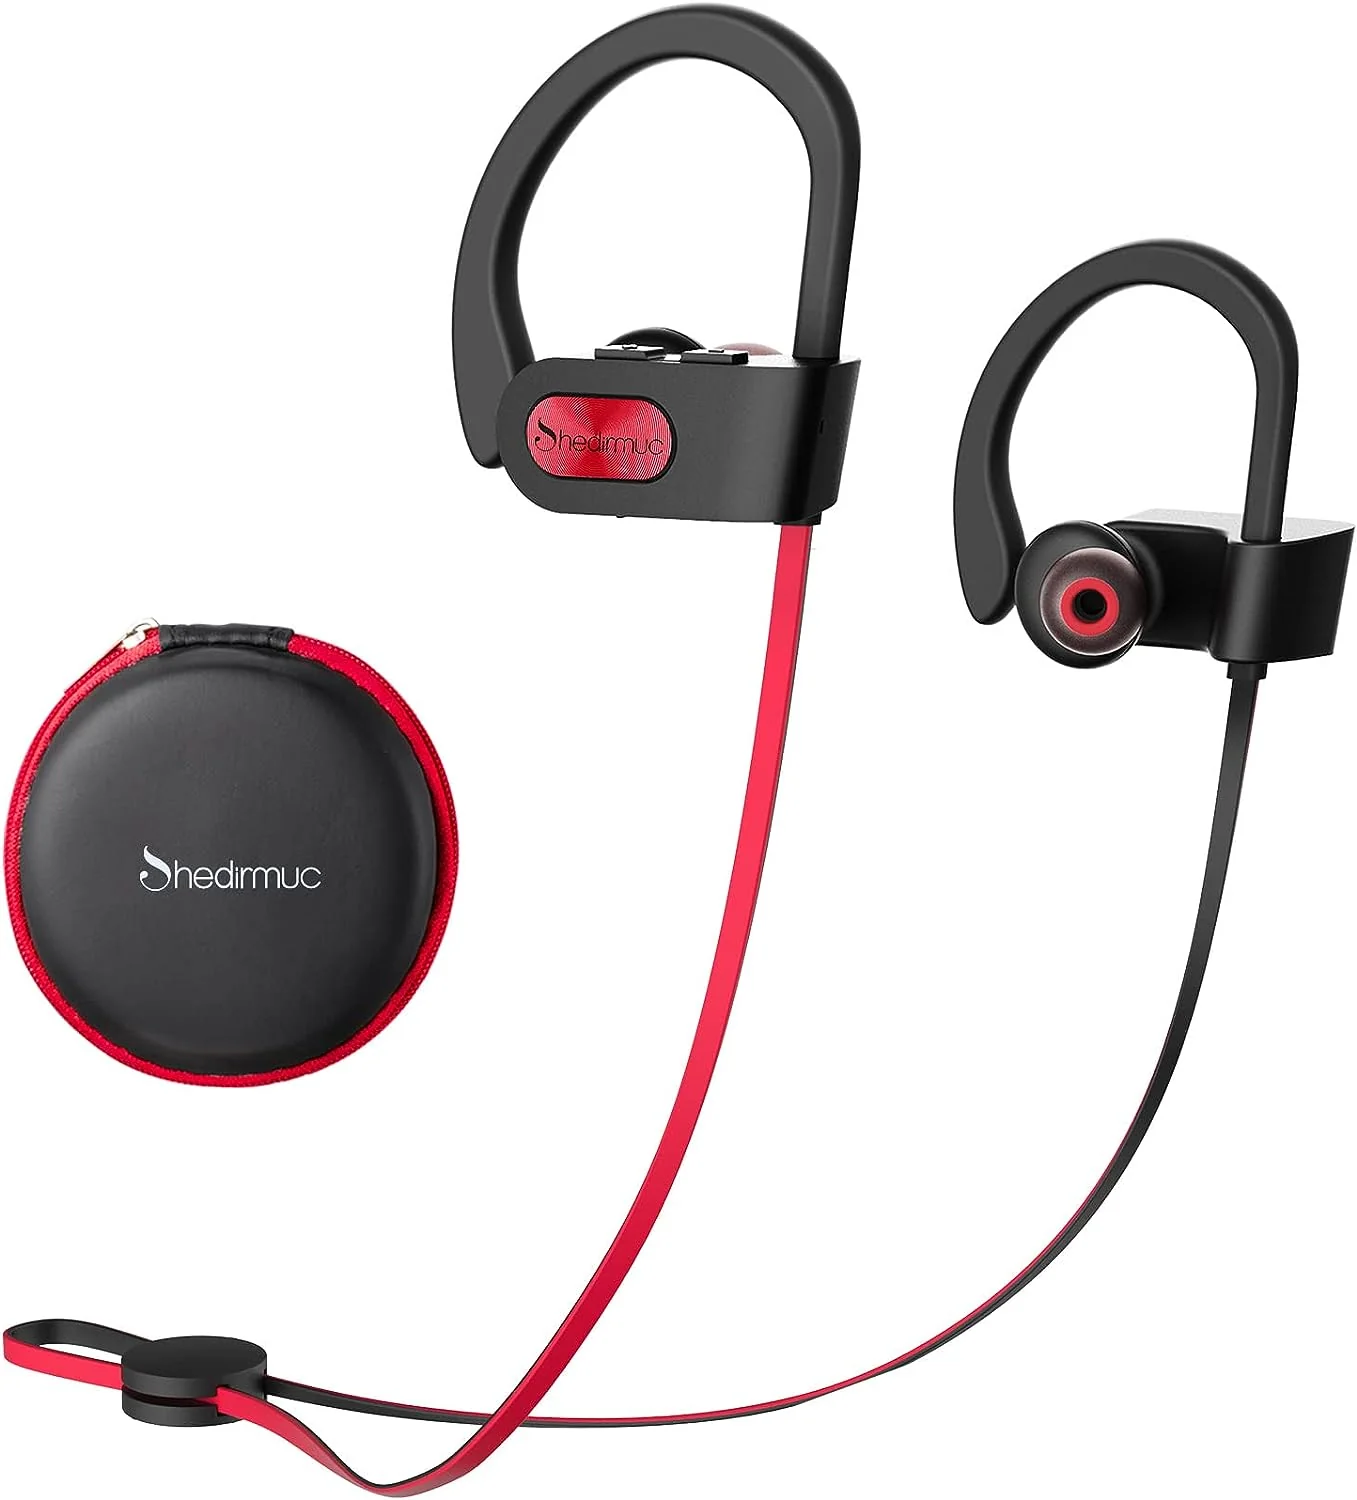
- Over-Ear Headphones: Choose a pair that you’re willing to repurpose into earbuds.
- Small Screwdriver Set: Ensure it includes various sizes to accommodate different screws.
- Wire Cutters: These will come in handy for modifying the headphone wires.
- Heat-Shrink Tubing: Used to insulate and protect the modified wires.
- Soldering Iron and Solder: Necessary for re-soldering connections if needed.
- Electrical Tape: Useful for securing and insulating wires.
- Small Pliers: Helpful for handling small components during the transformation process.
- Replacement Ear Tips: If your over-ear headphones don’t have detachable ear cups, replacement ear tips will be required to create comfortable earbuds.
- Patience and Precision: These are indispensable, as the transformation process requires careful and meticulous handling of components.
By ensuring you have all the necessary materials at your disposal, you’ll be well-prepared to proceed with the transformation. With these tools and components, you can confidently move on to the next steps, knowing that you have everything required to successfully turn your over-ear headphones into earbuds.
Step 2: Remove the Ear Cups
The first step in the transformation process is to remove the ear cups from the over-ear headphones. This step may vary depending on the design of your headphones, but the general process is as follows:
- Inspect the Headphone Structure: Examine the ear cups to determine how they are attached to the headphones. Most over-ear headphones have removable ear cups, which are typically attached using screws or clips.
- Unscrew or Unclip the Ear Cups: Using the appropriate tools, carefully remove the screws or unclip the ear cups from the headphone housing. Be sure to keep track of the screws and any small components to avoid misplacement.
- Detach the Wires: Once the ear cups are removed, you may need to detach the wires connected to the drivers. Take note of the wire colors and connections, as you will need this information when reassembling the earbuds.
- Set Aside the Ear Cups: After successfully removing the ear cups and detaching any wires, set them aside in a safe place. These will be used later in the process to create the earbuds.
By carefully removing the ear cups from the over-ear headphones, you have completed a crucial step in the transformation process. With the ear cups removed, you are now ready to proceed to the next phase of the conversion, bringing you one step closer to having your own custom earbuds.
Step 3: Detach the Headband
Once the ear cups are removed, the next step is to detach the headband from the over-ear headphones. This process will involve separating the headband from the headphone housing, allowing you to reconfigure the components into earbuds. Follow these steps to successfully detach the headband:
- Locate the Attachment Points: Examine the connection between the headband and the headphone housing. Depending on the design, the headband may be attached using screws, clips, or a sliding mechanism.
- Unscrew or Unclip the Headband: Using the appropriate tools, carefully remove any screws or unclip the headband from the headphone housing. Take care to keep track of any small components that may be released during this process.
- Separate the Headband: Once the headband is detached from the headphone housing, set it aside for later use. You may need to remove any remaining wires or connectors, depending on the headphone design.
- Organize Components: Keep all the screws, clips, and detached components in a safe place, ensuring they are easily accessible when reassembling the earbuds.
By successfully detaching the headband from the over-ear headphones, you have completed another essential step in the transformation process. With the headband removed, you are now ready to move on to the next phase of the conversion, bringing you closer to the final stages of creating your custom earbuds.
Step 4: Reassemble the Earbuds
With the ear cups and headband detached, it’s time to reassemble the components to create functional earbuds. This step involves repurposing the removed parts and making necessary modifications to ensure a comfortable and secure fit. Follow these steps to successfully reassemble the earbuds:
- Prepare the Ear Cup Components: If the ear cups have drivers and wires attached, carefully modify the components to fit comfortably in your ears. This may involve trimming excess components and ensuring the wires are of an appropriate length for earbud use.
- Attach Replacement Ear Tips: If your over-ear headphones did not have detachable ear cups, you will need to attach replacement ear tips to the modified ear cup components. Choose ear tips that provide a comfortable and secure fit in your ears.
- Insulate and Secure Wires: If any wires were modified during the process, use heat-shrink tubing and electrical tape to insulate and secure the connections. This will ensure the wires are protected and maintain proper functionality.
- Assemble the Headband Components: If the headband is integral to the earbud design, reconfigure it to provide a comfortable and secure fit. This may involve removing any excess components and ensuring the headband is adjustable to accommodate different head sizes.
- Test the Fit and Functionality: Once the components are reassembled, test the earbuds to ensure they fit comfortably and provide the expected audio quality. Make any necessary adjustments to optimize the fit and functionality.
By successfully reassembling the earbuds from the modified components, you have completed a crucial step in the transformation process. With the earbuds now taking shape, you are ready to proceed to the final step, bringing you closer to enjoying the unique audio experience offered by your custom earbuds.
Step 5: Test the Earbuds
Now that the earbuds have been reassembled, it’s time to test their functionality and ensure they deliver the audio experience you desire. Testing the earbuds will allow you to make any final adjustments before enjoying your custom creation. Follow these steps to effectively test the earbuds:
- Audio Quality Test: Connect the earbuds to an audio source and play a variety of music tracks to assess the audio quality. Pay attention to the clarity, bass response, and overall balance of the sound.
- Comfort and Fit Test: Wear the earbuds for an extended period to evaluate their comfort and fit. Ensure they remain securely in your ears and do not cause discomfort or fatigue during prolonged use.
- Microphone Functionality Test: If your over-ear headphones had a built-in microphone, test its functionality to ensure clear and reliable voice transmission during calls or voice recordings.
- Adjustment and Customization: Make any necessary adjustments to the earbuds based on the test results. This may include fine-tuning the fit, modifying the ear tips, or optimizing the audio settings on your device for the best experience.
- Environmental Test: Use the earbuds in different environments to gauge their performance in various settings, such as outdoor spaces, noisy environments, or quiet indoor areas.
By thoroughly testing the earbuds and making any necessary adjustments, you can ensure that they meet your expectations in terms of audio quality, comfort, and functionality. Once you are satisfied with the performance of your custom earbuds, you can confidently incorporate them into your daily audio experiences, knowing that you have successfully transformed over-ear headphones into versatile and personalized earbuds.
Conclusion
Congratulations! By following the step-by-step process outlined in this guide, you have successfully transformed your over-ear headphones into customized earbuds. This DIY project has not only allowed you to repurpose existing audio equipment but has also provided a unique opportunity to tailor your listening experience to your preferences.
Through careful disassembly, modification, and reassembly of the headphone components, you have created a versatile and personalized audio solution. The process of converting over-ear headphones into earbuds has not only enhanced your understanding of audio hardware but has also empowered you to innovate and customize your technology to suit your needs.
As you enjoy the immersive sound quality and portability of your custom earbuds, remember the patience and precision that went into the transformation. Your resourcefulness and attention to detail have resulted in a practical and creative solution that reflects your individuality and ingenuity.
Whether you repurposed an old pair of headphones or embarked on this project out of curiosity and creativity, the experience of transforming over-ear headphones into earbuds has expanded your DIY skills and provided a deeper appreciation for the possibilities of audio customization.
As you continue to explore the world of DIY audio projects, remember the valuable lessons learned from this transformation process. Your ability to adapt and innovate in the realm of audio technology will undoubtedly lead to further personalized solutions and a deeper connection to your audio experiences.
Embrace the versatility and uniqueness of your custom earbuds, and let this project inspire you to continue seeking innovative and personalized approaches to your audio journey.