Introduction
Are you ready to elevate your gaming experience to a whole new level? The HyperX Cloud Gaming Headset is a powerful tool that can immerse you in the sounds of your virtual world, providing crystal-clear audio and exceptional comfort. Whether you're engaging in intense multiplayer battles or exploring vast open worlds, this headset can significantly enhance your gameplay.
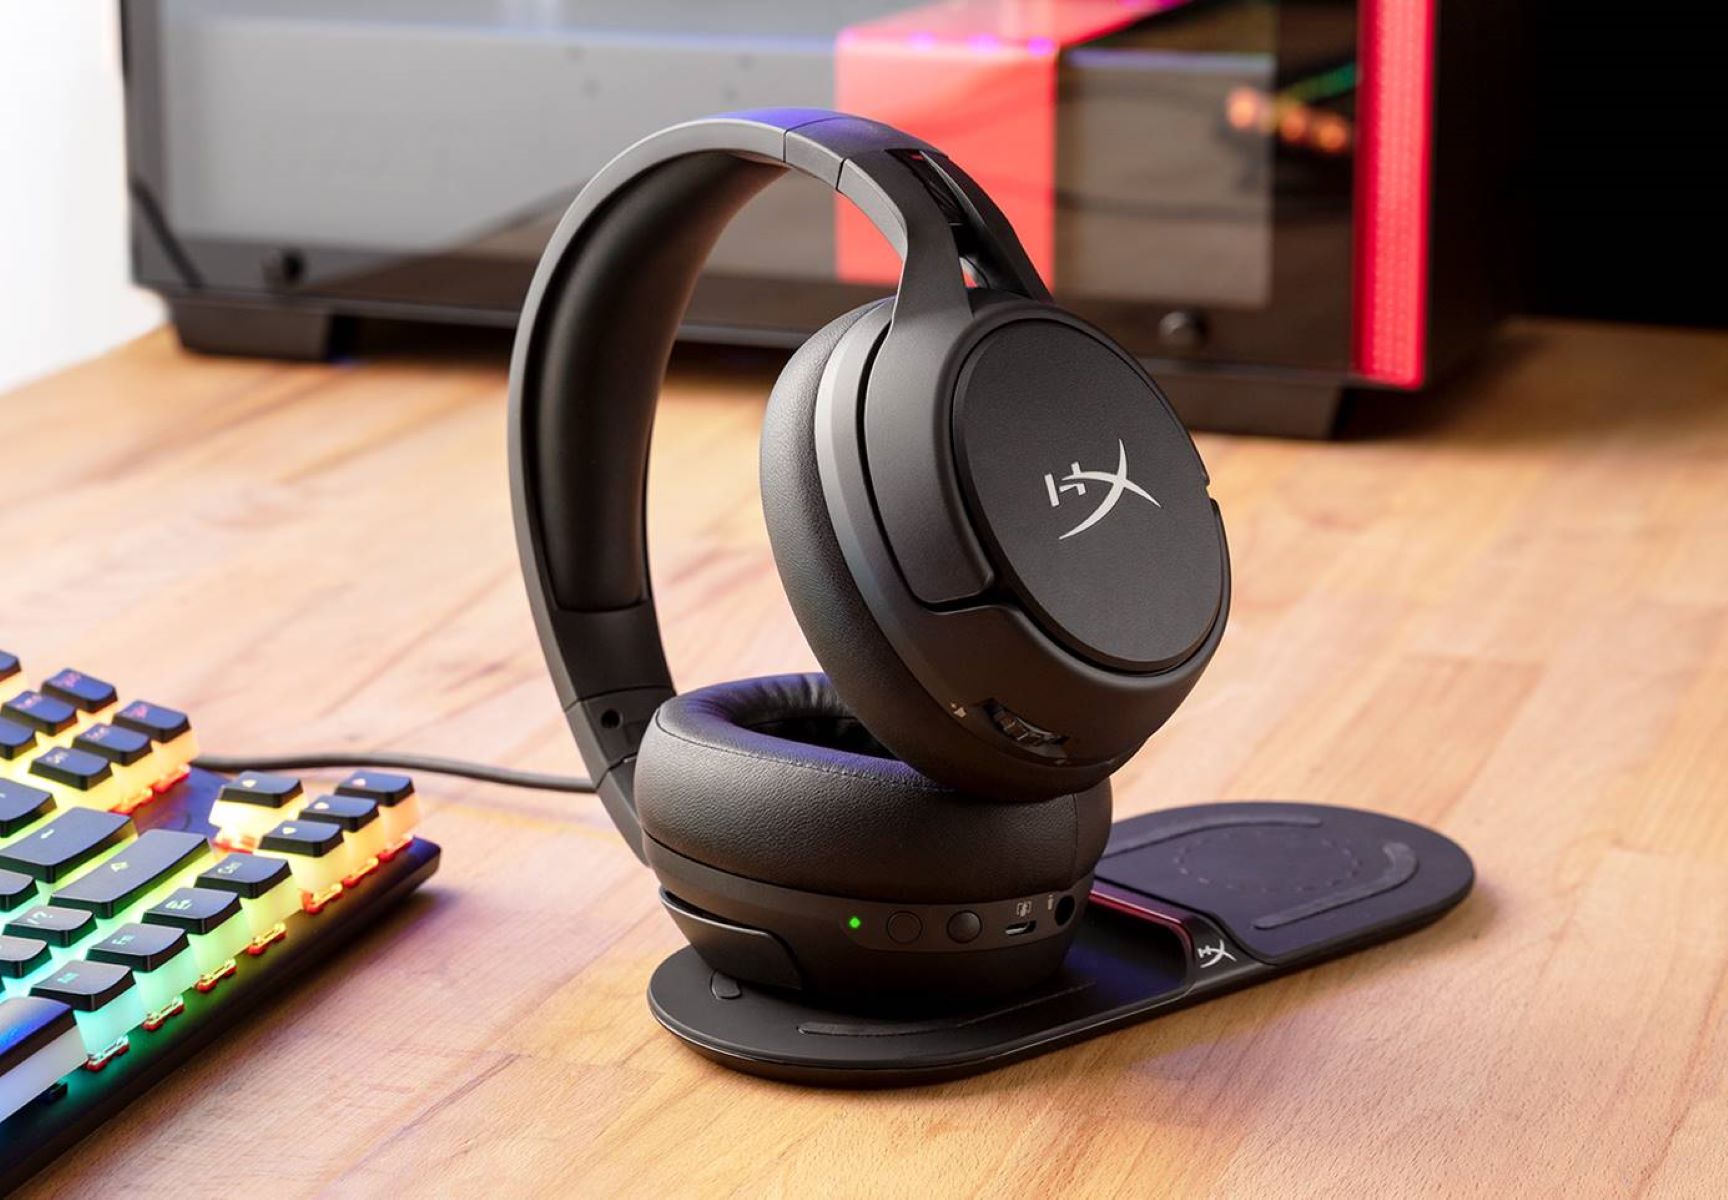
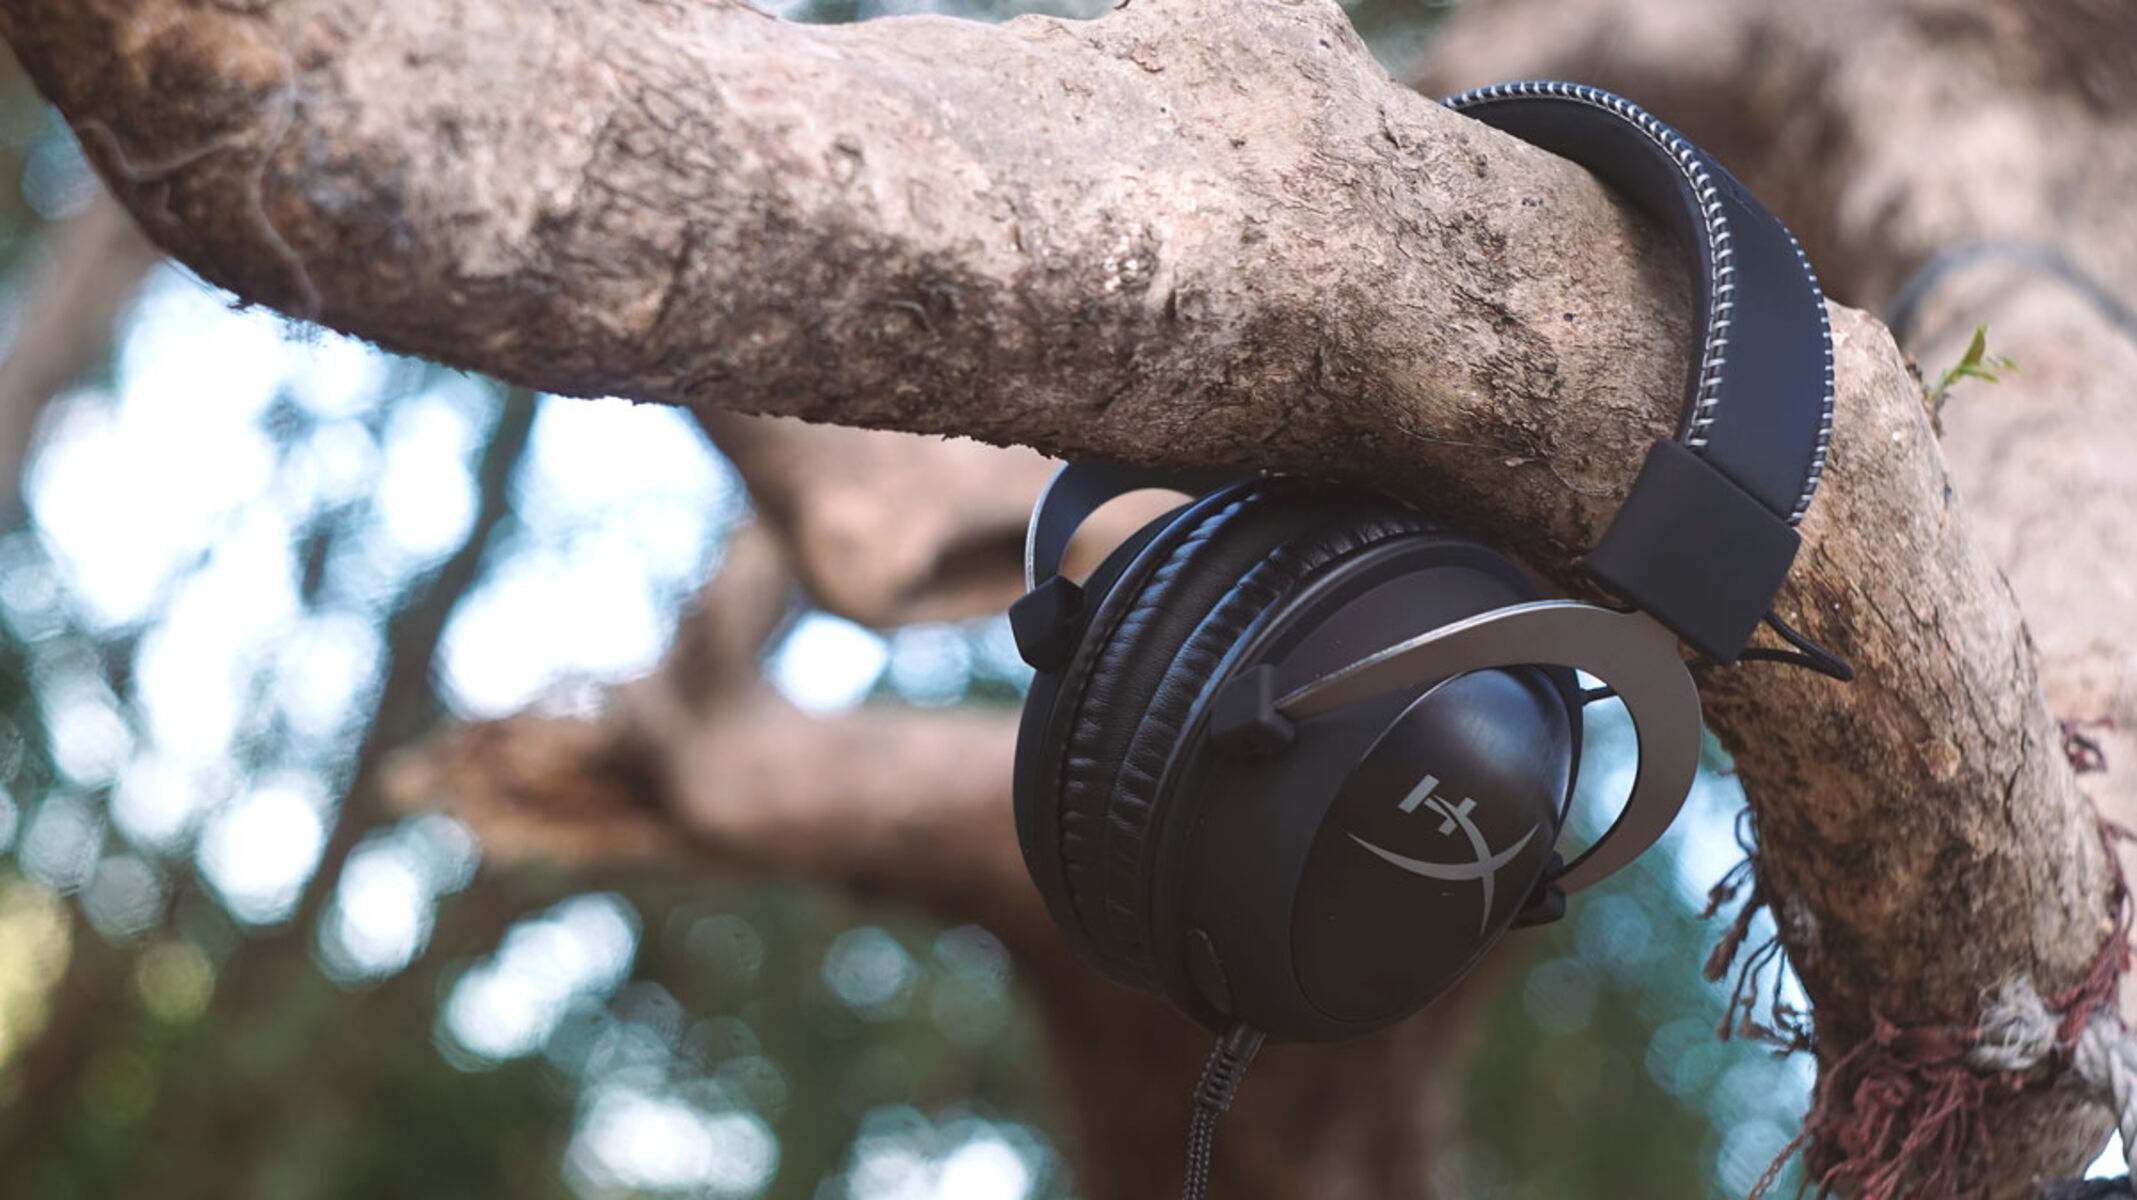
The HyperX Cloud Gaming Headset is designed with the needs of gamers in mind, offering a perfect blend of functionality, comfort, and style. Its high-quality construction and advanced audio technology make it an ideal choice for both casual and competitive gamers.
In this guide, we'll walk you through the process of setting up and customizing your HyperX Cloud Gaming Headset, ensuring that you get the most out of this exceptional gaming accessory. From unboxing the contents to adjusting the headset for optimal comfort and customizing the audio settings to suit your preferences, we've got you covered every step of the way.
So, whether you're a seasoned gamer looking to upgrade your gear or a newcomer eager to dive into the world of gaming peripherals, this guide will equip you with the knowledge and skills to maximize the potential of your HyperX Cloud Gaming Headset. Get ready to immerse yourself in a world of unparalleled audio and gaming excellence!
Unboxing and Contents
When you unbox your HyperX Cloud Gaming Headset, you’ll be greeted with a carefully curated selection of components designed to enhance your gaming experience. The packaging is not only visually appealing but also ensures that each item is securely nestled within, safeguarding them from any potential damage during transit.
As you open the box, you’ll find the following items neatly arranged:
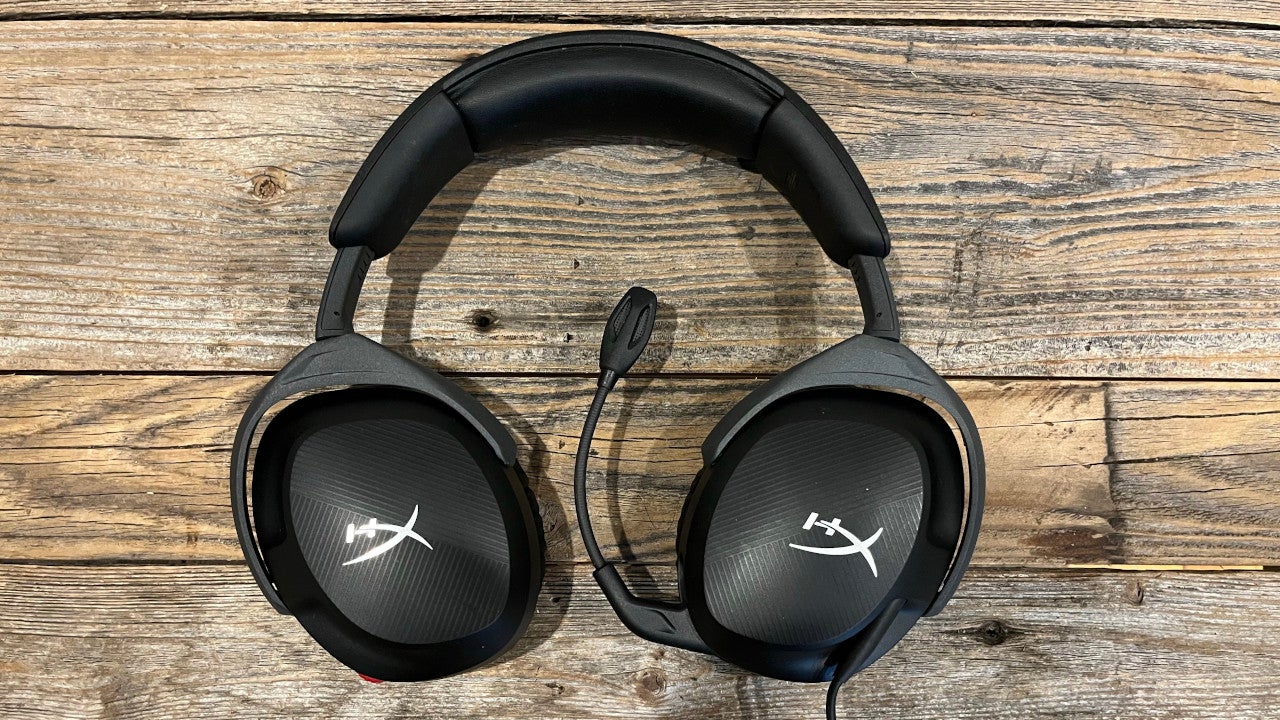
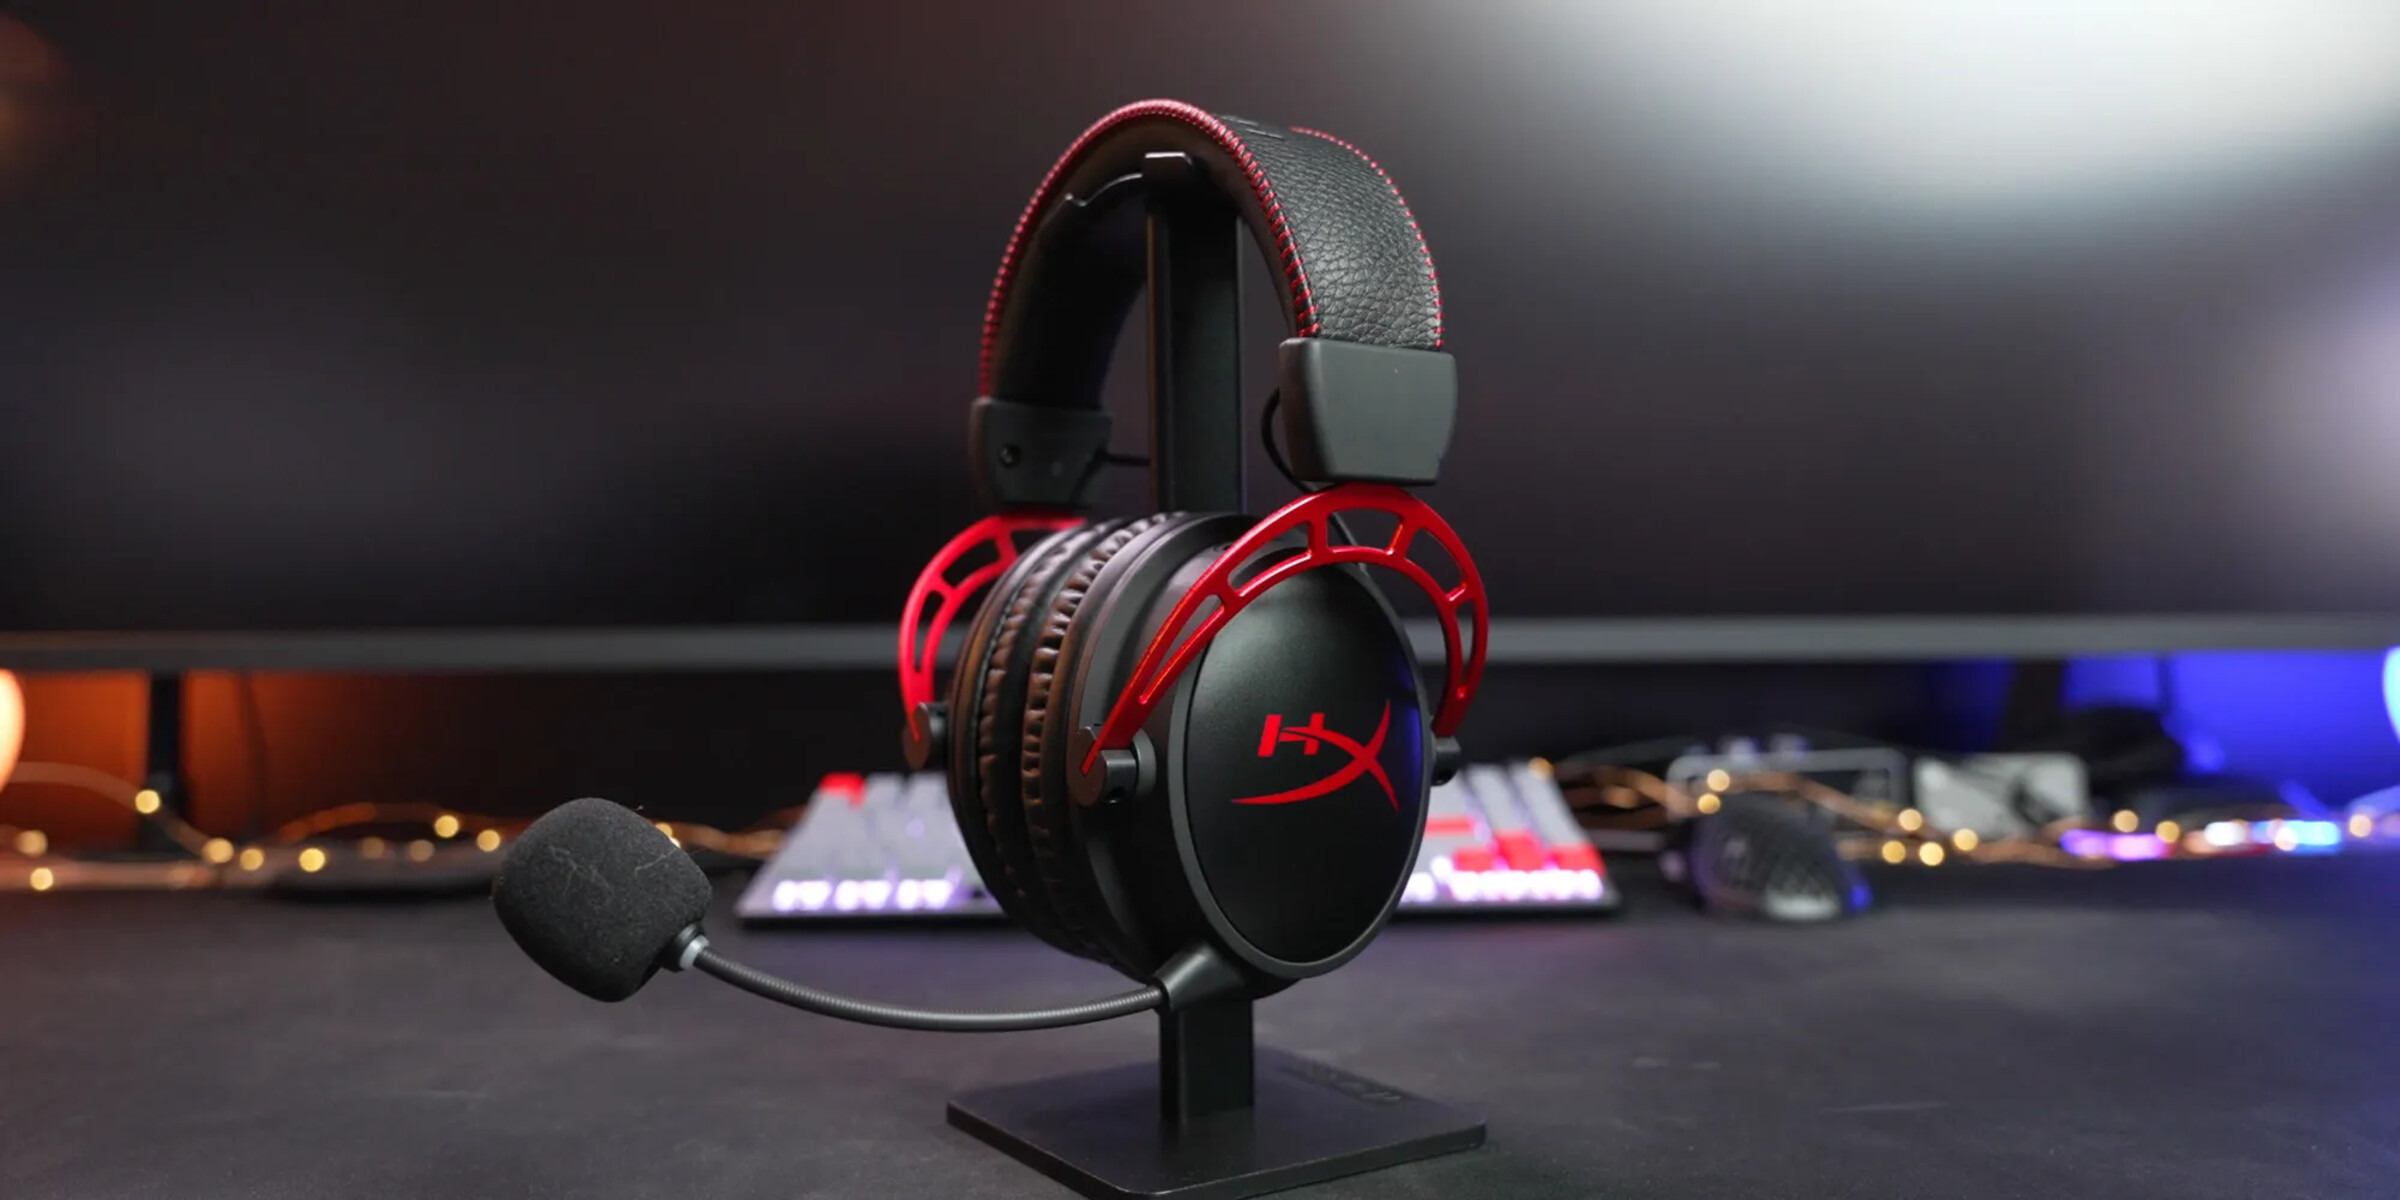
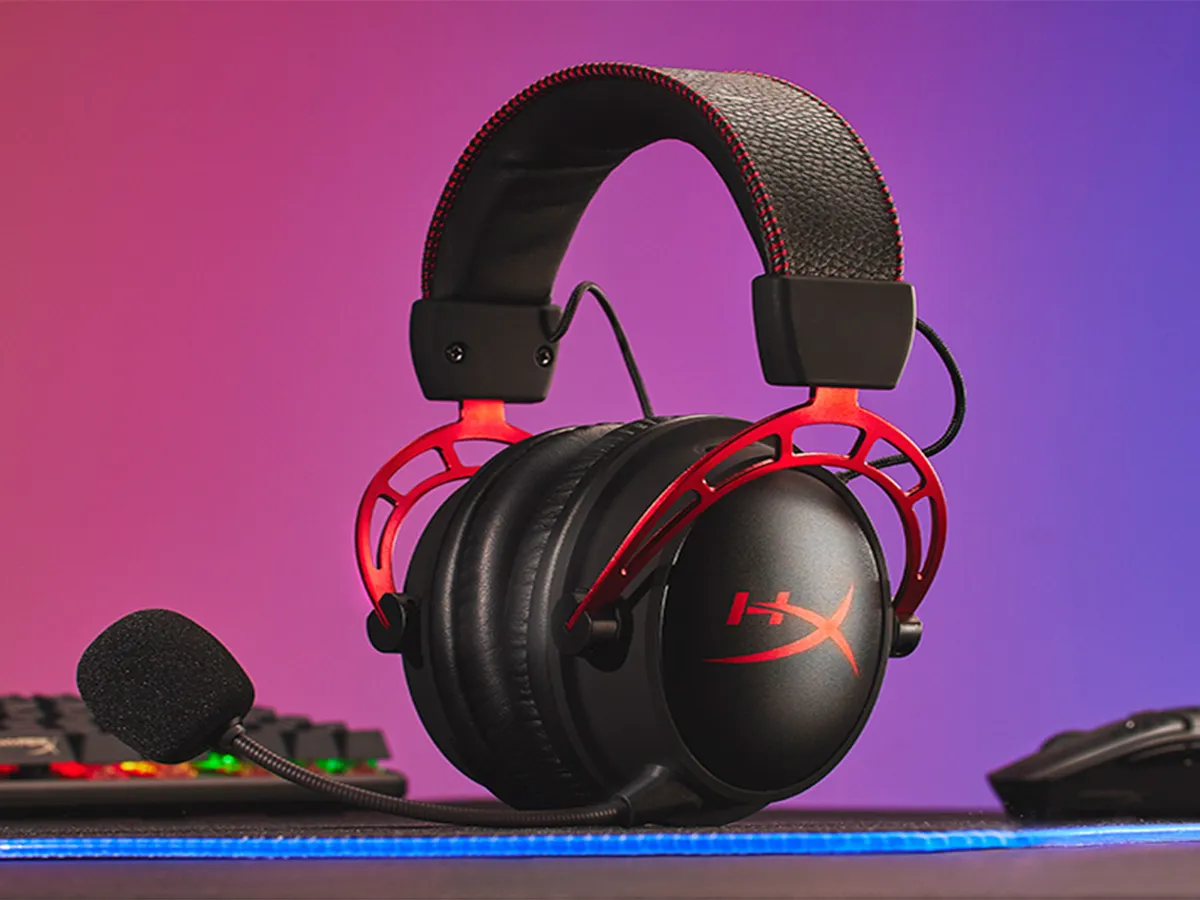
- The HyperX Cloud Gaming Headset: The centerpiece of the package, this sleek and stylish headset boasts a durable construction and a host of features that are sure to impress.
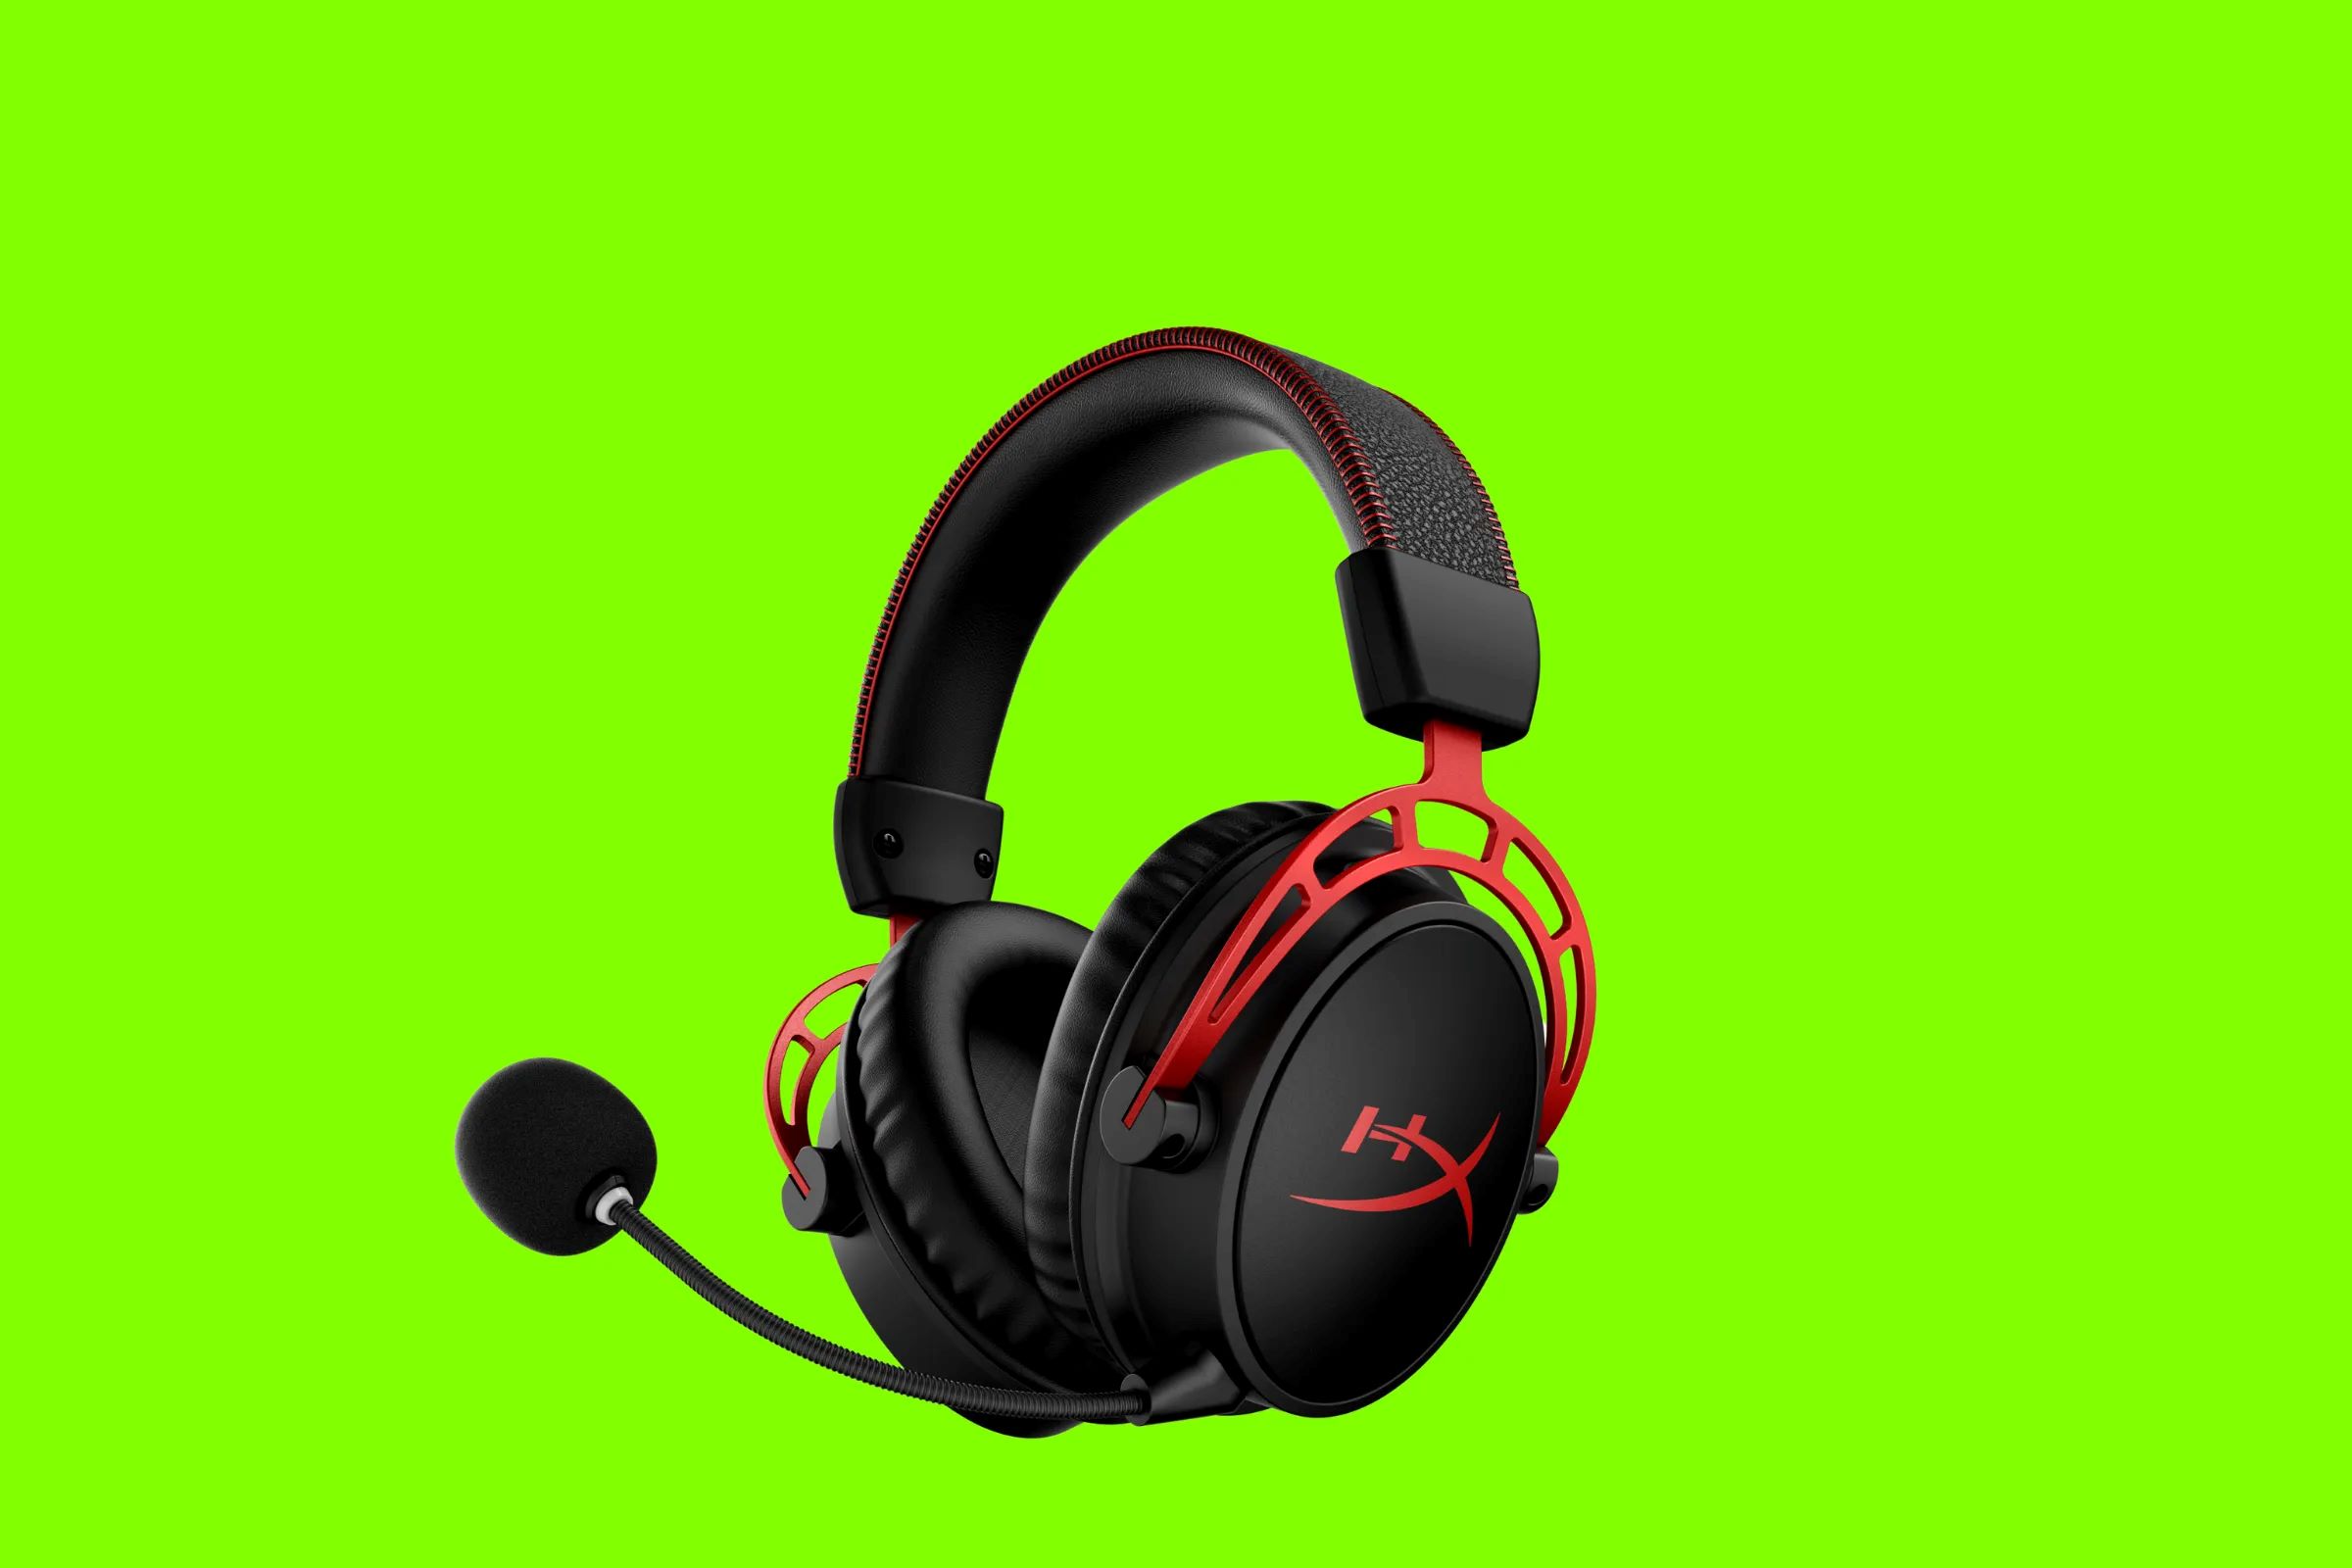
- Detachable Microphone: This flexible and detachable microphone offers clear and crisp voice communication, allowing you to strategize with your teammates or engage in lively banter during your gaming sessions.
- Detachable Cable: The headset comes with a detachable cable, providing flexibility and convenience for storage and transportation.
- Carrying Pouch: To ensure that your headset remains protected while on the move, HyperX includes a soft, durable carrying pouch for safe storage and transport.
- Quick Start Guide: This handy guide provides clear and concise instructions for setting up and using your new HyperX Cloud Gaming Headset, ensuring that you can dive into the action without delay.
Each component is meticulously crafted to meet the highest standards of quality and performance, reflecting HyperX’s commitment to delivering exceptional gaming accessories.
As you unpack each item, you’ll immediately appreciate the attention to detail and the thoughtful design that has gone into creating the HyperX Cloud Gaming Headset package. With everything you need right at your fingertips, you can look forward to a seamless and enjoyable setup process that will have you gaming in no time.
Connecting to Your Device
Connecting your HyperX Cloud Gaming Headset to your preferred gaming device is a straightforward process that ensures you can start enjoying immersive audio right away. Whether you’re using a PC, console, or mobile device, the headset’s versatile connectivity options make it compatible with a wide range of platforms.
To connect the headset to your device, follow these simple steps:
- Identify the Connectors: The HyperX Cloud Gaming Headset comes with a detachable cable that features a 3.5mm audio jack and a separate microphone jack. Identify the appropriate connectors for your specific device.
- Insert the Audio Jack: Plug the 3.5mm audio jack into the corresponding audio port on your device. This may be the headphone jack on a PC or the controller on a gaming console.
- Connect the Microphone: If voice communication is required, insert the detachable microphone into the microphone port on your device, ensuring a secure connection.
- Adjust Settings (if necessary): Depending on your device, you may need to adjust audio settings to ensure that the HyperX Cloud Gaming Headset is recognized as the primary audio output device. This can typically be done through the device’s settings menu.
Once you’ve completed these steps, your HyperX Cloud Gaming Headset should be successfully connected to your device, ready to deliver high-quality audio and clear voice communication during your gaming sessions.
Whether you’re engaging in intense firefights, exploring immersive open worlds, or communicating with teammates during multiplayer battles, the HyperX Cloud Gaming Headset’s seamless connectivity ensures that you remain fully immersed in the audio experience, enhancing your overall gaming enjoyment.
Adjusting the Headset
Ensuring that your HyperX Cloud Gaming Headset fits comfortably is essential for prolonged gaming sessions, allowing you to fully immerse yourself in the gameplay without any distractions. The headset is designed with adjustable features that cater to individual preferences, offering a customized fit that enhances both comfort and audio performance.
Here’s how you can adjust the headset to achieve an optimal fit:
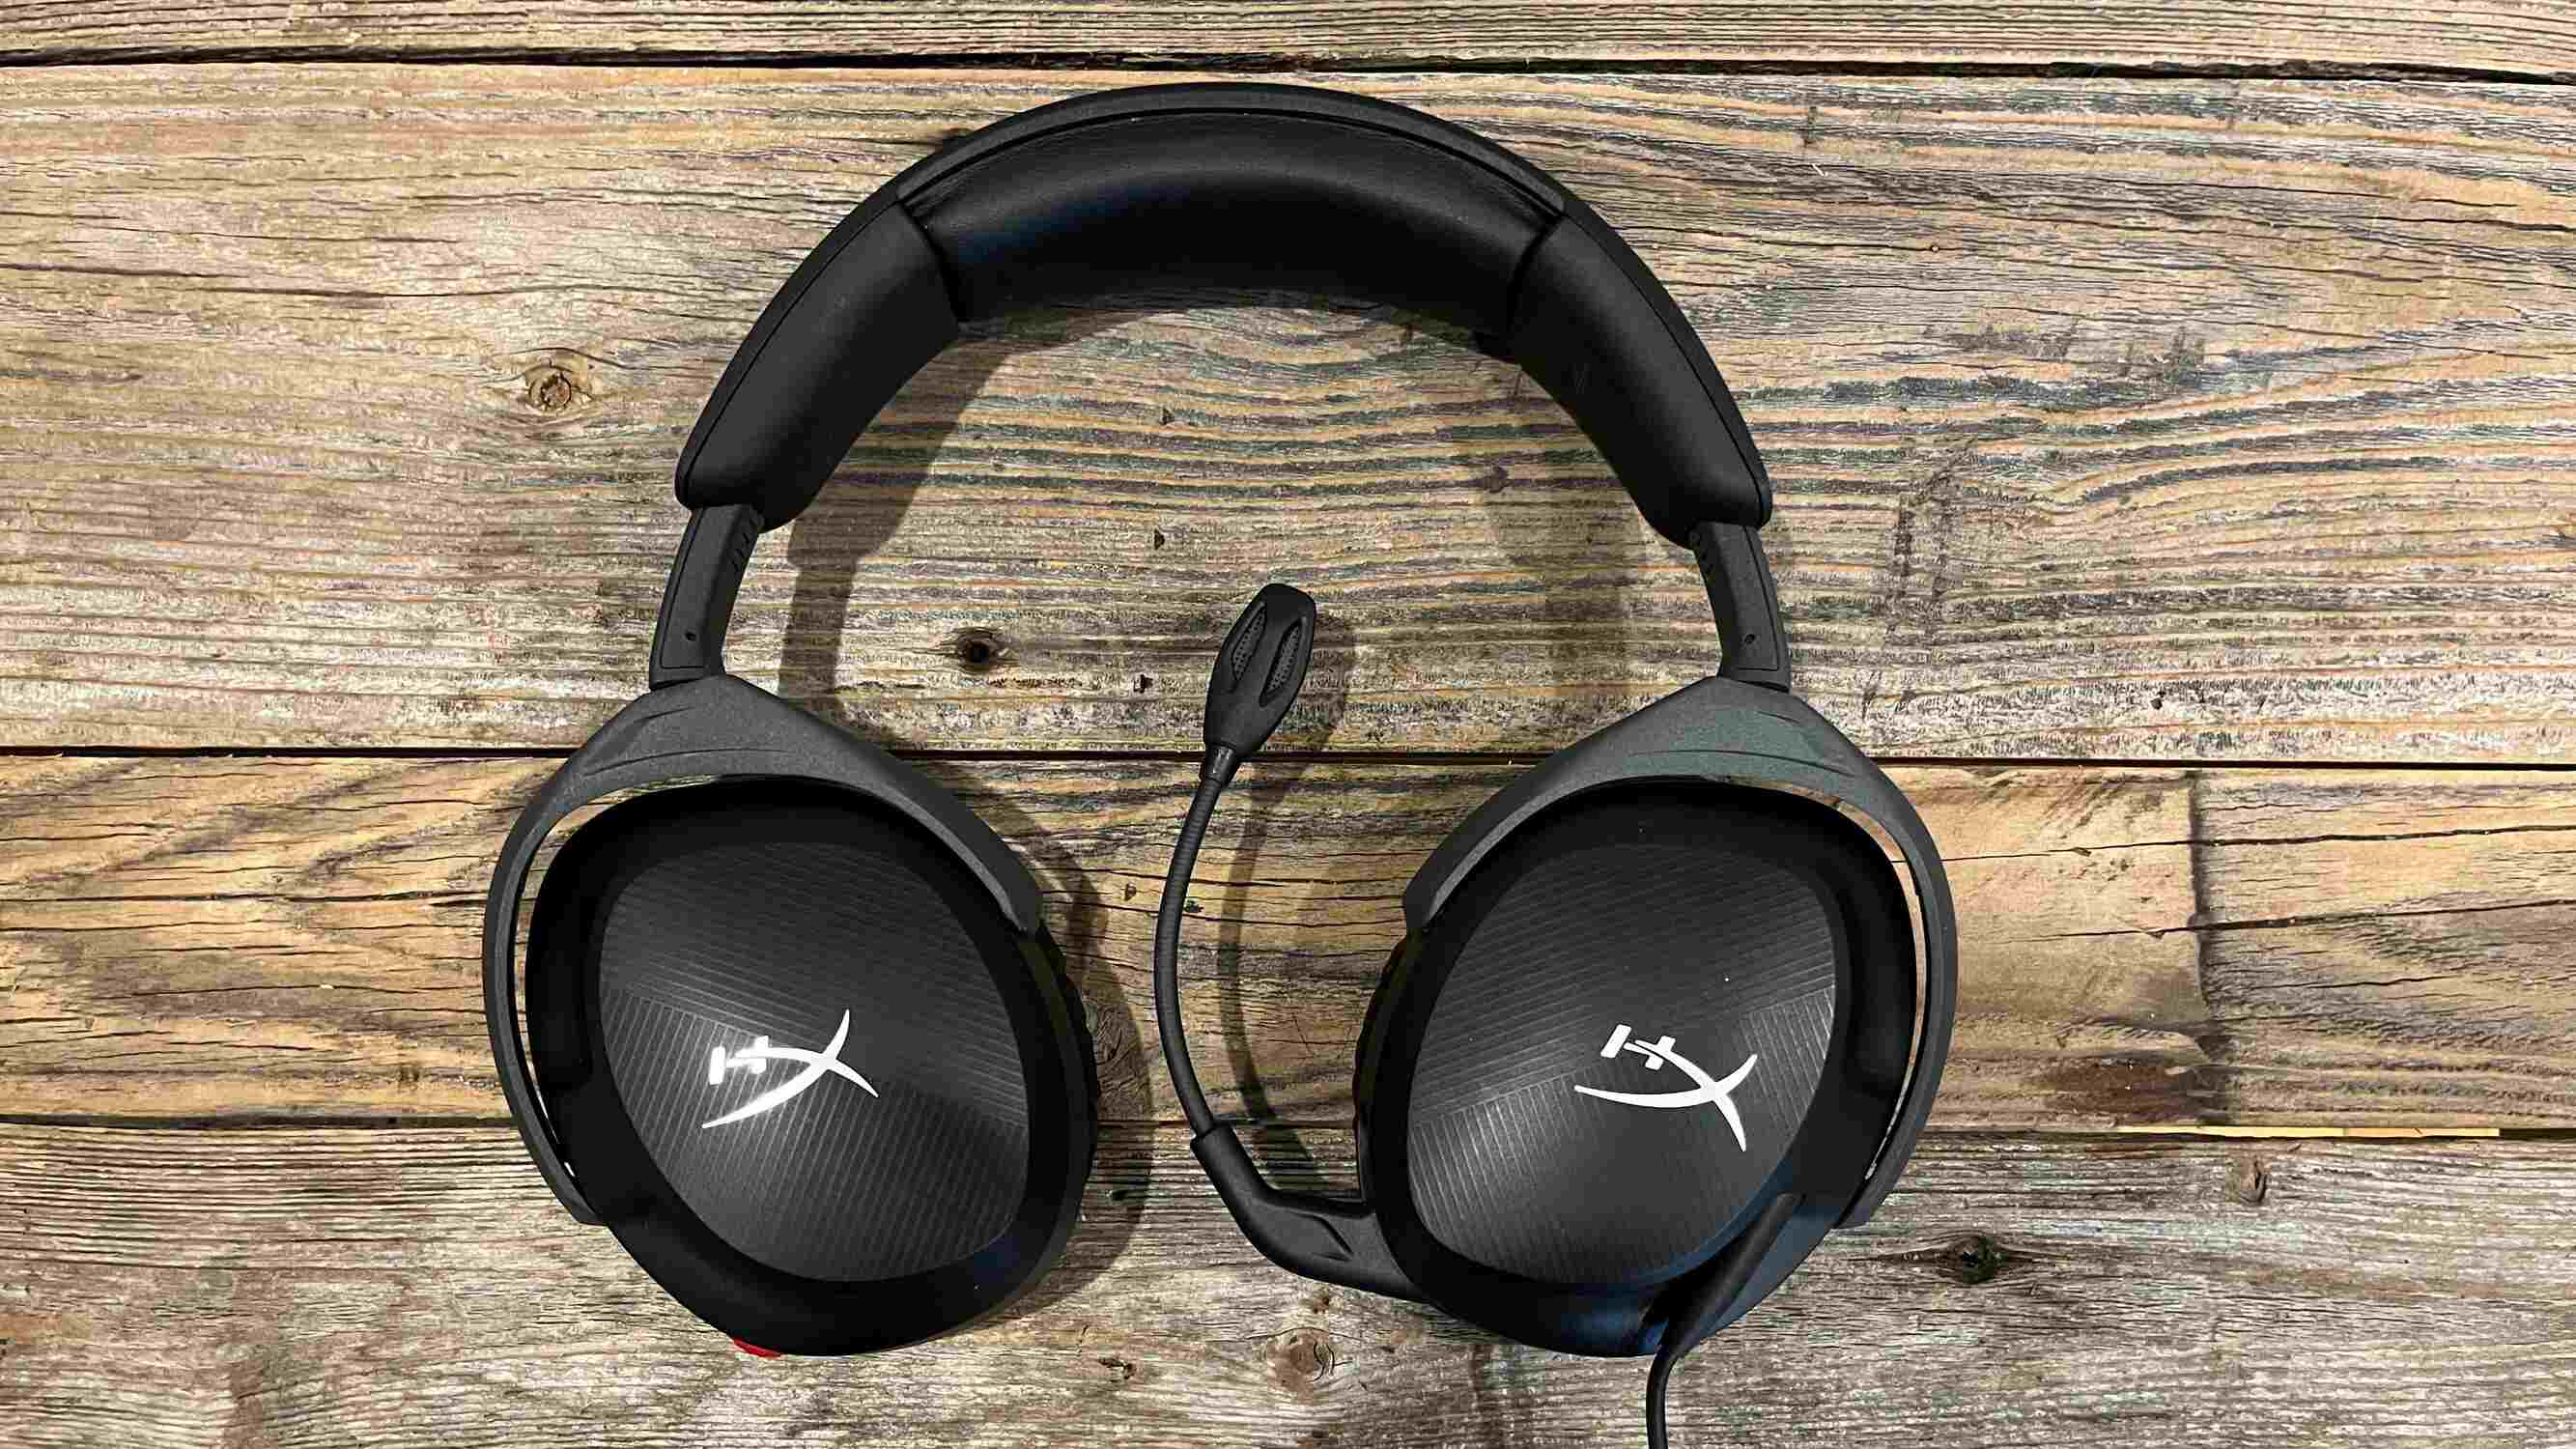
- Headband Adjustment: The headband of the HyperX Cloud Gaming Headset can be easily adjusted to accommodate different head sizes. To adjust the headband, gently slide it up or down until it comfortably rests on the top of your head, providing a secure yet comfortable fit.
- Ear Cup Rotation: The ear cups are designed to rotate, allowing you to achieve the perfect angle for your ears. Adjust the ear cups to align with the natural angle of your ears, ensuring a snug and comfortable fit that minimizes pressure points.
- Cushion Positioning: The plush ear cushions are not only designed for comfort but also play a crucial role in noise isolation. Position the cushions over your ears, ensuring a proper seal that effectively blocks out external distractions and immerses you in the game’s audio.
- Microphone Placement: If you’re using the detachable microphone, position it close to your mouth for clear and effective voice communication. Adjust the microphone to the ideal distance from your mouth, allowing for clear transmission without obstructing your field of view.
By taking the time to adjust the HyperX Cloud Gaming Headset to your specific preferences, you can enjoy extended gaming sessions without discomfort or distraction. The ergonomic design and customizable features ensure that the headset seamlessly integrates into your gaming experience, allowing you to focus on the action without any unnecessary interruptions.
With the headset perfectly adjusted to fit your unique requirements, you can fully appreciate the exceptional audio quality and immersive soundscapes that the HyperX Cloud Gaming Headset delivers, enhancing every aspect of your gaming journey.
Customizing Audio Settings
Customizing the audio settings of your HyperX Cloud Gaming Headset allows you to fine-tune the sound to your preferences, optimizing the audio experience for different game genres and personal preferences. By leveraging the headset’s advanced audio features, you can immerse yourself in rich, detailed soundscapes that enhance every aspect of your gaming adventures.
Here are the key steps to customize the audio settings of your headset:
- Software Configuration: If your headset comes with dedicated software, install it on your device to access advanced audio customization options. The software may offer features such as equalizer settings, surround sound enhancements, and microphone adjustments, allowing you to tailor the audio to your liking.
- Equalizer Adjustments: Utilize the equalizer settings to modify the audio frequencies according to your preferences. Whether you prefer heightened bass for action-packed games or balanced frequencies for immersive storytelling experiences, the equalizer empowers you to create a personalized audio profile.
- Surround Sound: If your headset supports surround sound, experiment with different settings to determine the optimal spatial audio configuration for your gaming environment. Surround sound can significantly enhance your awareness in competitive games and deliver a more immersive audio experience in single-player adventures.
- Microphone Settings: Customize the microphone settings to ensure clear and precise voice transmission. Adjust the microphone sensitivity, noise cancellation, and voice enhancement features to optimize voice communication during multiplayer gaming sessions.
By customizing the audio settings to align with your gaming preferences, you can unlock the full potential of the HyperX Cloud Gaming Headset, immersing yourself in a world of captivating sound and dynamic audio landscapes. Whether you’re seeking a competitive edge in multiplayer matches or aiming to experience the narrative depth of single-player campaigns, personalized audio settings can elevate your gaming encounters to new heights.
With the audio settings finely tuned to your liking, you’ll be able to appreciate the full spectrum of sound that the HyperX Cloud Gaming Headset delivers, enhancing your gaming immersion and audio enjoyment across all your favorite titles.