Introduction
So, you've got your hands on the HyperX Cloud II gaming headset and you're eager to experience immersive gaming on your Xbox One. Connecting your HyperX Cloud II to your Xbox One is a straightforward process that will enhance your gaming experience with high-quality audio and clear communication. This guide will walk you through the simple steps to connect your headset to your Xbox One, ensuring you're ready to dive into your favorite games with crystal-clear sound and effective voice chat.
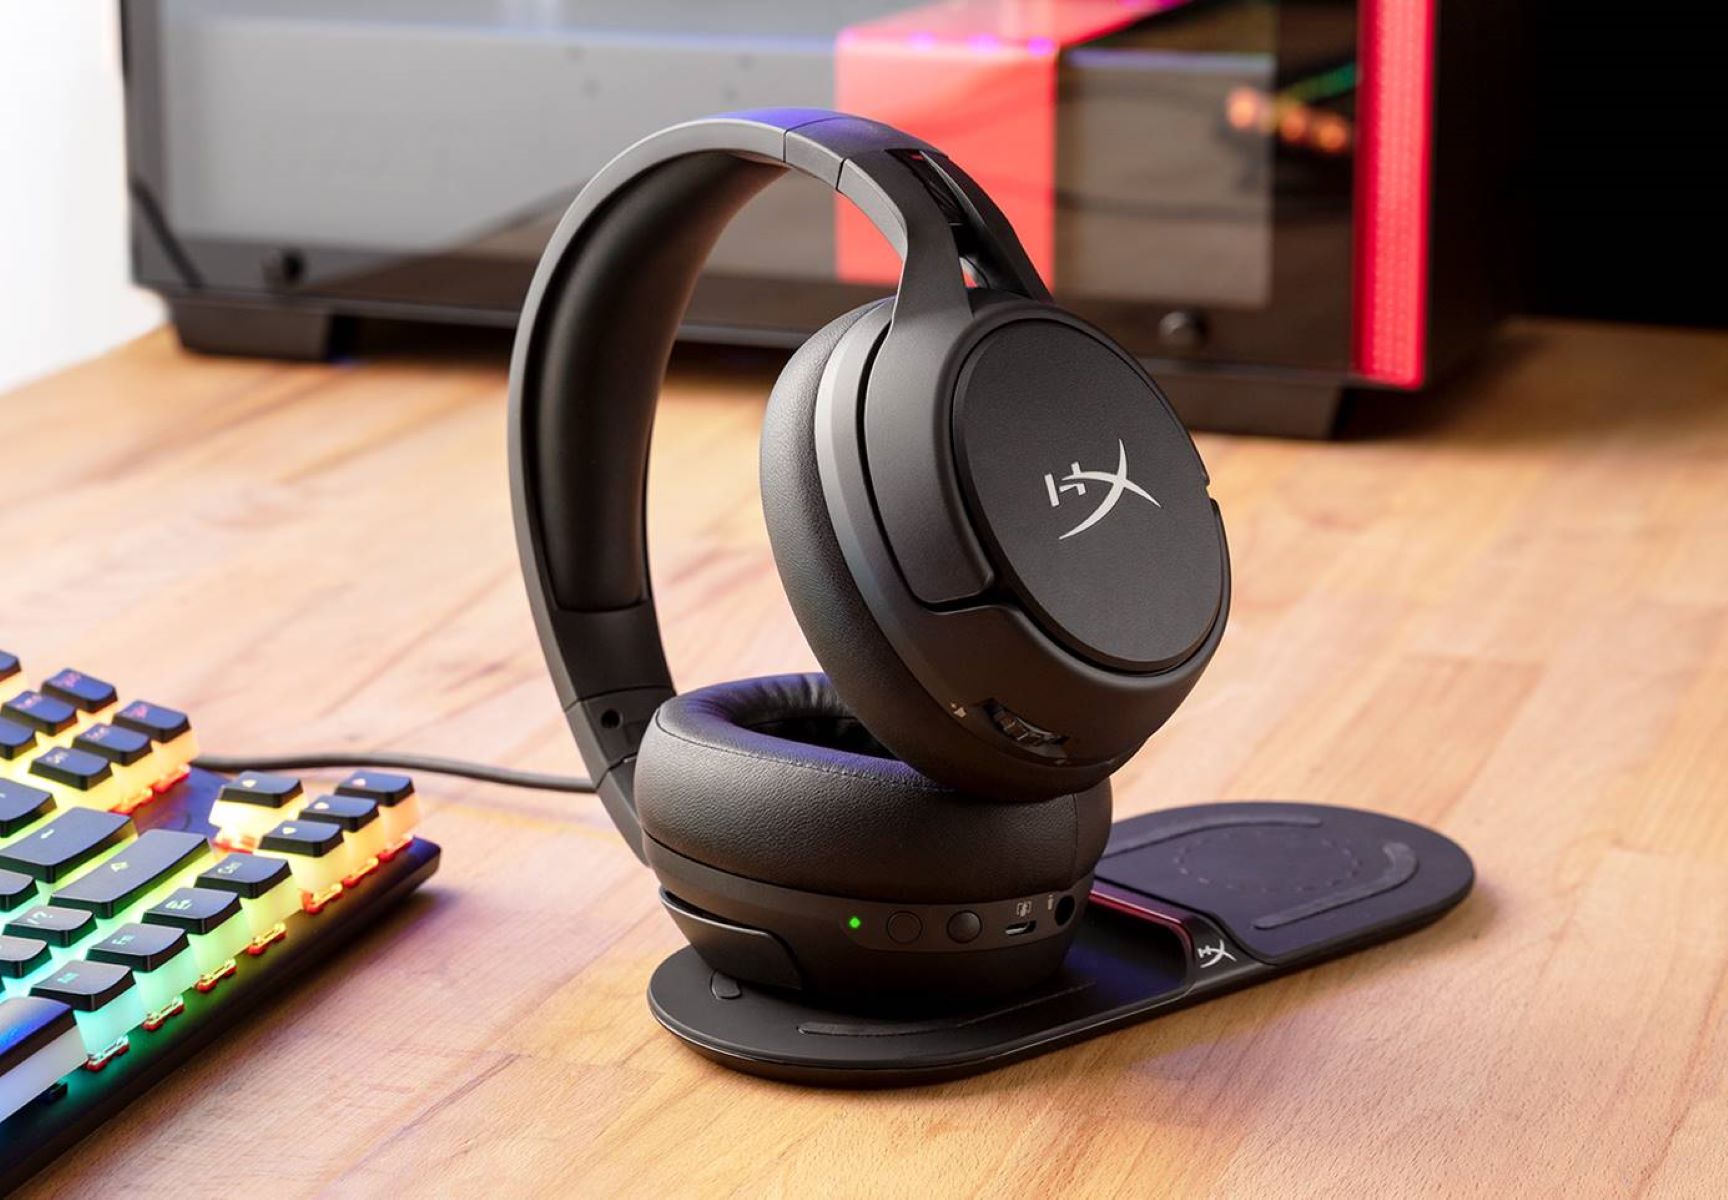
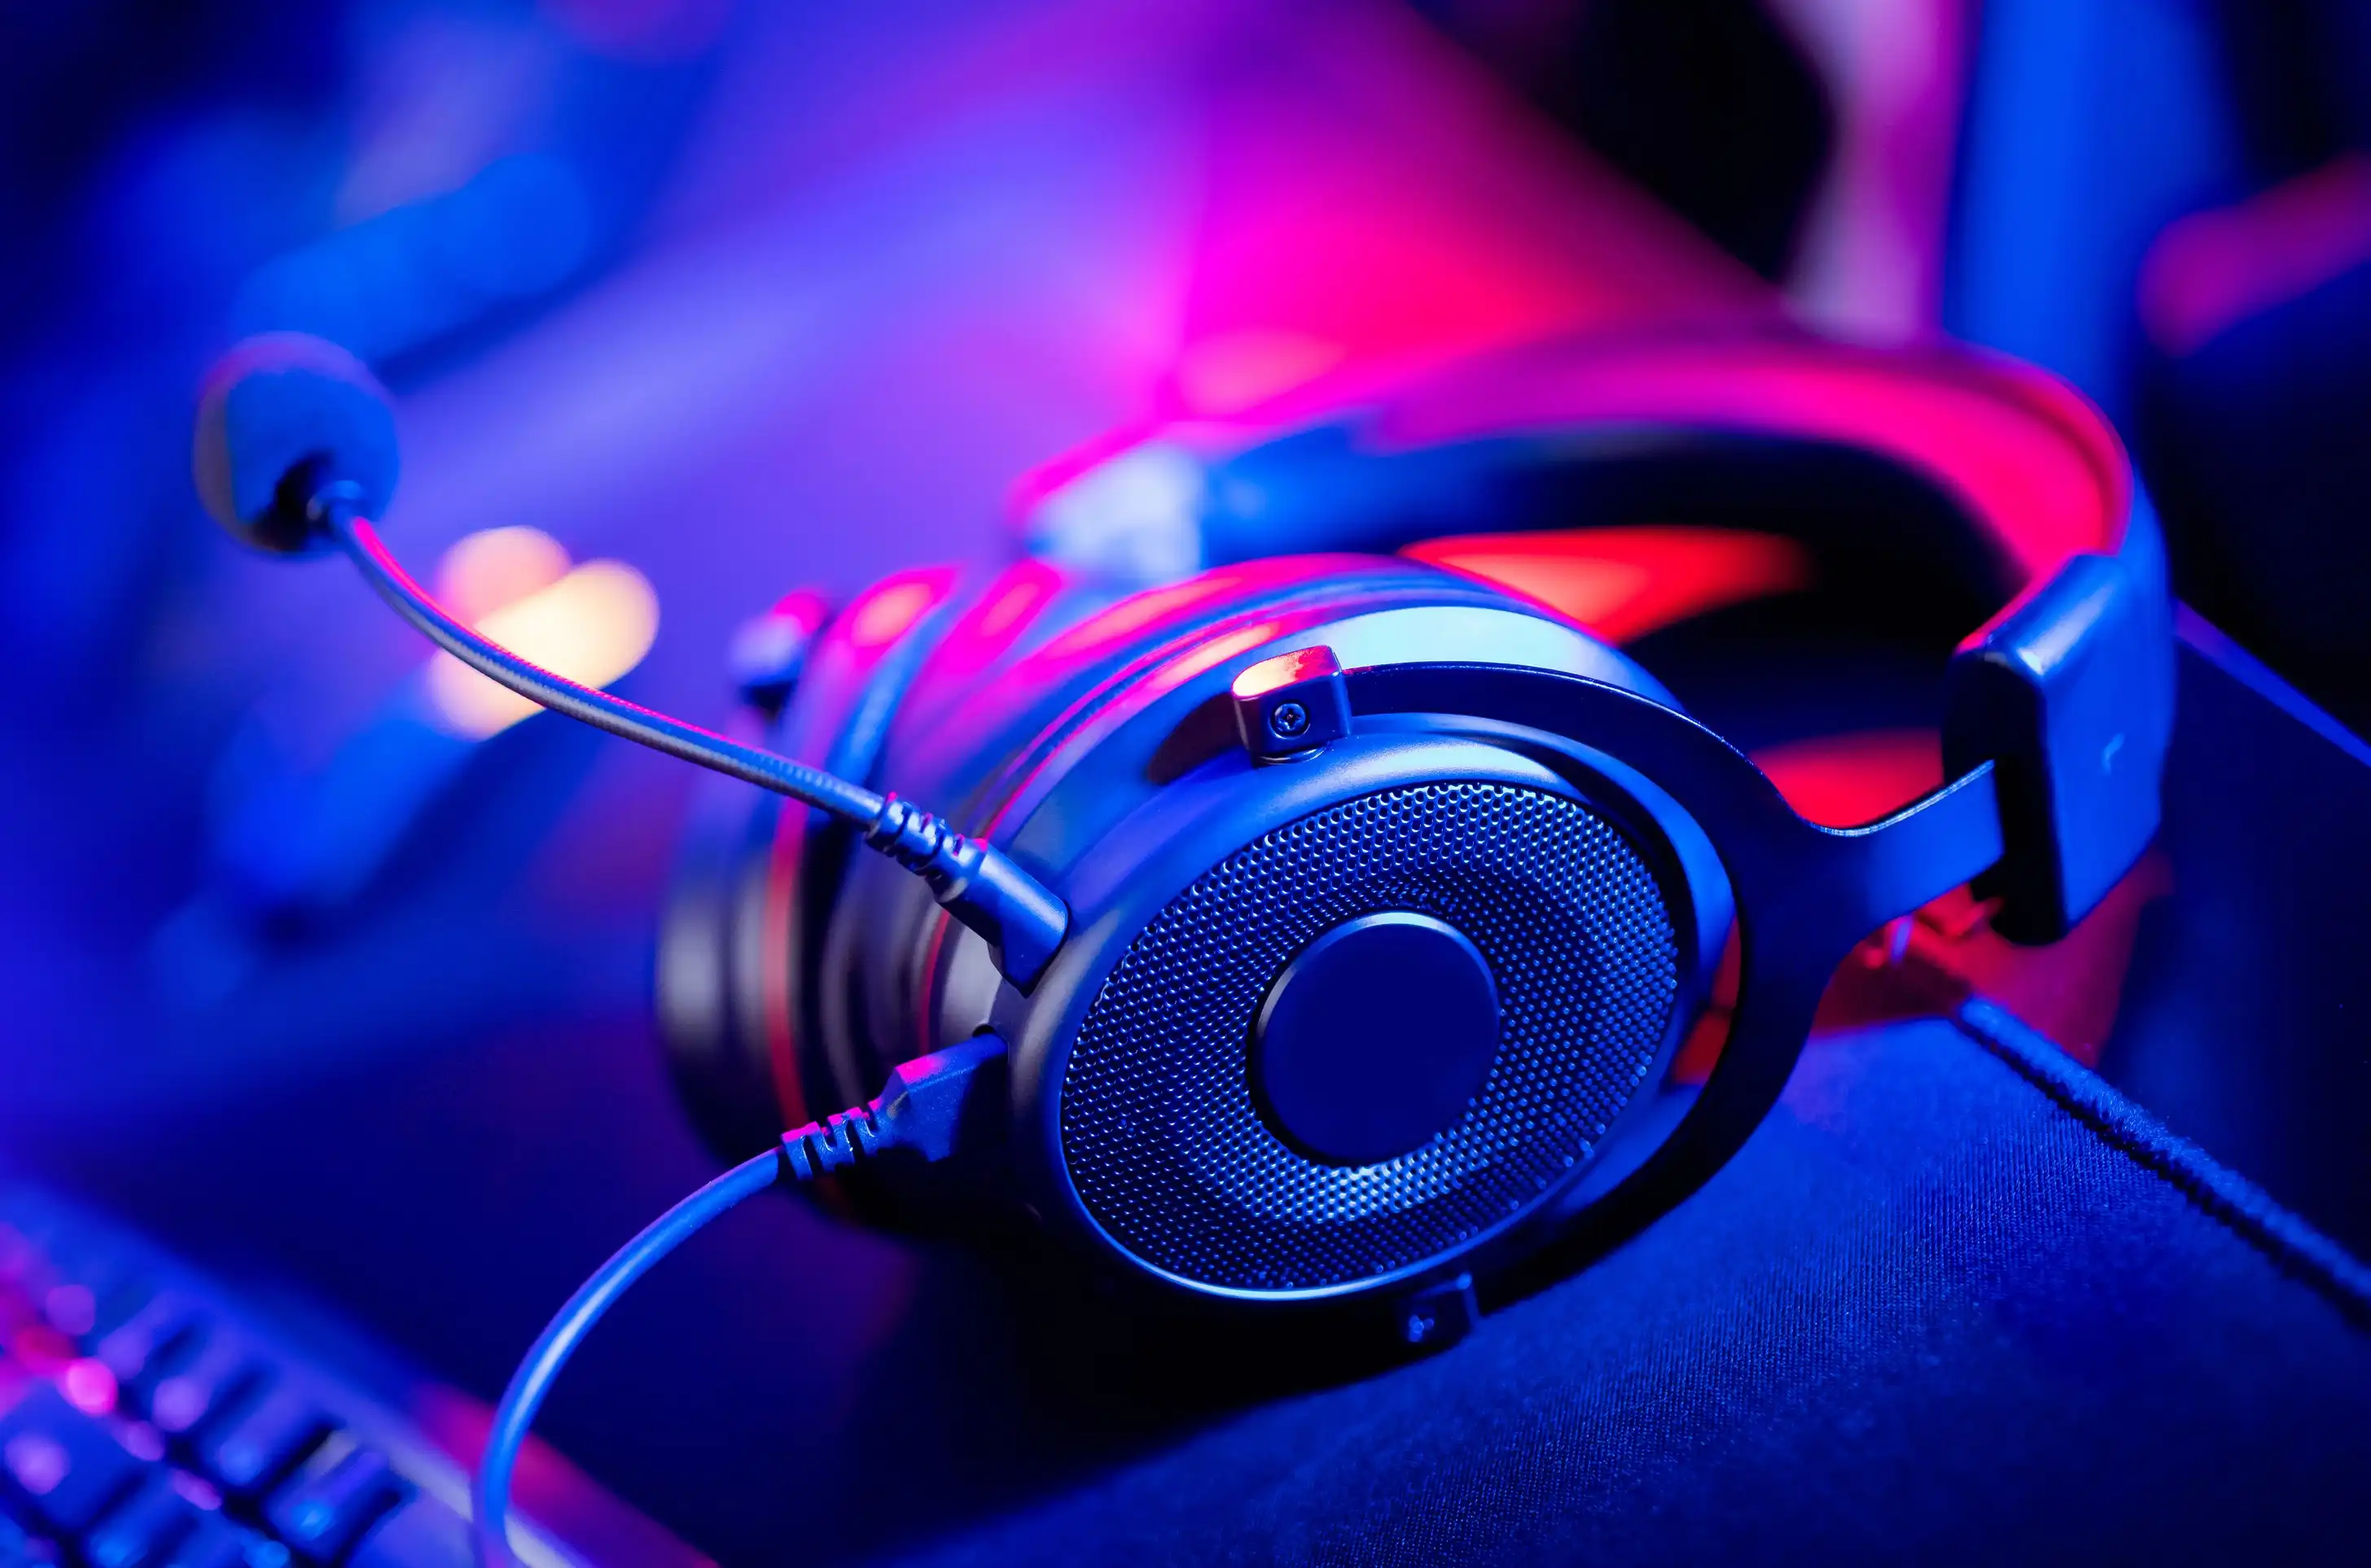
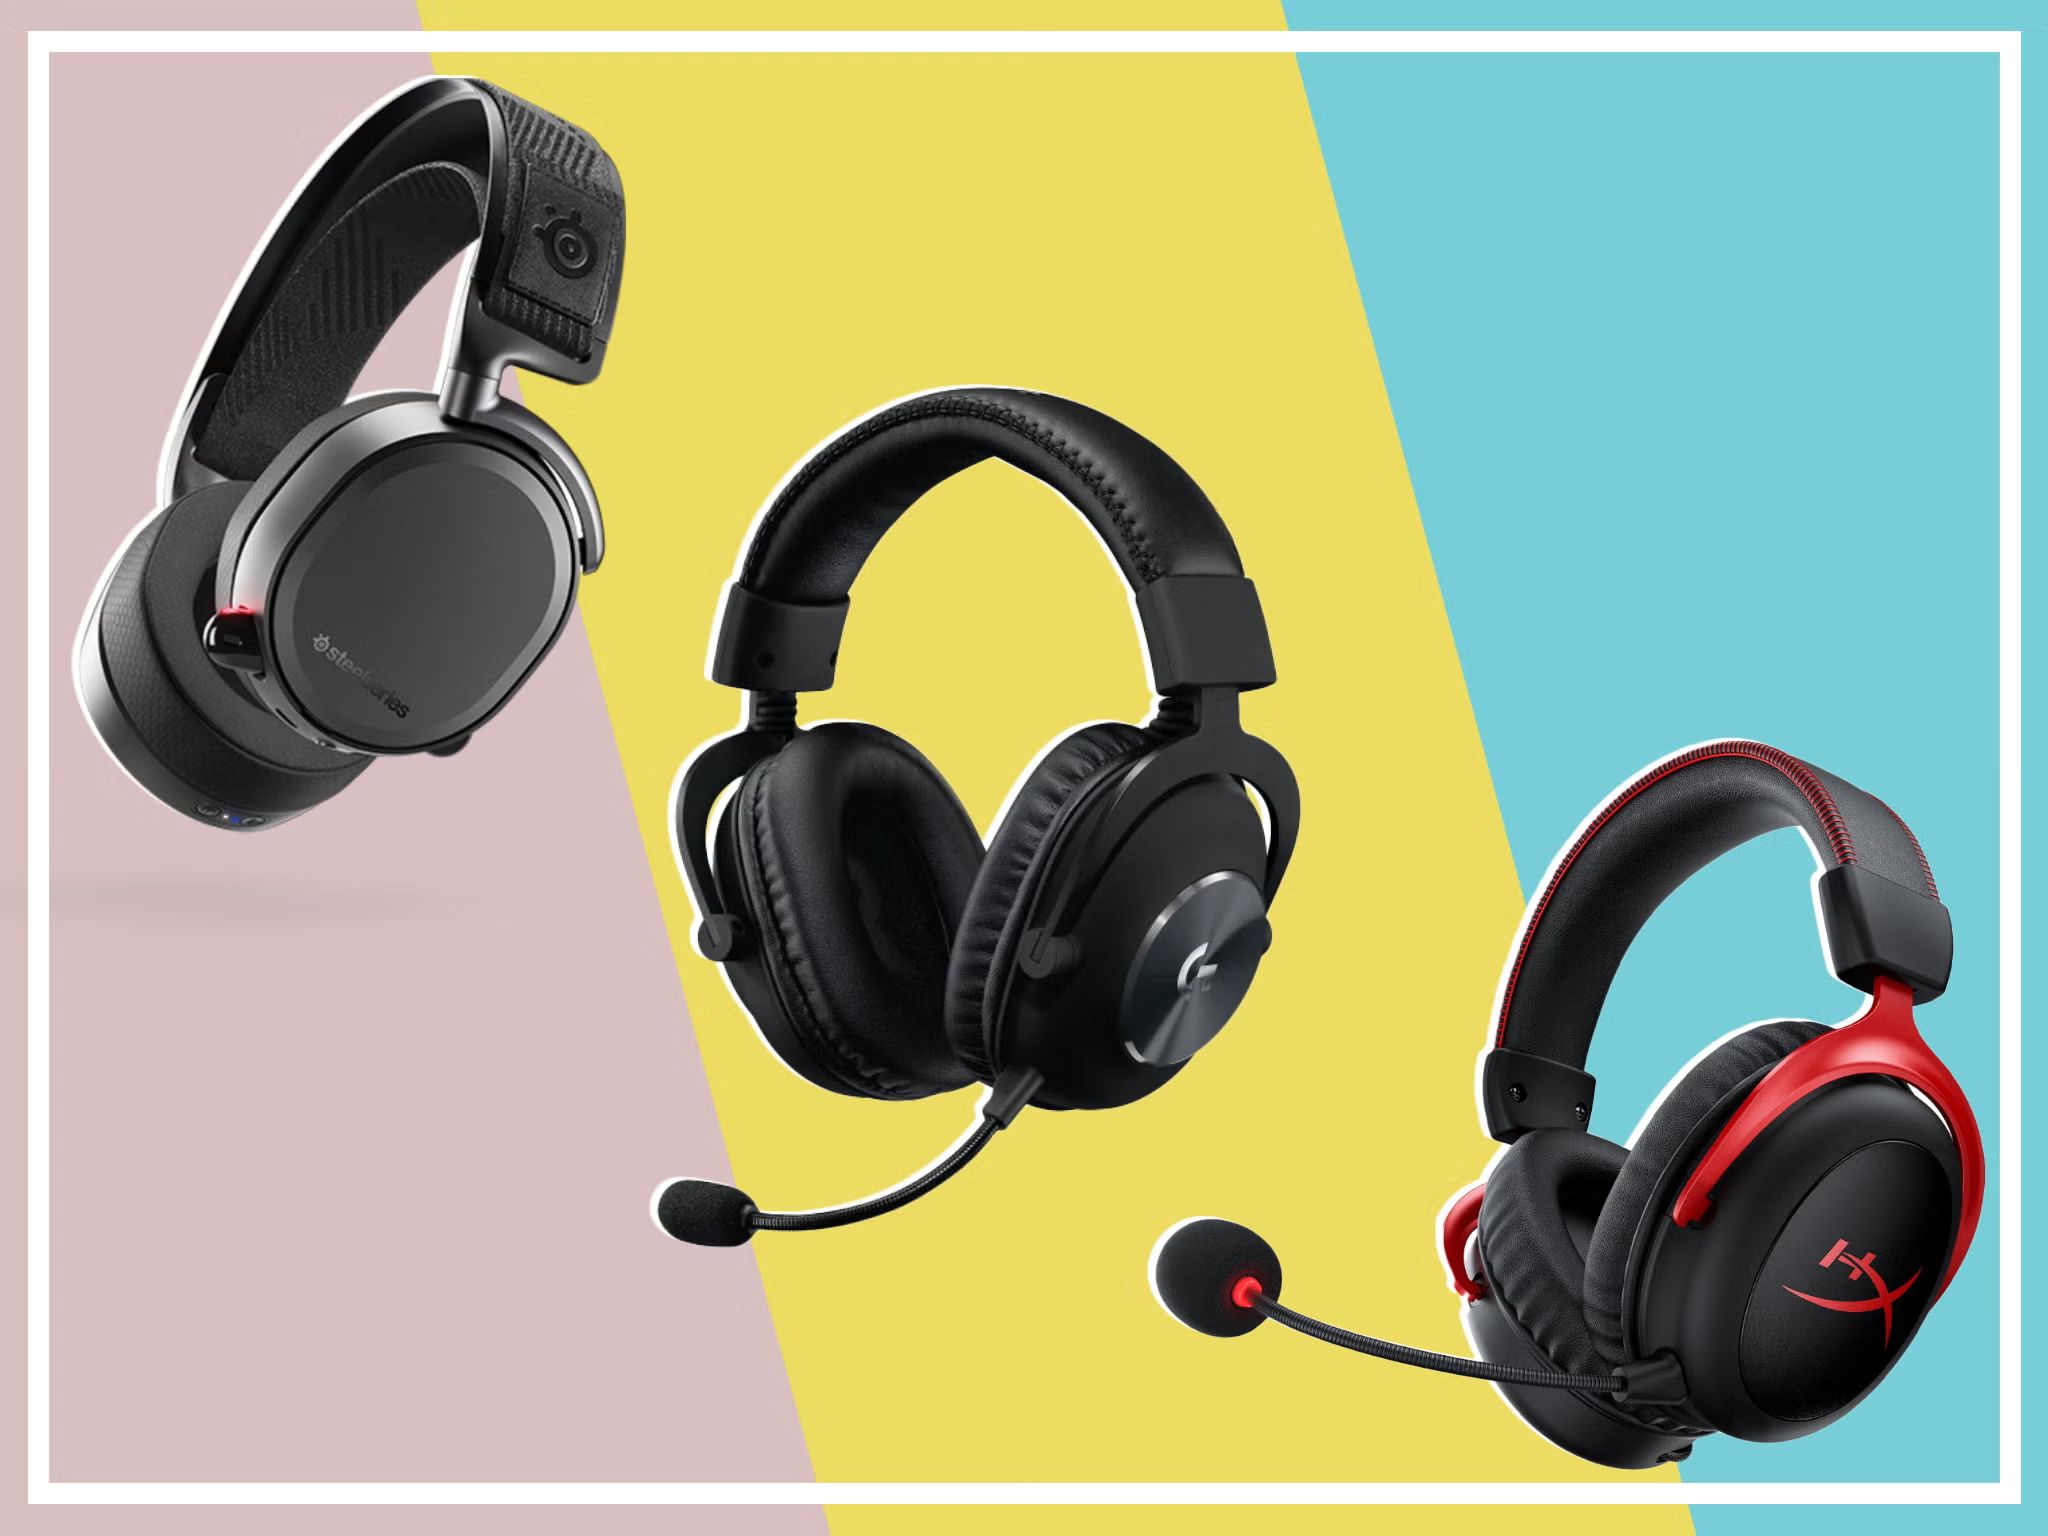
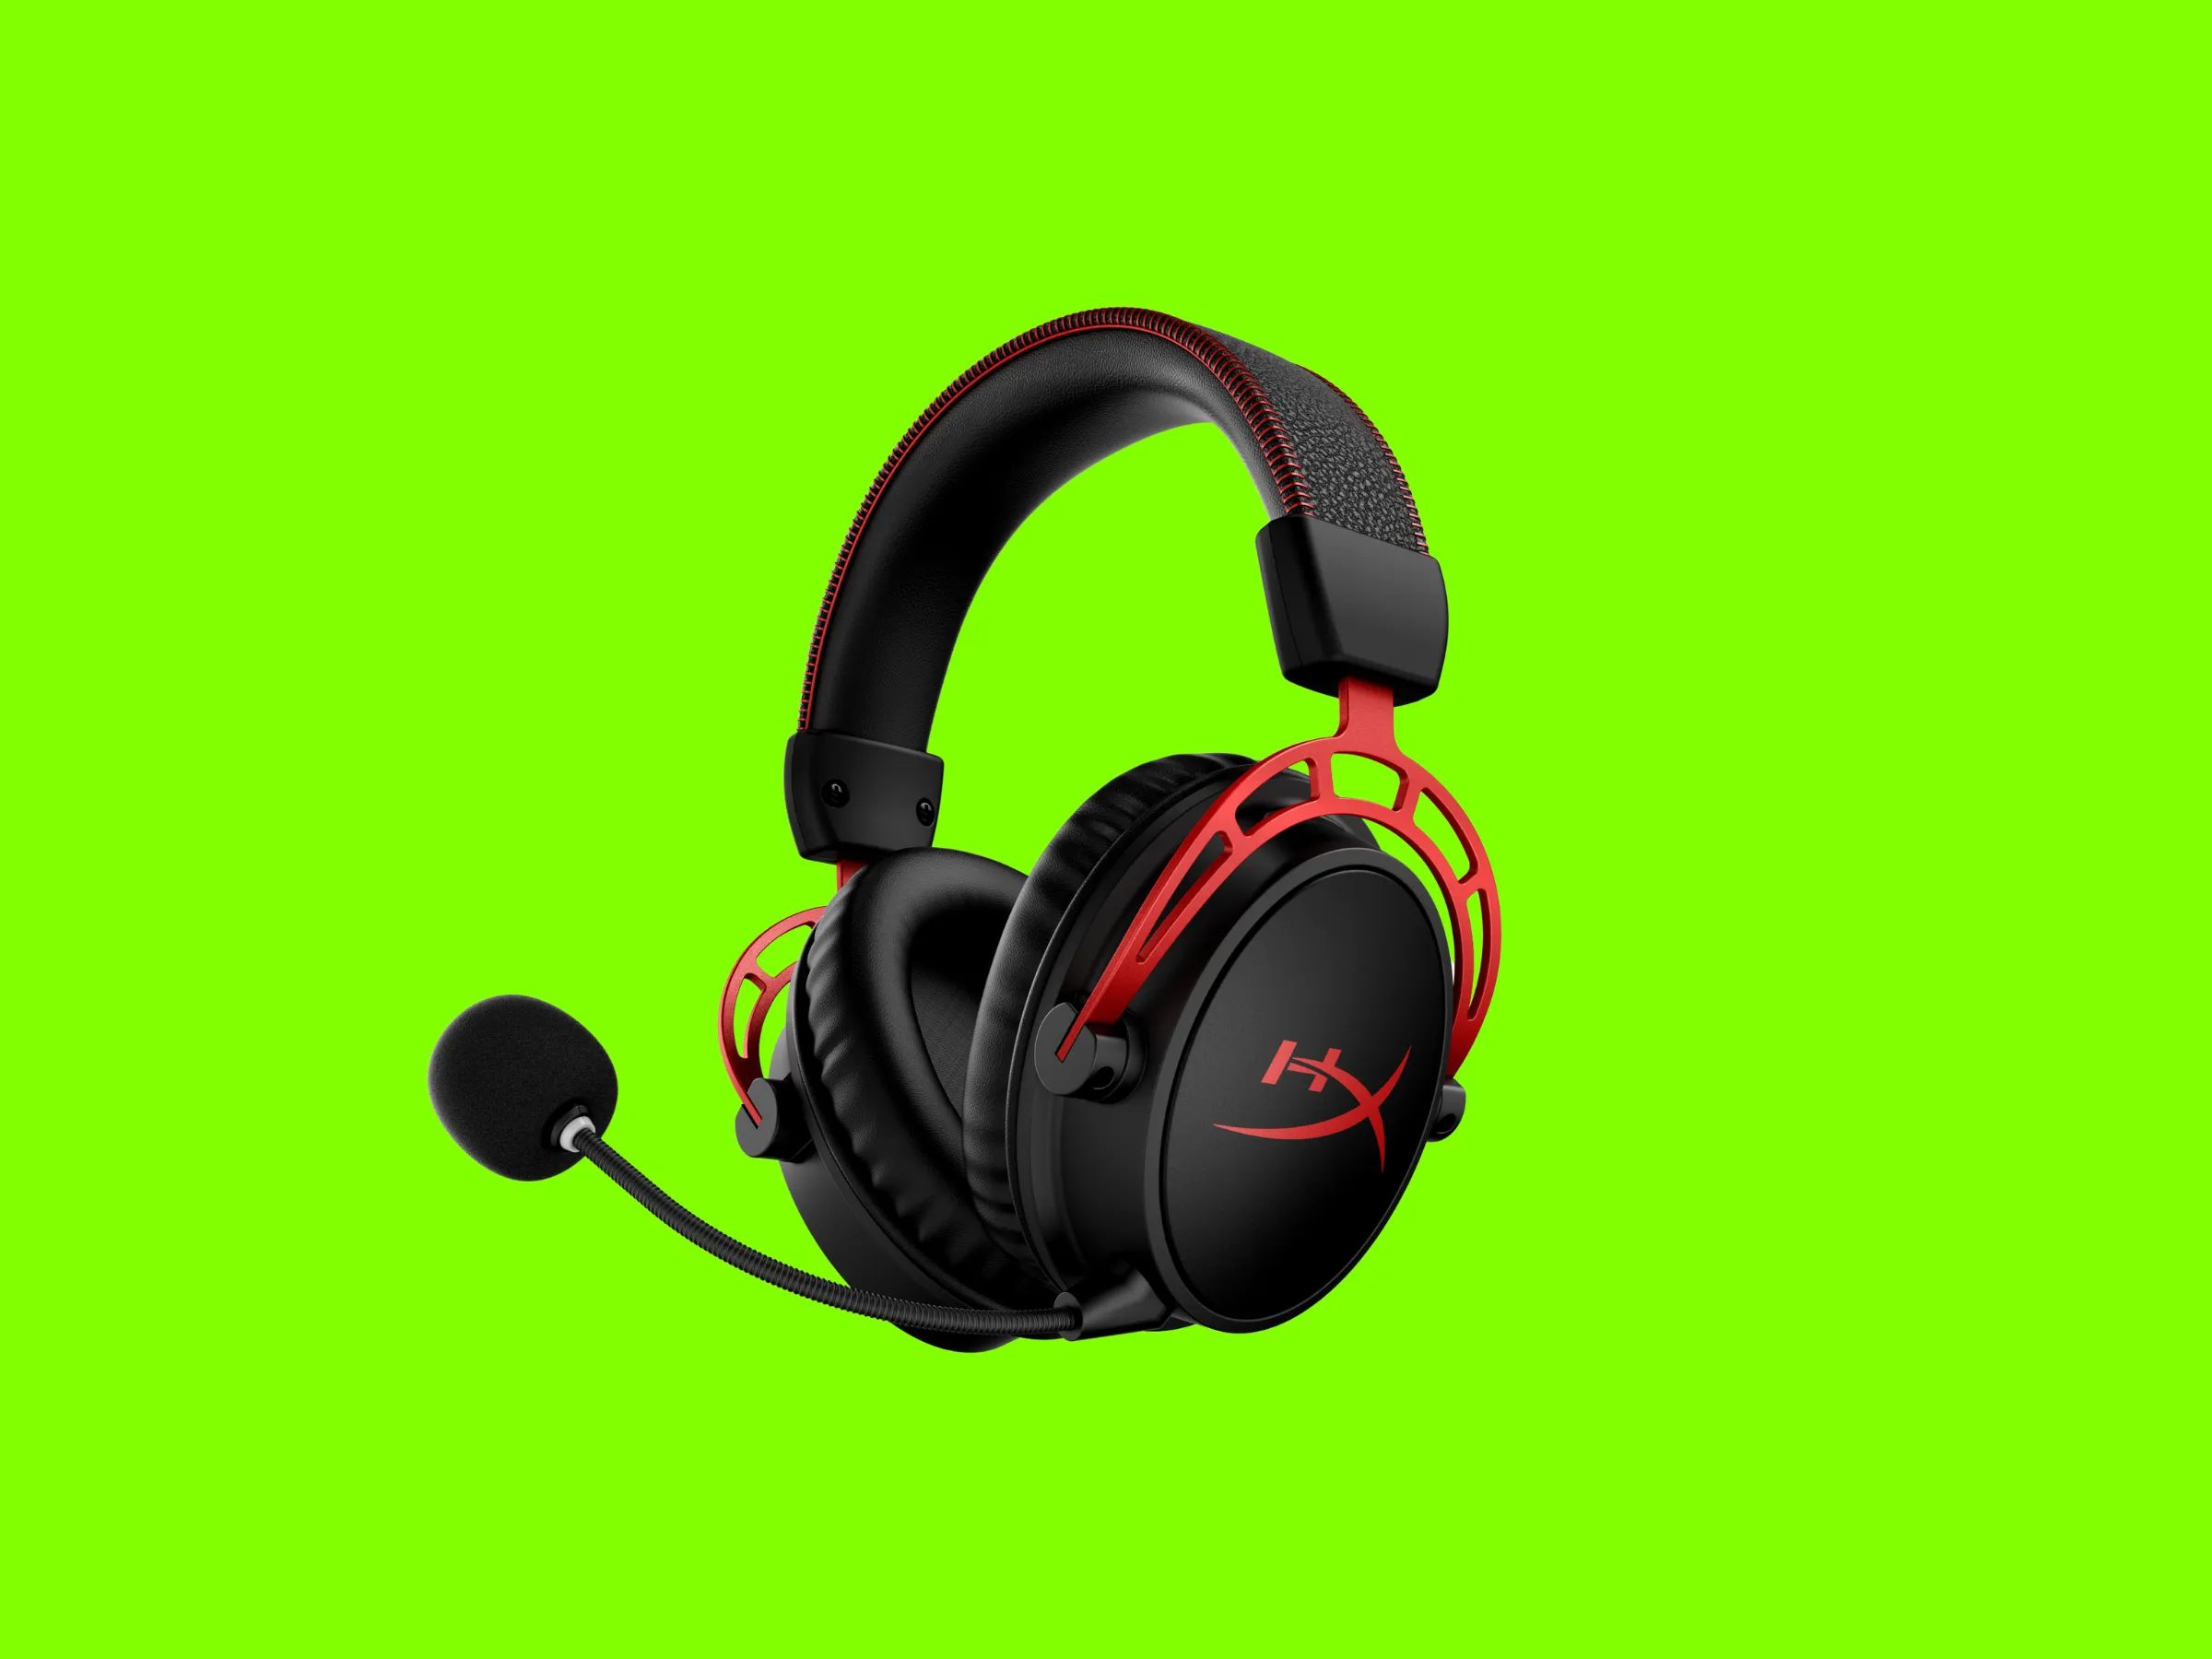
The HyperX Cloud II is renowned for its superior sound quality, comfort, and durability, making it a popular choice among gamers. With its 7.1 virtual surround sound, noise-canceling microphone, and comfortable design, the HyperX Cloud II offers an exceptional gaming audio experience. By connecting it to your Xbox One, you'll be able to fully appreciate its features and elevate your gaming sessions to a new level.
Whether you're engaging in intense multiplayer battles, immersing yourself in captivating single-player adventures, or communicating with fellow gamers, the HyperX Cloud II ensures that every sound is crisp and every voice is heard clearly. With its versatile compatibility, the headset is designed to seamlessly integrate with various gaming platforms, including the Xbox One.
In the following steps, you'll learn how to connect your HyperX Cloud II gaming headset to your Xbox One, allowing you to enjoy an enhanced gaming experience with immersive audio and seamless communication. Let's get started on this simple yet impactful process that will elevate your gaming sessions to new heights.
Step 1: Check the Xbox One Controller
Before connecting your HyperX Cloud II gaming headset to your Xbox One, it’s important to ensure that your Xbox One controller is ready to accommodate the headset. Start by checking the controller for the 3.5mm headset jack, which is located at the bottom of the controller. This is where you’ll be plugging in the headset, allowing you to seamlessly integrate it with your gaming setup.
If you have an older version of the Xbox One controller that doesn’t feature the 3.5mm headset jack, don’t worry. You can still connect your HyperX Cloud II using the Xbox One Stereo Headset Adapter, which provides the necessary port for your headset. Simply plug the adapter into the bottom of the controller, and you’ll be ready to proceed with the connection process.
It’s essential to ensure that your controller is powered on and functioning properly before proceeding with the connection. If the controller’s battery is low, consider charging it to avoid any interruptions during the setup process. Additionally, check for any debris or obstructions in the headset jack that may hinder the connection. A quick inspection will ensure that the connection between the controller and the headset is seamless and free from any impediments.
By verifying the compatibility of your Xbox One controller and preparing it for the headset connection, you’re taking the first step toward enhancing your gaming experience with the exceptional audio quality and communication capabilities of the HyperX Cloud II gaming headset.
Step 2: Connect the Headset to the Controller
Once you’ve confirmed the compatibility of your Xbox One controller, it’s time to proceed with connecting your HyperX Cloud II gaming headset. Begin by taking the 3.5mm audio jack attached to the headset’s cable and carefully inserting it into the 3.5mm headset jack on the bottom of the Xbox One controller. Ensure that the connection is secure to prevent any audio disruptions during your gaming sessions.
If you’re using the Xbox One Stereo Headset Adapter, plug the 3.5mm audio jack into the adapter instead of directly into the controller. The adapter provides the necessary port for connecting your HyperX Cloud II, allowing you to enjoy its exceptional audio features without any compatibility issues.
As you make the connection, listen for a distinct click to indicate that the jack is fully inserted into the controller or the adapter. This tactile confirmation ensures that the connection is secure and stable, minimizing the risk of audio interruptions during gameplay. Once the headset is successfully connected, you’re one step closer to immersing yourself in the captivating audio experience offered by the HyperX Cloud II.
With the headset securely connected to the controller or the adapter, you’re now ready to experience the exceptional sound quality and communication capabilities that the HyperX Cloud II has to offer. The seamless integration of the headset with your Xbox One controller sets the stage for an immersive gaming experience that will elevate your enjoyment of your favorite titles.
Step 3: Adjust Audio Settings on Xbox One
After connecting your HyperX Cloud II gaming headset to your Xbox One controller, it’s essential to ensure that the audio settings are optimized to deliver the best possible audio experience. Start by accessing the Xbox One settings menu and navigating to the “Audio” or “Sound” settings. Here, you’ll find options to customize the audio output and microphone settings to suit your preferences and enhance the performance of your headset.
Begin by adjusting the audio output settings to optimize the sound quality delivered through your HyperX Cloud II. Depending on your preference, you can fine-tune the equalizer settings, adjust the volume levels, and enable any virtual surround sound features offered by the headset. These adjustments allow you to tailor the audio output to your liking, ensuring that every sound in your games is delivered with exceptional clarity and depth.
Next, explore the microphone settings to ensure that the communication aspect of your gaming experience is optimized. Verify that the microphone input levels are adjusted to capture your voice clearly without any distortion or background noise. Additionally, consider enabling any noise-canceling features offered by the HyperX Cloud II to enhance the clarity of your voice during in-game communication with teammates and friends.
For gamers who value spatial awareness and immersive audio experiences, the Xbox One offers spatial sound settings that can further enhance the audio output of compatible headsets, including the HyperX Cloud II. By enabling spatial sound technologies such as Windows Sonic for Headphones or Dolby Atmos for Headphones, you can enjoy a more immersive and spatially accurate audio experience, heightening your gaming immersion and situational awareness.
By fine-tuning the audio and microphone settings on your Xbox One, you’re maximizing the potential of your HyperX Cloud II gaming headset, ensuring that every sound is delivered with precision and every communication is crystal clear. These adjustments pave the way for an unparalleled gaming audio experience that complements the exceptional capabilities of your headset.
Step 4: Test the Headset
With your HyperX Cloud II gaming headset connected to your Xbox One and the audio settings optimized, it’s time to ensure that the headset is functioning as intended. Testing the headset allows you to confirm the audio output quality, microphone performance, and overall functionality, ensuring that you’re ready to immerse yourself in your gaming adventures with confidence.
Start by launching a game or multimedia content on your Xbox One that features a diverse range of audio elements, such as background music, in-game dialogue, and environmental sound effects. As you delve into the audio-rich experience, pay close attention to the clarity, depth, and positional accuracy of the sound delivered through your HyperX Cloud II. Listen for subtle details, directional cues, and immersive effects to gauge the headset’s ability to reproduce a captivating audio landscape.
During this testing phase, engage in voice communication with friends or teammates using the headset’s microphone. Verify that your voice is transmitted clearly and intelligibly, free from any distortion or background noise. Communicate with others to confirm that the microphone effectively captures your voice and facilitates seamless interaction during multiplayer gaming sessions or online conversations.
As you test the headset, consider exploring different audio profiles, equalizer settings, and virtual surround sound features offered by the HyperX Cloud II. Experiment with these settings to tailor the audio output to your liking, ensuring that the headset delivers a personalized and immersive audio experience that aligns with your gaming preferences.
Additionally, assess the comfort and fit of the headset during extended gaming sessions. Evaluate the cushioning, adjustability, and overall ergonomics of the HyperX Cloud II to ensure that it provides a comfortable and enjoyable gaming experience without causing discomfort or fatigue.
By thoroughly testing the HyperX Cloud II gaming headset on your Xbox One, you’re confirming its ability to deliver exceptional audio quality, facilitate clear communication, and provide long-term comfort during your gaming endeavors. This testing phase allows you to fine-tune the headset’s settings, familiarize yourself with its features, and ensure that it seamlessly integrates with your gaming setup, setting the stage for immersive and enjoyable gaming experiences.
Conclusion
Congratulations! You’ve successfully connected your HyperX Cloud II gaming headset to your Xbox One, setting the stage for an immersive and captivating gaming experience. By following the simple steps outlined in this guide, you’ve ensured that your headset seamlessly integrates with your Xbox One, allowing you to enjoy exceptional audio quality, clear communication, and personalized audio settings tailored to your preferences.
With the HyperX Cloud II now integrated into your gaming setup, you’re poised to embark on thrilling gaming adventures with heightened audio immersion and effective voice communication. The headset’s 7.1 virtual surround sound, noise-canceling microphone, and comfortable design are now fully optimized for your Xbox One gaming sessions, enhancing every aspect of your gameplay.
As you delve into your favorite games, take advantage of the optimized audio settings on your Xbox One to customize the sound output and microphone performance according to your preferences. Whether you’re exploring vast open worlds, engaging in intense multiplayer battles, or immersing yourself in cinematic storytelling, the HyperX Cloud II ensures that every sound is delivered with precision and every voice is transmitted clearly.
By testing the headset and familiarizing yourself with its features, you’ve confirmed its ability to deliver exceptional audio quality, facilitate clear communication, and provide long-term comfort during extended gaming sessions. The combination of superior sound reproduction, effective voice chat, and ergonomic design sets the stage for an unparalleled gaming audio experience that complements your gaming prowess.
With the HyperX Cloud II seamlessly connected to your Xbox One, you’re now equipped to embark on memorable gaming journeys, fully immersed in the captivating audio landscapes and seamless communication facilitated by your headset. Whether you’re seeking competitive victories, immersive storytelling, or collaborative adventures, the exceptional audio capabilities of the HyperX Cloud II will elevate every moment of your gaming experience.
As you prepare to dive into your next gaming session, take a moment to appreciate the seamless integration of the HyperX Cloud II with your Xbox One, knowing that every sound and every voice is optimized to enhance your gaming enjoyment. With your gaming setup now enriched by the exceptional capabilities of the HyperX Cloud II, prepare to embark on unforgettable gaming experiences that resonate with unparalleled audio quality and seamless communication.