Introduction
So, you've just gotten your hands on the Kingston HyperX Cloud Core gaming headset, and you're itching to jump into the immersive world of gaming with crystal-clear audio. Well, you're in the right place! This step-by-step guide will walk you through the process of setting up your new headset on your PC, ensuring that you get the best possible audio experience.
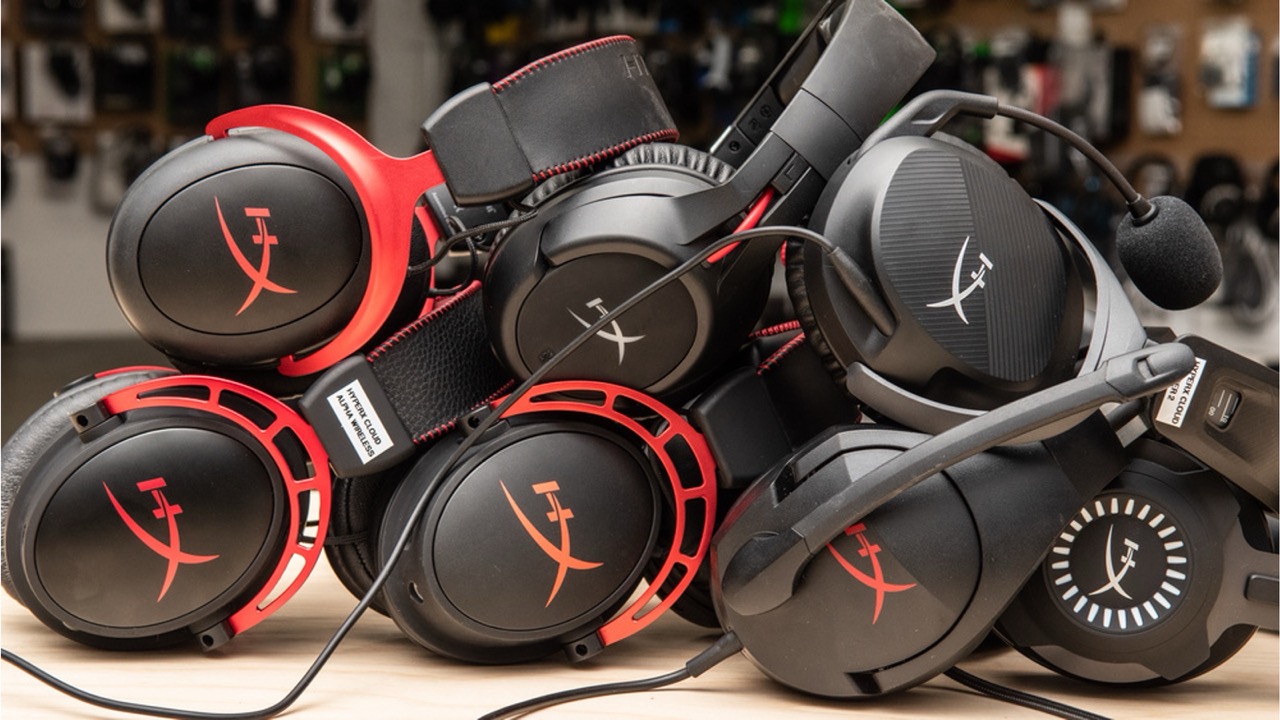
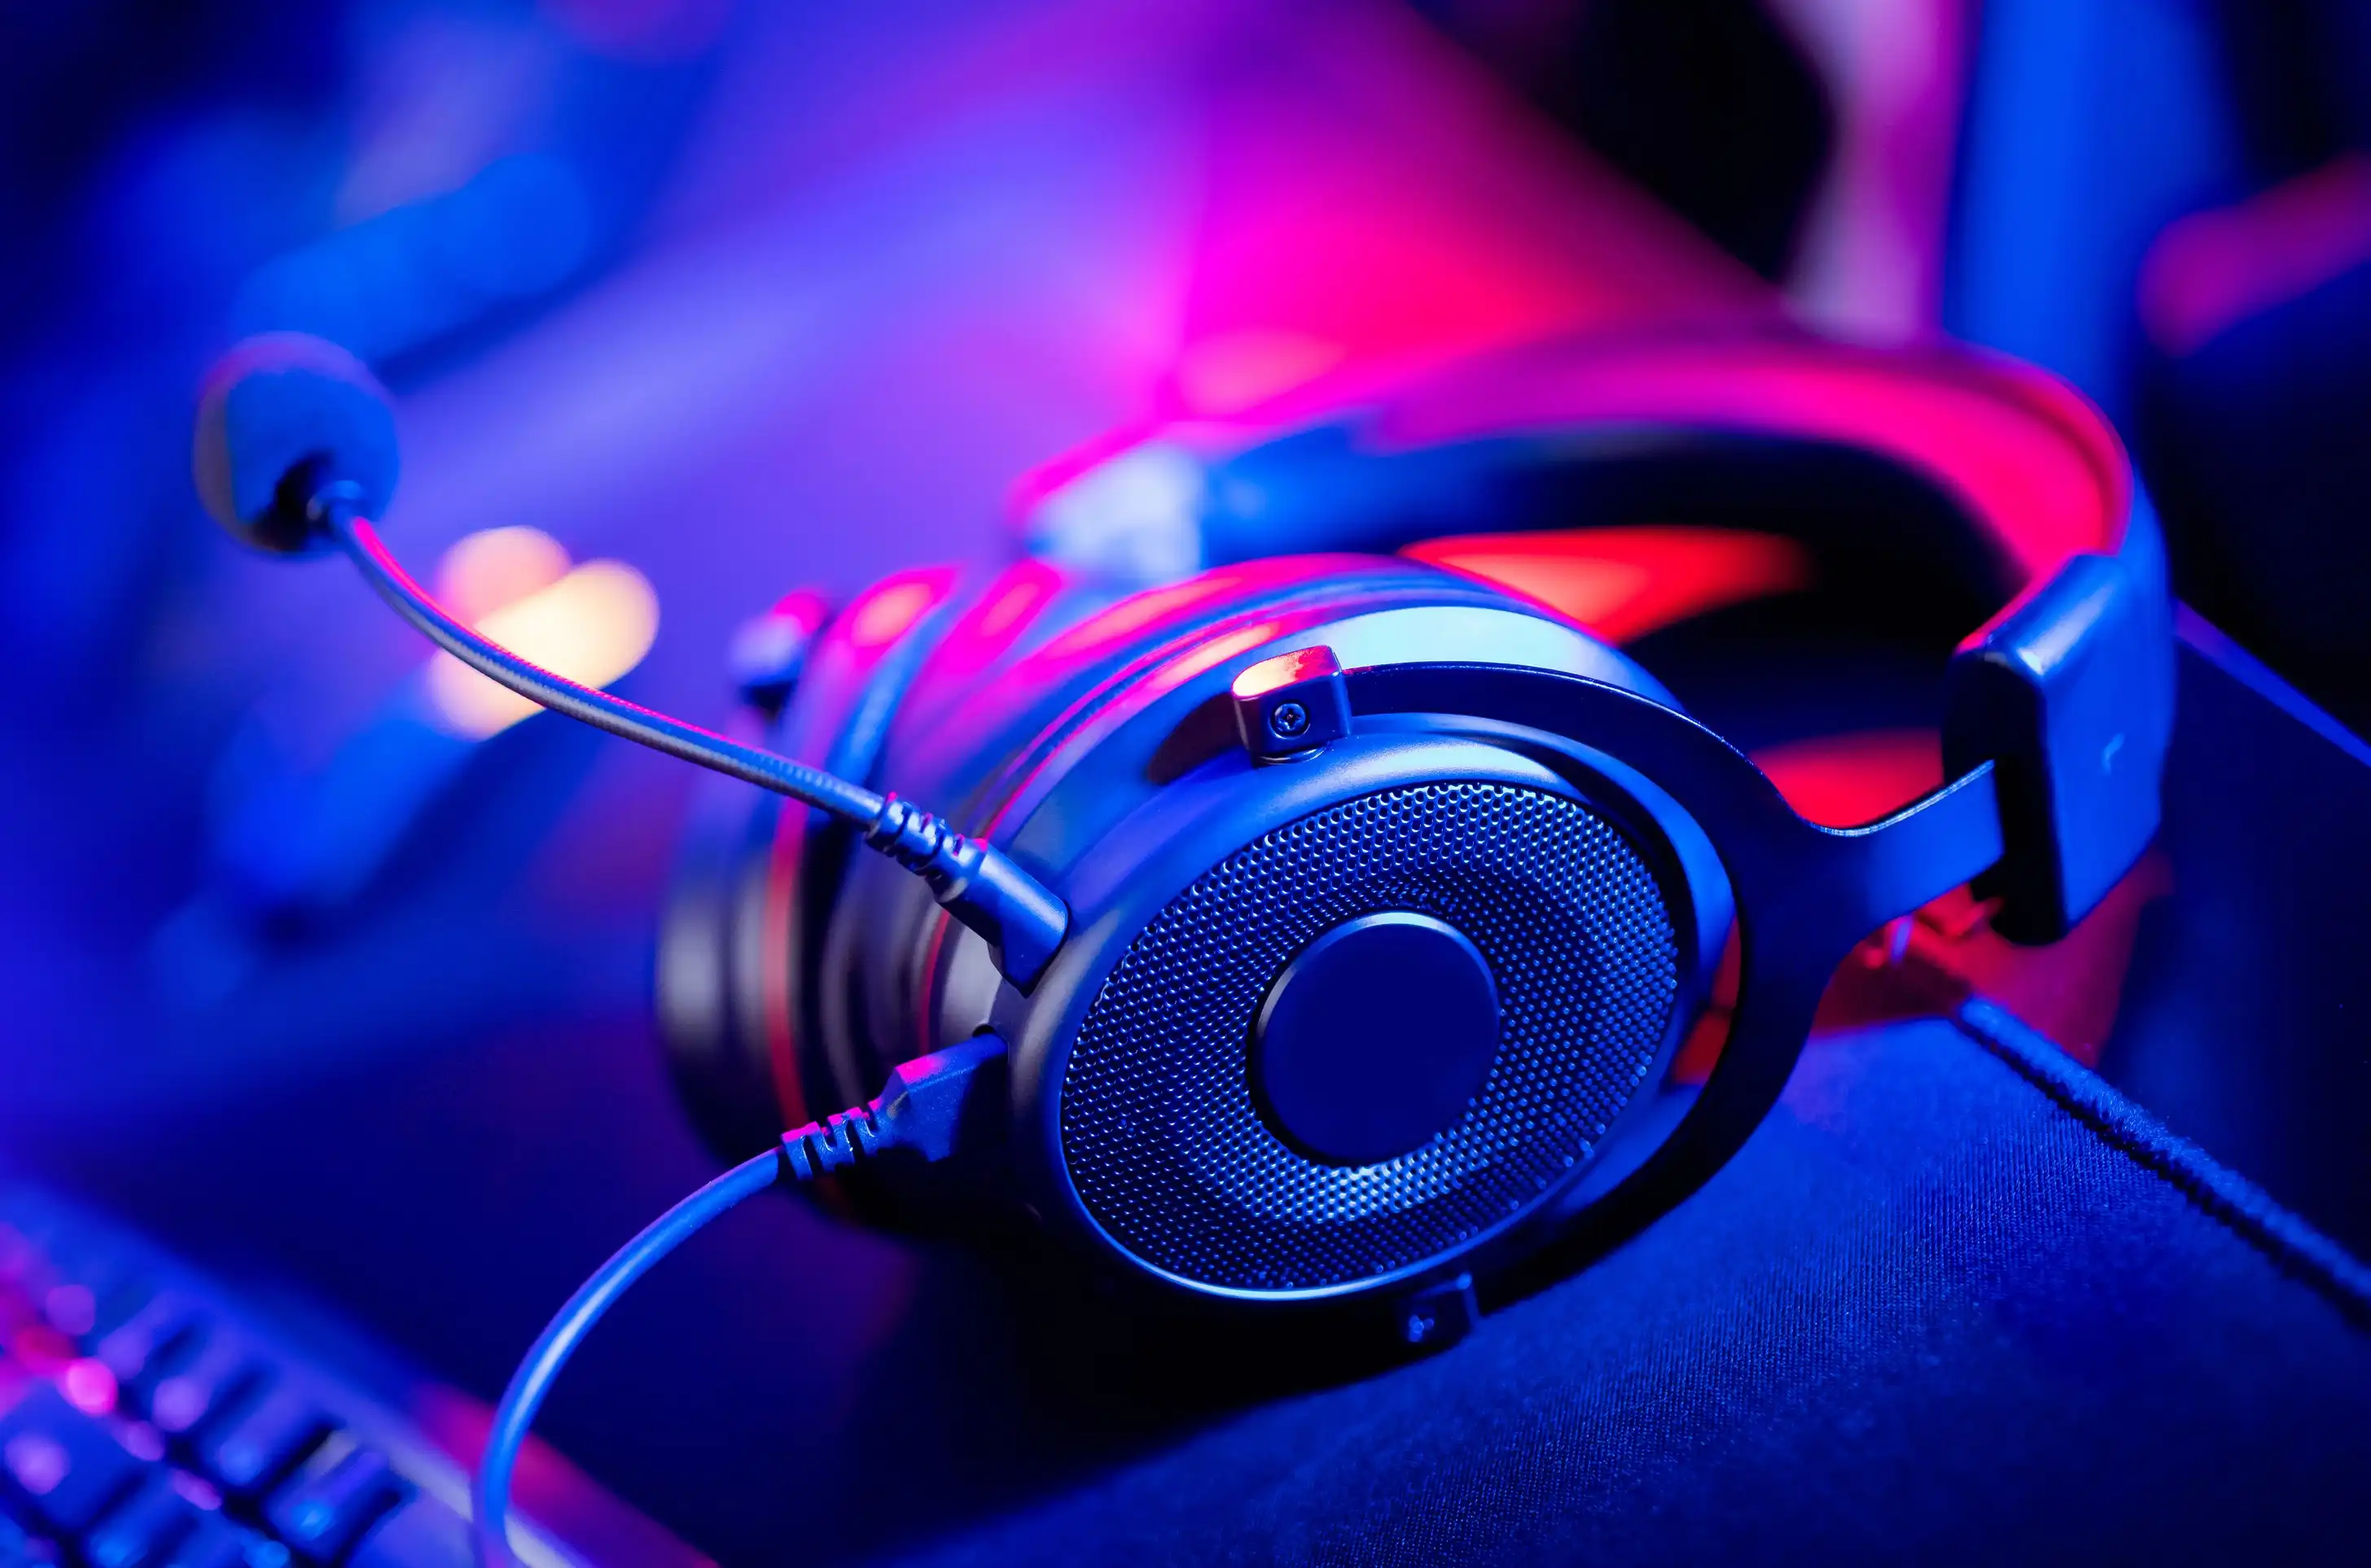
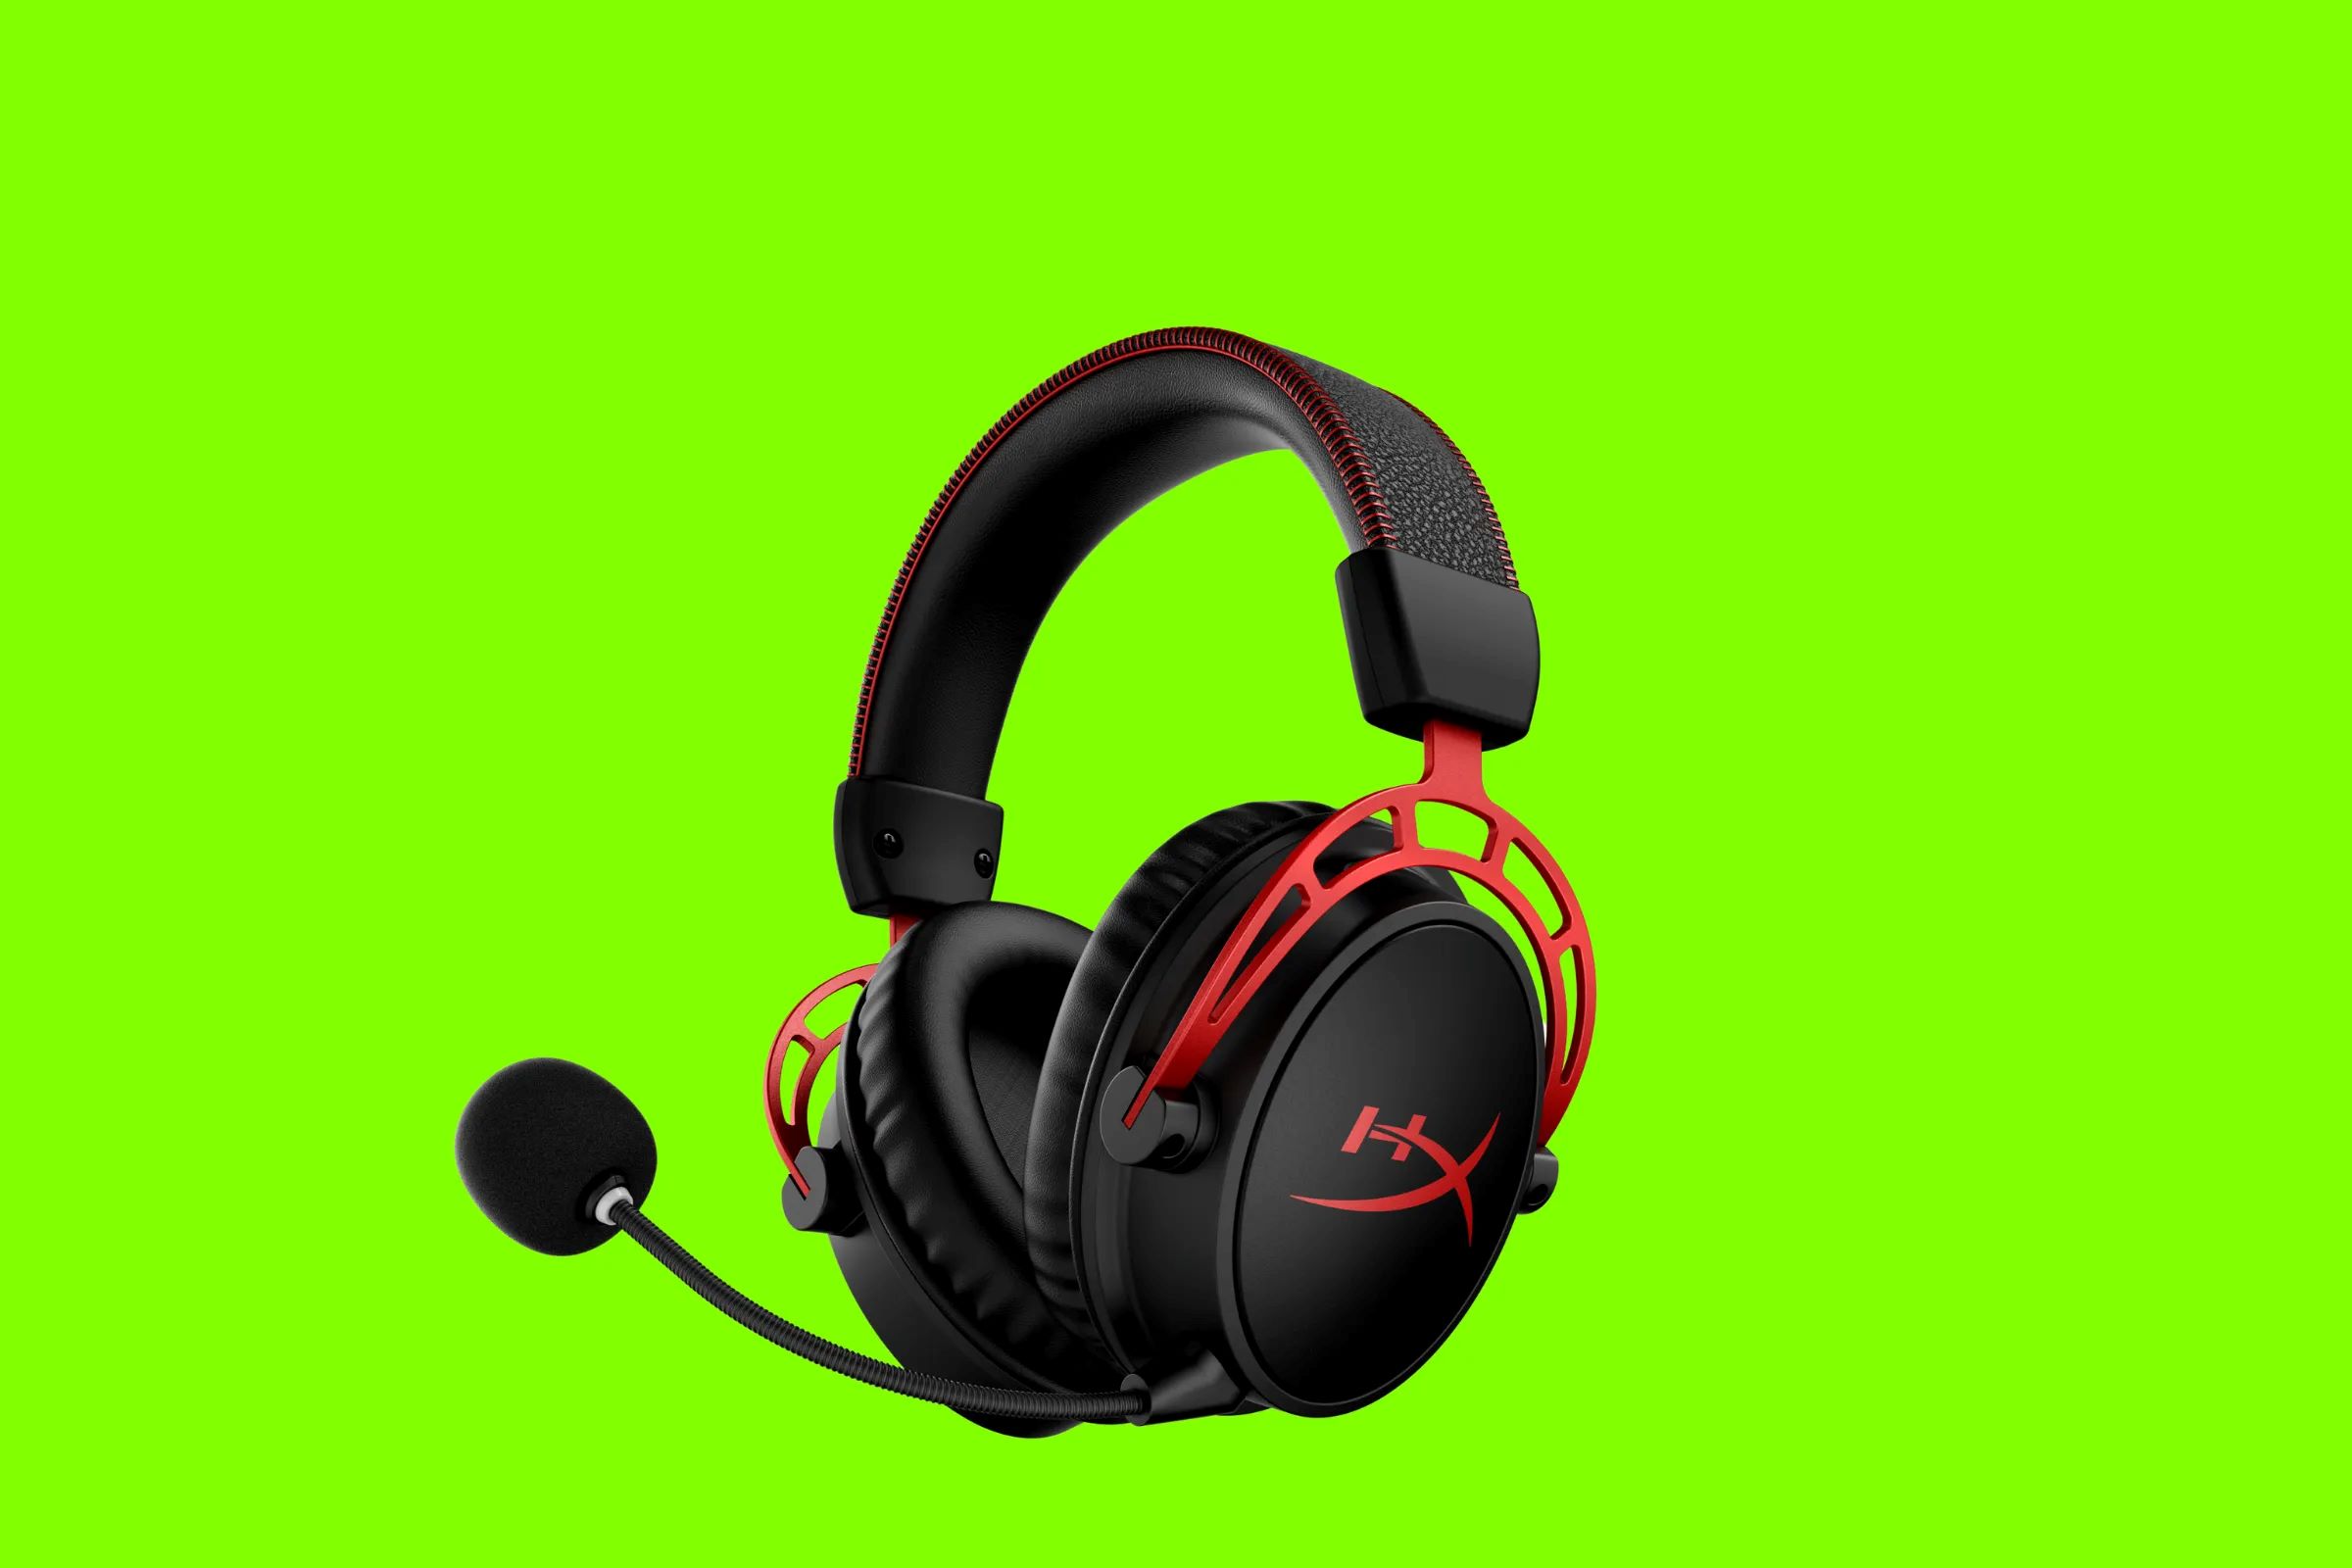
The Kingston HyperX Cloud Core gaming headset is renowned for its superior sound quality and comfort, making it a popular choice among gamers. Whether you're diving into the virtual battlefield or immersing yourself in the rich narratives of single-player adventures, this headset is designed to elevate your gaming experience to new heights.
In this guide, we'll cover everything from unboxing the headset to configuring the audio settings, ensuring that you're fully equipped to unleash the full potential of your new gaming gear. By the end of this tutorial, you'll be ready to immerse yourself in the captivating audio landscapes of your favorite games, communicating with your teammates with clarity and precision.
So, grab your headset, get comfortable, and let's dive into the exciting world of setting up the Kingston HyperX Cloud Core gaming headset on your PC. Get ready to experience gaming audio like never before!
Step 1: Unboxing the Kingston HyperX Cloud Core Gaming Headset
Before you embark on this thrilling audio journey, it’s time to unbox your Kingston HyperX Cloud Core gaming headset. The packaging is designed to protect your headset and accessories while providing an exciting unboxing experience.
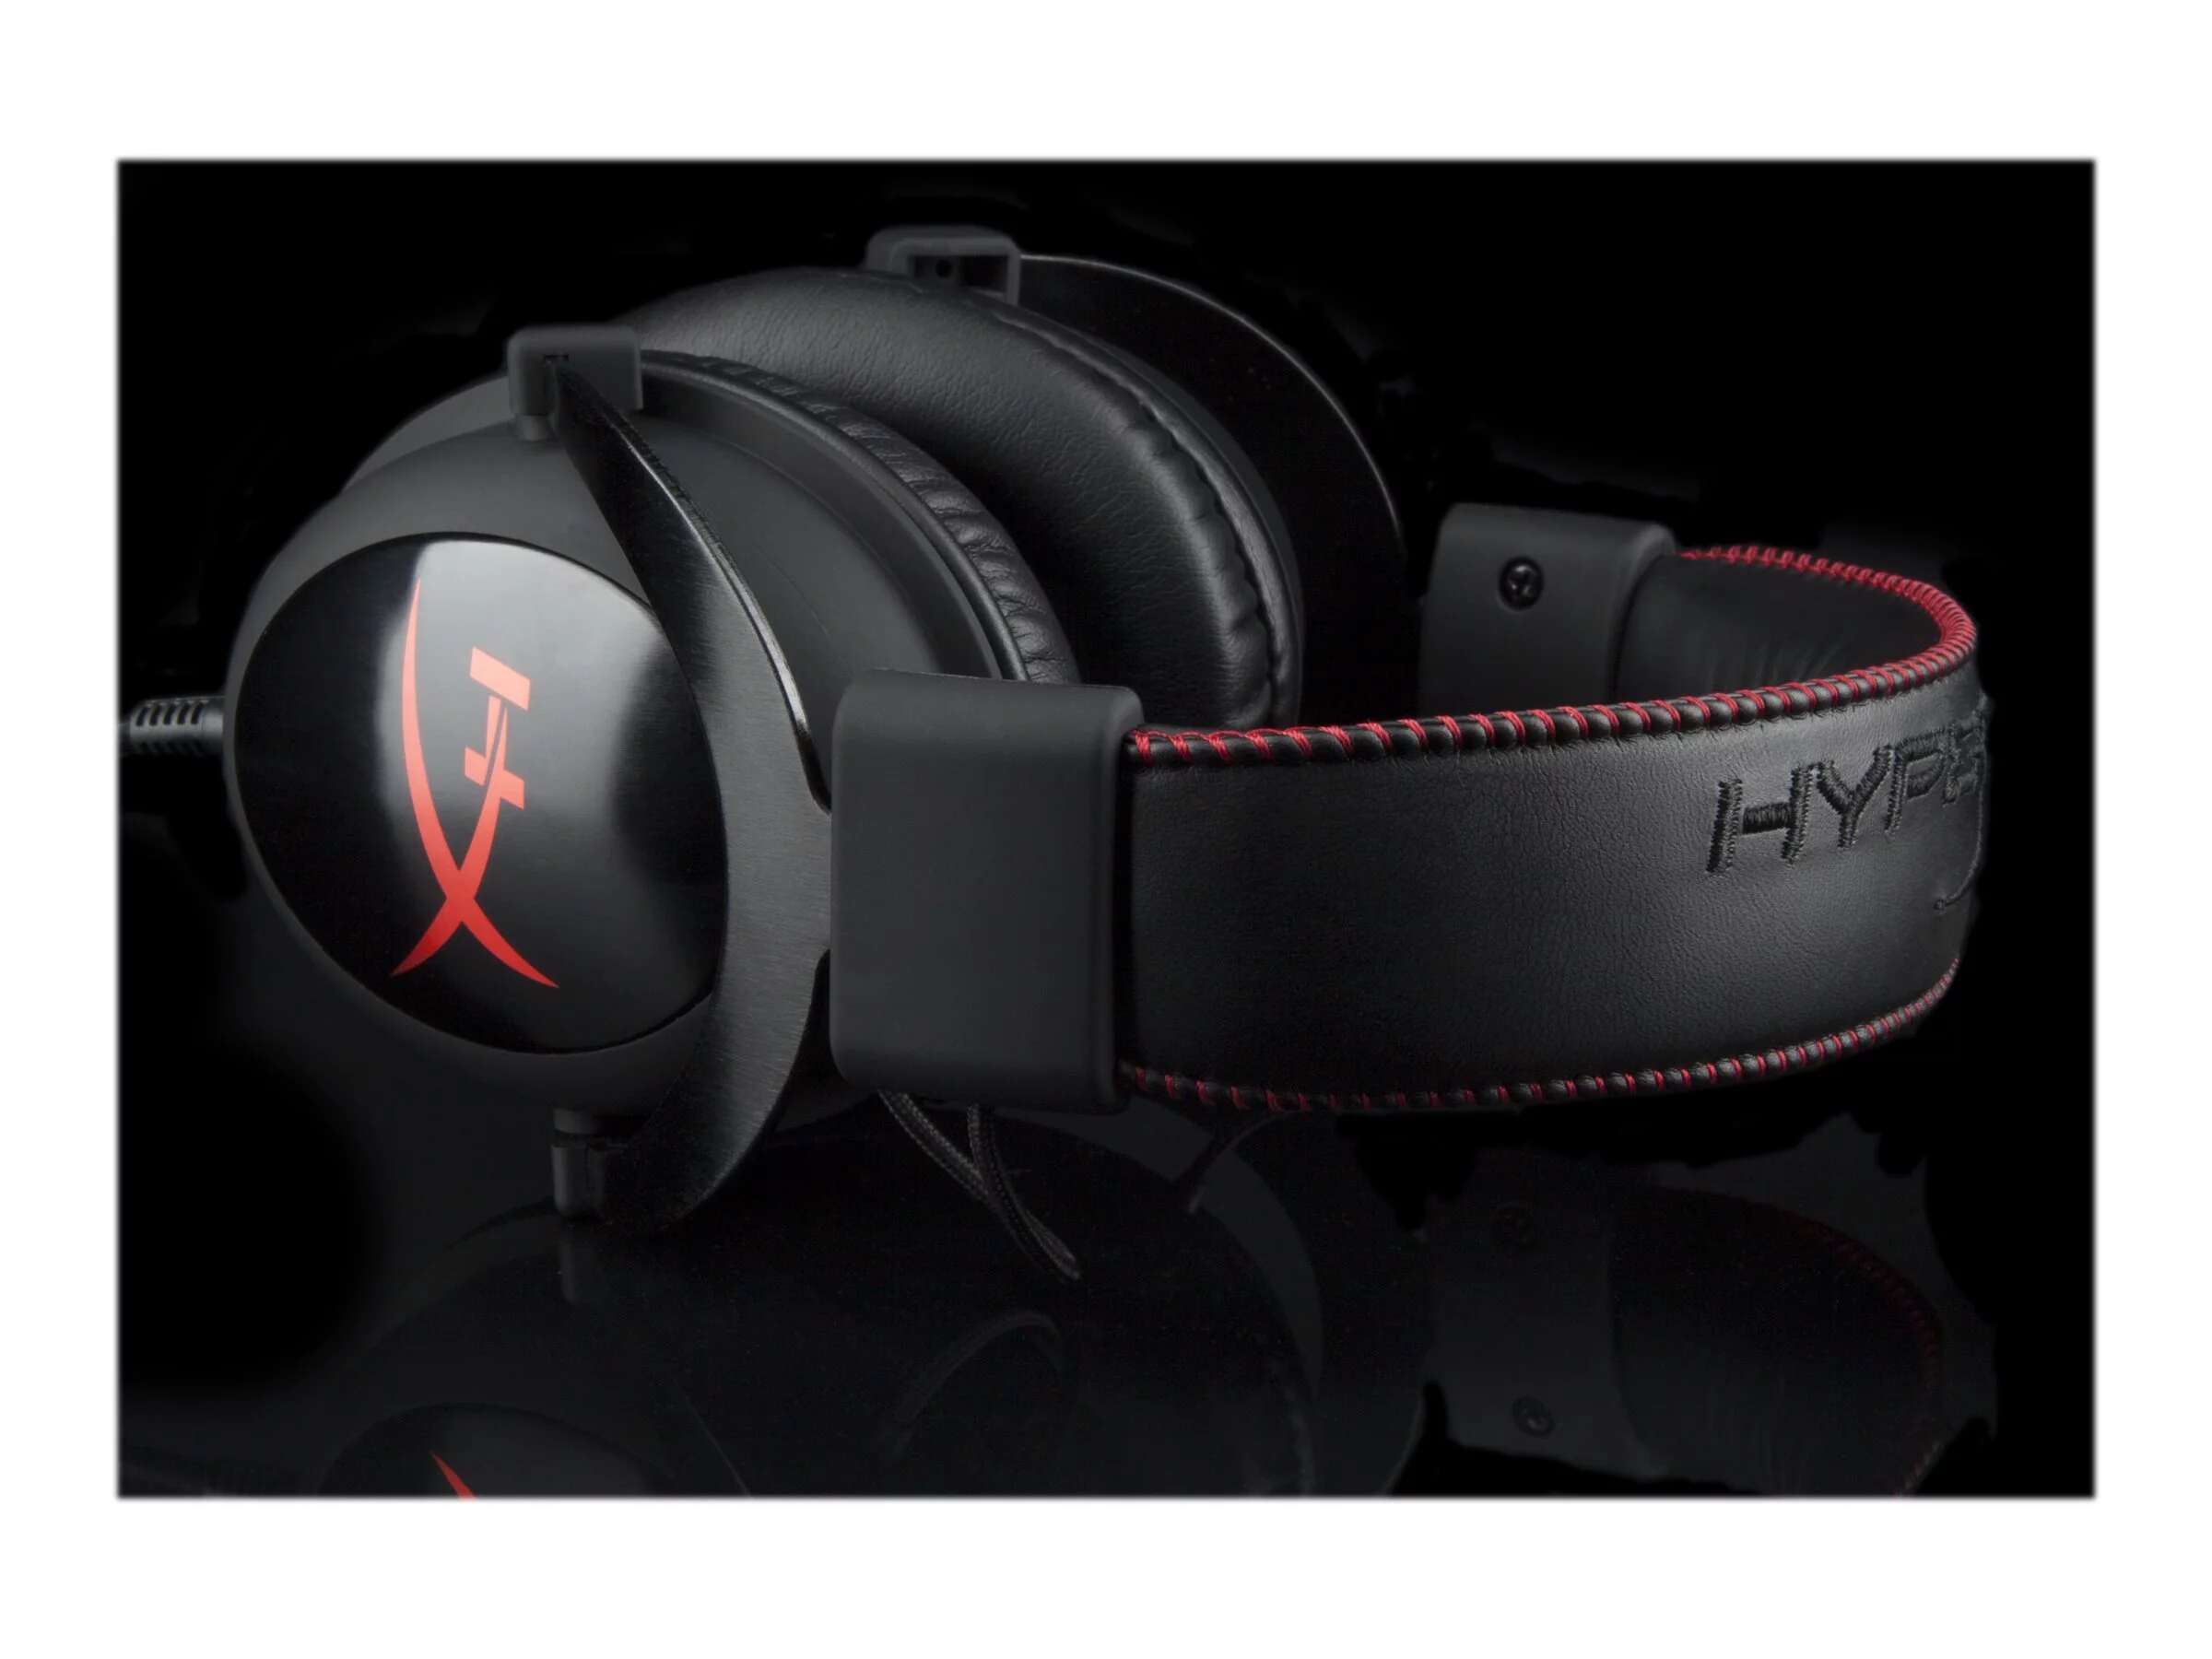
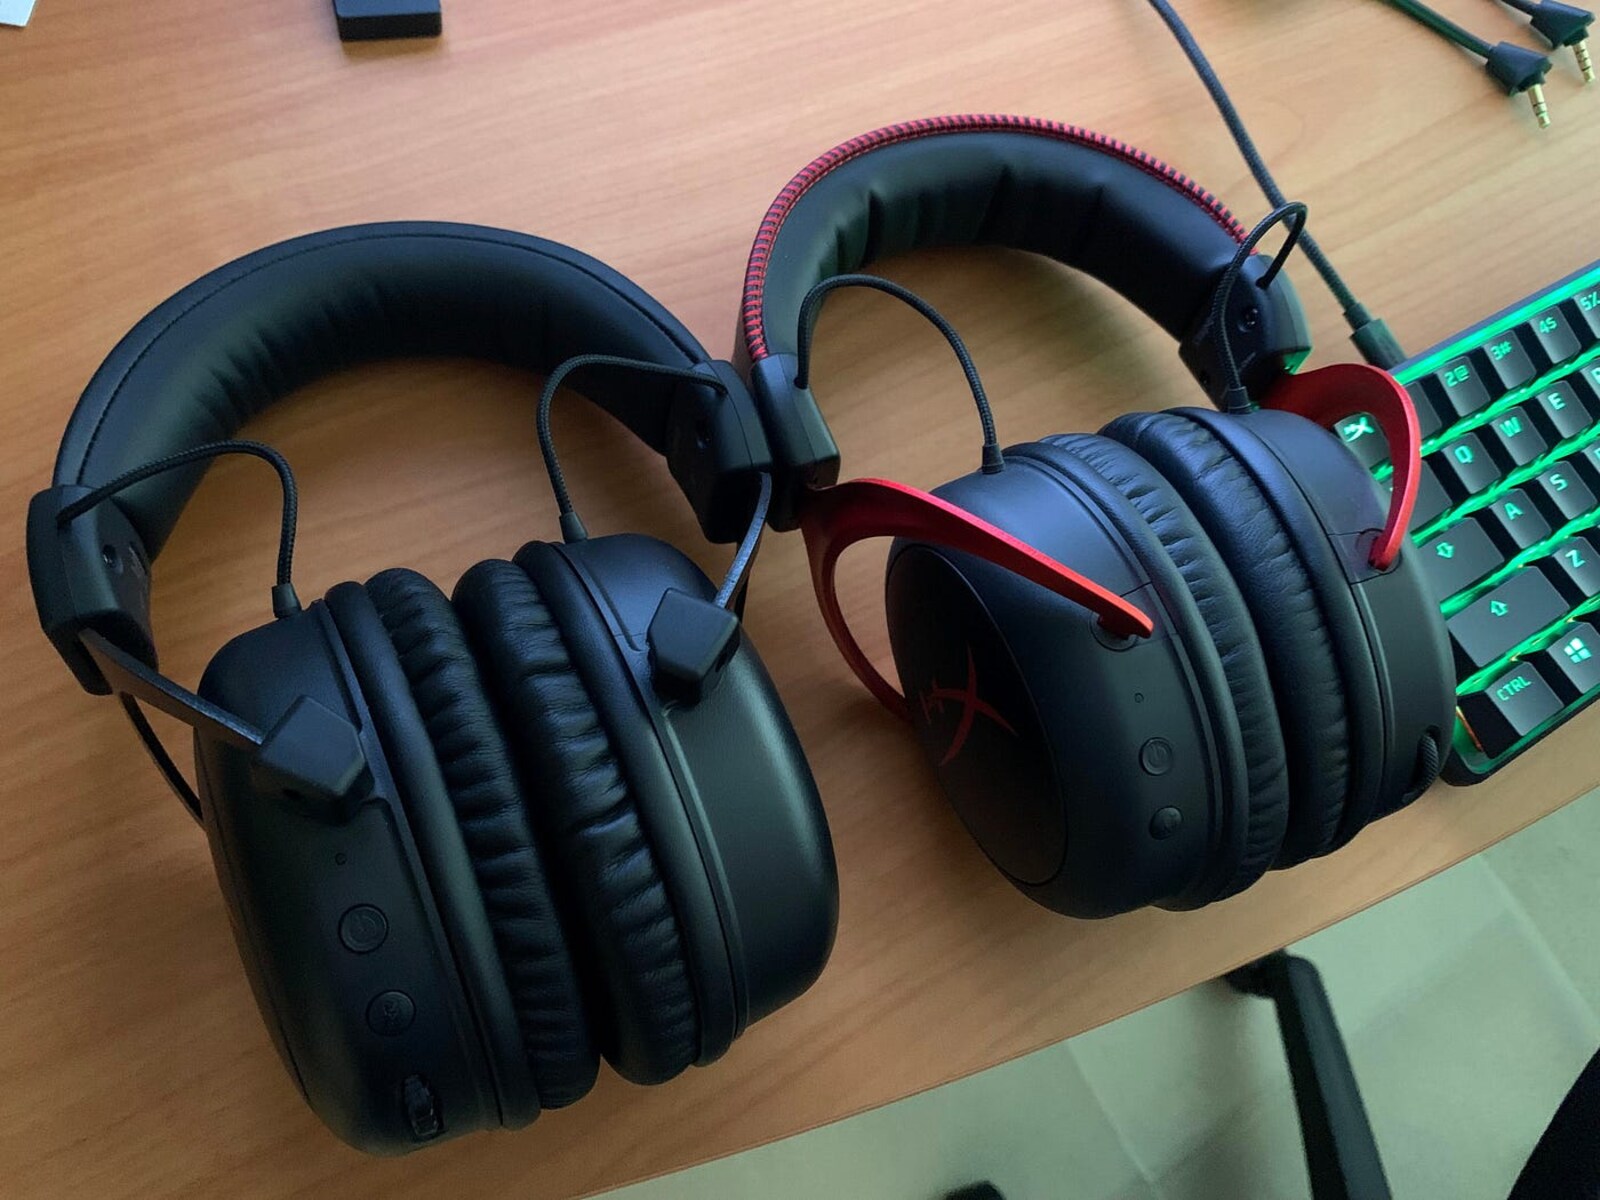
As you open the box, you’ll be greeted by the sleek and stylish design of the HyperX Cloud Core headset. The attention to detail in the packaging reflects the quality of the product inside. Carefully remove the headset and take a moment to appreciate its premium build and comfortable design.
Alongside the headset, you’ll find the detachable microphone, a crucial component for clear communication during your gaming sessions. Additionally, the package includes an extension cable and an airplane adapter, ensuring that you can seamlessly connect the headset to various devices without any hassle.
Inspect the contents of the box to ensure that all the accessories are present and in pristine condition. The HyperX Cloud Core gaming headset is designed to provide not only exceptional audio quality but also a comfortable and customizable fit, allowing you to focus on your gameplay without any distractions.
Now that you’ve unboxed your headset and familiarized yourself with its components, you’re one step closer to immersing yourself in the captivating world of gaming audio. The next step is to connect the headset to your PC, setting the stage for an unparalleled gaming experience.
Step 2: Connecting the Headset to Your PC
Now that you’ve unboxed the Kingston HyperX Cloud Core gaming headset, it’s time to connect it to your PC and prepare for an immersive audio experience. The process is straightforward, ensuring that you can swiftly transition from unboxing to enjoying high-quality audio in your favorite games.
Begin by locating the audio input and output ports on your PC. The headset utilizes a 3.5mm audio jack, which is commonly found on most desktops and laptops. Identify the corresponding ports on your computer, typically color-coded as green for audio output and pink for the microphone input.
Once you’ve located the audio ports, plug the headset’s 3.5mm audio jack into the green port for audio output. The snug fit ensures a reliable connection, allowing you to experience the full spectrum of sound without any interference. If you plan to use the detachable microphone for in-game communication, insert it into the pink port for the microphone input.
If your PC features a combined audio jack for both audio output and microphone input, don’t worry – the HyperX Cloud Core headset includes a splitter cable to accommodate this configuration. Simply connect the headset’s audio and microphone jacks to the corresponding ends of the splitter cable, and then plug the combined jack into your PC’s audio port.
With the headset securely connected to your PC, you’re now poised to delve into the next phase of the setup process. The upcoming step involves installing the necessary drivers to ensure seamless compatibility and optimal performance of your Kingston HyperX Cloud Core gaming headset.
Step 3: Installing the Necessary Drivers
With your Kingston HyperX Cloud Core gaming headset connected to your PC, it’s essential to install the required drivers to unleash its full potential. These drivers facilitate seamless communication between the headset and your computer, ensuring that you experience uncompromised audio quality and functionality.
Before proceeding with the driver installation, it’s advisable to check the manufacturer’s website for the latest drivers specifically designed for the HyperX Cloud Core headset. Kingston Technology, the parent company of HyperX, often provides driver updates and software utilities to enhance the performance of their gaming peripherals.
Once you’ve located the appropriate drivers for your headset, download them from the official website and follow the installation instructions provided. The installation process typically involves running the setup file and following the on-screen prompts to complete the installation. This ensures that your PC recognizes and optimally configures the headset for an unparalleled audio experience.
After the drivers are successfully installed, it’s recommended to restart your PC to allow the changes to take effect. Upon rebooting, your Kingston HyperX Cloud Core gaming headset will be fully integrated with your system, ready to deliver immersive audio and clear communication during your gaming adventures.
By installing the necessary drivers, you’re not only ensuring the seamless functionality of your headset but also gaining access to advanced features and customization options offered by the manufacturer. This step sets the stage for a personalized audio experience tailored to your preferences, allowing you to immerse yourself in the captivating soundscapes of your favorite games.
With the drivers in place, you’re now prepared to fine-tune the audio settings on your PC, optimizing the performance of your Kingston HyperX Cloud Core gaming headset for a truly immersive gaming experience.
Step 4: Configuring the Audio Settings
Now that your Kingston HyperX Cloud Core gaming headset is seamlessly integrated with your PC, it’s time to delve into the audio settings to optimize your gaming experience. Configuring the audio settings ensures that you harness the full potential of your headset, immersing yourself in rich, high-fidelity soundscapes while communicating with precision during gameplay.
Begin by accessing the audio settings on your PC. Depending on your operating system, you can typically find these settings in the control panel or system preferences. Navigate to the sound settings to customize the audio output and microphone input options specific to your HyperX Cloud Core headset.
Within the sound settings, ensure that the Kingston HyperX Cloud Core headset is selected as the default audio output and communication device. This designation directs all audio output to your headset, allowing you to experience the full depth and clarity of in-game sound effects, music, and dialogue.
Next, adjust the audio levels to achieve a balanced and immersive sound experience. Fine-tune the volume to your preference, ensuring that it’s at a comfortable level for extended gaming sessions. Additionally, explore any equalizer or audio enhancement options provided by your PC’s audio settings to further customize the sound profile to your liking.
For the microphone input, verify that the HyperX Cloud Core headset’s microphone is set as the default recording device. Adjust the microphone sensitivity to ensure clear and accurate voice capture, essential for effective communication with teammates during multiplayer games or online voice chats.
Some advanced audio settings may offer virtual surround sound or spatial audio features, enhancing the immersive quality of your gaming experience. Explore these options to see if they align with your preferences and the capabilities of your Kingston HyperX Cloud Core gaming headset.
By configuring the audio settings, you’re tailoring the audio output and communication capabilities of your headset to suit your gaming preferences. This step ensures that you’re fully equipped to immerse yourself in the captivating audio landscapes of your favorite games, with crystal-clear sound and seamless communication at your fingertips.
Step 5: Testing the Headset
With the Kingston HyperX Cloud Core gaming headset connected and the audio settings configured, it’s time to put the headset to the test. By conducting a thorough test, you can ensure that the audio output is crisp and immersive while verifying the clarity and accuracy of the microphone input for communication during gameplay.
Start by launching your favorite game or multimedia content that showcases a diverse range of audio elements, such as music, dialogue, and environmental sound effects. As the game or content plays, pay close attention to the audio quality delivered through your HyperX Cloud Core headset. Listen for the depth and clarity of sound, ensuring that you can distinguish individual audio elements with precision.
Engage in various in-game scenarios that highlight different audio aspects, such as intense combat sequences, ambient environmental sounds, and character dialogue. This comprehensive testing approach allows you to assess the headset’s ability to deliver a captivating and immersive audio experience across diverse gaming environments.
During the testing phase, take advantage of in-game voice chat or communication features to evaluate the microphone input of your HyperX Cloud Core headset. Engage in conversations with teammates or friends, ensuring that your voice is transmitted clearly and accurately without distortion or background noise interference.
As you immerse yourself in the testing process, consider adjusting the audio settings in real-time to fine-tune the sound profile to your liking. This iterative approach allows you to customize the audio output and microphone input based on your preferences, ensuring an optimized gaming experience tailored to your individual requirements.
By thoroughly testing the Kingston HyperX Cloud Core gaming headset, you can confidently verify its performance and suitability for your gaming needs. Whether you’re captivated by the immersive soundscapes or engaged in seamless communication with fellow gamers, this testing phase ensures that your headset meets and exceeds your expectations.
Upon completing the testing phase, you’re now fully prepared to immerse yourself in the captivating audio landscapes of your favorite games, equipped with the Kingston HyperX Cloud Core gaming headset that delivers exceptional sound quality and communication capabilities.
Conclusion
Congratulations! You’ve successfully navigated through the process of setting up the Kingston HyperX Cloud Core gaming headset on your PC, paving the way for an immersive and captivating gaming audio experience. By following the steps outlined in this guide, you’ve unlocked the full potential of your headset, ensuring optimal audio quality and seamless communication during your gaming adventures.
From the moment you unboxed the sleek and stylish HyperX Cloud Core headset to configuring the audio settings tailored to your preferences, each step was essential in preparing you for an unparalleled gaming audio experience. The attention to detail in the setup process ensures that you can fully immerse yourself in the rich, high-fidelity soundscapes of your favorite games, capturing every nuance and detail with precision.
With the headset seamlessly integrated with your PC and the necessary drivers installed, you’ve established a solid foundation for a personalized audio journey. The meticulous configuration of the audio settings further enhances the immersive quality of your gaming experience, allowing you to fine-tune the sound profile to suit your preferences and gaming environment.
Thoroughly testing the Kingston HyperX Cloud Core gaming headset provided valuable insights into its performance, ensuring that it meets and exceeds your expectations. Whether you’re captivated by the depth and clarity of in-game sound effects or engaged in seamless communication with teammates, the headset’s capabilities have been put to the test, affirming its suitability for your gaming needs.
As you embark on your gaming adventures with the Kingston HyperX Cloud Core gaming headset, you’re equipped with a powerful audio companion that elevates your gaming experience to new heights. The immersive sound quality and clear communication capabilities of the headset empower you to fully engage with the captivating audio landscapes of your favorite games, enhancing your overall gaming enjoyment.
Now, armed with your newly set up Kingston HyperX Cloud Core gaming headset, it’s time to immerse yourself in the rich, dynamic audio environments of your favorite games, communicating with precision and experiencing every sonic detail with unparalleled clarity. Get ready to elevate your gaming experience and embark on unforgettable audio adventures, all powered by your meticulously set up HyperX Cloud Core headset.