Introduction
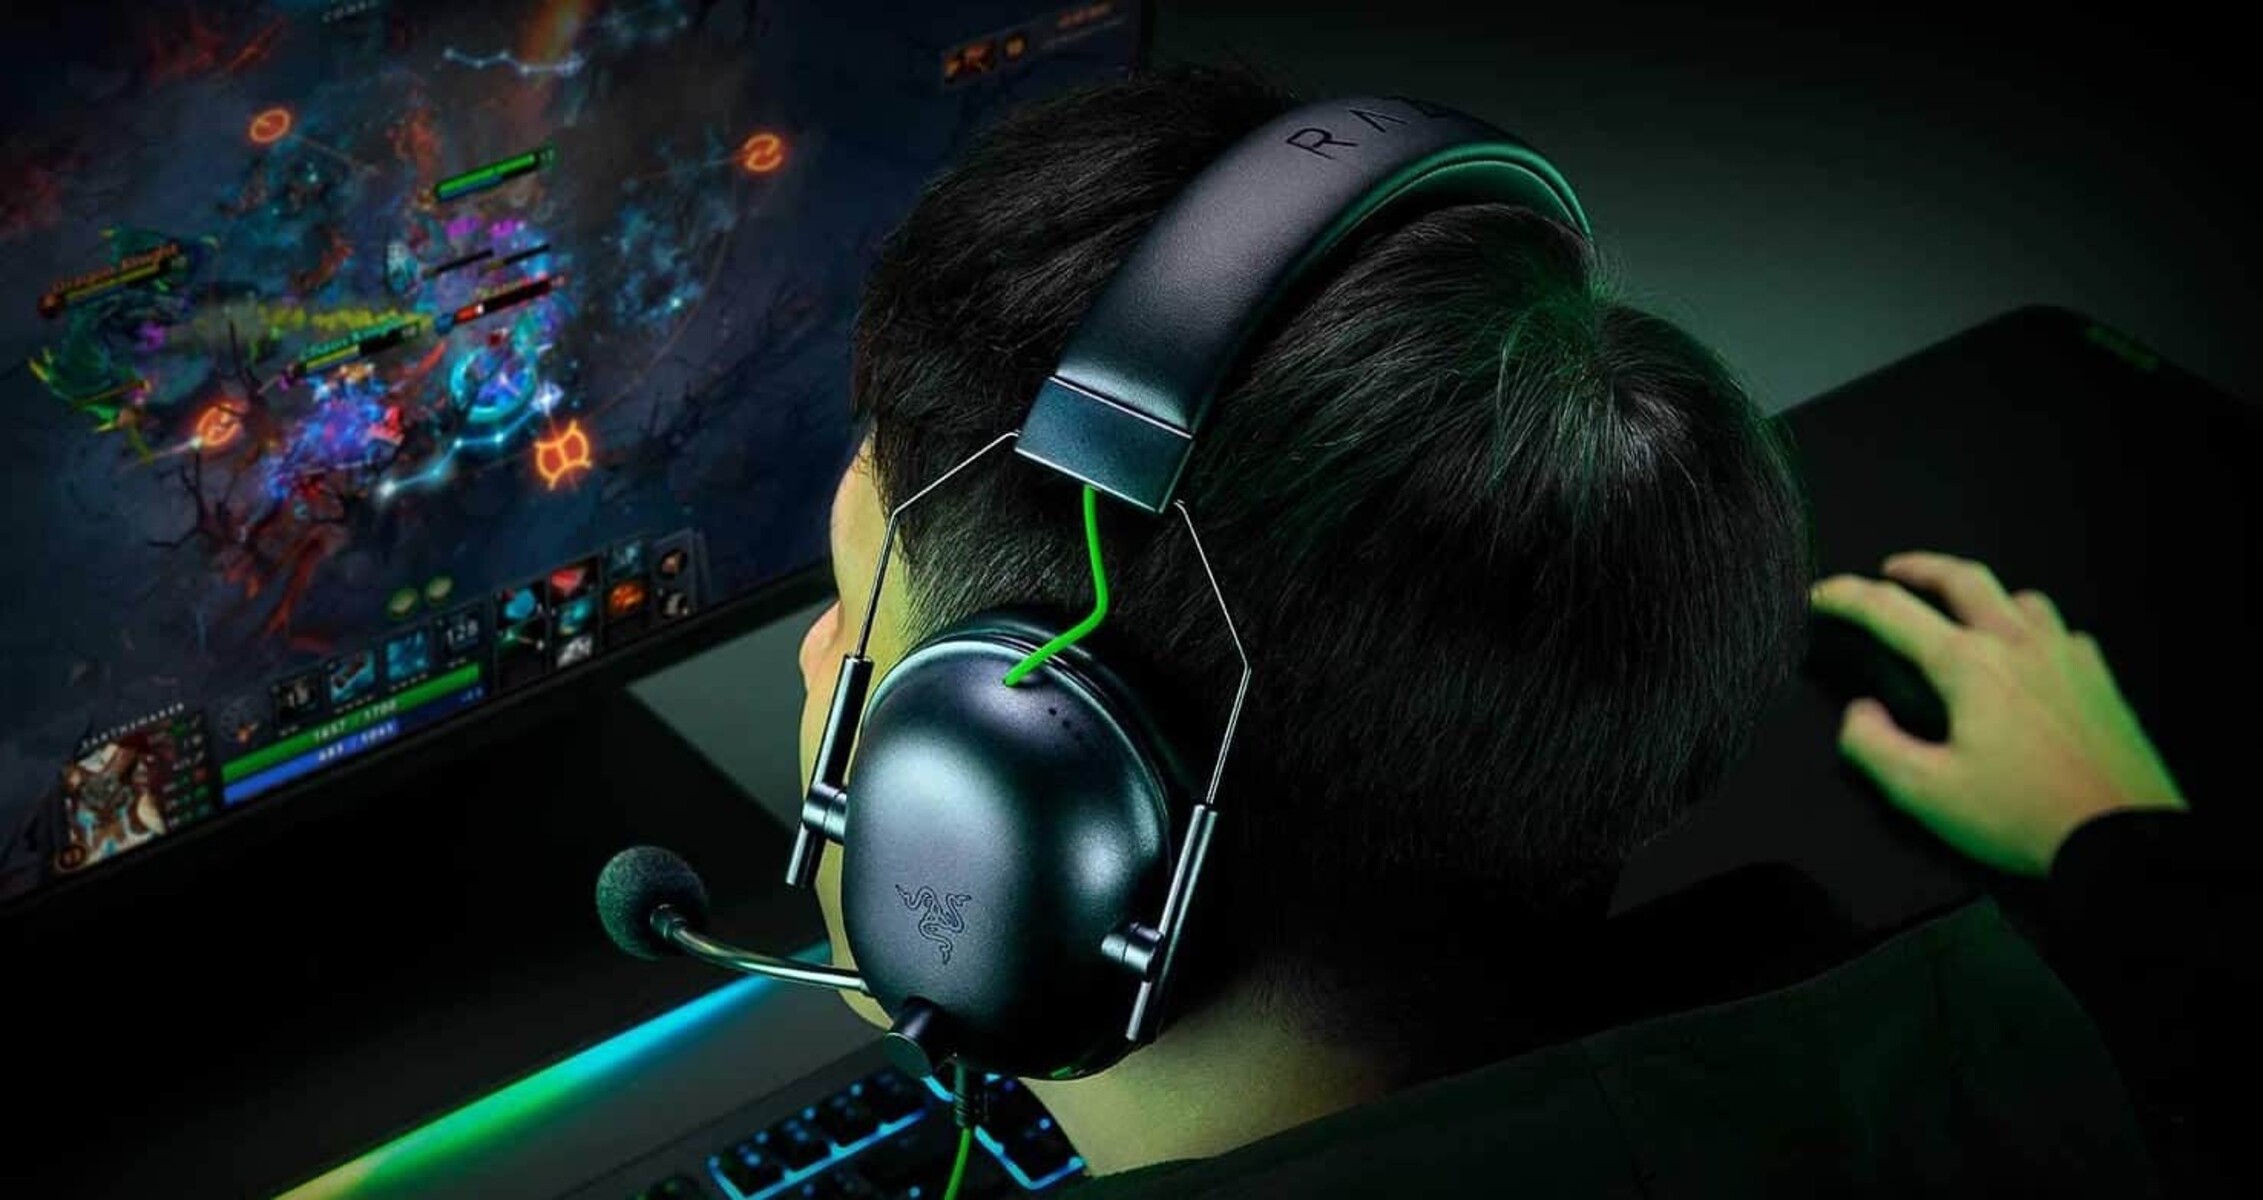
Are you ready to immerse yourself in the world of gaming without disturbing others around you? Using a gaming headset is the perfect solution. By directing the sound from your computer to your headset instead of speakers, you can enjoy an enhanced gaming experience while maintaining peace and quiet in your surroundings. Whether you're delving into an intense battle or exploring a captivating virtual world, the right gaming headset can elevate your gaming escapades to new heights.
In this guide, we'll walk you through the process of redirecting audio output from your computer to your gaming headset. By following these simple steps, you'll be able to savor every sound effect, dialogue, and musical score through your headset, creating a truly immersive gaming atmosphere.
So, grab your favorite gaming headset, and let's embark on this journey to optimize your gaming experience. Whether you're a seasoned gamer or just starting out, this guide will equip you with the knowledge needed to seamlessly switch audio output to your gaming headset. Let's dive in and make the most of your gaming setup!
Step 1: Check Your Headset and Computer Compatibility
Before you begin the process of redirecting audio to your gaming headset, it’s crucial to ensure that your headset and computer are compatible. Compatibility issues can hinder the seamless operation of the headset as the primary audio output device. Here’s what you need to consider:
- Headset Compatibility: Verify that your gaming headset is compatible with your computer. Most gaming headsets connect via USB or audio jacks, so check if your computer has the necessary ports to accommodate your headset. Additionally, some headsets may require specific drivers or software for optimal performance. Ensure that your headset is compatible with your computer’s operating system and that any required software is installed.
- Computer Compatibility: Check the audio output capabilities of your computer. Ensure that the audio output settings support the connection of an external headset. If your computer has multiple audio output jacks, identify the appropriate jack for connecting the headset. If you’re using a USB headset, confirm that your computer recognizes and supports USB audio devices.
By confirming the compatibility of your gaming headset and computer, you can preemptively address any potential issues that may arise during the setup process. This proactive approach will streamline the subsequent steps, allowing for a smoother transition of audio output to your gaming headset.
Step 2: Connect Your Gaming Headset to Your Computer
Now that you’ve verified the compatibility of your gaming headset and computer, it’s time to establish the physical connection between the two devices. Follow these steps to ensure a proper and secure connection:
- Wired Headsets: If your gaming headset utilizes a wired connection, locate the appropriate audio jack on your computer. Typically, this will be the 3.5mm audio jack or a USB port. Insert the headset’s audio cable into the corresponding jack, ensuring a firm connection. For USB headsets, simply plug the USB connector into an available USB port on your computer.
- Wireless Headsets: For wireless gaming headsets, refer to the manufacturer’s instructions to set up the wireless connection with your computer. This may involve using a USB wireless adapter or Bluetooth connectivity, depending on the headset’s specifications. Follow the provided guidelines to establish a reliable wireless connection.
Once the physical connection is established, your gaming headset is ready to receive audio output from your computer. Ensure that the connection is secure to prevent audio disruptions during gameplay. With the headset successfully connected, you’re one step closer to immersing yourself in the captivating audio of your favorite games.
Step 3: Set Your Gaming Headset as the Default Audio Device
After connecting your gaming headset to your computer, the next crucial step is to designate it as the default audio output device. By doing so, you ensure that all audio from your computer is directed to your headset, providing an immersive gaming experience without disturbing others. Follow these steps to set your gaming headset as the default audio device:
- Access Sound Settings: On your computer, navigate to the sound settings. This can usually be done by right-clicking the volume icon in the taskbar and selecting “Sound” or accessing the sound settings through the Control Panel or System Preferences, depending on your operating system.
- Select Your Headset: Within the sound settings, locate the playback devices or output devices section. Your connected gaming headset should appear as an available playback device. Right-click on your headset and select “Set as Default Device” or “Set as Default Communication Device,” depending on your preferences. This action designates your gaming headset as the primary audio output device for your computer.
- Adjust Audio Levels: Once your gaming headset is set as the default audio device, you can further customize the audio settings to suit your preferences. You can adjust the volume levels and configure any additional audio enhancements provided by your headset’s software or the operating system.
By setting your gaming headset as the default audio device, you ensure that all audio output, including in-game sound effects, music, and voice chat, is channeled through your headset. This seamless integration enhances your gaming experience and allows you to fully appreciate the auditory intricacies of your favorite games.
Step 4: Adjust Audio Settings for Your Gaming Headset
Once your gaming headset is designated as the default audio device, it’s essential to fine-tune the audio settings to optimize your gaming experience. Tailoring the audio settings ensures that you can fully immerse yourself in the rich soundscape of your games. Here’s how to adjust the audio settings for your gaming headset:
- Headset Software: If your gaming headset comes with dedicated software, install it on your computer and open the application. The software often provides advanced audio customization options, including equalizer settings, surround sound configurations, and microphone adjustments. Explore the available features and adjust the settings to align with your preferences.
- Operating System Settings: Access the sound settings within your computer’s operating system. Depending on the OS, you may find additional audio customization options, such as spatial sound settings, audio enhancements, and microphone properties. Fine-tune these settings to enhance the audio output and ensure optimal performance of your gaming headset.
- Game-Specific Settings: Some games offer in-game audio settings that allow you to customize the audio output based on your preferences. Explore the audio settings within your favorite games to adjust the volume levels, enable specific audio features, or fine-tune the spatial audio for an immersive gaming experience.
By adjusting the audio settings for your gaming headset, you can tailor the audio output to suit your preferences, whether you prefer enhanced bass for impactful explosions or crisp treble for clear dialogue. Customizing the audio settings ensures that every sound effect and musical score is delivered with precision, enriching your gaming escapades.
Step 5: Test Your Gaming Headset
After configuring the audio settings for your gaming headset, it’s essential to conduct a thorough test to ensure that the audio output is seamlessly directed to the headset. Testing your gaming headset allows you to verify the audio quality, spatial positioning, and overall functionality. Follow these steps to effectively test your gaming headset:
- Play Audio: Begin by playing a variety of audio content on your computer, including music, videos, and game soundtracks. Pay close attention to the audio output and assess the clarity, depth, and spatial positioning of the sound. Listen for distinct sound effects, directional audio cues, and overall balance in the audio mix.
- Engage in Gameplay: Launch your favorite game and delve into the gameplay experience. Take note of how the in-game sounds are delivered through your gaming headset. Pay attention to environmental sounds, character dialogue, and immersive audio effects. Assess whether the audio output enhances your gaming experience and contributes to a heightened sense of immersion.
- Test Microphone Functionality: If your gaming headset features a microphone, test its functionality by recording your voice or engaging in a voice chat session. Verify that the microphone captures clear and intelligible audio without distortion or background noise. Adjust the microphone settings if necessary to optimize its performance.
By thoroughly testing your gaming headset, you can ensure that the audio output meets your expectations and enhances your gaming endeavors. Address any potential issues related to audio quality or microphone functionality during the testing phase, allowing for a seamless and immersive gaming experience.
Conclusion
Congratulations! By following the steps outlined in this guide, you have successfully redirected audio output from your computer to your gaming headset, creating an immersive and personalized gaming experience. Equipped with the knowledge of setting up and optimizing your gaming headset, you can now enjoy the rich audio landscape of your favorite games without disturbing those around you.
Ensuring the compatibility of your gaming headset and computer, establishing a secure connection, and designating the headset as the default audio device are foundational steps that set the stage for an enhanced gaming experience. Fine-tuning the audio settings, both within the headset’s software and the operating system, allows for personalized audio customization, catering to your specific preferences and gaming environment.
Thoroughly testing your gaming headset confirms that the audio output meets your expectations, delivering clear and immersive soundscapes that elevate your gaming escapades. Whether you’re engaged in intense battles, exploring vast virtual worlds, or interacting with fellow gamers through voice chat, your gaming headset now serves as the conduit for a heightened auditory experience.
With your gaming headset seamlessly integrated as the primary audio output device, you are poised to embark on countless gaming adventures, fully immersed in the captivating audio details that enrich the virtual realms you explore. The seamless transition of audio to your gaming headset enhances not only your gaming experience but also the overall ambiance of your gaming environment.
Now, with your gaming headset as the conduit for all audio output, you’re ready to unleash the full potential of your gaming setup and savor every auditory nuance that your favorite games have to offer.