Introduction
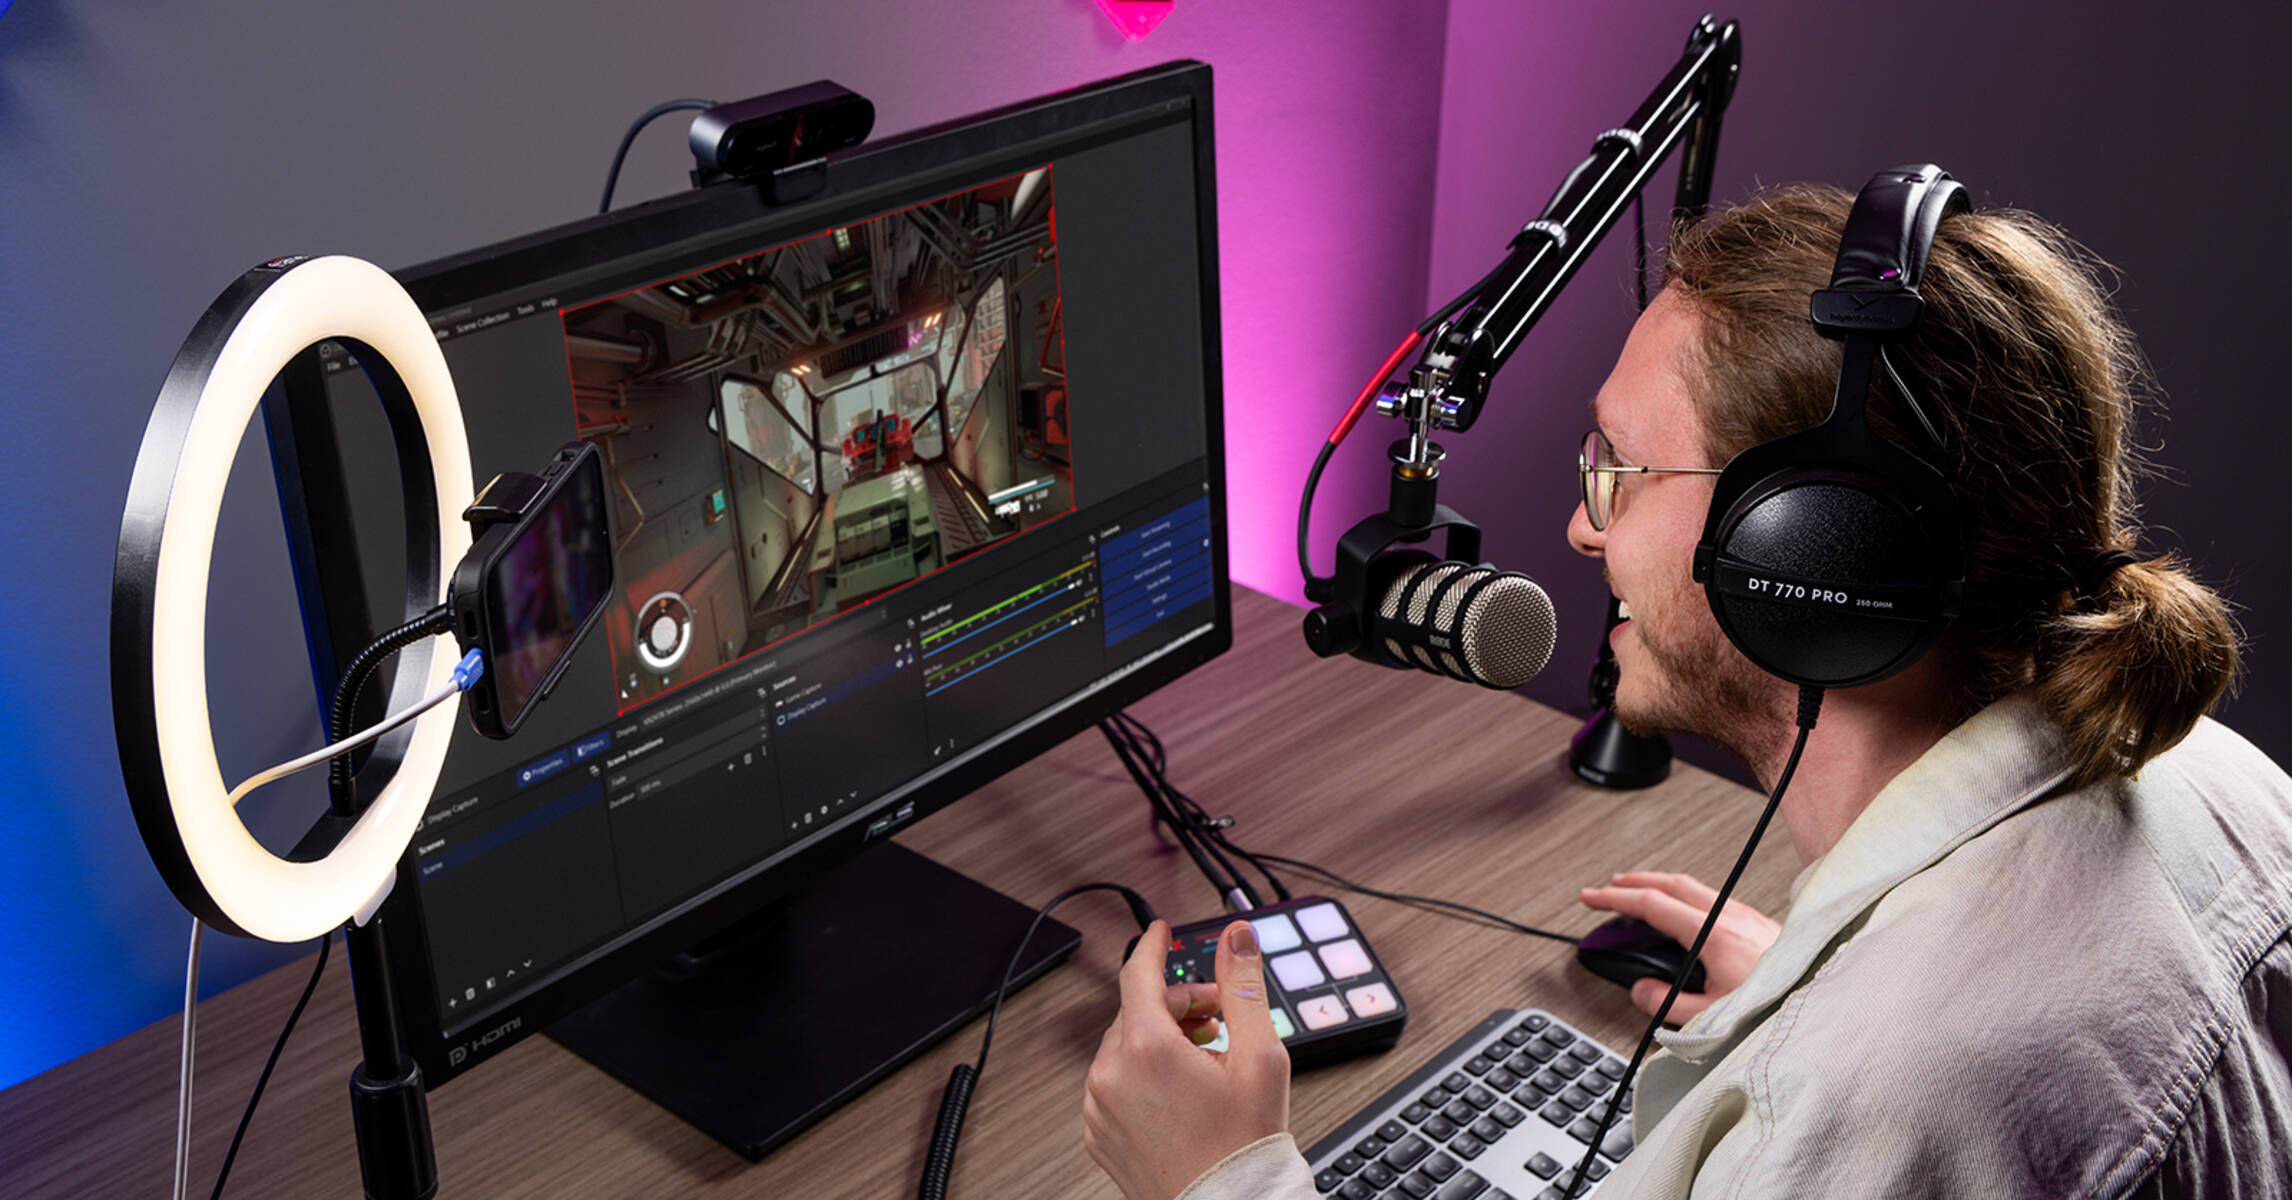
Are you an avid gamer who also dabbles in content creation or streaming? Or perhaps you are a podcaster looking to elevate the audio quality of your recordings? In either case, you may find yourself in need of a reliable audio mixer to enhance the sound output. While gaming headsets are designed for direct use with computers and gaming consoles, integrating them with an audio mixer can significantly improve the audio experience, offering greater control and customization options.
In this comprehensive guide, we will delve into the process of connecting a gaming headset to an audio mixer, providing step-by-step instructions and valuable insights to help you achieve optimal audio performance. By understanding the functionalities of an audio mixer, learning how to connect a gaming headset to it, and adjusting the settings for an enhanced audio experience, you can harness the full potential of your gaming headset in conjunction with an audio mixer.
Join us as we explore the intricacies of this integration, empowering you to unlock the true audio capabilities of your gaming headset. Whether you are a gaming enthusiast, a content creator, or a podcaster, this guide will equip you with the knowledge and skills needed to seamlessly integrate your gaming headset with an audio mixer, paving the way for an immersive and professional audio experience. Let's embark on this audio adventure together, as we navigate the realms of audio mixing and gaming to unleash the full potential of your equipment.
Understanding the Audio Mixer
Before delving into the process of connecting a gaming headset to an audio mixer, it is essential to grasp the fundamental role of an audio mixer in shaping and refining audio signals. An audio mixer, also known as a mixing console or soundboard, serves as a central hub for managing and manipulating audio inputs from various sources. This versatile device is equipped with multiple channels, each accommodating different audio inputs, such as microphones, instruments, and external audio sources.
One of the key functionalities of an audio mixer is its ability to blend and balance multiple audio signals, allowing users to adjust the volume, tone, and spatial positioning of each input. This level of control enables users to fine-tune the audio output to suit their specific preferences, whether it involves emphasizing certain frequencies, adjusting the stereo panning, or applying audio effects in real time.
Moreover, audio mixers often feature equalization (EQ) controls, which enable users to modify the frequency response of the audio signals. By adjusting the bass, midrange, and treble frequencies, users can tailor the audio output to achieve optimal clarity and tonal balance. Additionally, audio mixers may incorporate auxiliary sends and returns, which facilitate the integration of external audio processing equipment, such as effects units and signal processors, further expanding the creative possibilities.
Understanding the layout and functionality of the audio mixer is crucial for seamlessly integrating a gaming headset into the audio setup. By familiarizing yourself with the various controls, inputs, and signal routing options offered by the audio mixer, you can effectively harness its capabilities to enhance the audio quality and versatility of your gaming headset. With this foundational knowledge in place, you are poised to embark on the next phase of our journey: connecting the gaming headset to the audio mixer.
Connecting the Gaming Headset to the Audio Mixer
When integrating a gaming headset with an audio mixer, it is essential to establish a physical connection that enables the seamless transmission of audio signals between the two devices. Most gaming headsets are equipped with a 3.5mm TRRS (tip-ring-ring-sleeve) connector, which combines audio and microphone signals into a single plug. On the other hand, audio mixers typically feature a variety of input options, including XLR, 1/4-inch TRS (tip-ring-sleeve), and 3.5mm TRS connectors.
To bridge the gap between the gaming headset and the audio mixer, you may need to utilize adapter cables or connectors to ensure compatibility. Depending on the specific input jacks available on your audio mixer, you may require a TRRS to dual TRS adapter, which splits the combined audio and microphone signals into separate connections suitable for the mixer’s inputs.
Once you have the necessary adapters in place, you can proceed to connect the gaming headset to the audio mixer. Begin by identifying the appropriate input channel on the audio mixer for the gaming headset. This may involve selecting a line input, microphone input, or dedicated headset input, depending on the mixer’s configuration.
Next, plug the adapter cable from the gaming headset into the corresponding input on the audio mixer, ensuring a secure and snug connection. It is important to verify that the connections are firmly in place to prevent audio interruptions or signal loss during operation. Additionally, if your gaming headset features inline volume controls or a microphone mute switch, take note of their positions to facilitate easy access during usage.
By establishing a direct physical connection between the gaming headset and the audio mixer, you pave the way for seamless audio transmission and control. This integration lays the groundwork for adjusting the audio settings on the mixer to optimize the sound output and cater to your specific audio preferences. With the gaming headset now linked to the audio mixer, you are ready to explore the next phase of our journey: adjusting the settings on the audio mixer to refine the audio output to your liking.
Adjusting the Settings on the Audio Mixer
With the gaming headset successfully connected to the audio mixer, the next crucial step involves fine-tuning the mixer’s settings to optimize the audio output and accommodate the specific characteristics of the gaming headset. This process entails adjusting various controls and parameters on the audio mixer to achieve a balanced and tailored sound that aligns with your preferences and intended use.
One of the primary settings to consider is the input gain or trim control for the channel to which the gaming headset is connected. The input gain regulates the strength of the incoming audio signal, ensuring that it falls within the optimal operating range of the mixer. Adjusting the input gain allows you to prevent audio distortion caused by excessively high signal levels or mitigate the impact of low-level signals by boosting the input gain appropriately.
Furthermore, if your audio mixer features EQ controls for individual channels or global equalization options, you can leverage these to shape the tonal characteristics of the audio output from the gaming headset. By adjusting the bass, midrange, and treble frequencies, you can tailor the sound to suit your preferences, compensating for any inherent tonal imbalances in the headset’s audio reproduction.
Another critical aspect of adjusting the settings on the audio mixer involves managing the channel faders and pan controls. The faders enable precise control over the volume levels of individual channels, allowing you to balance the audio output from the gaming headset with other audio sources connected to the mixer. Additionally, the pan controls facilitate spatial positioning within the stereo field, enabling you to position the gaming headset’s audio within the stereo image as desired.
Depending on the features of your audio mixer, you may also have access to auxiliary sends and returns, which can be utilized to integrate external audio effects or processing units with the gaming headset’s audio signal. This opens up creative possibilities for enhancing the audio output with reverbs, delays, or other effects, enriching the overall sonic character.
By meticulously adjusting the settings on the audio mixer to accommodate the gaming headset, you can unleash the full potential of the headset’s audio capabilities, achieving a refined and personalized sound that aligns with your unique preferences and usage scenarios. With the audio settings now optimized, the stage is set for the final phase of our journey: testing the gaming headset with the audio mixer to evaluate the impact of the adjustments and ensure a seamless audio experience.
Testing the Gaming Headset with the Audio Mixer
After connecting the gaming headset to the audio mixer and adjusting the mixer’s settings to optimize the audio output, it is imperative to conduct a comprehensive testing phase to evaluate the effectiveness of the integration and the impact of the adjustments made. Testing the gaming headset with the audio mixer allows you to assess the audio quality, functionality, and overall performance, ensuring that the combined setup meets your expectations and requirements.
Begin the testing process by playing audio through the gaming headset while monitoring the output levels on the audio mixer. Verify that the audio signals are being received and processed appropriately, and make adjustments as necessary to achieve a balanced and clear sound. Pay attention to any potential issues such as distortion, excessive noise, or uneven frequency response, and address them by refining the settings on the mixer.
During the testing phase, it is beneficial to explore the full range of audio adjustments available on the mixer, including EQ settings, channel faders, and pan controls. By systematically manipulating these parameters while listening to audio through the gaming headset, you can discern the impact of each adjustment on the sound quality and tailor the audio output to your liking.
Additionally, if your gaming headset features a microphone, ensure that the audio mixer effectively captures and processes the microphone input, allowing for clear and intelligible vocal reproduction. Adjust the microphone input gain and EQ settings as needed to optimize the microphone’s performance and achieve a natural and articulate vocal sound.
As part of the testing process, consider utilizing the gaming headset for various applications, such as gaming, content creation, or live streaming, to gauge its performance across different scenarios. Assess the clarity of in-game audio, the accuracy of positional cues, and the overall immersive experience when using the gaming headset in conjunction with the audio mixer.
Furthermore, if your audio mixer offers auxiliary send and return options for integrating external audio effects, experiment with applying effects to the gaming headset’s audio signal during the testing phase. Evaluate the impact of effects such as reverb, delay, or compression on the overall audio experience, and determine whether these enhancements align with your creative vision and audio preferences.
By thoroughly testing the gaming headset with the audio mixer, you can validate the effectiveness of the integration and the adjustments made, ensuring that the combined setup delivers the desired audio quality and functionality. This comprehensive evaluation sets the stage for leveraging the full potential of the gaming headset within your audio production or gaming environment, empowering you to create, communicate, and immerse yourself in a rich audio experience.
Conclusion
Embarking on the journey of integrating a gaming headset with an audio mixer has unveiled a realm of possibilities for enhancing the audio experience across various applications. By gaining a deeper understanding of the audio mixer’s functionalities, connecting the gaming headset to the mixer, and meticulously adjusting the mixer’s settings, you have unlocked the potential to elevate the audio quality and versatility of your gaming headset.
Through the process of connecting the gaming headset to the audio mixer, you have bridged the gap between consumer-grade audio equipment and professional audio processing, enabling greater control and customization over the audio output. This integration empowers you to tailor the sound to your preferences, whether you are gaming, creating content, or engaging in live communication, fostering a more immersive and engaging audio experience.
By adjusting the settings on the audio mixer to optimize the audio output from the gaming headset, you have harnessed the mixer’s capabilities to achieve a balanced, clear, and tailored sound that aligns with your unique preferences and usage scenarios. The ability to fine-tune the input gain, EQ settings, and spatial positioning has allowed you to sculpt the audio output to perfection, ensuring that the gaming headset delivers the desired sonic characteristics.
Thoroughly testing the gaming headset with the audio mixer has provided valuable insights into the effectiveness of the integration and the impact of the adjustments made. By evaluating the audio quality, microphone performance, and the application of audio effects, you have validated the seamless functionality and enhanced audio experience facilitated by the combined setup.
As you venture forth with your newly integrated gaming headset and audio mixer setup, you are equipped with the knowledge and skills to harness the full potential of your audio equipment. Whether you are a gamer seeking heightened immersion, a content creator pursuing professional audio quality, or a podcaster aiming for articulate vocal reproduction, the integration of the gaming headset with an audio mixer has expanded your creative horizons and elevated your audio capabilities.
Embrace this newfound synergy between your gaming headset and audio mixer, and explore the myriad possibilities for enriching your audio experiences. With the power to seamlessly integrate and optimize your audio setup, you are poised to embark on a captivating audio journey, where every sound comes to life with precision, clarity, and impact.