Introduction
Welcome to the world of home security and convenience with the Arlo Wired Video Doorbell. Say goodbye to missed visitors and package theft, and hello to peace of mind. This comprehensive guide will walk you through the process of setting up your Arlo Wired Video Doorbell, connecting it to your Wi-Fi, and customizing it to fit your needs.
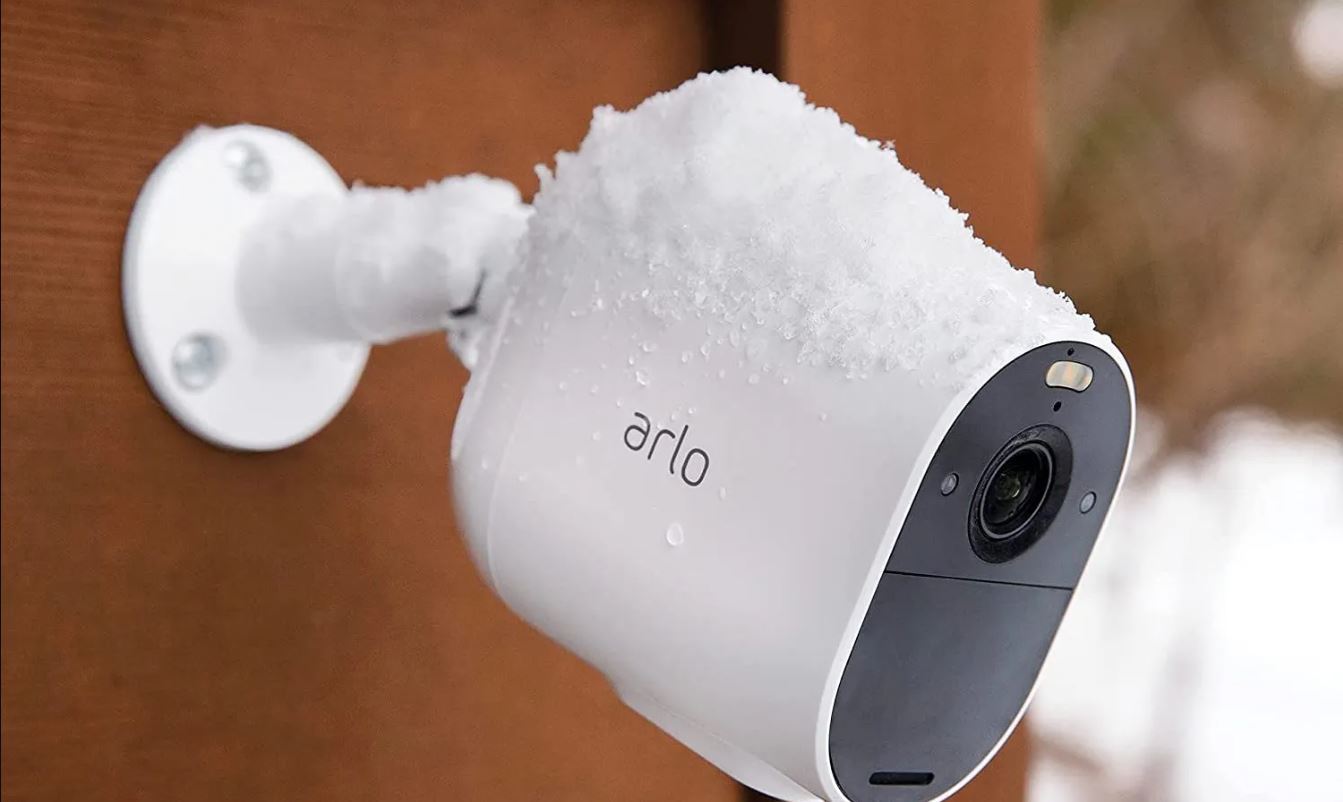
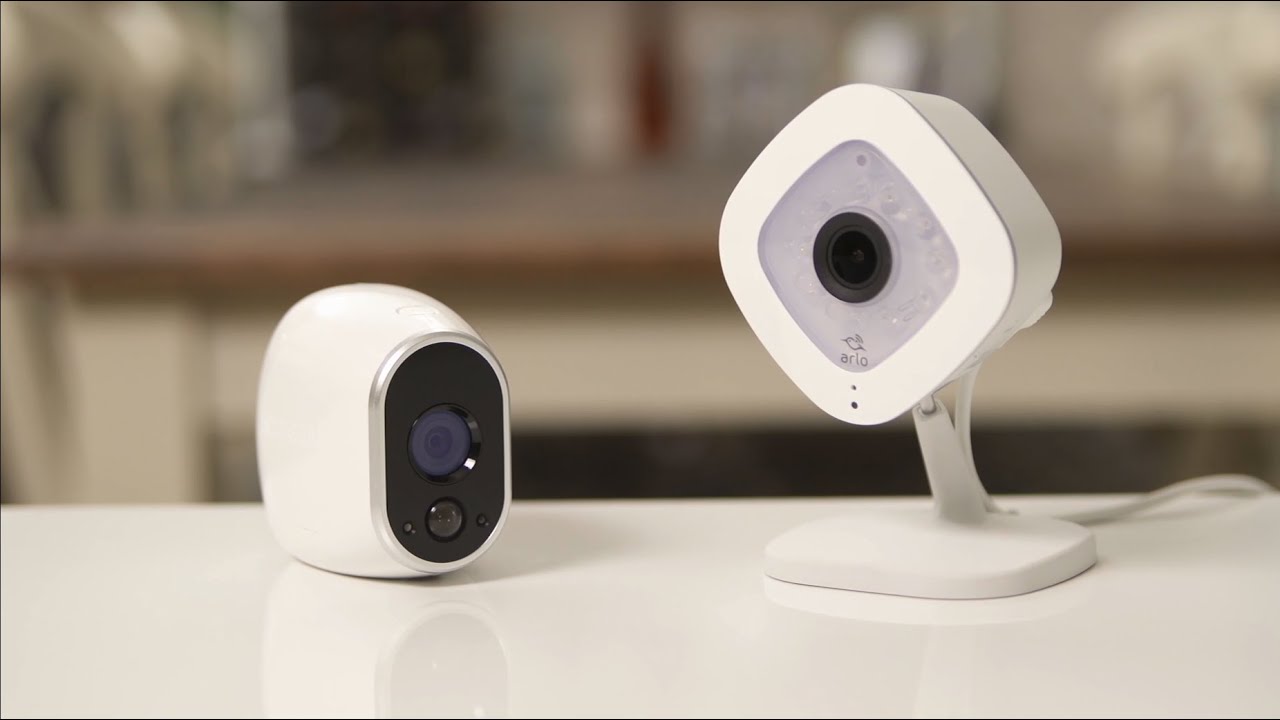
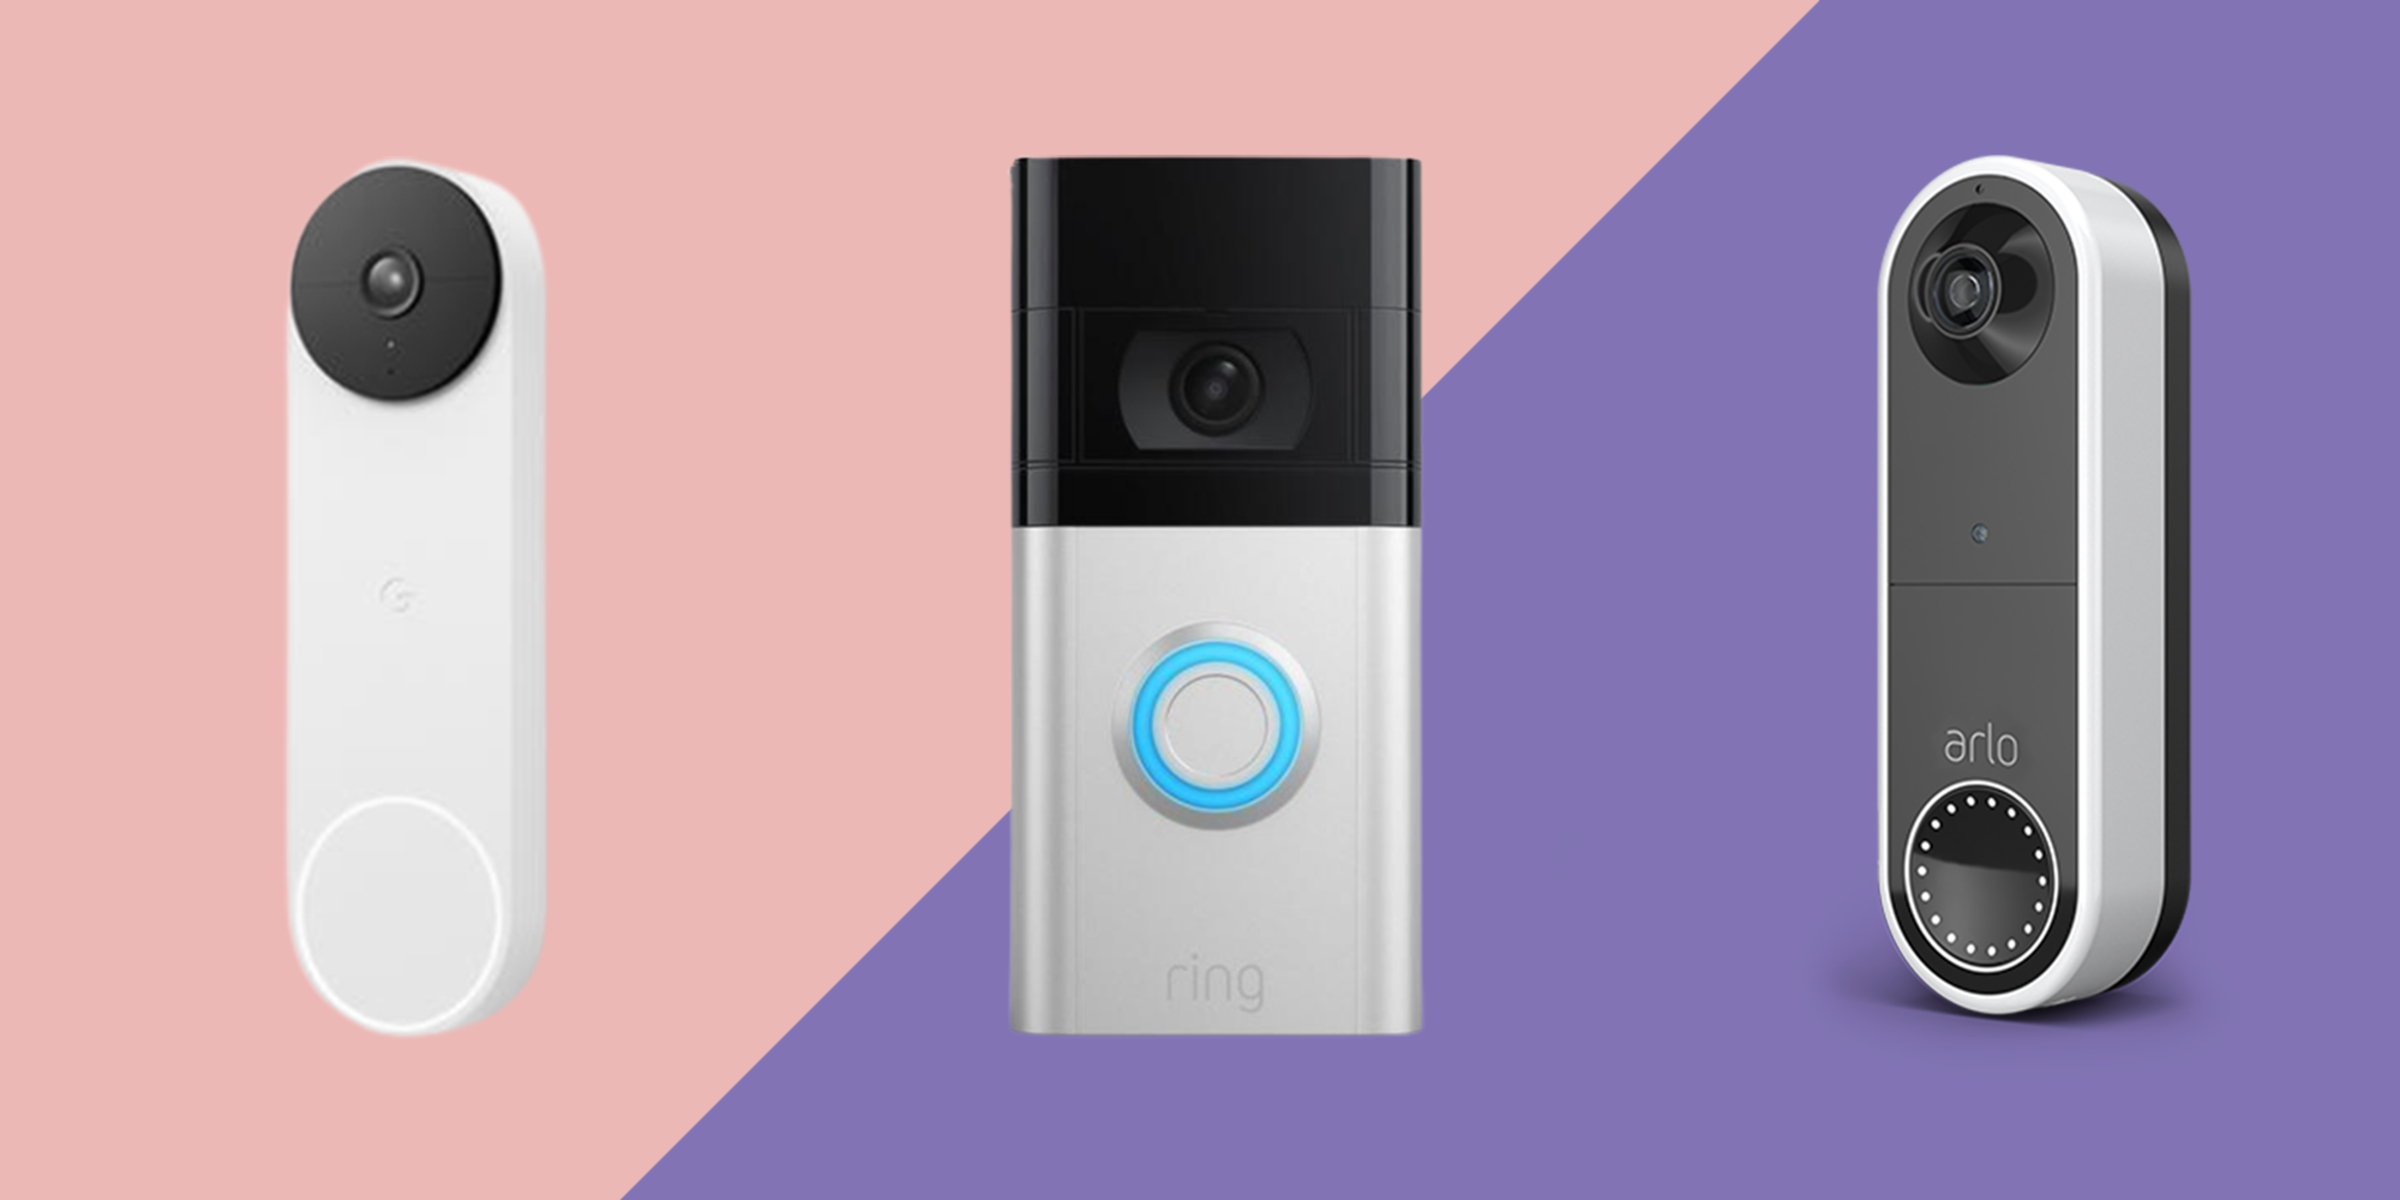
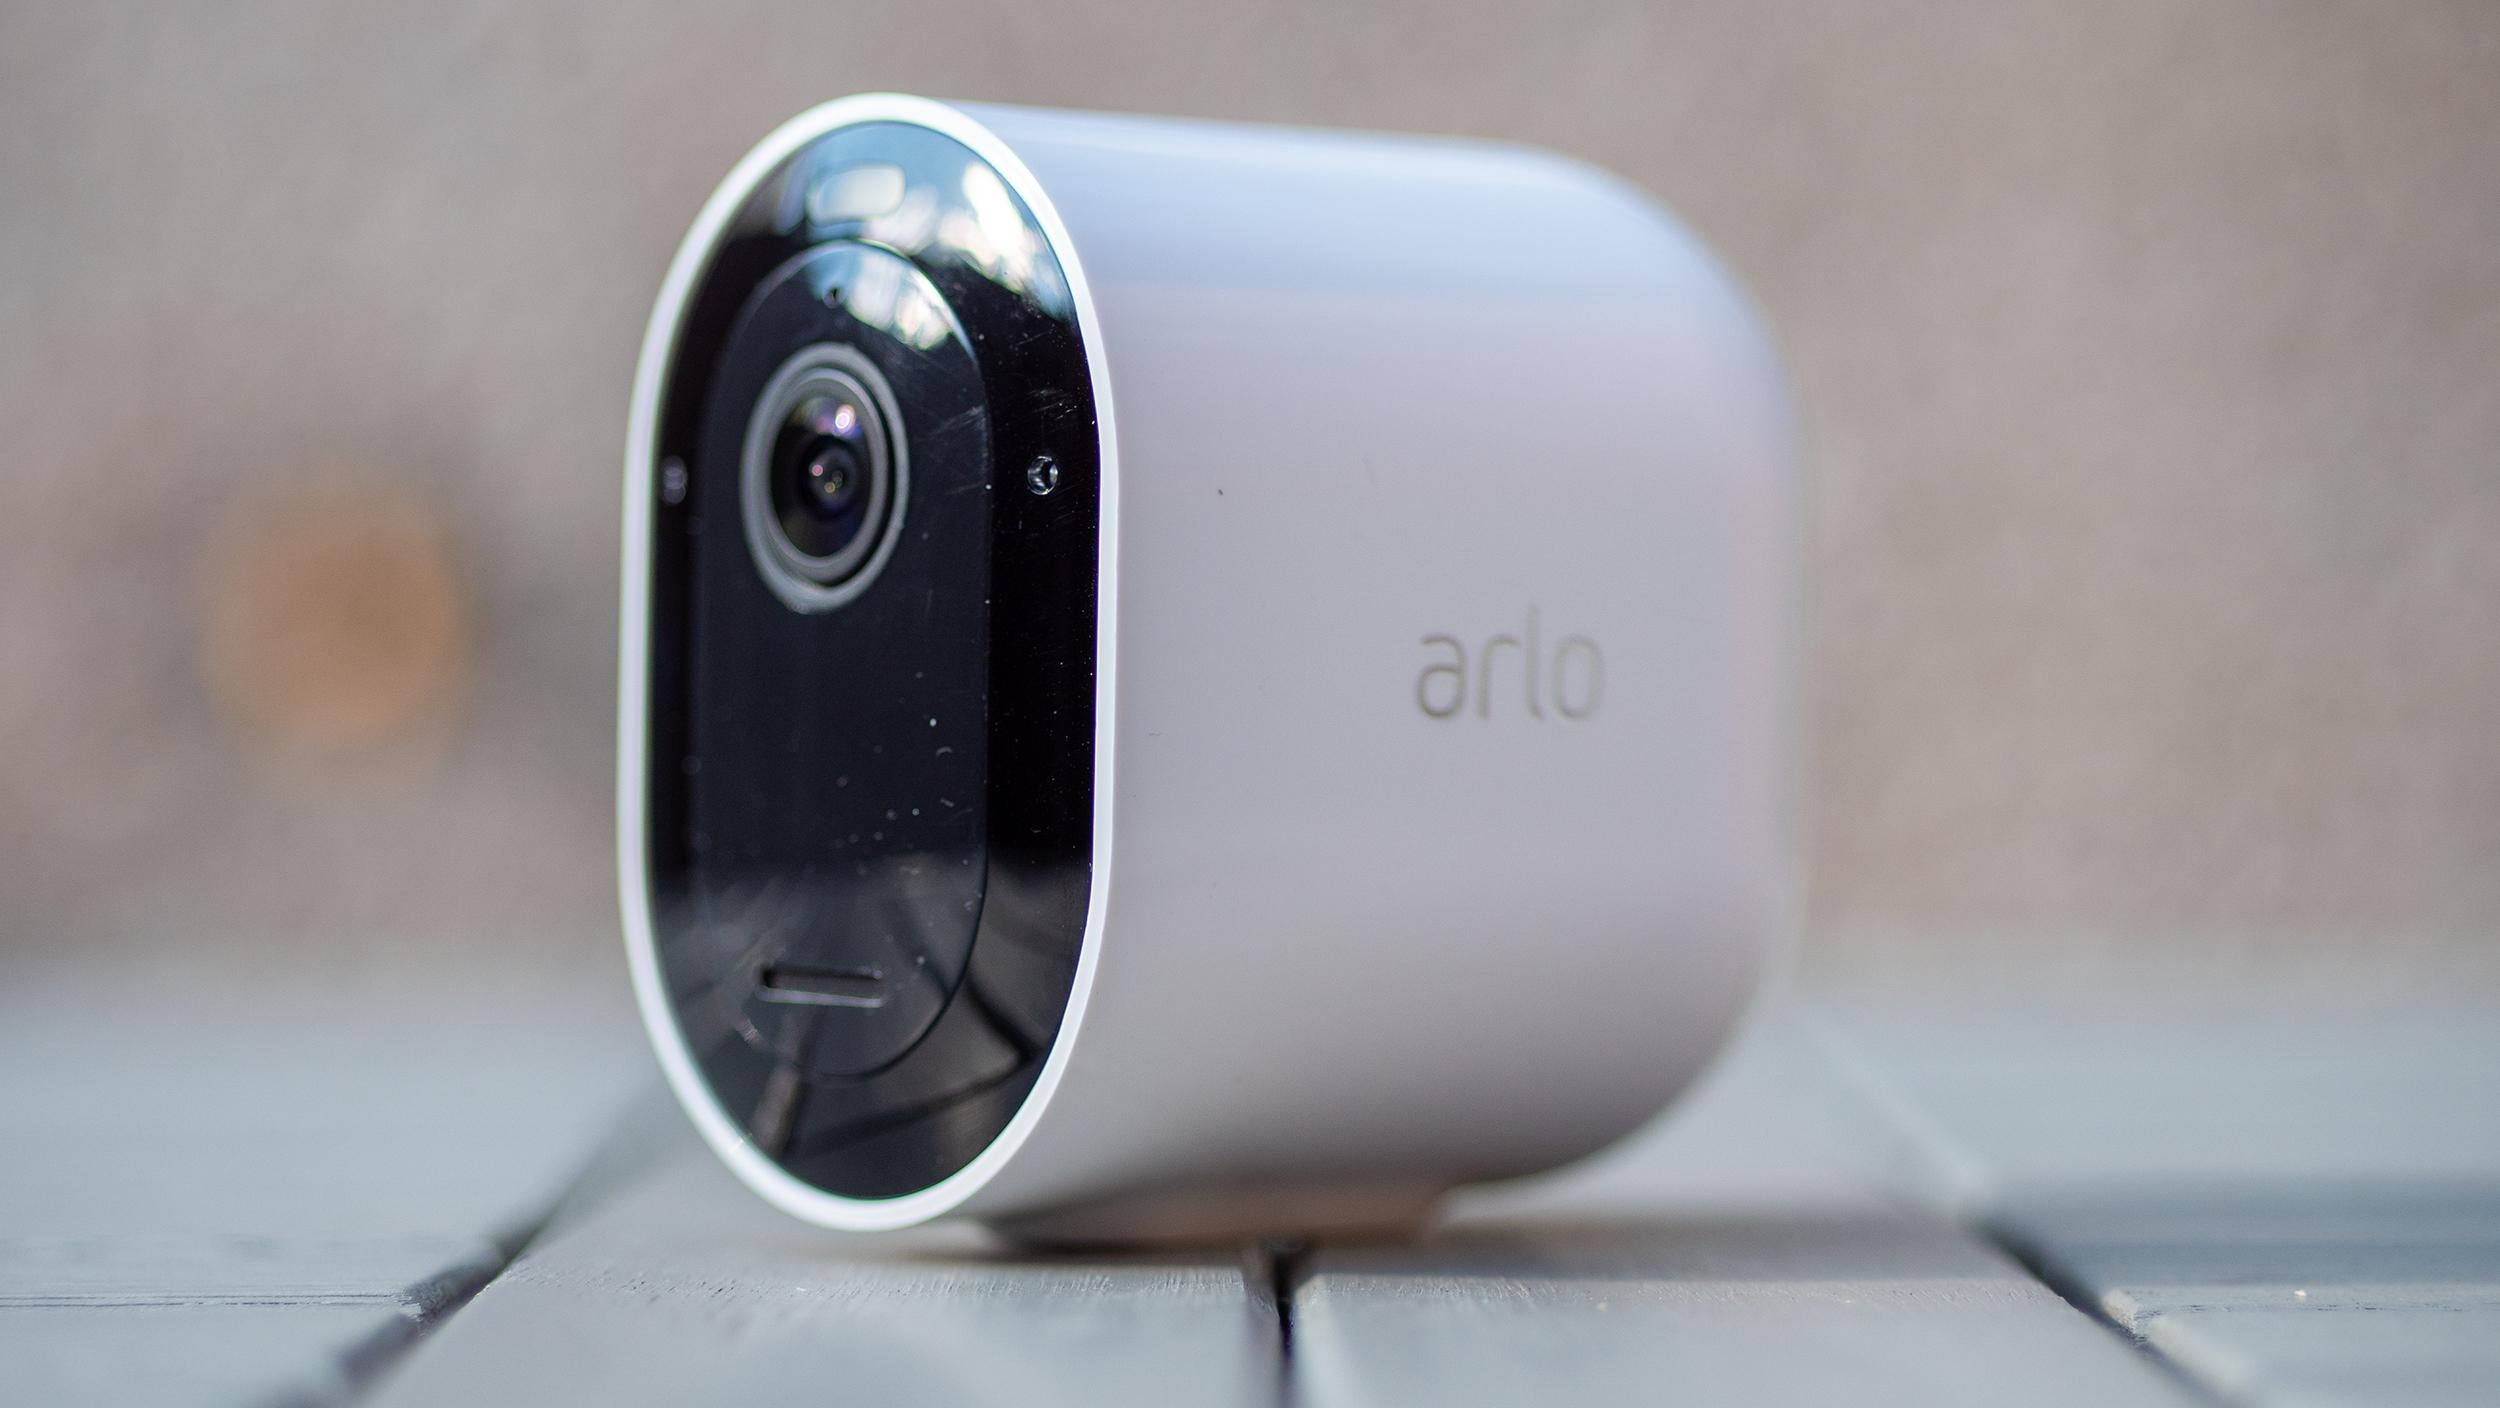
The Arlo Wired Video Doorbell is a state-of-the-art smart doorbell that allows you to see, hear, and speak to anyone at your front door from anywhere using your smartphone. With its HD video quality, two-way audio, and motion detection capabilities, you can keep an eye on your doorstep and communicate with visitors even when you’re not home.
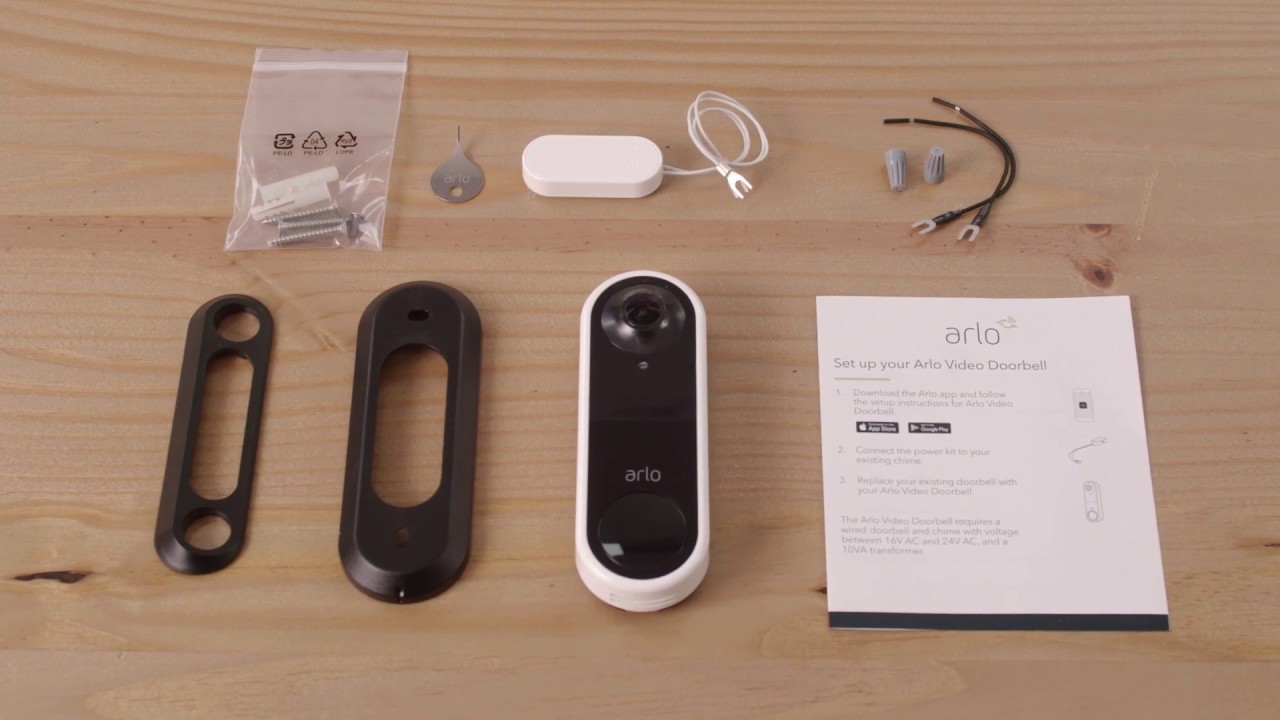
Before we dive into the installation process, it’s important to note that the Arlo Wired Video Doorbell requires an existing doorbell wiring and a compatible chime kit. Make sure you have these in place before proceeding.
Once you have the necessary components, installing the Arlo Wired Video Doorbell is a relatively easy process. Simply follow the step-by-step instructions provided in this guide, and you’ll have your doorbell up and running in no time.
After the installation, we’ll guide you through connecting your doorbell to your Wi-Fi network, allowing you to access all the features and functionalities of the Arlo Wired Video Doorbell using the Arlo app on your smartphone or tablet.
Furthermore, we’ll show you how to customize your doorbell settings to tailor it to your specific preferences. From adjusting motion sensitivity and creating custom activity zones to enabling notifications and integrating with other smart home devices, you’ll have complete control over your Arlo Doorbell.
If you encounter any issues along the way, don’t worry. We’ll provide troubleshooting tips to help you troubleshoot common problems and ensure that your Arlo Wired Video Doorbell is functioning optimally.
So, let’s get started and unlock the full potential of your Arlo Wired Video Doorbell!
Preparing for Installation
Before you begin the installation process, it’s essential to gather all the necessary tools and materials to ensure a smooth setup. Here’s what you’ll need:
- A screwdriver (both flathead and Phillips head)
- A drill with a 3/32″ drill bit
- A voltage tester
- An existing doorbell wiring and compatible chime kit
- A smartphone or tablet with the Arlo app installed
Once you have everything ready, it’s important to turn off the power to your existing doorbell system. Locate the breaker or fuse that controls the doorbell circuit and switch it off to prevent any electrical accidents during the installation process.
To ensure safety, use a voltage tester to verify that the power is indeed off before proceeding. Simply touch the tester to the doorbell wires to confirm that no electricity is running through them.
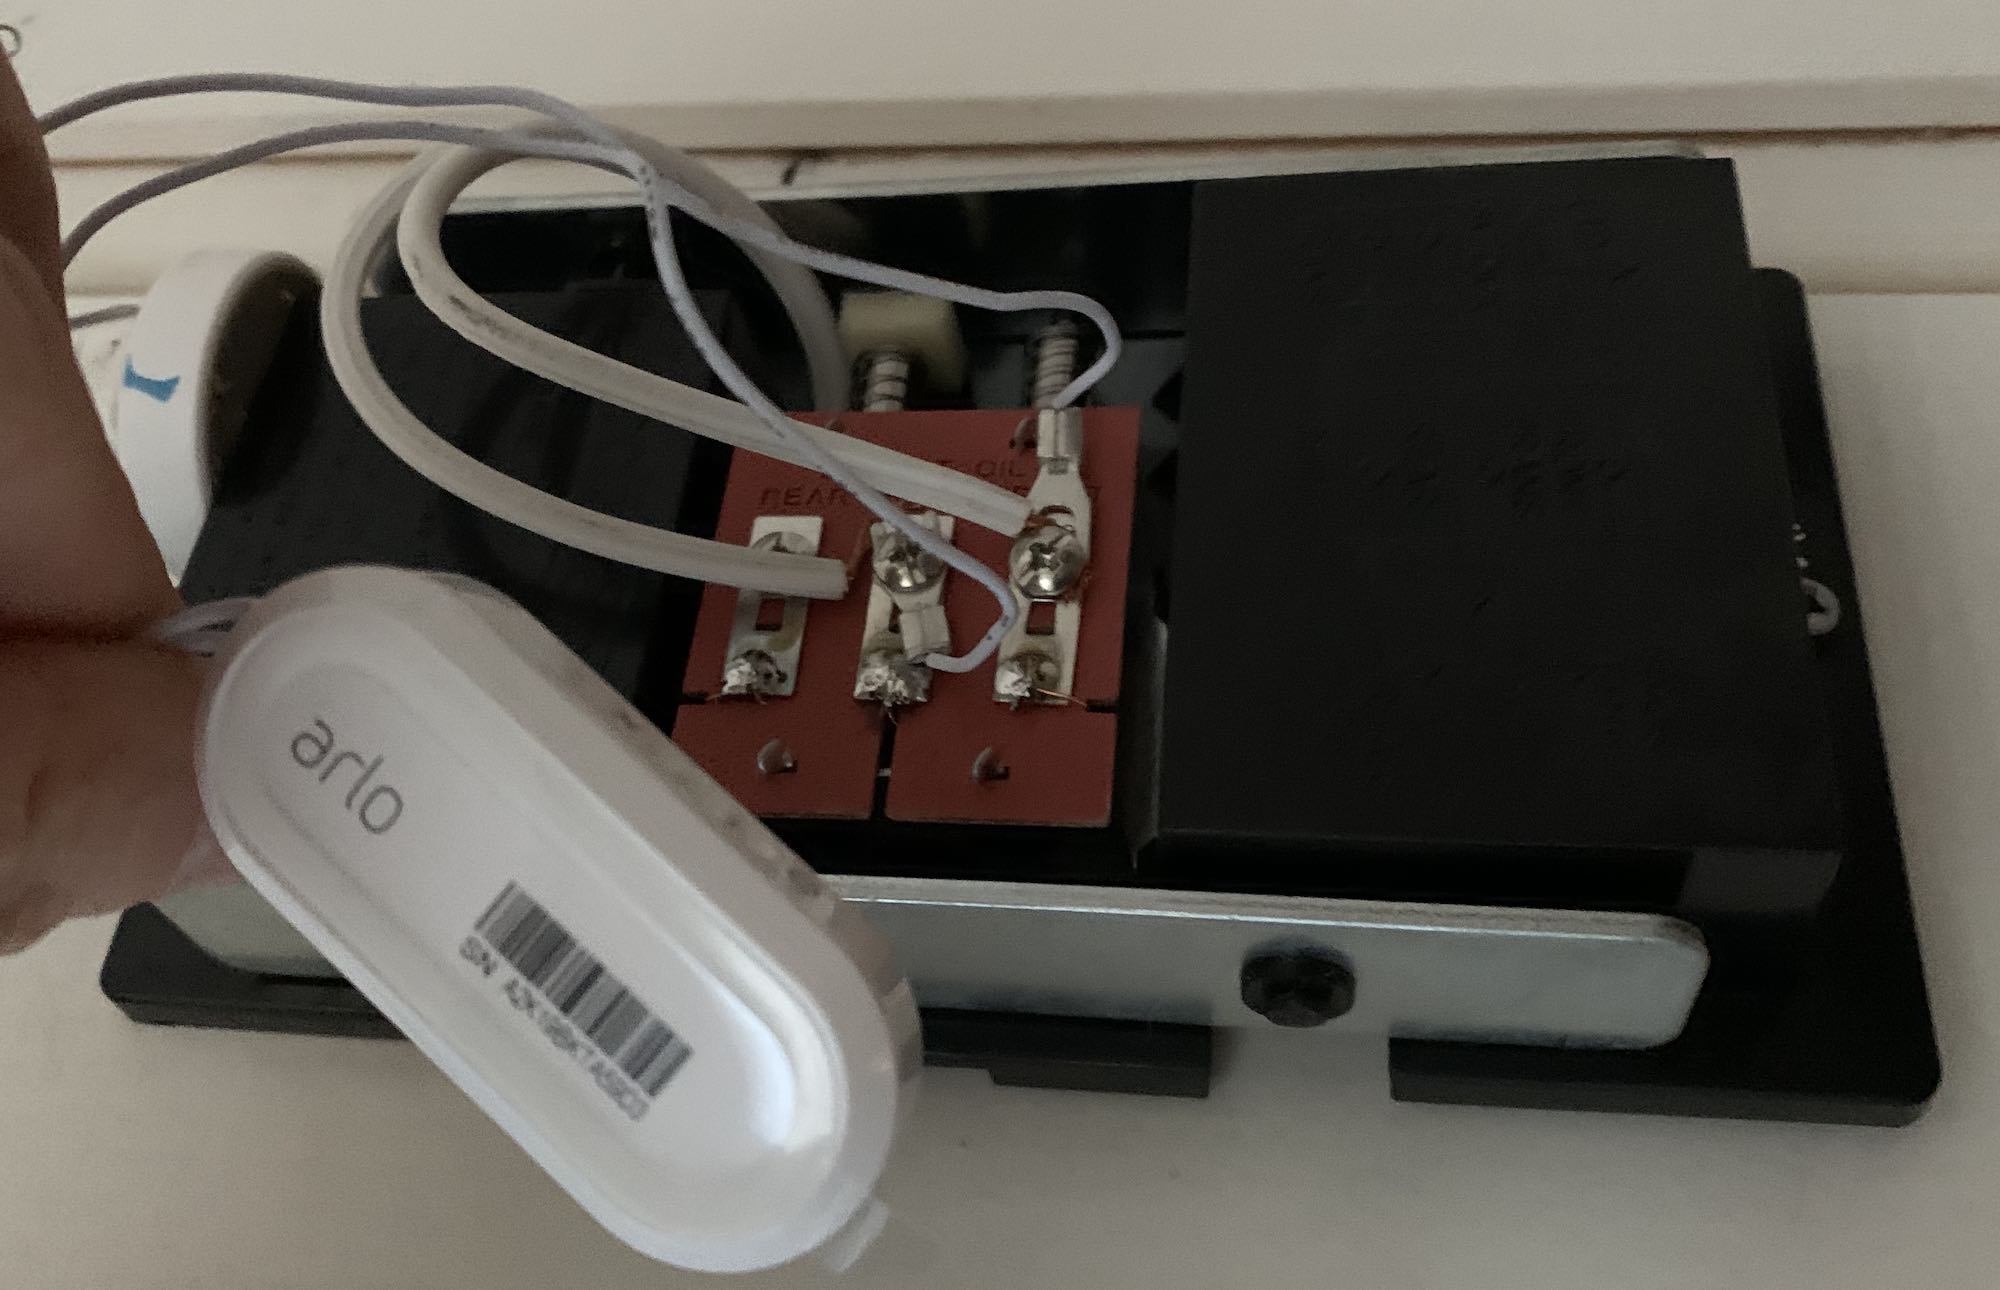
Next, remove your existing doorbell button and disconnect the wires. Take note of the wire colors and their corresponding terminals as you will need this information during the Arlo Doorbell installation.
Before mounting the Arlo Doorbell, take a moment to choose the appropriate location. Ensure that the area is clear and unobstructed to provide a clear view of the front door. Consider the height and angle that will give you the best coverage and minimize false alerts.
Now, it’s time to mount the Arlo Wired Video Doorbell. Use the provided mounting plate and the appropriate screws for your mounting surface (wood, concrete, or other). If needed, use a drill with a 3/32″ drill bit to create pilot holes for the screws.
Before completing the installation, it’s crucial to connect the wires from your existing doorbell system to the Arlo Doorbell. Match the colors of the wires, connecting them to their corresponding terminals. This will provide power and allow your Arlo Doorbell to work correctly.
Once the wires are securely connected, attach the Arlo Doorbell to the mounting plate using the provided screws. Ensure that it is stable and properly aligned with your door frame.
With the physical installation complete, it’s time to move on to connecting your Arlo Wired Video Doorbell to your Wi-Fi network. We’ll guide you through that process in the next section.
Installing the Arlo Wired Video Doorbell
Now that you have prepared the necessary tools and materials, it’s time to install your Arlo Wired Video Doorbell. Follow these step-by-step instructions to ensure a successful installation:
- Open the Arlo app on your smartphone or tablet, or download it if you haven’t already.
- In the Arlo app, tap on the “+” icon to add a new device.
- Select “Doorbell” from the list of available Arlo devices.
- Follow the on-screen instructions to set up the Arlo Doorbell.
- Connect your smartphone or tablet to the Wi-Fi network that you want to use for your Arlo Doorbell.
- In the Arlo app, select the Wi-Fi network that you want to connect the doorbell to.
- Confirm the Wi-Fi network password if prompted.
- The app will detect the Arlo Doorbell and prompt you to proceed with the installation.
- Follow the instructions in the app to connect the wires from the Arlo Doorbell to the corresponding terminals.
- Once the wires are connected, the Arlo Doorbell will power on and you’ll see a blue LED light indicating that it’s ready for setup.
- In the app, select the Arlo Doorbell from the list of available devices and follow the on-screen instructions to complete the setup process.
- You will be asked to assign a location to your doorbell and configure settings such as motion detection sensitivity and activity zones.
- Once the setup is complete, you can test the doorbell by pressing the button and verifying that you receive a notification and can see and hear the live video feed from your Arlo Doorbell.
Remember, it’s important to install the Arlo Doorbell within the recommended operating temperature range and keep it protected from direct sunlight, rain, and extreme weather conditions to ensure optimal performance.
With the Arlo Wired Video Doorbell successfully installed, it’s time to connect it to your Wi-Fi network. We’ll guide you through the process in the next section.
Connecting the Arlo Doorbell to Your Wi-Fi
Once you have installed your Arlo Wired Video Doorbell, the next step is to connect it to your Wi-Fi network. This will allow you to access the doorbell’s features and receive notifications on your smartphone or tablet. Follow these steps to ensure a seamless connection:
- Ensure that your smartphone or tablet is connected to the same Wi-Fi network that you want to use for the Arlo Doorbell.
- Open the Arlo app and select your Arlo Doorbell from the device list.
- In the doorbell’s settings, tap on “Wi-Fi Settings” or a similar option.
- Follow the on-screen instructions to put your Arlo Doorbell into Wi-Fi pairing mode.
- On your smartphone or tablet, go to the Wi-Fi settings and look for a network name similar to “Arlo-XXXX”.
- Select the Arlo Wi-Fi network and enter the password if prompted.
- Wait for the Arlo Doorbell to establish a connection with your Wi-Fi network. This may take a few moments.
- Once connected, return to the Arlo app and tap on “Next” to complete the Wi-Fi setup.
It’s important to note that during the Wi-Fi setup process, your smartphone or tablet will be temporarily disconnected from your regular home Wi-Fi network. This is because it is connecting to the Arlo Doorbell’s Wi-Fi network to facilitate the initial setup.
Once the Arlo Doorbell is successfully connected to your home Wi-Fi network, you will regain access to your regular Wi-Fi connection on your smartphone or tablet.
Having your Arlo Doorbell connected to your Wi-Fi network opens up a world of possibilities. You can now remotely view live video feeds, receive notifications when someone rings the doorbell, communicate with visitors, and access other advanced features through the Arlo app.
In the next section, we will explore how you can customize your Arlo Doorbell settings to suit your preferences and enhance your home security.
Customizing Your Doorbell Settings
Now that your Arlo Wired Video Doorbell is installed and connected to your Wi-Fi network, it’s time to customize the settings to suit your preferences. With the Arlo app, you have the flexibility to personalize various aspects of your doorbell’s functionality. Here’s how you can do it:
- Open the Arlo app on your smartphone or tablet and select your Arlo Doorbell from the device list.
- Navigate to the settings menu for your doorbell by tapping on the gear icon or a similar option.
- Here, you’ll find a range of customizable settings to enhance the performance and functionality of your Arlo Doorbell.
- Adjust the motion detection sensitivity to your desired level. You can fine-tune it based on your specific preferences and the environment around your front door.
- Create custom activity zones to receive more targeted motion alerts. By drawing virtual boundaries around specific areas in the camera’s field of view, you can reduce false notifications from irrelevant movements.
- Enable or disable push notifications to receive alerts on your smartphone or tablet when someone presses the doorbell or when motion is detected. This allows you to stay informed about any activity at your front door, whether you’re at home or away.
- Explore additional settings, such as adjusting the video resolution, enabling night vision, configuring two-way audio, and enabling or disabling the siren. These settings will allow you to tailor the doorbell’s behavior to your specific requirements.
- Integrate your Arlo Doorbell with other smart home devices and platforms, such as Amazon Alexa or Google Assistant, to enhance the automation and convenience of your home security system.
- Regularly check for firmware updates in the Arlo app and install them when available. Firmware updates often come with bug fixes, performance improvements, and new features that can enhance the overall user experience.
By customizing these settings, you can optimize your Arlo Doorbell to match your unique needs and preferences. Whether you want more precise motion detection, specific notifications, or integration with other devices, the Arlo app offers the flexibility to customize your doorbell’s settings.
In the next section, we’ll delve into how you can use the Arlo app to access and manage your Arlo Wired Video Doorbell efficiently.
Using the Arlo App
The Arlo app is your gateway to accessing and managing the features and functionalities of your Arlo Wired Video Doorbell. With this user-friendly app, you have full control over your doorbell from the convenience of your smartphone or tablet. Here’s how you can make the most of the Arlo app:
- Open the Arlo app on your smartphone or tablet and log in to your Arlo account. If you don’t have an account, you can sign up for one within the app.
- Upon logging in, you’ll see an overview of your Arlo devices, including your Arlo Doorbell. Tap on the doorbell’s thumbnail to access the live view and other settings.
- From the live view screen, you can see a real-time video feed from your Arlo Doorbell. You can also hear and speak to visitors using the two-way audio feature.
- Swipe down on the live view screen to access additional features, such as taking a snapshot, recording a video clip, adjusting the volume, or activating the siren.
- To review previous recordings, navigate to the library section of the Arlo app. Here, you can access saved video clips, filter them based on specific criteria, and download or share them if needed.
- Enable motion detection notifications through the app’s settings to receive alerts whenever motion is detected near your Arlo Doorbell.
- Adjust other doorbell settings, such as motion sensitivity, activity zones, and audio preferences, all from within the Arlo app.
- For enhanced convenience, add family members or trusted individuals to your Arlo account, granting them access to the Arlo app and allowing them to receive notifications and manage the doorbell as well.
- Explore the app’s other features, such as scheduling, geofencing, and automation options, to create a customized experience that aligns with your lifestyle and security needs.
The Arlo app provides a seamless and intuitive user experience, empowering you to monitor and control your Arlo Wired Video Doorbell effortlessly. Whether you’re at home, at work, or on the go, the app allows you to stay connected and informed about the activity at your doorstep.
In the next section, we’ll address some common troubleshooting tips to help you resolve any issues you may encounter with your Arlo Doorbell.
Troubleshooting Tips
While the Arlo Wired Video Doorbell is designed to provide a seamless user experience, you may encounter occasional issues or glitches. Here are some troubleshooting tips to help you resolve common problems and ensure smooth operation:
- Check the power supply: Make sure that your Arlo Doorbell is receiving a consistent power supply from your existing doorbell wiring. Confirm that the wires are securely connected to the appropriate terminals and that the power is turned on.
- Verify Wi-Fi connectivity: If you’re having trouble connecting your Arlo Doorbell to your Wi-Fi network, check your Wi-Fi signal strength and ensure that your smartphone or tablet is connected to the same network. Restarting your router or repositioning it closer to the doorbell can also improve connectivity.
- Update the Arlo app and firmware: Ensure that you have the latest version of the Arlo app installed on your smartphone or tablet. Additionally, regularly check for firmware updates for your Arlo Doorbell in the app’s settings and install them when available.
- Reset and reconfigure: If you’re experiencing persistent issues, try resetting your Arlo Doorbell by pressing and holding the reset button for approximately 10 seconds. Afterward, follow the initial installation process to reconfigure the doorbell.
- Check internet and network stability: Verify that your internet connection is stable and that there are no network outages or issues. Unreliable internet connectivity can affect the performance of your Arlo Doorbell.
- Adjust motion detection settings: If you’re receiving excessive or false motion alerts, adjust the motion sensitivity and activity zone settings in the Arlo app. Fine-tuning these settings can help reduce false positives.
- Ensure proper placement: Confirm that the Arlo Doorbell is mounted securely and in an optimal position. Ensure that it has a clear line of sight to capture video footage and that it is not obstructed by objects or direct sunlight.
- Contact Arlo support: If you have tried all the troubleshooting tips and are still experiencing issues with your Arlo Doorbell, reach out to Arlo’s customer support for further assistance. They can provide specific troubleshooting steps or offer a potential solution.
By following these troubleshooting tips, you can quickly resolve common issues and keep your Arlo Wired Video Doorbell running smoothly. Remember, if you encounter any persistent or severe problems, don’t hesitate to seek support from Arlo’s dedicated customer service team.
Now that you’re equipped with troubleshooting knowledge, you can confidently navigate any technical challenges that may arise with your Arlo Doorbell.
Conclusion
Congratulations on successfully setting up and customizing your Arlo Wired Video Doorbell! With its advanced features and seamless integration with the Arlo app, you now have enhanced security and convenience at your front door.
Throughout this guide, we walked you through the installation process, from preparing for installation to connecting the doorbell to your Wi-Fi network. We also explored how to customize the doorbell’s settings and take full advantage of the Arlo app for remote monitoring and management.
Remember to regularly check for firmware updates and stay connected to your Arlo account to ensure that you have access to the latest features and enhancements for your Arlo Doorbell.
In the event that you encounter any issues or glitches, refer back to the troubleshooting tips we provided to help you resolve them efficiently. And if you need further assistance, don’t hesitate to reach out to Arlo’s customer support for personalized guidance.
We hope that your Arlo Wired Video Doorbell brings you peace of mind and improves your home security. Enjoy the convenience of seeing and interacting with visitors from anywhere and the added layer of protection for your doorstep.
Thank you for choosing the Arlo Wired Video Doorbell. Happy monitoring!