Why you might need to reset your Sensi smart thermostat
To reset a smart thermostat, you need to know the exact button sequence or menu path for your specific Sensi model. A factory reset restores the device to its out-of-box state, wiping all custom schedules, Wi-Fi credentials, and temperature preferences. This is the most effective fix for persistent glitches like unresponsive touchscreens, erratic temperature readings, or when the thermostat repeatedly drops its Wi-Fi connection. It's also the essential step before moving to a new home, ensuring your personal data and usage patterns are completely erased from the device. If your system relies on older hardware, you may instead need to adjust pneumatic thermostats to restore proper temperature control.
Before you trigger a reset, be aware that this action is irreversible. You will lose every saved schedule, all programmed temperature setpoints, and the connection to your home network. If you have a complex weekly schedule or energy-saving routines, take a photo or write down the current settings so you can recreate them after the reset. A reset is not a first-line fix, try simpler solutions like a power cycle or checking for firmware updates through the Sensi app first. Only when those fail, or when you're preparing to move, should you proceed with the factory reset process detailed below.
Before you start: key checks for all models
Performing a factory reset on a thermostat that has low battery power or a locked keypad will not solve the underlying issue. For Sensi Smart (ST55) and Sensi Lite models, open the faceplate and inspect the AA batteries. If they show signs of corrosion or are more than a year old, replace them before attempting any reset. Low batteries can prevent the system from turning on entirely, making it appear as though the thermostat is broken when it simply needs fresh power.
Next, open the Sensi app on your phone and look for the "Keypad Lockout" setting. If this feature is enabled, the physical buttons on the thermostat will not respond to your presses, which can be mistaken for a hardware failure. Disable the lockout from the app, then test the on-device buttons again. Also, note down your current Wi-Fi network name and password, your heating and cooling setpoints, and any daily or weekly schedule you have programmed. You'll need all of this information to reconfigure the thermostat after the reset.
How to factory reset a Sensi Smart Thermostat (non-touchscreen, e.g., ST55)
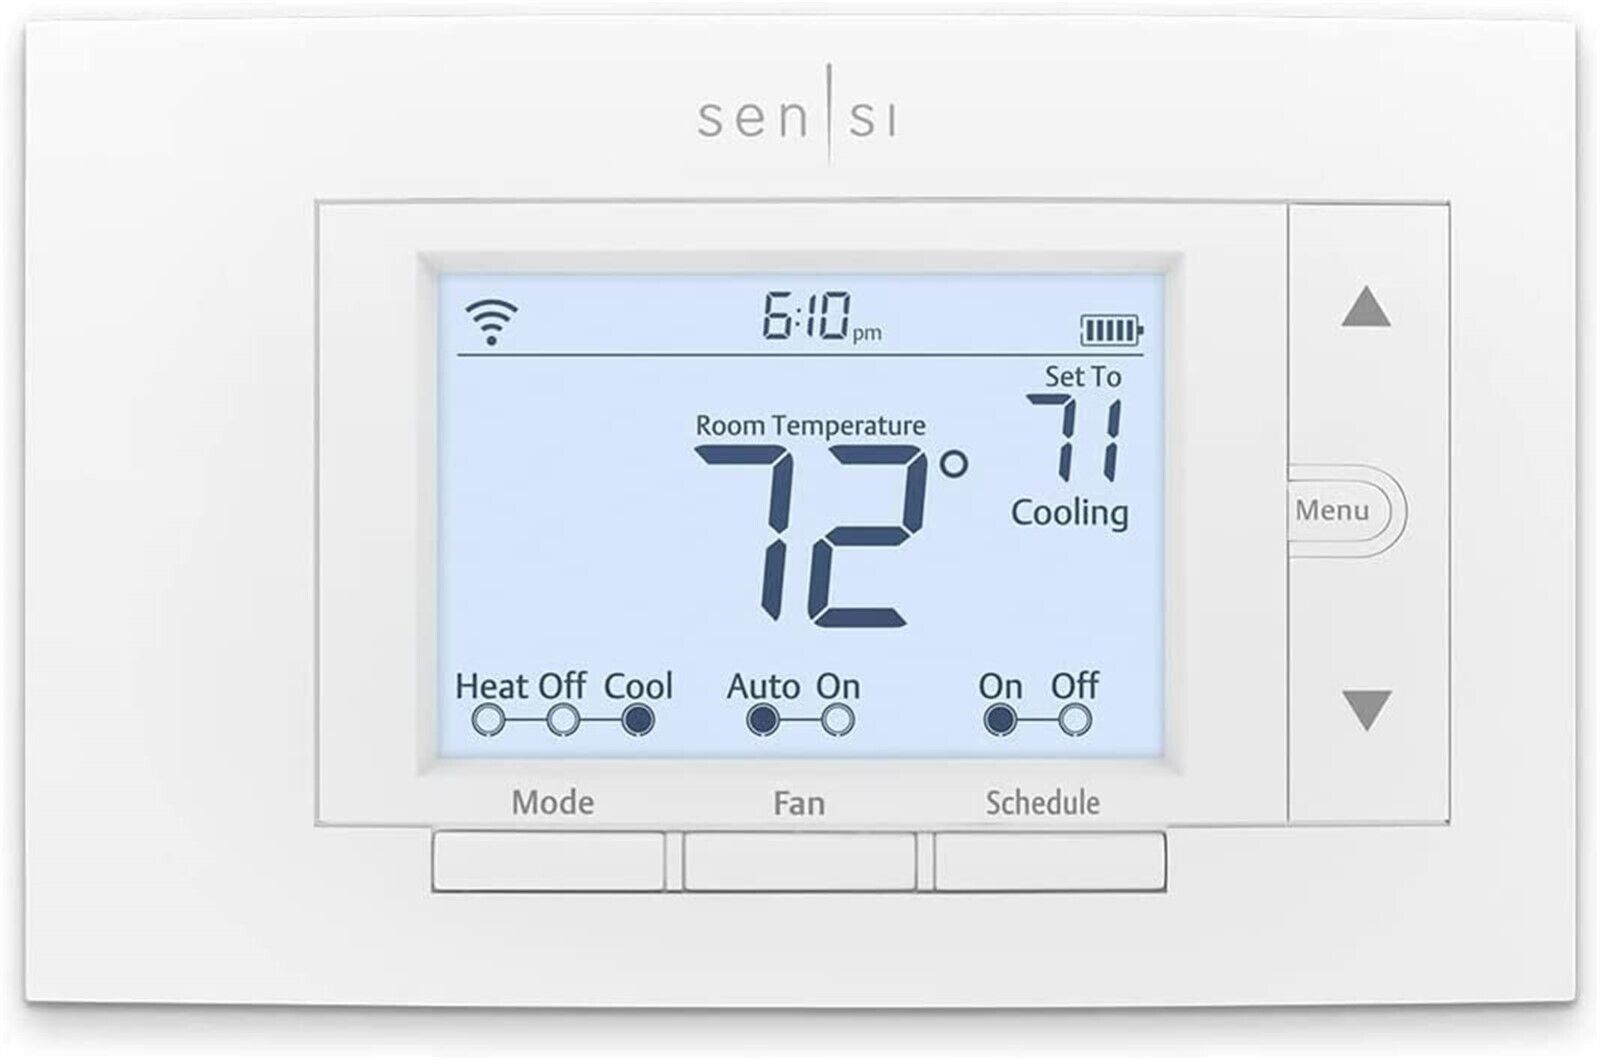
This method applies to the classic Sensi Smart Thermostat with a non-touchscreen display and physical buttons (model ST55). The reset is triggered by a specific three-button combination, not by navigating any menu. Ensure the thermostat is powered on and showing the current temperature before you begin.
- Locate the up-arrow button, the down-arrow button, and the Fan button on the right side of the thermostat.
- Press and hold all three buttons simultaneously.
- Keep holding them until the display flashes and the screen goes blank.
- Release the buttons when the Sensi logo appears or the display reboots.
Once the display returns to a blank or "setup" state, the factory reset is complete. The thermostat will now act as if it were just removed from the box, prompting you to begin the initial installation and Wi-Fi setup process.
How to factory reset a Sensi Lite Smart Thermostat
The Sensi Lite model uses a slightly different button combination than the standard Sensi Smart. Instead of the Fan button, you'll use the menu button, which is marked with three dots (⋯). This reset procedure is equally straightforward and requires no app access.
- Identify the up-arrow, down-arrow, and menu (three dots) buttons on the thermostat.
- Press and hold all three buttons at the same time.
- Continue holding for at least one full second.
- Watch for the display to reset, it will flash and then go blank.
- Release the buttons once the screen clears.
The Sensi Lite will reboot itself and return to factory default settings. After this, you will need to go through the full setup process again, including reconnecting to your Wi-Fi network and re-entering your heating and cooling preferences.
How to factory reset a Sensi Touch or Touch 2 Smart Thermostat
For the touchscreen models, Sensi Touch and Sensi Touch 2, the reset process is entirely menu-driven. There are no hidden pinholes or physical button combinations to worry about. The touchscreen must be responsive for this method to work, so if the display is frozen or unresponsive, skip to the power cycle instructions in the next section.
- Wake up the touchscreen by tapping the display.
- Scroll through the menu options and tap "About thermostat."
- Scroll to the bottom of the "About" screen and tap "Factory Reset."
- Confirm the reset when prompted, the screen will ask you to verify your choice.
- Wait for the thermostat to erase its memory and reboot.
After the reboot, the Sensi Touch will display a welcome screen, indicating that the factory reset was successful. You can then proceed with the initial setup, which includes connecting to your home Wi-Fi network.
How to power cycle (reboot) your Sensi thermostat
If you're experiencing minor issues like a frozen display or temporary Wi-Fi dropouts, a full factory reset might be overkill. A power cycle, essentially a soft reboot, clears the thermostat's temporary memory without erasing your schedules or settings. This is the first troubleshooting step you should try before resorting to a factory reset.
For Sensi Smart and Sensi Lite models, a power cycle involves removing the batteries:
- Gently pull the faceplate away from the wall-mounted base.
- Remove the AA batteries from the compartment.
- Wait for the screen to go completely blank, this confirms the device has lost all power.
- Wait an additional 10 seconds to ensure residual charge is drained.
- Reinsert the batteries, making sure to match the correct polarity.
- Reattach the faceplate and wait for the thermostat to boot up.
For Sensi Touch and Touch 2 models, there are no batteries to remove. Instead, you'll cycle power by detaching the display:
- Firmly grasp the edges of the touchscreen faceplate.
- Pull the faceplate straight off the mounted sub-base.
- Wait for the touchscreen to go completely blank.
- Leave it detached for at least 30 seconds.
- Push the faceplate back onto the sub-base until it clicks into place.
- Wait for the thermostat to power up and display the home screen.
A power cycle will not erase your Wi-Fi settings or schedules. If the thermostat still misbehaves after a power cycle, then proceed with the factory reset method for your specific model.
Setting up your thermostat after a reset
After a factory reset, your Sensi thermostat will enter setup mode automatically. The first step is to connect it to your Wi-Fi network. Open the Sensi app on your smartphone, create a new account or log in to your existing one, and follow the on-screen prompts to install your Sensi smart thermostat. The app will search for the thermostat in pairing mode and guide you through entering your Wi-Fi password.
If the thermostat fails to connect, try moving it closer to your router during setup, or restart your router and attempt the connection again. You can also try to connect a Honeywell smart thermostat to a Wi-Fi network using the same app, but for Sensi devices, the process is contained entirely within the Sensi app. Once connected, you'll need to reconfigure your temperature setpoints and rebuild any schedules you had previously. Refer to the notes or screenshots you took before the reset to recreate your preferred heating and cooling times.
If the thermostat still isn't working correctly after the reset and re-setup, check for firmware updates in the Sensi app. An outdated firmware version can cause persistent connectivity issues. You can also try a second factory reset, but if the problem remains, the hardware may be faulty. In that case, contact Sensi customer support directly or consult the user manual for advanced troubleshooting steps. A reset solves most software-related issues, but it cannot repair physical damage to the thermostat's internal components.