Introduction
Welcome to our guide on how to install and set up the Skybell HD Video Doorbell. In today’s fast-paced world, ensuring the safety and security of your home is a top priority. The Skybell HD Video Doorbell offers a convenient and reliable solution to monitor your front door and interact with visitors, whether you’re at home or on the go.
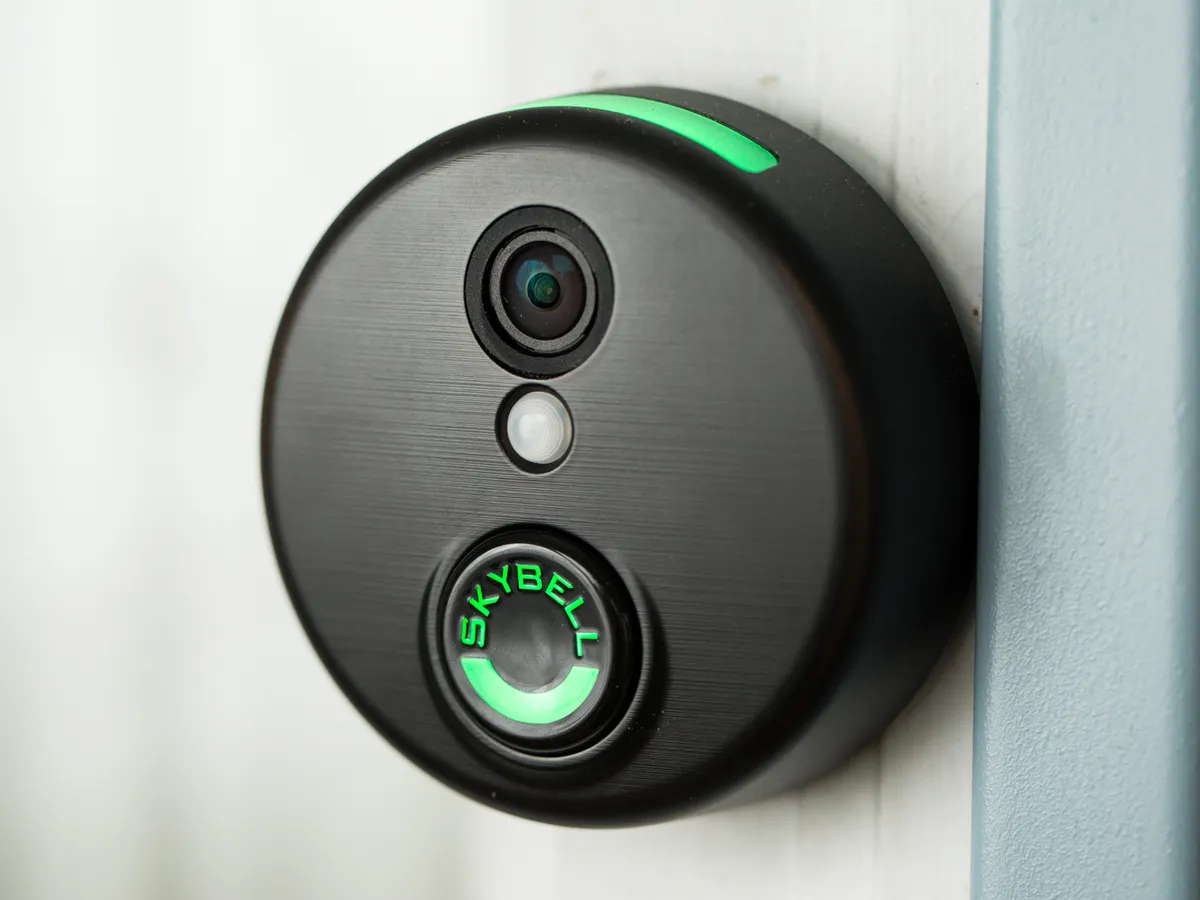
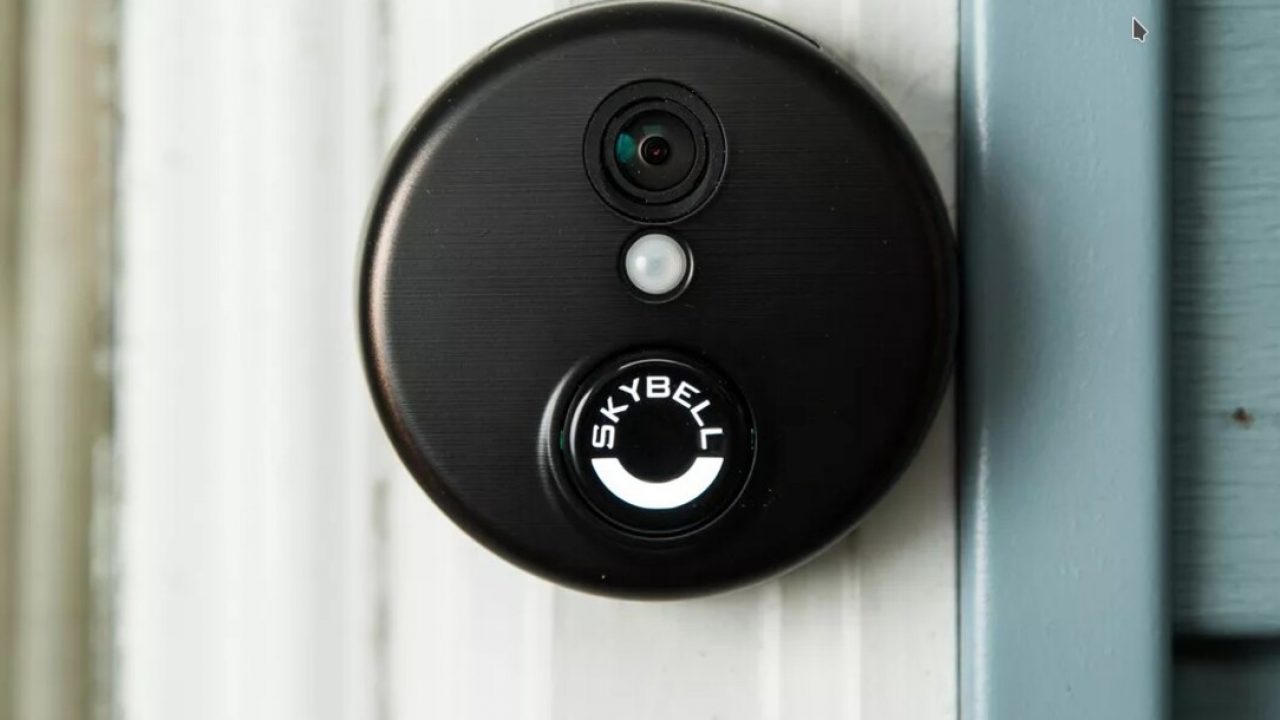
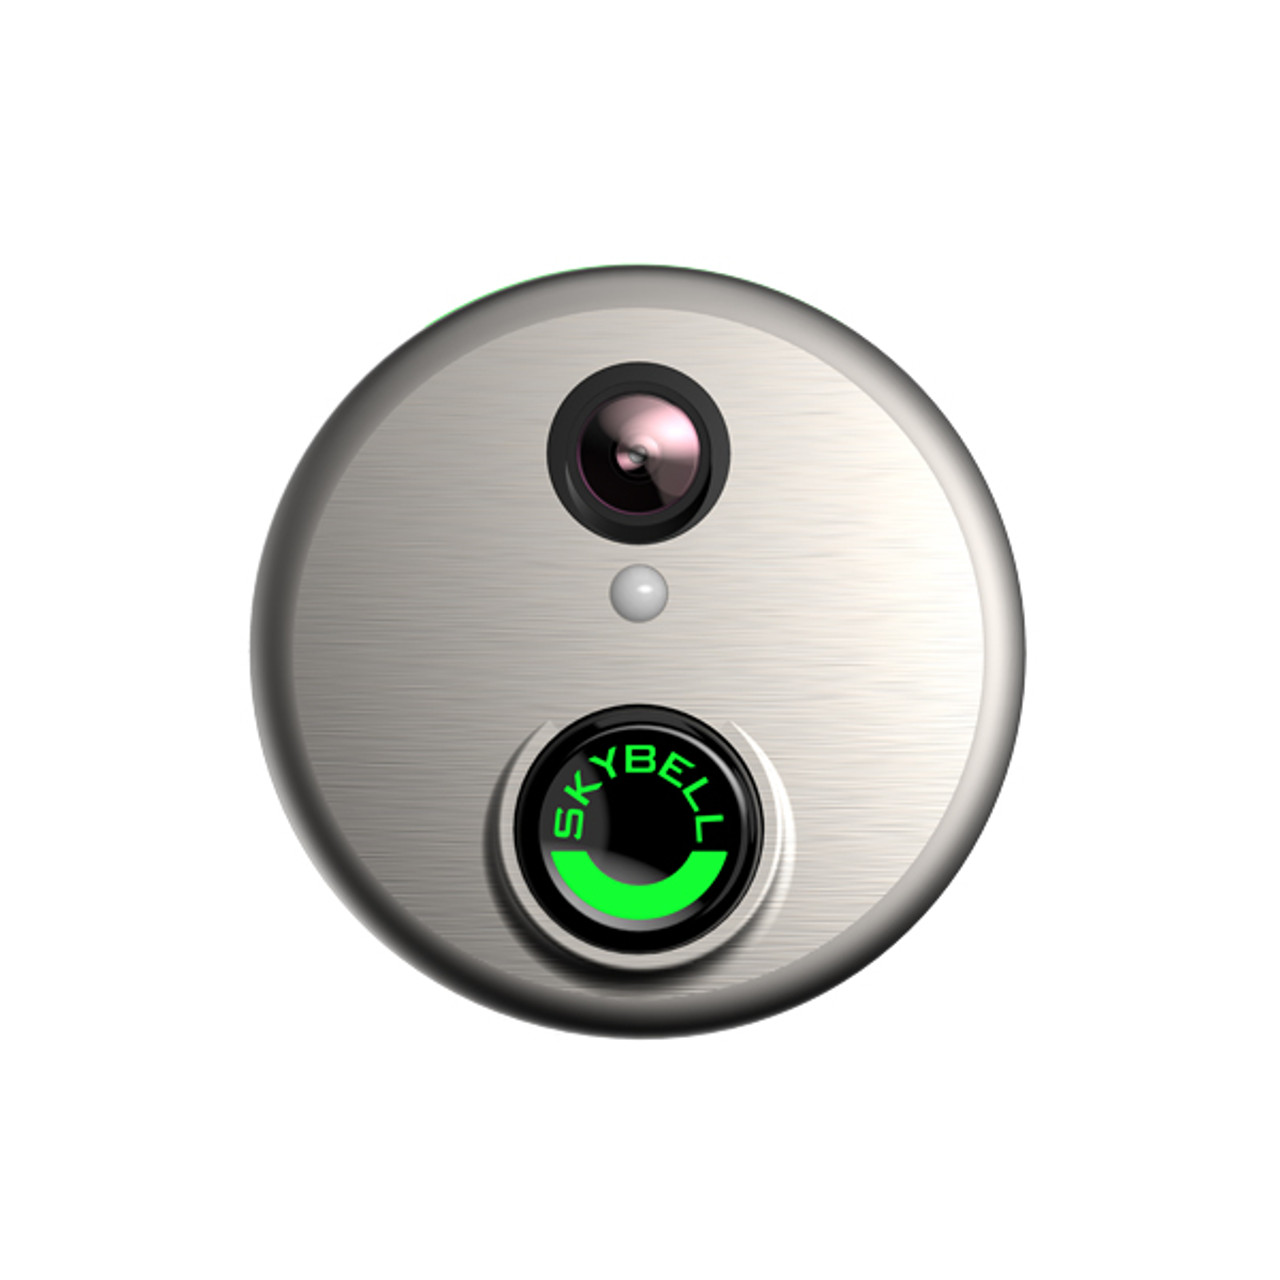
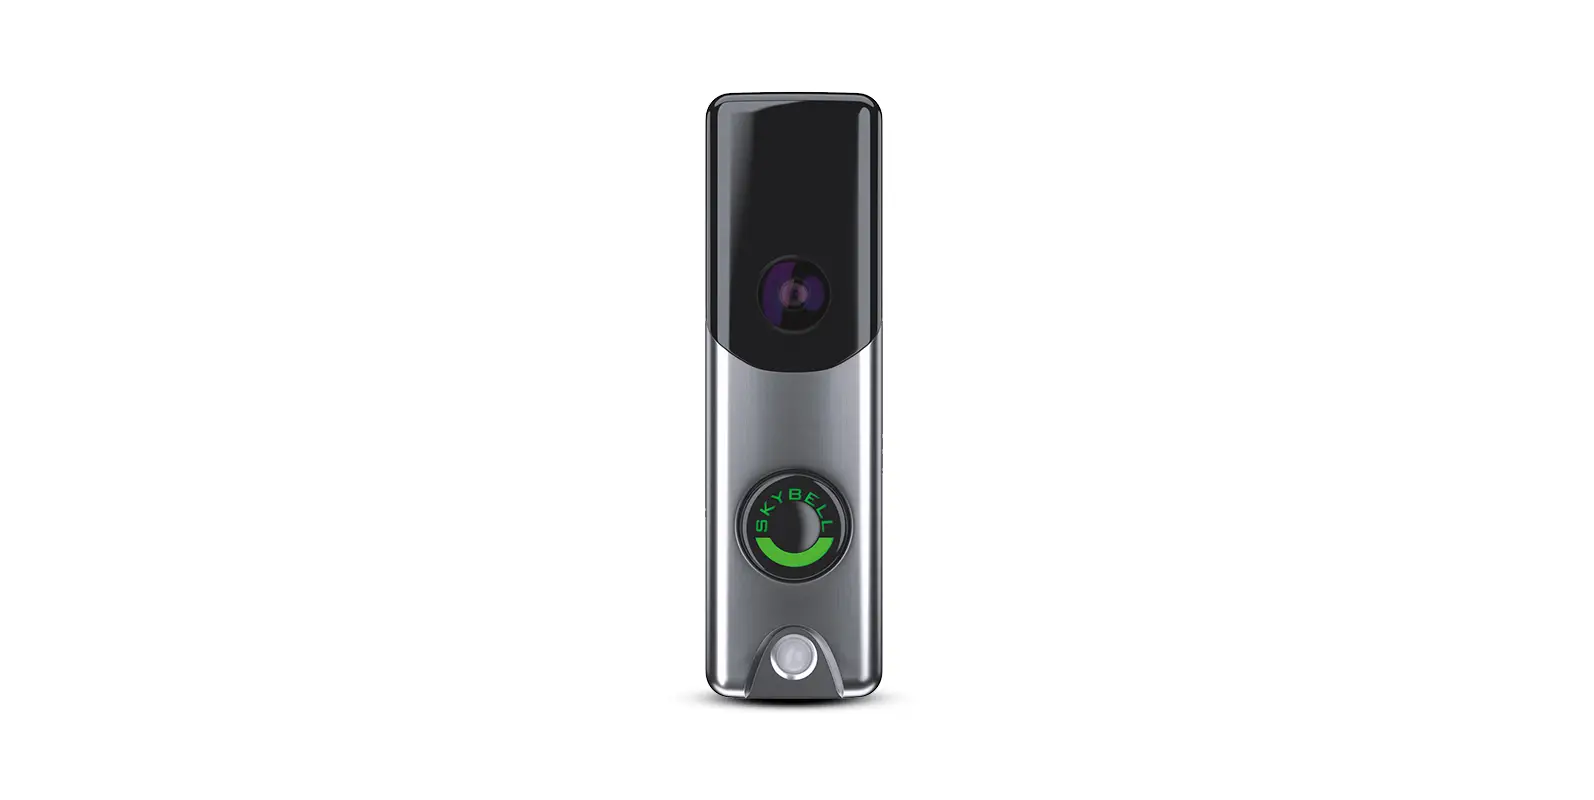
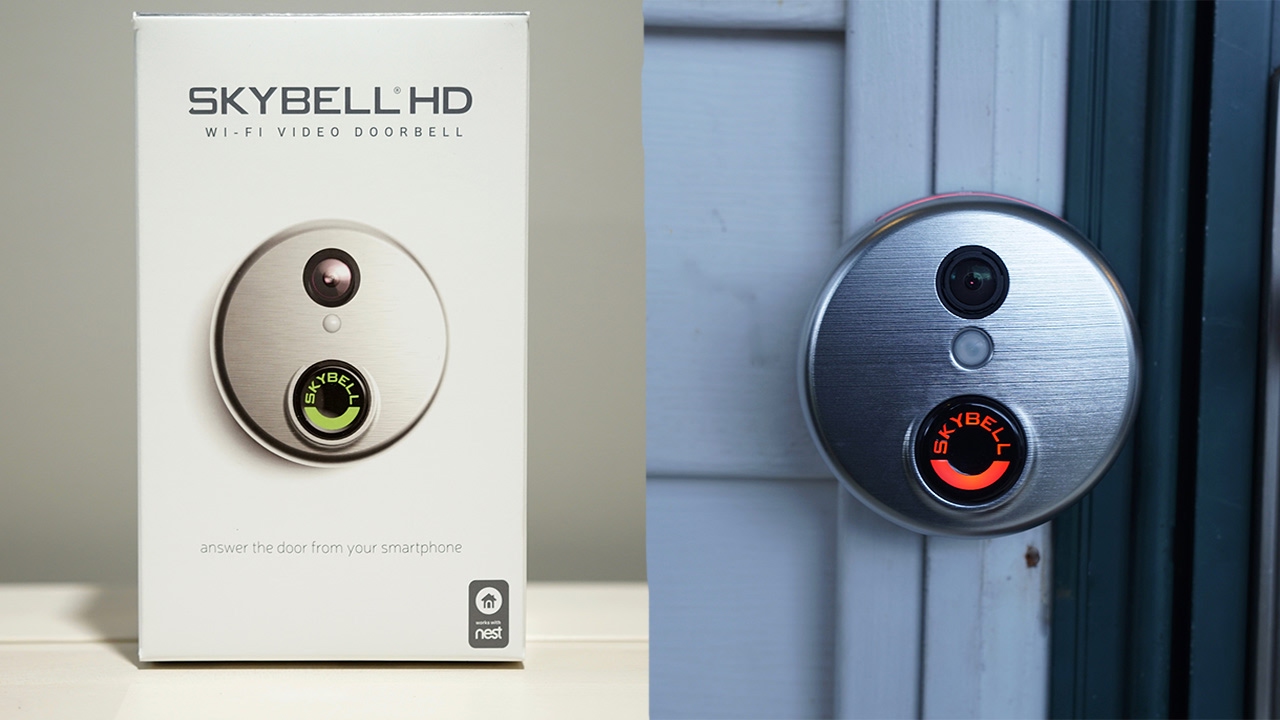
The Skybell HD Video Doorbell is a smart doorbell that combines a high-definition camera, two-way audio, and motion detection capabilities. With its sleek and modern design, this device not only enhances the appearance of your front entrance but also provides you with peace of mind knowing that you can see who’s at your door, even when you’re not there.
In this guide, we’ll walk you through the step-by-step process of installing and setting up the Skybell HD Video Doorbell. We’ll cover everything from gathering the necessary tools to downloading and customizing the accompanying mobile app. By following these instructions, you’ll have your Skybell HD Video Doorbell up and running in no time.
Whether you’re a tech-savvy homeowner or just starting to explore smart home devices, rest assured that this guide will provide you with all the information you need to successfully install and set up your Skybell HD Video Doorbell. So, let’s get started on this exciting journey towards improving the security and convenience of your home.
What is the Skybell HD Video Doorbell?
The Skybell HD Video Doorbell is an innovative smart home device that combines advanced technology with convenience and security. It allows you to monitor and interact with your front door from anywhere using your smartphone or tablet. With its high-definition camera, two-way audio, and motion detection capabilities, the Skybell HD Video Doorbell provides you with a complete view of your front entrance and the ability to communicate with visitors in real-time.
One of the standout features of the Skybell HD Video Doorbell is its high-definition camera. It captures clear and crisp video footage, ensuring that you can see every detail of what’s happening at your front door. Whether it’s a package delivery, a friendly neighbor, or even a potential intruder, you’ll have a visual record of all the activity at your doorstep.
In addition to the camera, the Skybell HD Video Doorbell is equipped with two-way audio. This means that you can not only see your visitors but also talk to them directly through the device. Whether you’re at work, running errands, or simply lounging on the couch, you can have a conversation with whoever is at your front door. This feature is particularly useful for communicating with delivery drivers, giving them instructions on where to leave packages or providing access codes for gate entry.
The Skybell HD Video Doorbell also incorporates advanced motion detection technology. It will send you instant notifications on your smartphone whenever someone approaches your front door. This ensures that you’re always aware of any activity happening outside your house, giving you peace of mind and the ability to take appropriate action.
Another advantage of the Skybell HD Video Doorbell is its compatibility with smart home platforms such as Amazon Alexa and Google Assistant. This allows you to integrate the doorbell with your existing smart home devices, creating a seamless and connected ecosystem. From viewing the live feed on your smart TV to receiving alerts on your smart speakers, you can easily incorporate the doorbell into your smart home setup.
In summary, the Skybell HD Video Doorbell is a cutting-edge smart home device that offers convenience, security, and peace of mind. With its high-definition camera, two-way audio, motion detection, and compatibility with smart home platforms, you can monitor and interact with your front door from anywhere. Whether you’re concerned about package deliveries, home security, or simply want to have more control over who enters your property, the Skybell HD Video Doorbell is a perfect solution for modern homeowners.
Before You Begin
Before diving into the installation process of the Skybell HD Video Doorbell, there are a few essential considerations and preparations to ensure a smooth and successful setup. Taking the time to get organized and familiarize yourself with the necessary requirements will help prevent any potential issues and make the installation process easier.
The first step is to check the compatibility of your current doorbell wiring with the Skybell HD Video Doorbell. This device requires a low-voltage transformer and a wired doorbell system. If you don’t currently have a wired doorbell, you may need to enlist the help of a professional electrician to install the necessary wiring.
Next, make sure you have a stable and reliable Wi-Fi network in your home. The Skybell HD Video Doorbell relies on a Wi-Fi connection to transmit video footage and receive notifications on your smartphone or tablet. Ensure that your Wi-Fi signal is strong enough to reach your front door area to guarantee seamless communication between the doorbell and your mobile device.
It’s also essential to consider the power source for your Skybell HD Video Doorbell. This device can be powered either by your existing doorbell wiring or through an external power supply. If you choose to power it using the existing wiring, ensure that your transformer is compatible with the Skybell HD Video Doorbell’s power requirements. If you opt for an external power supply, make sure you have access to a nearby power outlet or consider the use of a power adapter.
Before starting the installation, gather all the necessary tools and equipment. This will ensure that you have everything you need within reach, saving you time and frustration. Some of the common tools and equipment you may need include a screwdriver, electrical tape, a drill, mounting screws, and a ladder (if necessary).
Lastly, take a moment to read through the user manual and familiarize yourself with the Skybell HD Video Doorbell’s features and functionalities. Understanding how the device works and knowing what to expect will streamline the installation process and allow you to take full advantage of its capabilities.
By taking these necessary steps and preparing adequately, you’ll be ready to move onto the next stage of installing and setting up your Skybell HD Video Doorbell. So, let’s get started on this exciting journey towards enhancing the security and convenience of your home.
Step 1: Gather All the Necessary Tools and Equipment
Before you begin the installation process of the Skybell HD Video Doorbell, it’s important to gather all the necessary tools and equipment. This will ensure that you have everything you need to complete the installation smoothly and efficiently.
Here is a list of the common tools and equipment you will need:
- Phillips screwdriver: This will be used to remove the existing doorbell and mount the Skybell HD Video Doorbell.
- Electrical tape: It’s always a good idea to have electrical tape on hand to secure any wiring or connections.
- Drill and drill bits: You may need a drill to create pilot holes if you’re using the provided mounting bracket.
- Mounting screws: These screws are necessary for attaching the Skybell HD Video Doorbell to your front door or wall.
- Ladder (if necessary): Depending on the height of your front door, you may need a ladder to reach the installation area.
In addition to these tools, make sure you have the following items:
- Skybell HD Video Doorbell: Of course, you’ll need the actual device itself. Ensure that you have unboxed and inspected it for any damage before starting the installation.
- Mounting bracket and wedge: These are often included in the packaging and are used to secure and angle the doorbell properly.
- Power adapter (if not using existing doorbell wiring): If you’re planning to use an external power supply, make sure you have the appropriate power adapter handy.
- Mobile device: You’ll need a smartphone or tablet to download the Skybell HD app and complete the setup process.
By having all these tools and equipment ready, you’ll be able to proceed with the installation without any interruptions. It’s always a good idea to double-check and make sure you haven’t missed anything before starting.
Once you’ve gathered all the necessary tools and equipment, you’re ready to move on to the next step, which involves identifying the wiring system of your current doorbell.
Step 2: Identify the Wiring System
Before you can install the Skybell HD Video Doorbell, it’s important to understand the wiring system of your current doorbell. This will help ensure a smooth and successful installation process.
Here are the common wiring systems you may encounter:
- Standard Two-Wire System: This is the simplest wiring system, consisting of just two wires, typically a red wire (+) and a white wire (-). This system is commonly found in older homes and may not provide enough power for the Skybell HD Video Doorbell without a resistor.
- Transformer-Based System: This is the most common wiring system for doorbells. It consists of a low-voltage transformer that powers the doorbell. The transformer is usually located near the main electrical panel or in the attic. The doorbell wires, typically a red wire (+) and a white wire (-), are connected to the transformer.
- Digital or Intercom System: If you have a digital or intercom system, the wiring setup will be different. These systems are more complex and may require additional steps or the help of a professional to install the Skybell HD Video Doorbell.
To identify your wiring system, you will need to locate your existing doorbell and carefully remove the cover to expose the wiring. Take note of the colors of the wires and how they are connected. In most cases, the red wire (+) corresponds to the positive terminal, while the white wire (-) corresponds to the negative terminal. However, it’s always a good idea to double-check the wiring diagram provided in the user manual or consult a professional if you’re unsure.
If you have a standard two-wire system and find that it doesn’t provide enough power for the Skybell HD Video Doorbell, you may need to install a resistor. The resistor helps regulate the voltage and allows the doorbell to function properly.
It’s important to take your time in identifying the wiring system and understanding how it works. This will help you make any necessary adjustments or modifications for a successful installation. Once you’ve identified your wiring system, you’re ready to move on to the next step, which involves powering off the existing doorbell.
Step 3: Power Off the Existing Doorbell
Before you begin removing the existing doorbell, it’s important to ensure that the power is turned off. This will help prevent any electrical shocks or accidents during the installation process of the Skybell HD Video Doorbell.
Here’s how you can safely power off the existing doorbell:
- Locate the electrical circuit breaker panel in your home. This panel is typically located in the basement, utility room, or garage.
- Open the panel and look for the breaker labeled “Doorbell” or “Door Chime”. If there is no specific label, you may need to identify the correct breaker by trial and error. Remember to have someone stand near the existing doorbell to check if it loses power when you switch off the breaker.
- Once you have located the correct breaker, switch it off by flipping it to the “Off” position.
- After turning off the breaker, use a voltage tester to confirm that no power is reaching the doorbell. This step is essential to ensure your safety before proceeding with the installation.
It’s crucial to be cautious when working with electrical components. If you’re not comfortable or confident in handling electrical systems, it’s recommended to seek the assistance of a licensed electrician.
Once you have confirmed that the power to the existing doorbell is turned off, you can safely proceed to the next step of removing the doorbell. By taking the necessary precautions to power off the existing doorbell, you can ensure a safe and successful installation of the Skybell HD Video Doorbell.
Step 4: Remove the Existing Doorbell
With the power turned off, you’re ready to remove the existing doorbell. This step involves disconnecting the wires and removing the mounting bracket or plate that holds the doorbell in place.
Follow these steps to remove the existing doorbell:
- Inspect the existing doorbell to determine how it’s mounted. Some doorbells are attached using screws, while others may be secured with a mounting plate.
- Using a screwdriver, carefully remove the screws or fasteners that secure the existing doorbell. Be sure to keep track of the screws as you’ll need them later for the installation of the Skybell HD Video Doorbell.
- Gently pull the existing doorbell away from the wall or door, exposing the wires behind it.
- Take note of the wire connections and how they are attached to the existing doorbell. You may want to take a photo or make a diagram to help you remember the wiring setup.
- Using a screwdriver or pliers, carefully loosen the wire connections and remove the wires from the existing doorbell. Take care not to damage the wires or disconnect any other electrical components in the process.
- If there’s a mounting bracket or plate, unscrew it from the wall or door. Keep the screws in a safe place as you’ll need them for mounting the Skybell HD Video Doorbell.
- Once you have removed the existing doorbell and any mounting hardware, double-check that the wires are safely tucked away and not touching any electrical components.
By following these steps, you will successfully remove the existing doorbell and prepare the installation area for the Skybell HD Video Doorbell. Remember to handle the components with care and be gentle when disconnecting the wires to avoid any unnecessary damage. With the existing doorbell removed, you’re now ready to begin installing the Skybell HD Video Doorbell in the next step.
Step 5: Install the Skybell HD Video Doorbell
With the existing doorbell removed, it’s time to install the Skybell HD Video Doorbell. This step involves mounting the doorbell, connecting the wires, and securing it in place.
Follow these steps to install the Skybell HD Video Doorbell:
- Take the provided mounting bracket or plate and align it with the holes where the previous doorbell was mounted.
- If necessary, use a drill and appropriate drill bit to create pilot holes for the mounting screws.
- Once the mounting bracket is in place, feed the doorbell wires through the center hole of the bracket. Ensure that the wires are not twisted or tangled.
- If you’re using the existing doorbell wiring, connect the wires to the corresponding terminals on the Skybell HD Video Doorbell. The correct terminals are usually labeled as “Front” and “Trans” for the front door and transformer connections, respectively. If you’re unsure, refer to the wiring diagram provided in the user manual.
- If you’re not using the existing wiring and prefer to use an external power supply, follow the manufacturer’s instructions on how to connect the power adapter to the doorbell.
- Gently push the doorbell onto the mounting bracket, making sure it aligns properly and sits flush against the wall or door.
- Secure the doorbell in place using the provided mounting screws. Tighten them enough to ensure a secure fit but be careful not to overtighten and damage the device.
Once you have completed these steps, the Skybell HD Video Doorbell should be securely installed and ready for the next stage of the setup process. Ensure that the device is positioned in a way that provides a clear view of the front door area and allows for optimal video and audio performance.
Congratulations! You have successfully installed the Skybell HD Video Doorbell. Next, we will move on to the steps for connecting the doorbell to your Wi-Fi network and setting up the accompanying mobile app.
Step 6: Connect the Skybell HD Video Doorbell to Your Wi-Fi Network
Now that you have installed the Skybell HD Video Doorbell, it’s time to connect it to your Wi-Fi network. This step is crucial as it enables you to access and control the doorbell remotely through the accompanying mobile app.
Follow these steps to connect the Skybell HD Video Doorbell to your Wi-Fi network:
- Ensure that your smartphone or tablet is connected to the same Wi-Fi network that you want to connect the doorbell to.
- Download and install the Skybell HD app from the App Store (for iOS) or Google Play Store (for Android).
- Open the Skybell HD app and create a new account or log in if you already have an existing account.
- Follow the on-screen instructions to add a new device to your account. Select the Skybell HD Video Doorbell from the list of available devices.
- The app will prompt you to enter the Wi-Fi network name (SSID) and password. Enter the correct information to connect the doorbell to your Wi-Fi network.
- Wait for the app to establish a connection with the doorbell and complete the setup process. This may take a few moments.
- Once the connection is successful, the app will display a confirmation message, and you will be able to access the live feed from the Skybell HD Video Doorbell.
It’s important to ensure that your Wi-Fi signal is strong and stable near the location of the doorbell. If you experience connectivity issues, consider moving your Wi-Fi router closer to the doorbell or using a Wi-Fi extender to boost the signal strength.
By successfully connecting the Skybell HD Video Doorbell to your Wi-Fi network, you can now access and control the doorbell remotely through the mobile app. This allows you to view real-time video footage, receive notifications, and interact with visitors from anywhere, enhancing the security and convenience of your home.
In the next step, we will cover how to download and set up the Skybell HD app on your smartphone or tablet.
Step 7: Download and Set Up the Skybell HD App
With your Skybell HD Video Doorbell successfully connected to your Wi-Fi network, the next step is to download and set up the Skybell HD app on your smartphone or tablet. This app will serve as your primary interface for accessing and controlling your doorbell’s features and settings.
Follow these steps to download and set up the Skybell HD app:
- Open the App Store (for iOS) or Google Play Store (for Android) on your smartphone or tablet.
- Search for “Skybell HD” in the search bar.
- Tap on the Skybell HD app from the search results to select it.
- Click on the “Install” or “Get” button to begin the download and installation process.
- Once the app is installed, locate the app icon on your device’s home screen and tap on it to open the app.
- When prompted, log in to your Skybell HD account using the credentials you created during the earlier steps.
- After logging in, the app will guide you through the initial setup process. Follow the on-screen instructions to customize your doorbell settings, such as motion detection sensitivity, notification preferences, and other personalization options.
- Take some time to explore the different features and functions of the Skybell HD app. Familiarize yourself with the various controls and menus available to ensure that you can fully utilize the capabilities of your doorbell.
Once you have completed these steps, you will have successfully downloaded and set up the Skybell HD app on your smartphone or tablet. This app will serve as your command center for managing and controlling your Skybell HD Video Doorbell, allowing you to view live video feeds, communicate with visitors, and adjust settings as needed.
Now that you have the app set up, you’re ready to move on to the next step, which involves customizing your Skybell HD Video Doorbell settings to suit your preferences.
Step 8: Customize Your Skybell HD Video Doorbell Settings
Now that you have the Skybell HD app installed and set up, it’s time to customize the settings of your Skybell HD Video Doorbell according to your preferences. Customizing the settings allows you to tailor the functionality of your doorbell to suit your specific needs and security requirements.
Follow these steps to customize your Skybell HD Video Doorbell settings:
- Open the Skybell HD app on your smartphone or tablet.
- Login to your Skybell HD account if prompted to do so.
- Once you’re in the app, locate the settings menu. This is usually represented by a gear icon or the word “Settings” in the app’s interface.
- Within the settings menu, you’ll find various options to customize your doorbell settings, such as:
- Motion detection sensitivity: Adjust the sensitivity level to ensure you receive accurate motion alerts without being overwhelmed by false alarms.
- Notification preferences: Customize how and when you receive notifications on your smartphone or tablet. You can choose to receive push notifications, email alerts, or both.
- Video quality settings: Depending on your internet connection and data plan, you can adjust the video quality to optimize performance and conserve bandwidth.
- Two-way audio settings: Configure the audio settings to your desired volume level and adjust echo cancellation and noise reduction settings for optimal communication with visitors.
- Night vision settings: If your Skybell HD Video Doorbell is equipped with night vision capabilities, you can adjust the brightness and sensitivity of the infrared LEDs for clear visibility in low-light conditions.
- Explore and adjust any other settings that are available in the app to match your preferences.
- Once you have customized the settings to your liking, make sure to save your changes to apply them to your Skybell HD Video Doorbell.
By customizing your Skybell HD Video Doorbell settings, you can optimize its performance and functionality to cater to your specific needs. Whether it’s adjusting motion detection sensitivity, fine-tuning audio settings, or configuring notification preferences, taking the time to customize your settings will enhance your experience with the Skybell HD Video Doorbell.
Now that you have personalized your Skybell HD Video Doorbell settings, you’re ready to move on to the next step, which involves testing and verifying the installation to ensure everything is functioning correctly.
Step 9: Test and Verify the Installation
After customizing your Skybell HD Video Doorbell settings, it’s important to test and verify the installation to ensure that everything is functioning correctly. This step will give you peace of mind knowing that your doorbell is properly installed and ready to provide you with the desired level of security and convenience.
Follow these steps to test and verify the installation of your Skybell HD Video Doorbell:
- Open the Skybell HD app on your smartphone or tablet.
- Ensure that your smartphone or tablet is connected to the same Wi-Fi network that your doorbell is connected to.
- In the app, select your doorbell from the list of devices.
- Tap on the live video feed to check if you can view the real-time video from your Skybell HD Video Doorbell.
- Test the two-way audio feature. Use the app to speak into your smartphone or tablet and see if you can hear your voice through the doorbell’s speaker.
- Trigger the motion detection feature by walking in front of the doorbell. Verify that you receive a notification on your smartphone or tablet and that the app presents the captured video footage.
- Check the night vision capabilities by testing the doorbell in low-light conditions or during nighttime. Ensure that the infrared LEDs activate and provide clear visibility.
- Verify the functionality of any additional features or settings you have customized, such as adjusting the sensitivity of the motion detection or configuring notification preferences.
- If any issues or inconsistencies arise during the testing, consult the troubleshooting guide provided in the Skybell HD app or contact Skybell customer support for assistance.
By thoroughly testing and verifying the installation, you can confirm that your Skybell HD Video Doorbell is working as expected. This will give you the confidence to rely on its security features and enjoy the convenience it offers.
Congratulations! With the successful completion of this step, you have completed the installation and setup process of the Skybell HD Video Doorbell. You can now fully embrace the enhanced security and convenience that your new smart doorbell brings to your home.
Conclusion
Congratulations on successfully installing and setting up your Skybell HD Video Doorbell! By following the step-by-step instructions in this guide, you have empowered yourself with the ability to monitor and interact with your front door from anywhere, ensuring the security and convenience of your home.
The Skybell HD Video Doorbell offers advanced features such as high-definition video, two-way audio, motion detection, and night vision capabilities. With the accompanying Skybell HD app, you can access live video feeds, receive notifications, and customize various settings to suit your preferences.
Before beginning the installation process, it’s essential to gather all the necessary tools and equipment and ensure your Wi-Fi network is stable and accessible from the installation area. Identifying the wiring system of your existing doorbell and safely powering it off are crucial steps to ensure a smooth and successful installation.
Removing the existing doorbell and installing the Skybell HD Video Doorbell requires care and attention. By following the instructions provided, you can securely mount the doorbell, connect it to your Wi-Fi network, and customize the settings to your liking.
Testing and verifying the installation at the end of the process is crucial to ensure that all features and functions of the Skybell HD Video Doorbell are working correctly. This includes checking the live video feed, testing the two-way audio, triggering motion detection, and verifying the night vision capabilities.
Now that you have completed the installation and setup, you can enjoy the peace of mind and convenience that the Skybell HD Video Doorbell brings. Whether you’re at home, at work, or on the go, you can keep an eye on your front door, communicate with visitors, and enhance the security of your home.
If you encounter any issues or need further assistance, refer to the Skybell HD app’s troubleshooting guide or reach out to the customer support provided by Skybell. They are dedicated to helping you resolve any concerns and maximize the benefits of your Skybell HD Video Doorbell.
Thank you for choosing the Skybell HD Video Doorbell and investing in the security and convenience of your home. We hope this guide has been helpful, and we wish you many enjoyable experiences with your new smart doorbell.