Introduction
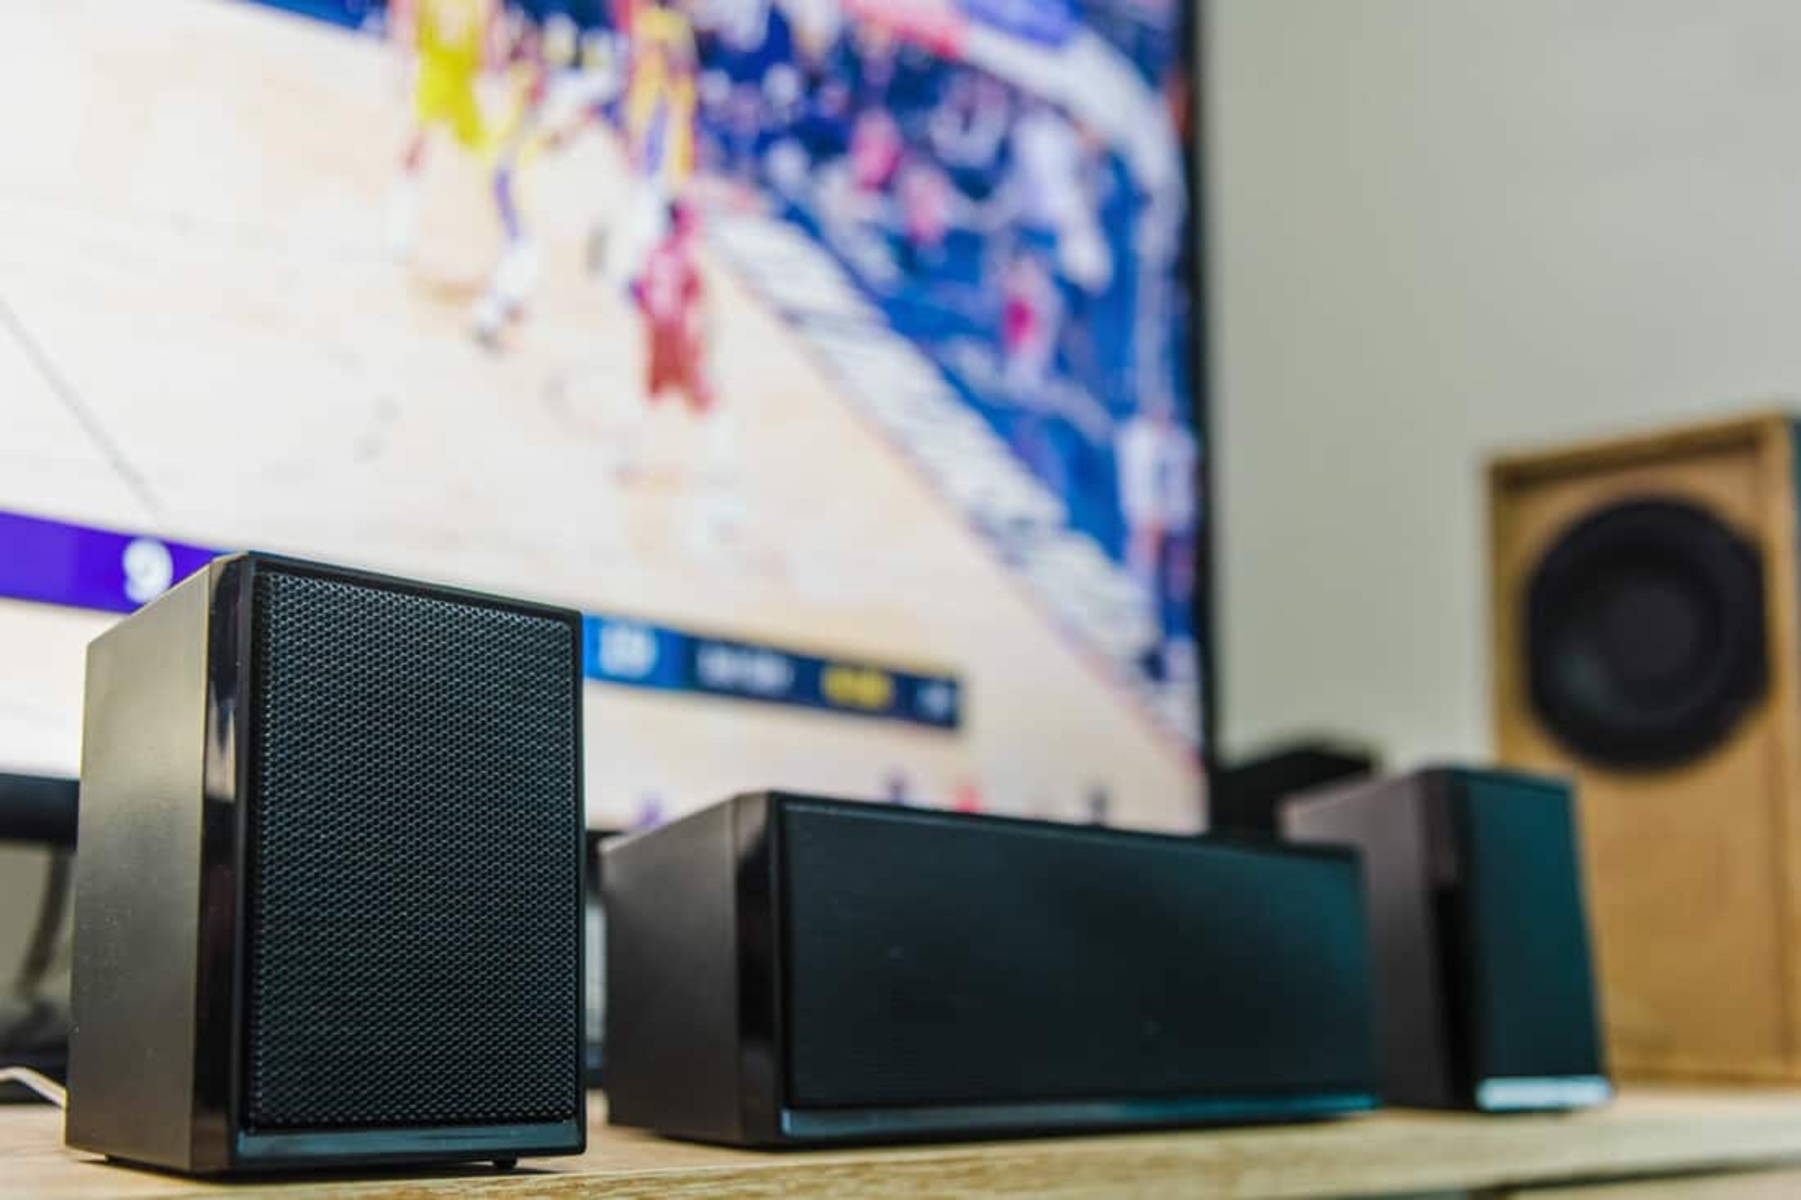
Connecting your Samsung TV to an AV receiver using an optical cable can significantly enhance your audio-visual experience. By utilizing this setup, you can enjoy high-quality sound output from your TV through the speakers connected to the AV receiver. This seamless integration allows for a more immersive viewing experience, making it ideal for movie nights, gaming sessions, or simply enjoying your favorite TV shows.
In this guide, we will walk you through the process of connecting your Samsung TV to an AV receiver using an optical cable. Whether you are a tech enthusiast or a casual user looking to elevate your home entertainment setup, this step-by-step tutorial will provide you with the necessary guidance to complete the connection successfully.
By following these instructions, you can harness the full potential of your TV and AV receiver, unlocking a new level of audio fidelity and surround sound capabilities. Before you embark on this endeavor, it's important to ensure that your devices are compatible and that you have the required equipment at your disposal. Once these prerequisites are met, you can proceed with the connection process, culminating in a seamless integration that enriches your audio-visual enjoyment.
Let's delve into the steps required to connect your Samsung TV to an AV receiver using an optical cable, empowering you to elevate your home entertainment setup and immerse yourself in a captivating audio-visual experience.
Step 1: Check the Compatibility
Before initiating the process of connecting your Samsung TV to an AV receiver using an optical cable, it is crucial to verify the compatibility of both devices. This ensures a seamless integration and optimal performance once the connection is established.
Compatibility Checklist:
- TV and AV Receiver Models: Confirm that your Samsung TV and AV receiver support optical audio connections. Check the user manuals or specifications for both devices to ensure they are equipped with optical audio ports.
- Optical Cable Support: Ensure that the optical cable you intend to use is compatible with both the TV and the AV receiver. Some devices may have specific requirements for optical cables, so it’s essential to verify compatibility to avoid any connectivity issues.
- Audio Formats: Check if the audio formats supported by your TV align with those supported by the AV receiver. This includes formats such as Dolby Digital, DTS, and PCM. Matching audio format support ensures that the audio signal is transmitted and decoded accurately by the AV receiver.
- TV Output Settings: Access the TV’s audio settings to confirm that the optical audio output is enabled. This step ensures that the TV is ready to transmit audio signals through the optical cable to the AV receiver.
By meticulously assessing the compatibility of your Samsung TV and AV receiver, as well as the associated accessories, you can preemptively address any potential compatibility issues. This proactive approach sets the stage for a smooth and successful connection process, laying the groundwork for an enhanced audio-visual experience.
Step 2: Gather the Necessary Equipment
Before embarking on the process of connecting your Samsung TV to an AV receiver using an optical cable, it is essential to gather the requisite equipment. Ensuring that you have the necessary components at your disposal streamlines the connection process and minimizes interruptions.
Equipment Checklist:
- Optical Cable: Acquire a high-quality optical cable of sufficient length to comfortably connect the optical audio output of your TV to the corresponding input on the AV receiver. Opt for a reliable, well-constructed cable to facilitate optimal audio transmission.
- Samsung TV: Identify the specific model of your Samsung TV to ascertain the location of the optical audio output. This information is crucial for accurately connecting the optical cable to the TV.
- AV Receiver: Familiarize yourself with the AV receiver’s input ports, particularly the optical audio input, to facilitate a seamless connection with the optical cable from the TV.
- User Manuals: Keep the user manuals for both the TV and the AV receiver accessible. These resources provide valuable guidance on locating the necessary ports and configuring the devices for optimal performance.
- Remote Controls: Ensure that the remote controls for the TV and the AV receiver are readily available. These will be utilized to access settings and perform any necessary adjustments during the setup process.
By assembling the essential equipment and familiarizing yourself with the devices involved, you can proceed with confidence, knowing that you have everything required to establish a robust connection between your Samsung TV and the AV receiver. This proactive approach sets the stage for a smooth and successful setup process, culminating in an enhanced audio-visual experience.
Step 3: Connect the Optical Cable
With the necessary equipment at hand, you are ready to proceed with connecting your Samsung TV to the AV receiver using an optical cable. This pivotal step establishes the audio link between the TV and the AV receiver, paving the way for immersive sound output through your audio system.
Connection Process:
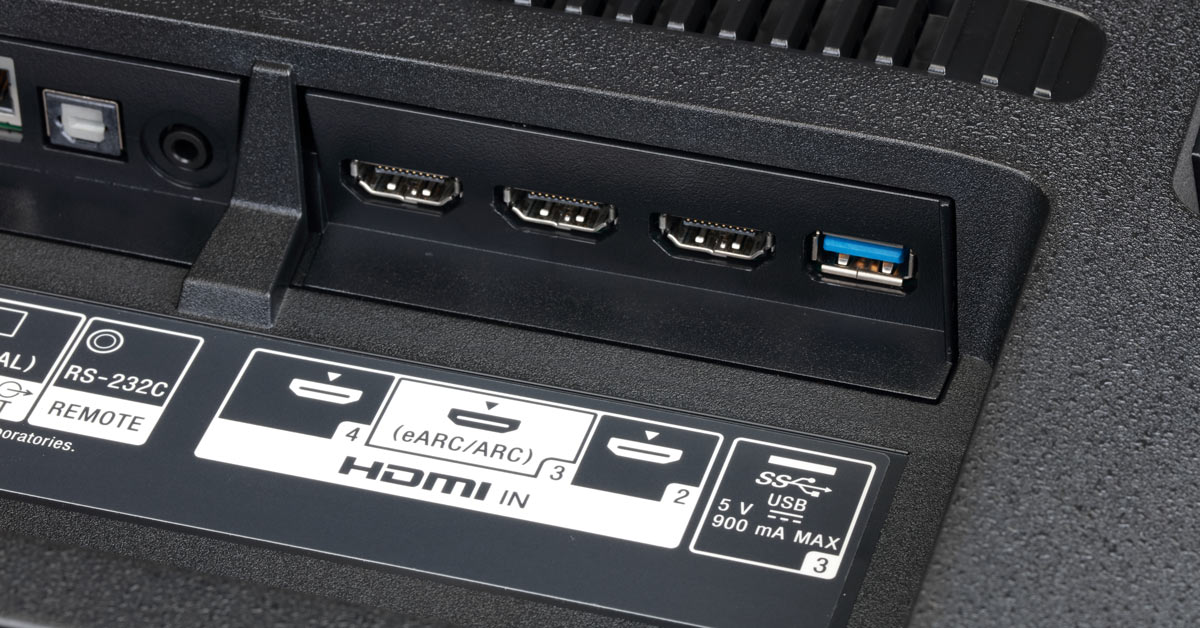
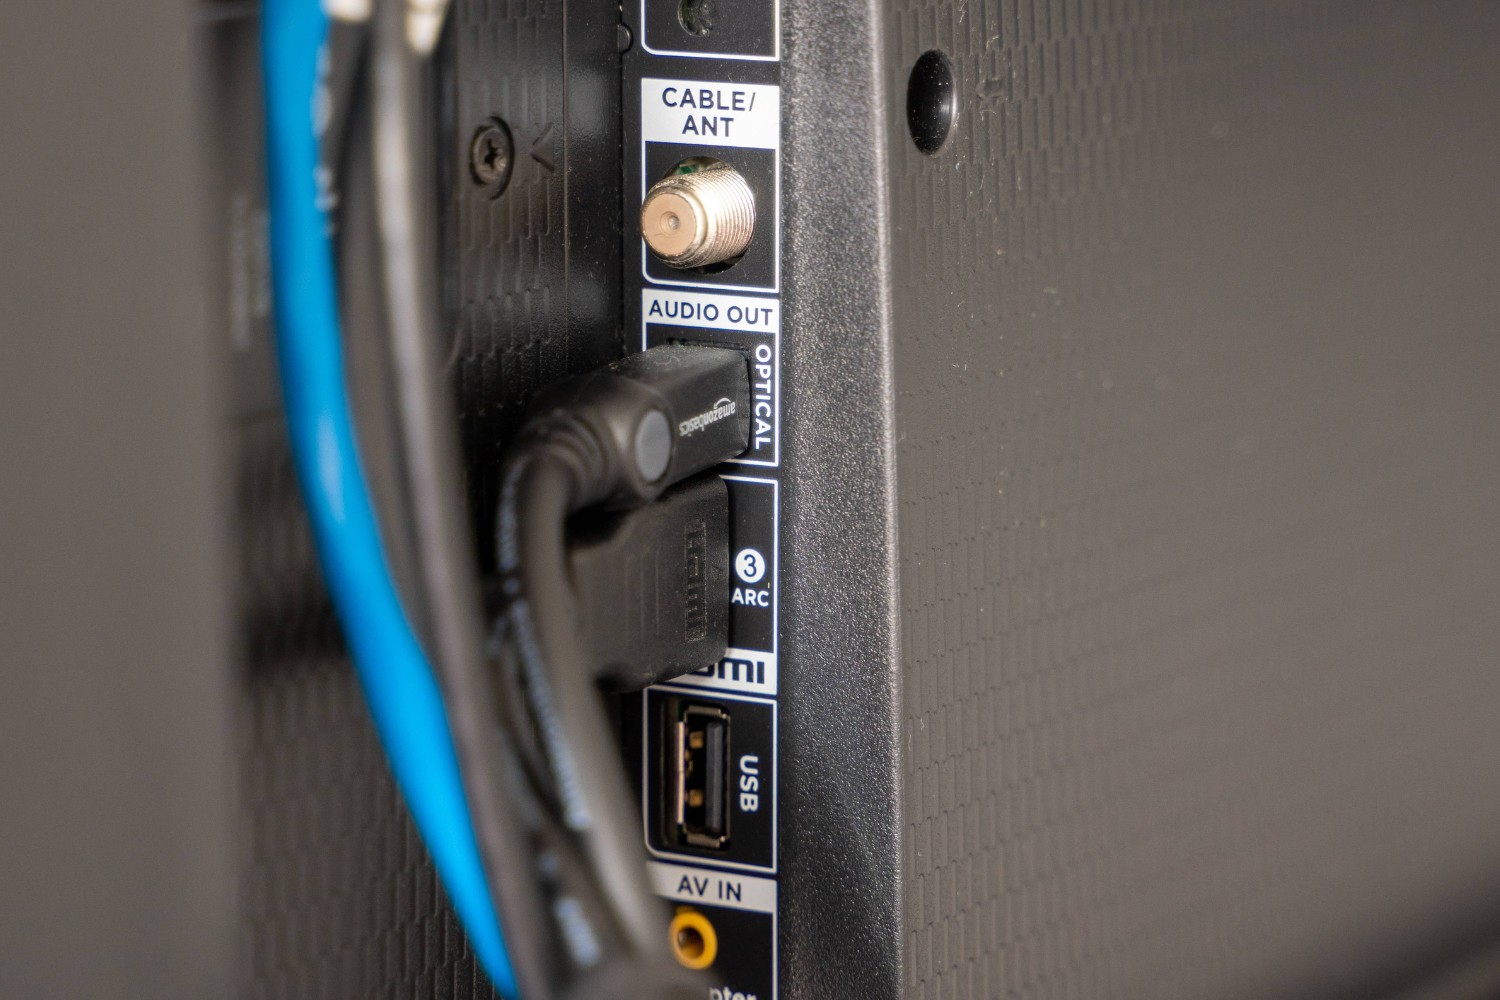
- Locate the Optical Audio Output: Begin by identifying the optical audio output port on your Samsung TV. This port is typically labeled as “Optical,” “Digital Audio Out (Optical),” or “Toslink.” Once located, ensure that it is free from any obstructions and easily accessible for the cable connection.
- Prepare the Optical Cable: Uncoil the optical cable and inspect it for any damage or kinks that may affect its performance. Align the connectors with the corresponding ports on the TV and the AV receiver to ensure a secure and accurate connection.
- Connect the Optical Cable: Insert one end of the optical cable into the optical audio output port on your Samsung TV, taking care to align the connector properly. Next, connect the other end of the cable to the optical audio input port on the AV receiver, ensuring a snug fit to facilitate uninterrupted audio transmission.
- Secure the Cable: Once the cable is connected to both devices, secure it in place to prevent accidental disconnection. Avoid placing strain on the cable or bending it at sharp angles, as this can compromise the audio signal’s integrity.
By meticulously executing the optical cable connection process, you establish a robust audio link between your Samsung TV and the AV receiver, setting the stage for a captivating audio-visual experience. Proceeding with care and attention to detail ensures that the connection is secure and optimized for seamless audio transmission.
Step 4: Set up the AV Receiver
Once the optical cable is successfully connected between your Samsung TV and the AV receiver, it is essential to configure the AV receiver to recognize and process the incoming audio signal effectively. This pivotal step ensures that the AV receiver is primed to deliver high-quality sound output from the TV, enriching your overall audio-visual experience.
Configuration Process:
- Input Selection: Access the input selection menu on your AV receiver, typically navigated through the remote control or the receiver’s front panel. Locate the optical audio input source and designate it as the active input for receiving audio signals from the connected Samsung TV.
- Audio Settings: Navigate to the audio settings menu on the AV receiver to configure the audio output parameters. Depending on your preferences and the capabilities of your audio system, you may adjust settings such as equalization, surround sound modes, and audio format compatibility to tailor the sound output to your liking.
- Volume Calibration: Ensure that the volume levels on the AV receiver are calibrated appropriately to avoid sudden spikes in audio output when the TV signal is transmitted. This step contributes to a balanced and controlled audio experience, preventing any undue disturbances during playback.
- Test Signal Reception: Play a brief audio clip or test signal on your Samsung TV to verify that the AV receiver is successfully receiving and processing the audio signal through the optical cable. This test confirms that the connection is operational and that the AV receiver is prepared to deliver sound output from the TV.
By meticulously configuring the AV receiver to accommodate the incoming audio signal from the Samsung TV, you ensure that the audio system is optimized for delivering immersive sound output. This step sets the stage for a seamless integration between the TV and the AV receiver, culminating in a captivating audio-visual experience.
Step 5: Test the Connection
With the optical cable connected and the AV receiver set up to receive audio signals from your Samsung TV, it is essential to perform a comprehensive test to ensure that the connection is operational and that the audio-visual setup is functioning as intended. This final step allows you to verify the seamless integration between the TV and the AV receiver, culminating in an immersive and satisfying audio-visual experience.
Comprehensive Testing Process:
- Audio Playback: Select a familiar audio source, such as a movie, music track, or TV show, on your Samsung TV. Play the content to initiate audio output and gauge the sound quality emanating from the speakers connected to the AV receiver. Listen for clarity, richness, and spatial distribution of sound to assess the effectiveness of the connection.
- Surround Sound Evaluation: If your AV receiver supports surround sound formats, explore content that leverages multi-channel audio to experience the full breadth of the audio system’s capabilities. Engage with content that features dynamic soundscapes and directional audio cues to appreciate the immersive qualities of the connected setup.
- Volume and Balance Adjustment: Test the volume levels and speaker balance to ensure that the sound output is evenly distributed across the connected speakers. Make adjustments as necessary to tailor the audio experience to your preferences, taking advantage of the AV receiver’s capabilities for fine-tuning the sound output.
- Audio Format Compatibility: Explore content that utilizes various audio formats, such as Dolby Digital or DTS, to confirm that the AV receiver accurately decodes and reproduces the audio signals. This step validates the compatibility of the connected devices and ensures that the audio system can effectively handle diverse audio formats.
By conducting a comprehensive test of the connection between your Samsung TV and the AV receiver, you can confirm that the integrated setup delivers the desired audio-visual experience. This meticulous testing phase allows you to fine-tune the audio system, appreciate its capabilities, and revel in the enhanced immersion offered by the connected devices.
Conclusion
Connecting your Samsung TV to an AV receiver using an optical cable opens the door to an enriched audio-visual experience, elevating your home entertainment setup to new heights. By following the step-by-step process outlined in this guide, you have successfully established a seamless audio connection between your TV and the AV receiver, unlocking the potential for immersive sound output and enhanced viewing experiences.
Throughout the setup process, you meticulously checked the compatibility of your devices, gathered the necessary equipment, connected the optical cable, configured the AV receiver, and thoroughly tested the connection to ensure optimal performance. This proactive approach has empowered you to harness the full capabilities of your audio system, enabling you to savor high-quality sound output that complements the visual splendor of your Samsung TV.
As you embark on your audio-visual journey, take the time to explore various content genres, from blockbuster movies to music concerts, leveraging the seamless connection between your TV and the AV receiver to immerse yourself in captivating soundscapes. Fine-tune the audio settings, experiment with surround sound formats, and relish the nuanced details of your favorite media, knowing that your connected setup is primed to deliver an exceptional audio experience.
By embracing the possibilities afforded by the optical cable connection, you have transformed your viewing space into a haven for audio-visual indulgence, where every sound is crisp, every note resonates, and every moment is enriched by the immersive audio emanating from your AV receiver. Embrace this newfound audio-visual synergy and revel in the captivating experiences that await you in the realm of home entertainment.