Introduction
Setting up an old AV receiver to a TV can breathe new life into your home entertainment system. While modern TVs and soundbars offer advanced features, older AV receivers can still deliver impressive sound quality and support for various audio and video sources. By integrating your old AV receiver with your TV, you can enjoy enhanced audio performance and access a wider range of connectivity options, including analog and digital inputs.
In this guide, we will walk you through the process of connecting your old AV receiver to your TV, enabling you to harness the full potential of your existing audio equipment. Whether you're a seasoned audiophile or a casual movie enthusiast, integrating your AV receiver with your TV can elevate your viewing and listening experience to new heights.
By following the steps outlined in this guide, you can seamlessly integrate your old AV receiver with your TV, unlocking a world of audio possibilities and creating a more immersive home entertainment setup. Let's dive into the process of setting up your old AV receiver to your TV and unleash the full potential of your audiovisual experience.
Step 1: Gather Your Equipment
Before embarking on the setup process, it’s essential to gather the necessary equipment to ensure a smooth and successful integration of your old AV receiver with your TV. Here’s what you’ll need:
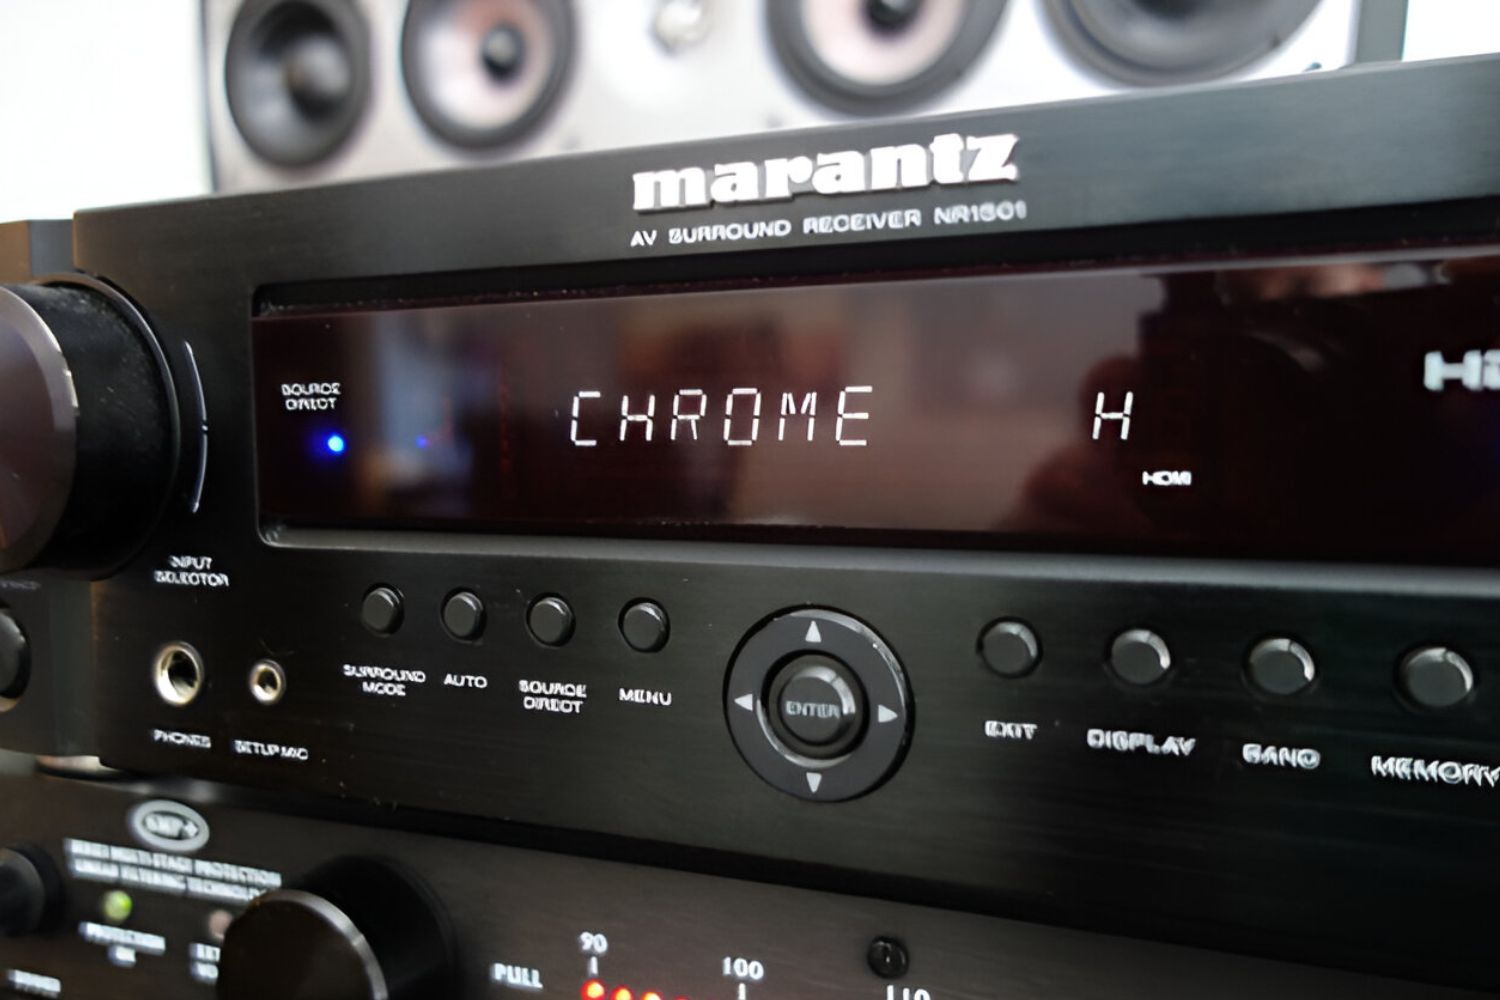
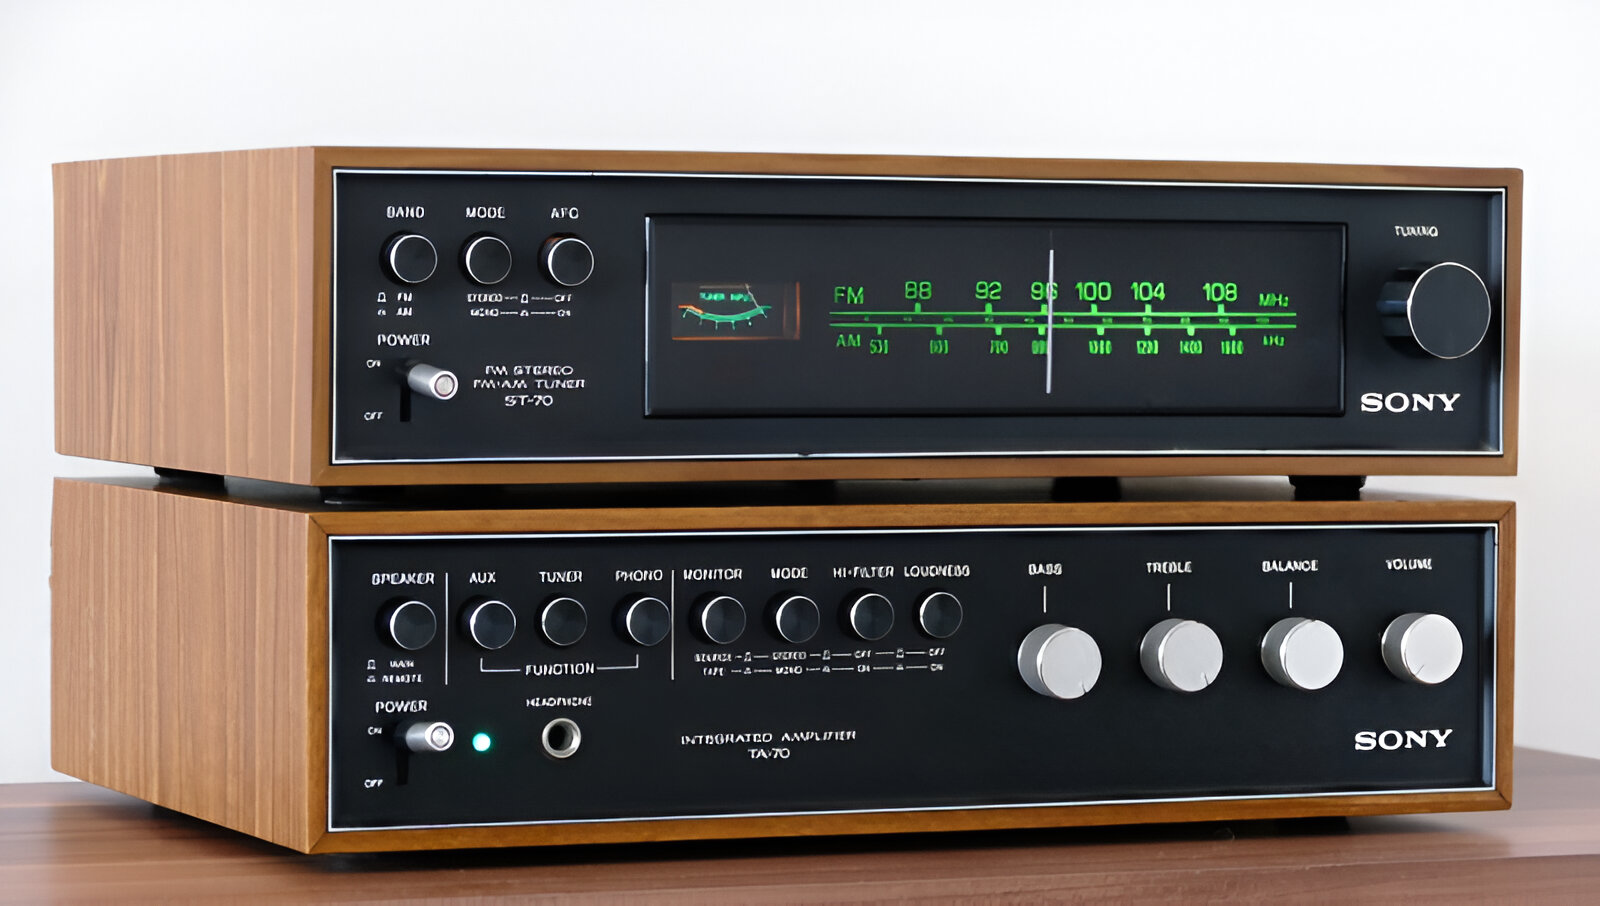
- Old AV Receiver: Locate your old AV receiver, ensuring that it is in working condition. Check for any necessary cables or accessories that may be required for the setup.
- TV: Identify the TV to which you intend to connect the AV receiver. Take note of the available input ports on the TV, including HDMI, RCA, or optical inputs.
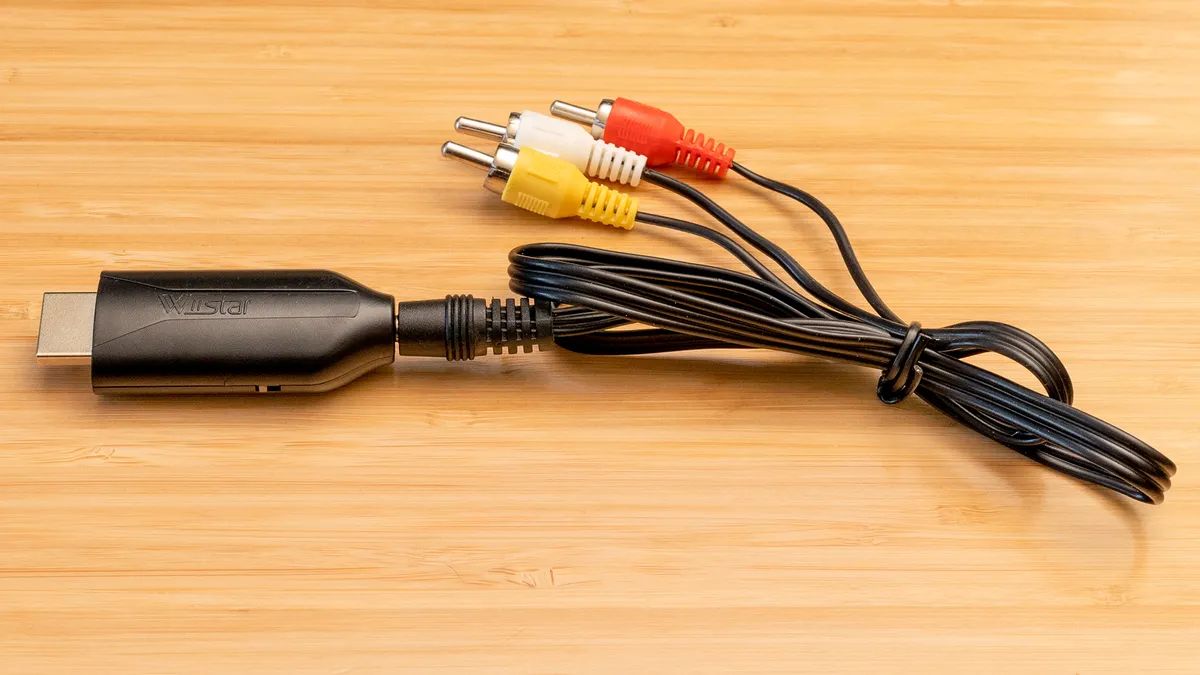
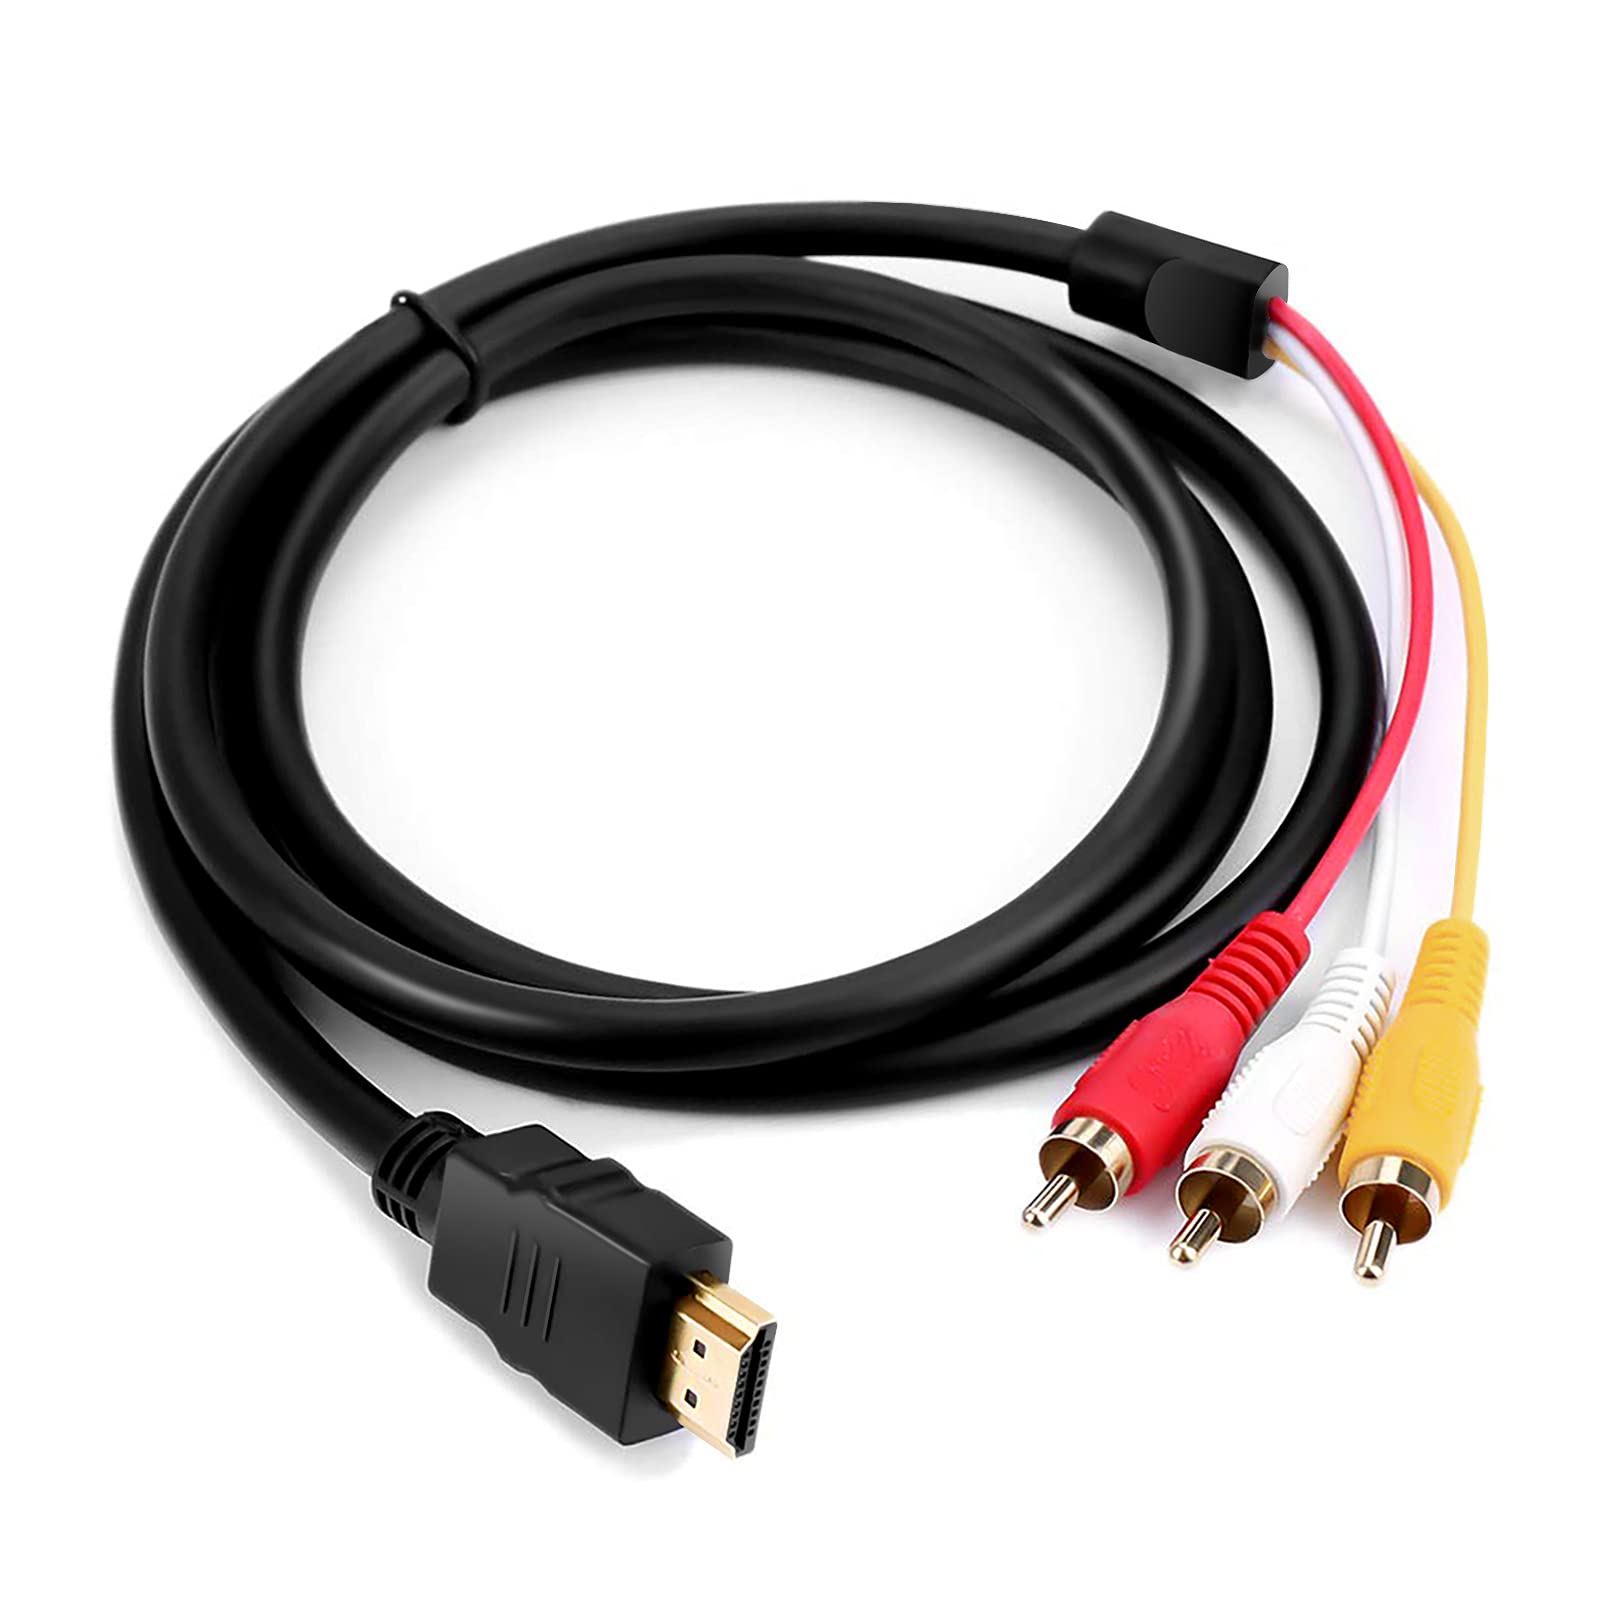
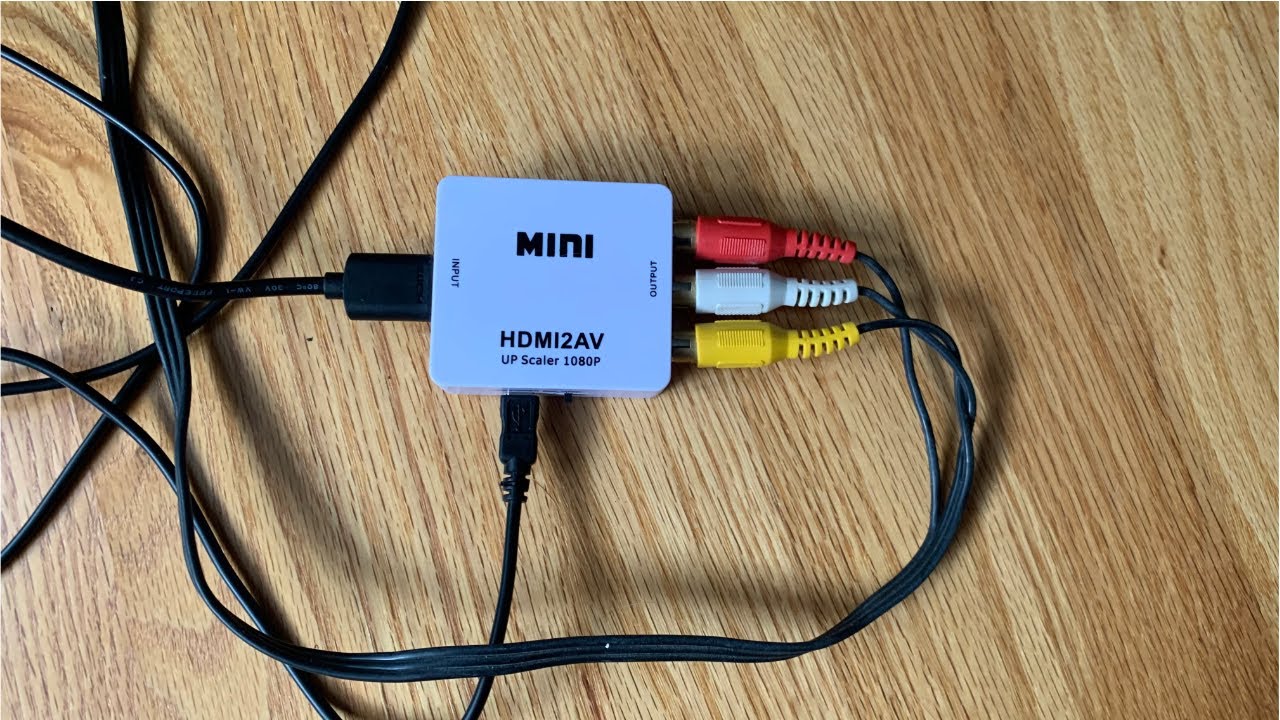
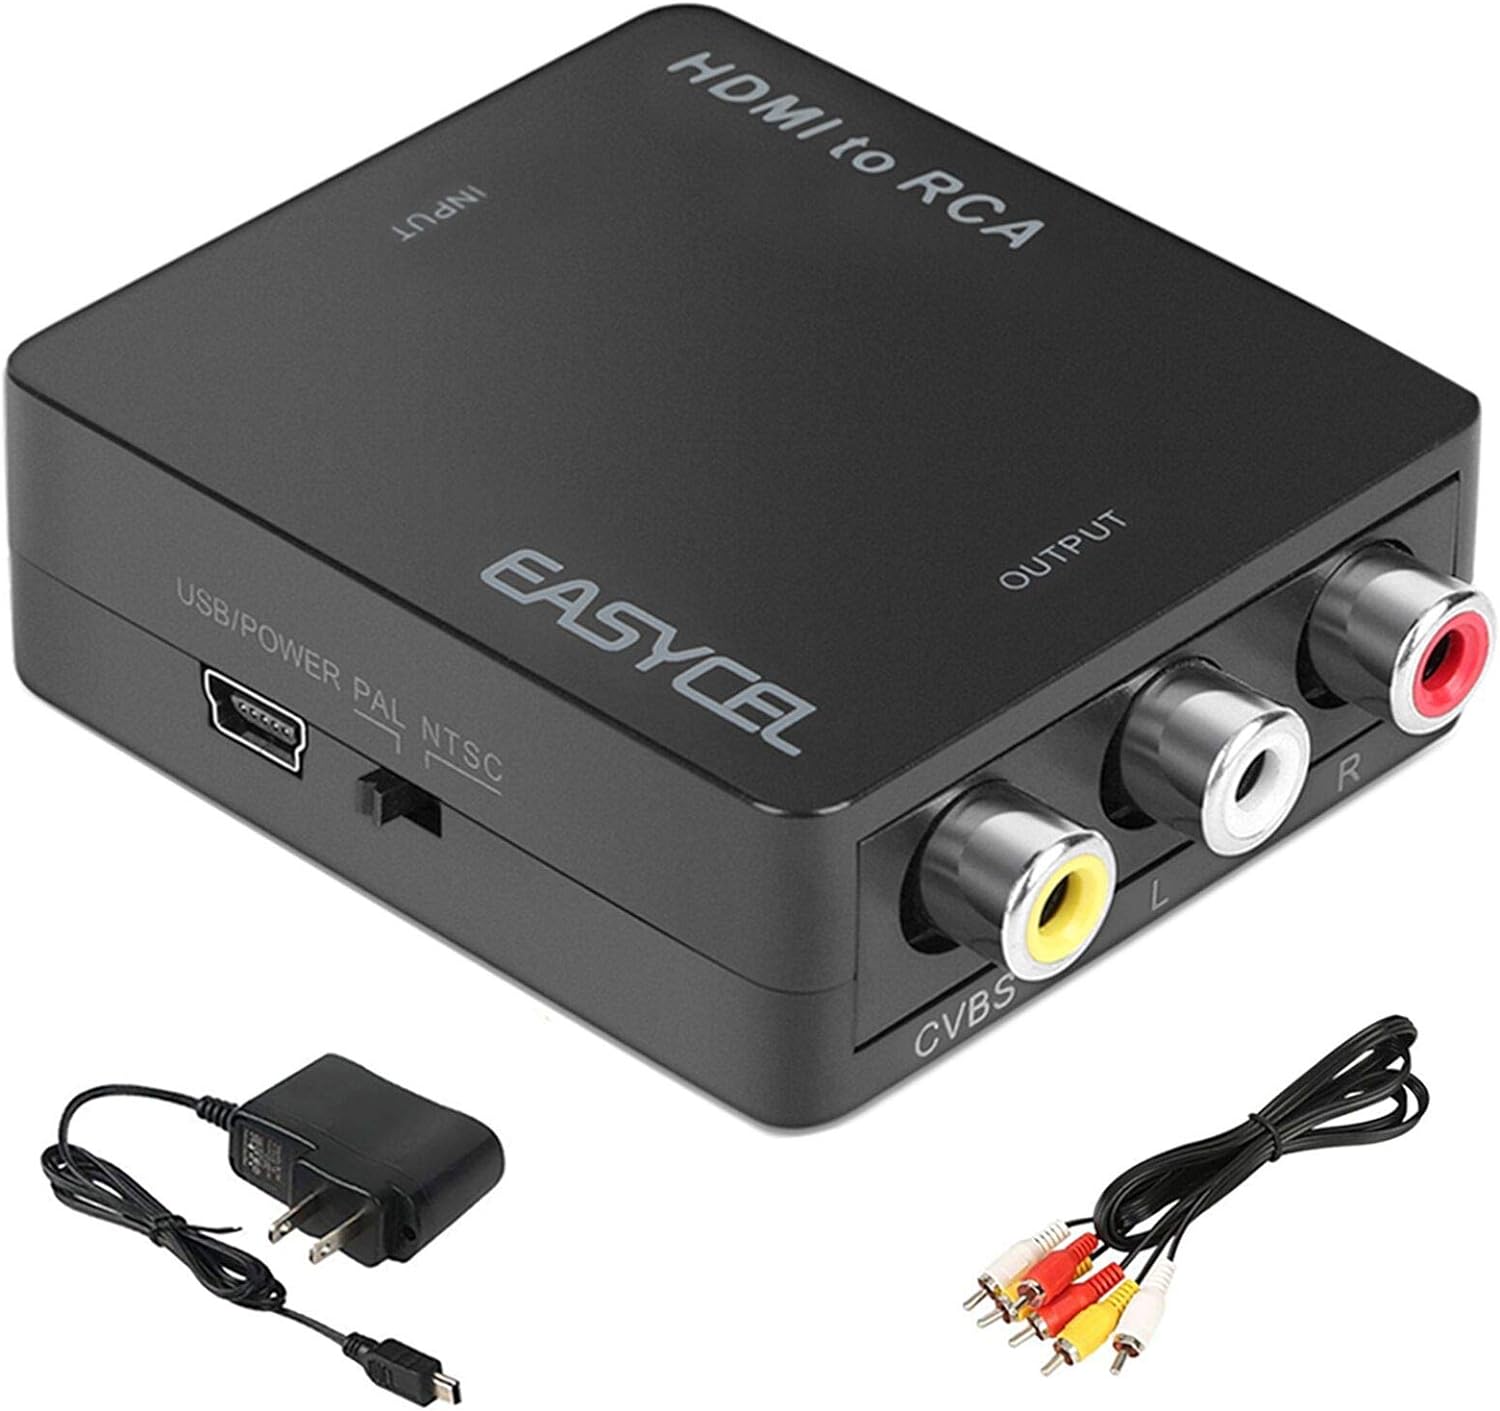
- Audio and Video Cables: Gather the appropriate audio and video cables to establish the connection between the AV receiver and the TV. This may include HDMI cables, RCA cables, or optical cables, depending on the available input options.
- Speaker System: If you have a dedicated speaker system or individual speakers, ensure that they are ready to be connected to the AV receiver. Check for any required cables or connectors.
- Remote Control: Locate the remote control for your old AV receiver, as you may need to access its settings during the setup process.
- User Manuals: Keep the user manuals for both the AV receiver and the TV handy, as they can provide valuable guidance on connectivity options and settings.
By gathering all the necessary equipment and ensuring that everything is in working order, you’ll be well-prepared to proceed with the setup process. Once you have everything in place, you can move on to the next step of connecting the AV receiver to your TV.
Step 2: Connect the AV Receiver to the TV
Now that you have gathered your equipment, it’s time to establish the physical connection between your old AV receiver and your TV. Follow these steps to ensure a secure and reliable connection:
- Identify the Input and Output Ports: Examine the back panel of your old AV receiver to locate the audio and video input and output ports. Similarly, identify the corresponding input ports on your TV. Common connection options include HDMI, RCA, and optical inputs.
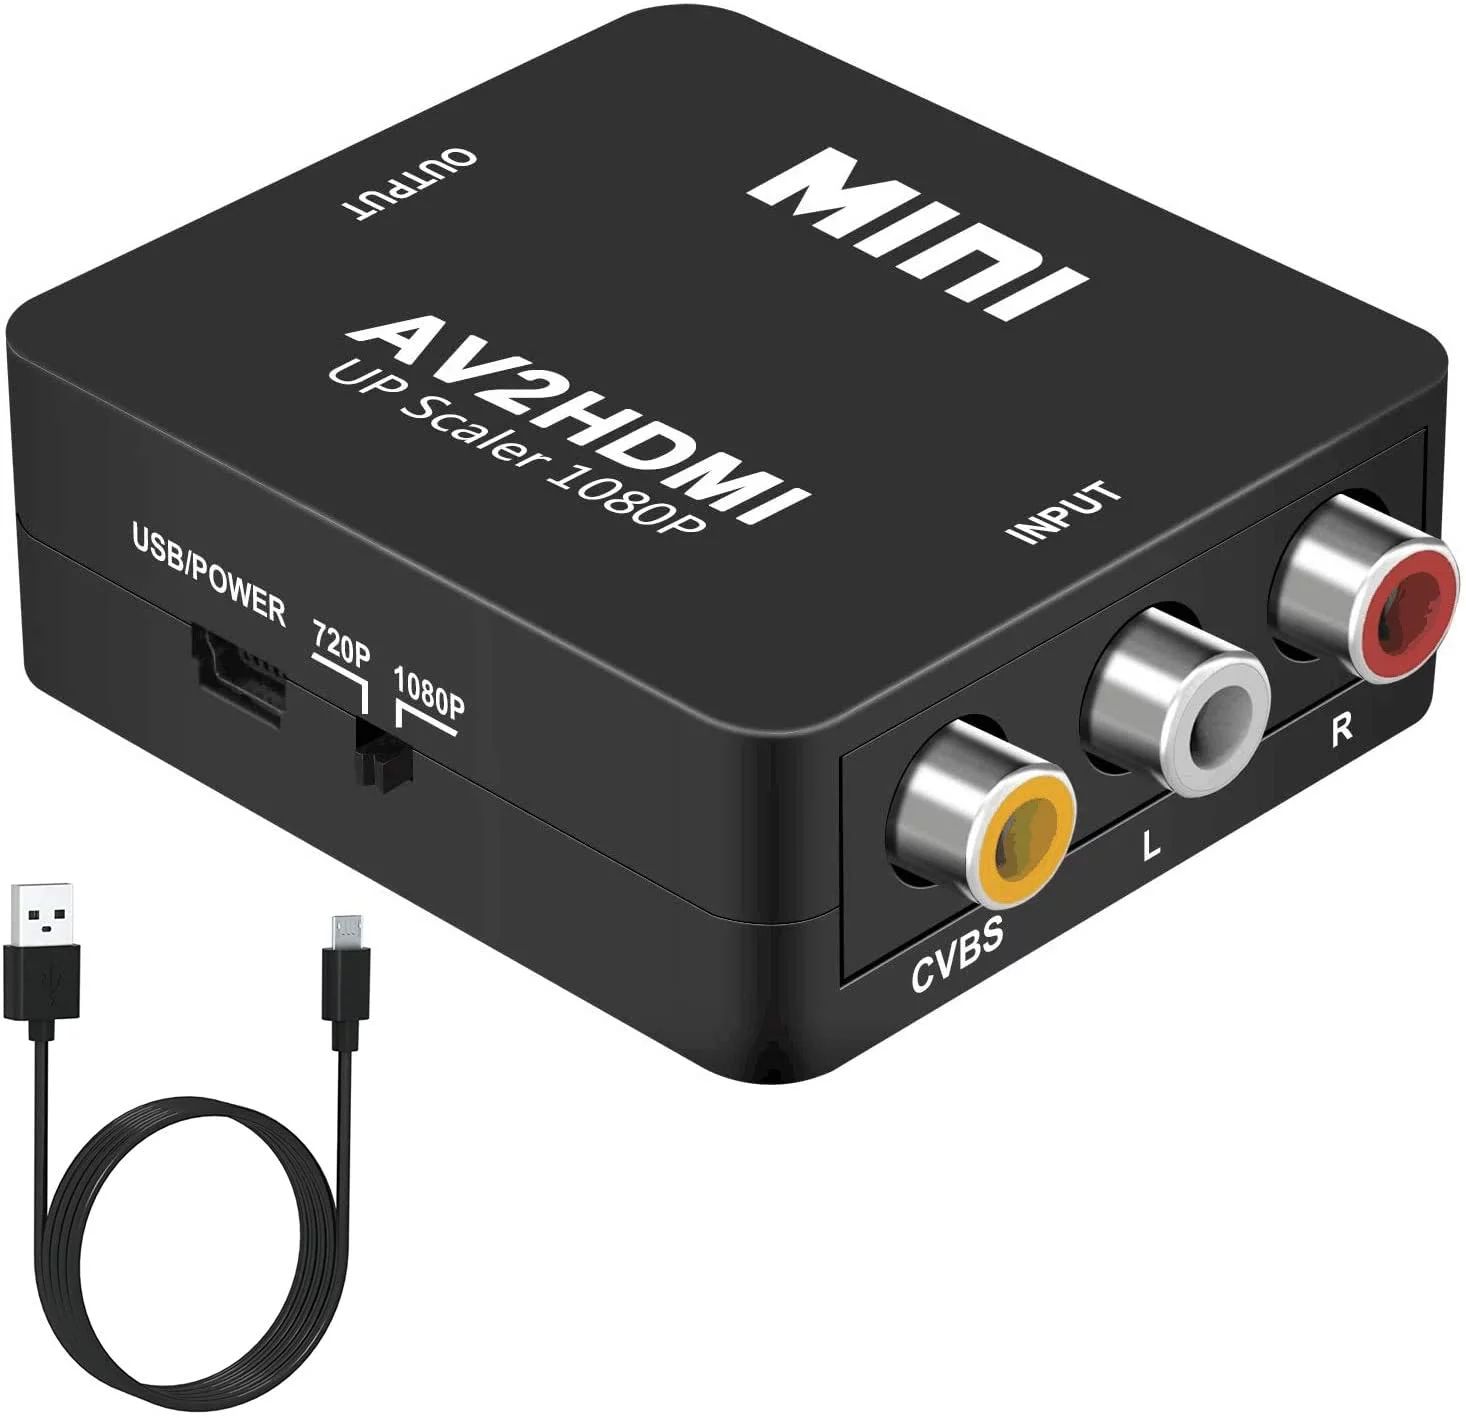
- Choose the Connection Type: Based on the available input options on both the AV receiver and the TV, select the appropriate connection type. For optimal audio and video quality, HDMI connections are preferred, as they support high-definition audio and video signals. If HDMI is not available, RCA or optical connections can be used as alternatives.
- Connect the Audio and Video Cables: Using the selected cables, connect the audio and video output ports of the AV receiver to the input ports on the TV. Ensure a secure and snug fit for each cable to avoid signal loss or interference.
- Establish Additional Connections (If Required): Depending on your setup, you may need to establish additional connections, such as connecting external speakers to the AV receiver or routing audio from other devices through the receiver. Follow the manufacturer’s guidelines for any supplementary connections.
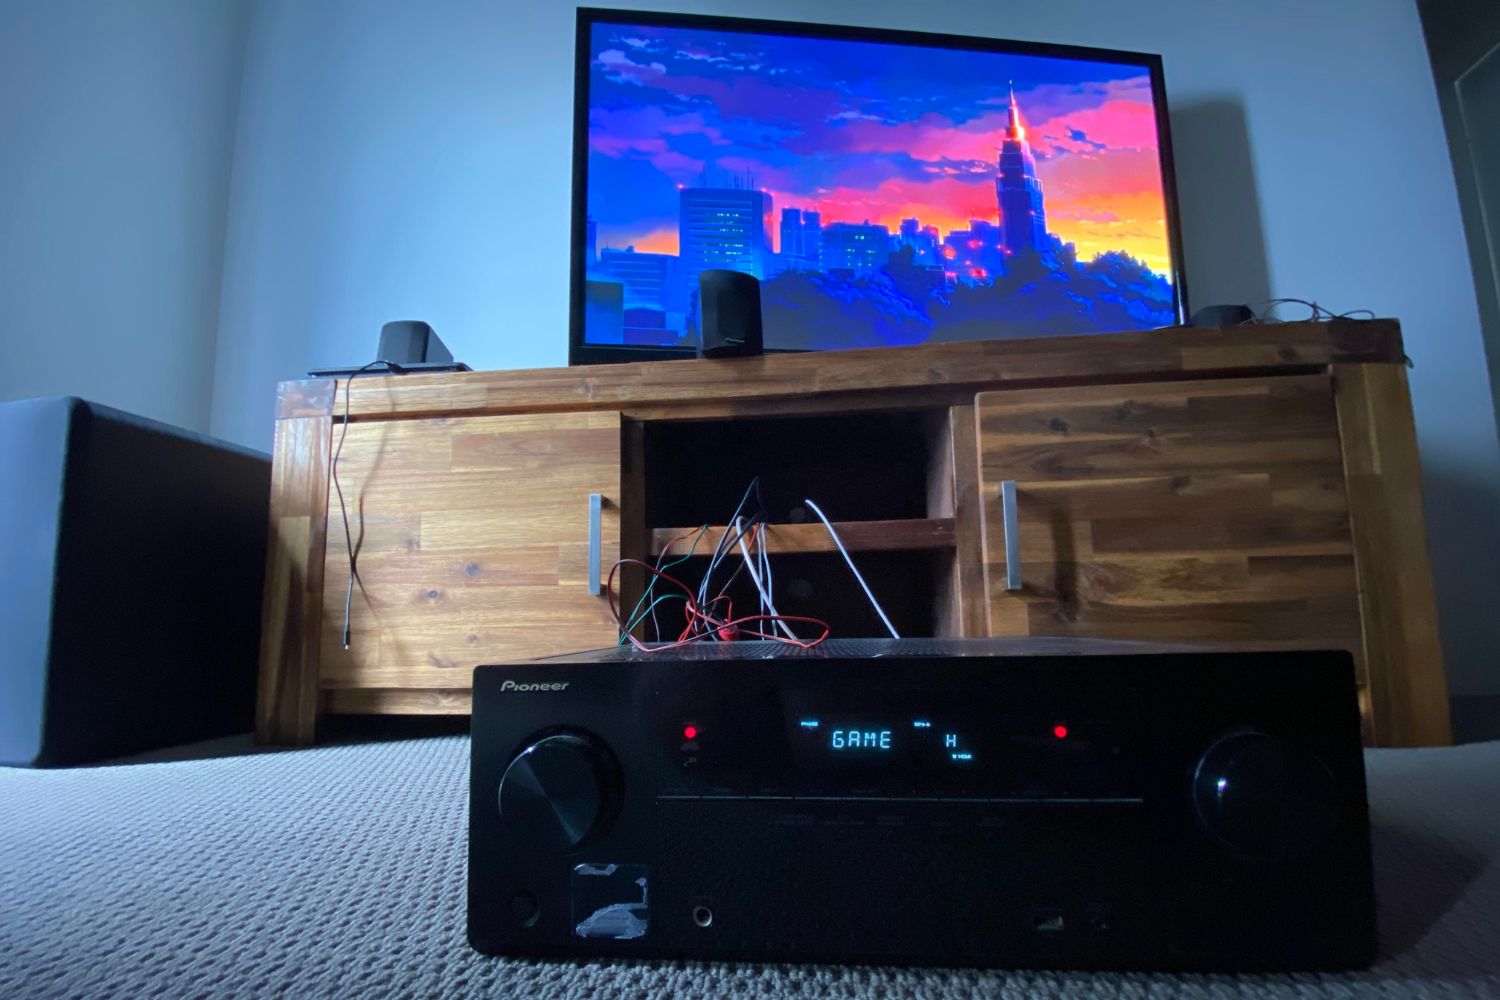
- Power On and Verify the Connection: After making the necessary connections, power on both the AV receiver and the TV. Switch the TV to the corresponding input source that you connected the AV receiver to. Verify that the audio and video signals are successfully transmitted from the receiver to the TV.
By carefully connecting your old AV receiver to your TV using the appropriate cables and input ports, you can ensure a seamless integration that allows for the transmission of high-quality audio and video signals. With the physical connection established, you are ready to proceed to the next step of setting up the AV receiver to optimize its performance.
Step 3: Set Up the AV Receiver
After physically connecting your old AV receiver to your TV, it’s essential to configure the receiver’s settings to ensure optimal audio performance and compatibility with your TV. Follow these steps to set up your AV receiver:
- Access the On-Screen Display: Using your AV receiver’s remote control, access the on-screen display (OSD) or menu system. This interface allows you to navigate and adjust the receiver’s settings using the TV screen as a display.
- Configure Audio Output Settings: Navigate to the audio output settings within the receiver’s menu. Select the appropriate audio output format based on your TV’s capabilities and your preferred audio setup. Options may include stereo, surround sound, or Dolby Digital, depending on your equipment and preferences.
- Set Input Assignments: If your AV receiver supports multiple audio and video inputs, assign the corresponding input labels to match your connected devices. This ensures that the receiver recognizes and labels each input source accurately, simplifying the switching process.
- Adjust Speaker Configuration: Configure the speaker setup and size within the receiver’s settings to match your connected speaker system. This includes specifying the number of speakers, their size, and their placement in your home entertainment environment.
- Enable HDMI Control (If Applicable): If your AV receiver and TV support HDMI control (CEC), enable this feature to facilitate seamless communication between the devices. HDMI control allows for convenient operation, such as turning on multiple devices with a single remote and automatic input switching.
- Perform Audio Calibration (If Available): Some AV receivers offer automated audio calibration systems that optimize the sound output based on your room’s acoustics and speaker configuration. Follow the receiver’s instructions to run the calibration process for enhanced audio performance.
By configuring the settings of your old AV receiver to align with your TV and audio setup, you can ensure a harmonious integration that maximizes audio quality and usability. Once the AV receiver is properly set up, you can proceed to the next step of testing the connection and fine-tuning the audiovisual experience.
Step 4: Test the Connection
With the physical and settings configurations in place, it’s time to test the connection between your old AV receiver and your TV to ensure that audio and video signals are transmitted seamlessly. Follow these steps to verify the functionality of the integrated setup:
- Play Audio and Video Content: Select a familiar audio or video source, such as a movie, music, or TV show, and play it through your AV receiver. Ensure that the audio is routed through your connected speakers and that the video is displayed on your TV without any distortions or interruptions.
- Check Audio Output Modes: If your AV receiver supports various audio output modes, such as stereo, surround sound, or Dolby Digital, test each mode to ensure that the audio is correctly processed and distributed according to the selected settings.
- Verify Input Switching: Test the input switching functionality of the AV receiver to confirm that it accurately detects and switches between connected devices. This ensures that you can seamlessly transition between different audio and video sources without encountering issues.
- Adjust Audio Levels: Fine-tune the audio levels using the AV receiver’s controls or remote to achieve the desired balance and volume. Verify that the adjustments made on the receiver reflect accurately in the audio output from your speakers.
- Inspect Video Quality: Assess the video quality displayed on your TV to ensure that the integrated setup maintains high-definition visuals and accurate color reproduction. Make any necessary adjustments to the video settings within the receiver’s menu if applicable.
By thoroughly testing the connection between your old AV receiver and your TV, you can identify and address any potential issues related to audio output, video display, and input switching. This step allows you to fine-tune the setup and make adjustments to optimize the audiovisual experience according to your preferences and equipment capabilities.
Conclusion
Setting up an old AV receiver to a TV can revitalize your home entertainment system, unlocking the potential for immersive audio experiences and versatile connectivity. By following the steps outlined in this guide, you have successfully integrated your old AV receiver with your TV, creating a harmonious audiovisual setup that caters to your viewing and listening preferences.
Through the process of gathering the necessary equipment, establishing physical connections, configuring the AV receiver’s settings, and testing the integrated setup, you have harnessed the capabilities of your existing audio equipment and maximized its compatibility with your TV. The seamless transmission of high-quality audio and video signals from your AV receiver to your TV has enhanced your overall home entertainment experience, allowing you to indulge in captivating soundscapes and captivating visuals.
By leveraging the capabilities of your old AV receiver and integrating it with your TV, you have expanded your audio connectivity options, embraced the potential for multi-channel audio experiences, and breathed new life into your cherished audio equipment. Whether you’re enjoying a blockbuster movie, streaming your favorite music, or immersing yourself in gaming adventures, the integrated setup empowers you to savor every moment with exceptional audio fidelity and visual clarity.
As you continue to explore the possibilities of your revitalized home entertainment system, remember that the integration of your old AV receiver with your TV opens the door to a myriad of audiovisual experiences, providing a timeless blend of classic audio equipment and modern display technologies. Embrace the rich soundscapes and captivating visuals that await you, and relish the seamless integration of your old AV receiver with your TV as you embark on a journey of immersive entertainment.