Introduction
Resetting your Xperia P can be a useful solution for various issues, such as persistent software glitches, sluggish performance, or privacy concerns. It's a process that returns the device to its original factory settings, effectively wiping out all user data and installed apps. While this may seem like a drastic measure, it can often breathe new life into a sluggish device or resolve persistent software issues.
Before proceeding with a factory reset, it's crucial to back up any important data, such as photos, videos, contacts, and documents, to prevent their loss during the reset process. Once the backup is complete, you can then navigate through the settings menu to initiate the factory reset. This comprehensive guide will walk you through each step of the process, ensuring that you can confidently perform a factory reset on your Xperia P without encountering any hiccups.
By following the step-by-step instructions provided in this guide, you can effectively reset your Xperia P, potentially resolving any software-related issues and restoring the device to its original performance. Whether you're experiencing persistent software glitches, slow responsiveness, or simply wish to start afresh with your device, the factory reset process can be a valuable tool in your mobile device maintenance arsenal.
Now, let's delve into the detailed steps to perform a factory reset on your Xperia P, ensuring that you can navigate through the process with ease and confidence.
Step 1: Back Up Your Data
Before embarking on the process of resetting your Xperia P, it is crucial to safeguard your valuable data by performing a comprehensive backup. This step ensures that your photos, videos, contacts, messages, and other essential information are securely stored, ready to be restored once the factory reset is complete.
Backing Up Photos and Videos
Begin by transferring your photos and videos to a secure location. You can utilize cloud storage services such as Google Photos, Dropbox, or OneDrive to seamlessly upload your media files to the cloud. Alternatively, you can connect your Xperia P to a computer via USB and manually transfer the files to a designated folder on your PC.
Saving Contacts and Messages
To preserve your contacts and messages, consider syncing them with your Google account. This ensures that your contact list and messages are safely stored in your Google account, ready to be retrieved after the factory reset. Additionally, you can use the built-in backup feature on your Xperia P to create a backup of your contacts and messages.
Securing Documents and Files
If you have important documents and files stored on your device, it is essential to transfer them to a secure location. Utilize cloud storage services or transfer the files to your computer to ensure that they are safely backed up and readily accessible post-reset.
Utilizing Backup Apps
There are numerous backup apps available on the Google Play Store that offer comprehensive backup solutions for your Xperia P. These apps enable you to back up your app data, settings, and other crucial information, providing a seamless restoration process after the factory reset.
By diligently backing up your data, you can proceed with the factory reset of your Xperia P with confidence, knowing that your valuable information is securely preserved. This proactive approach ensures that your photos, videos, contacts, messages, and documents are safeguarded, allowing you to seamlessly restore them once the reset process is complete.
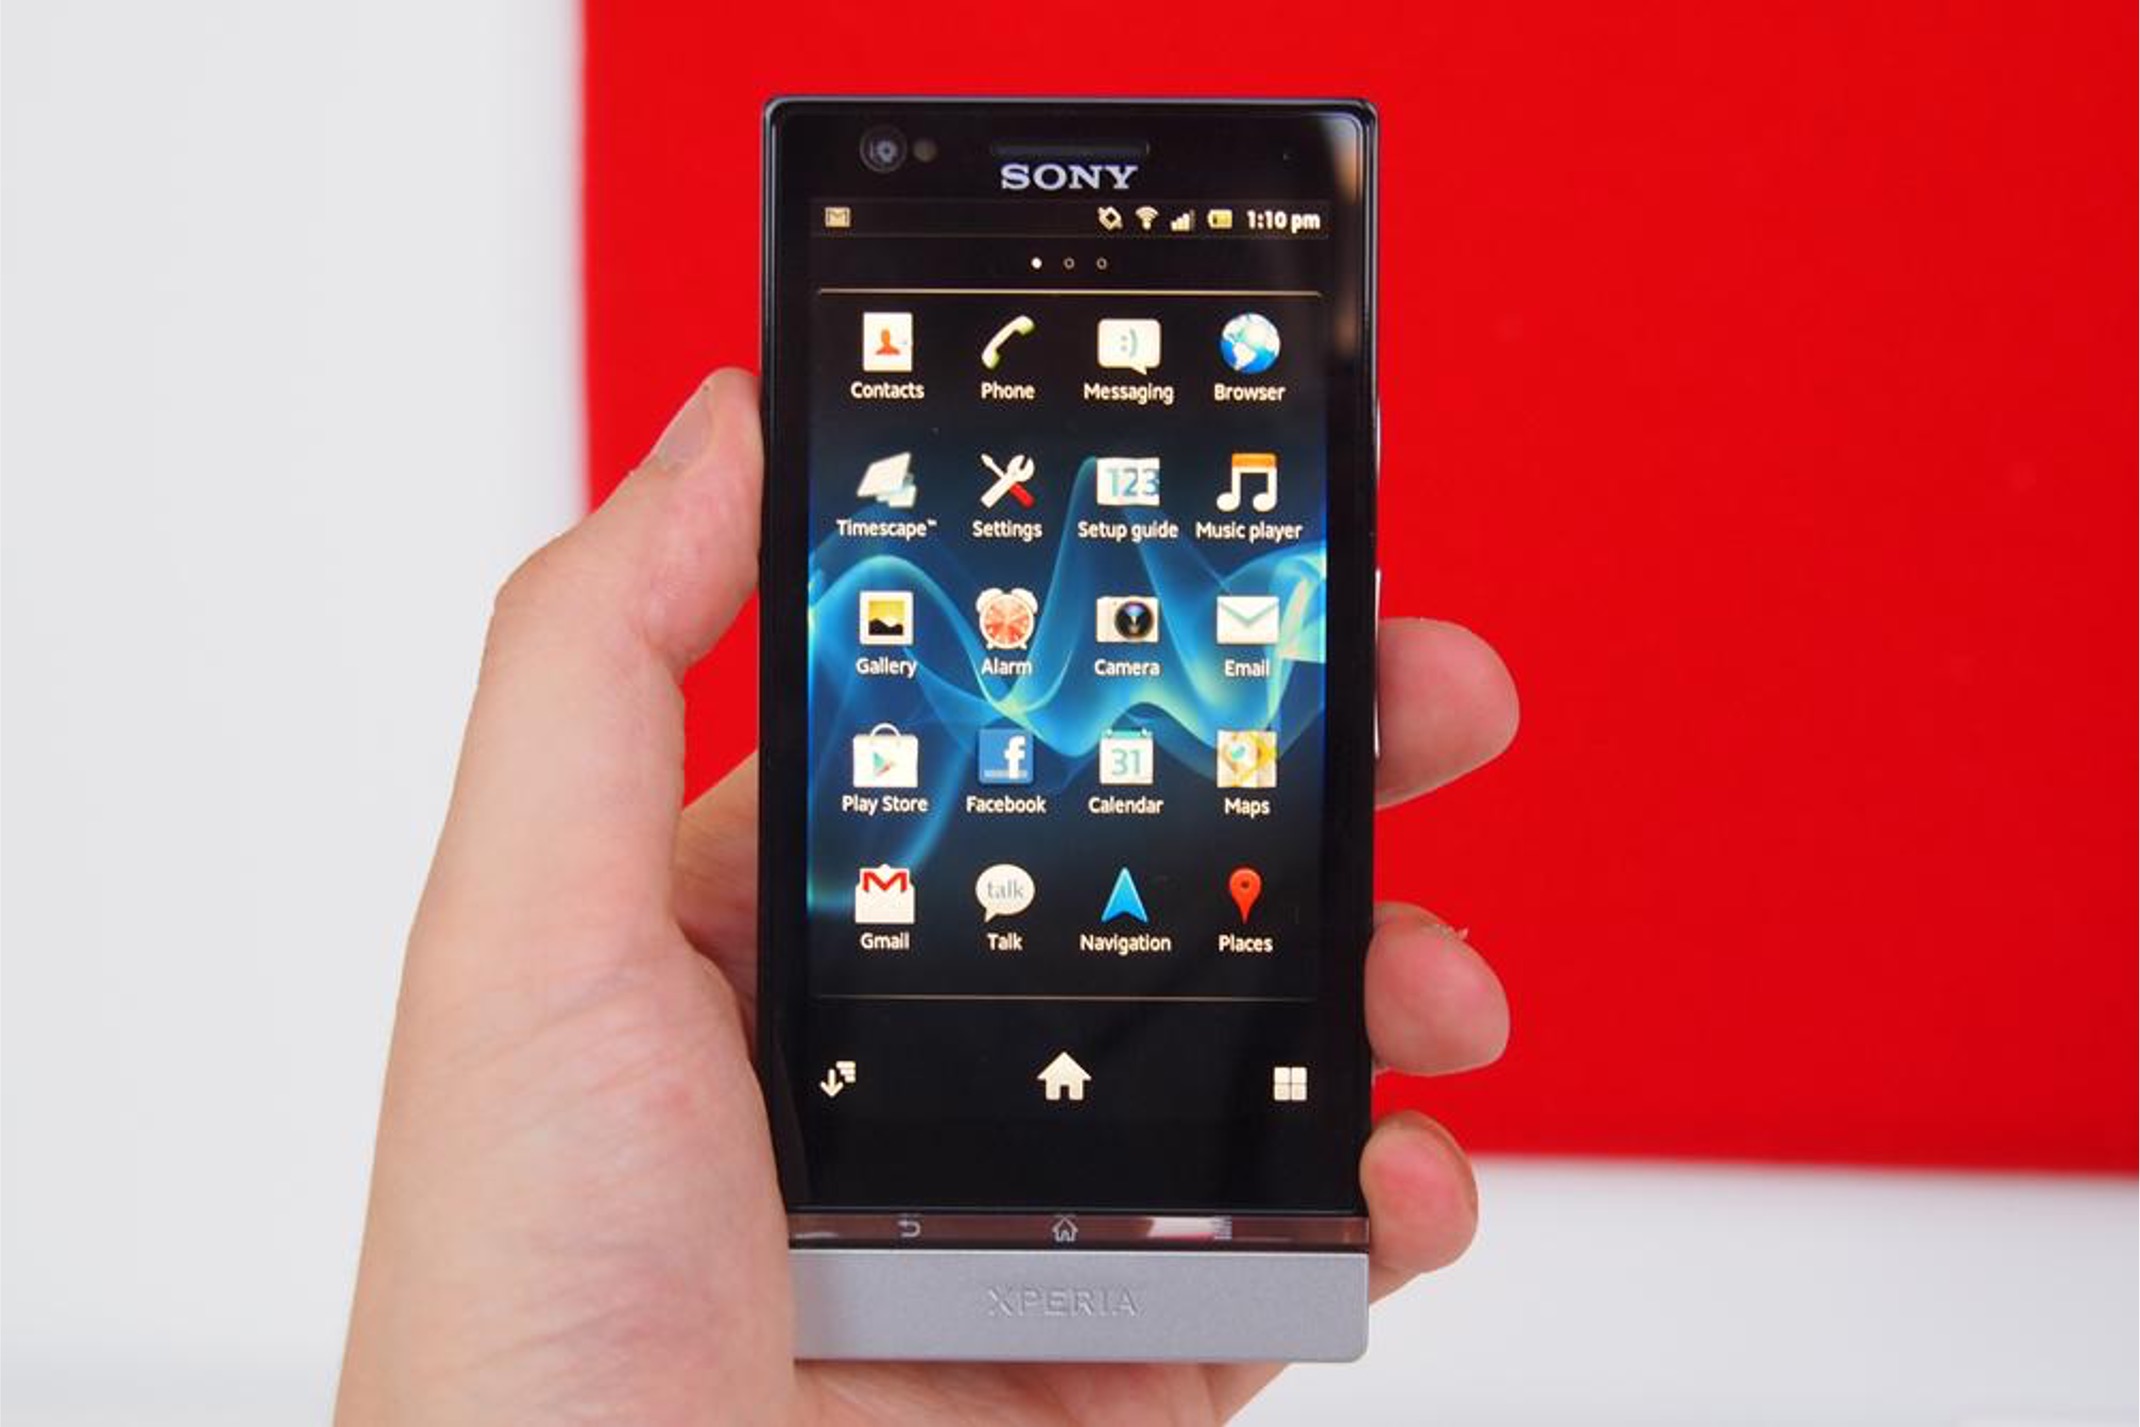
Step 2: Accessing the Settings Menu
Accessing the settings menu on your Xperia P is the pivotal next step in the process of performing a factory reset. This crucial step allows you to navigate through the device's settings and initiate the reset procedure seamlessly. Here's a detailed guide on how to access the settings menu on your Xperia P:
-
Unlock Your Device: Begin by unlocking your Xperia P by entering your PIN, pattern, or password, depending on your security settings. Once unlocked, you will be greeted by the home screen.
-
Navigate to the Settings App: Locate the Settings app on your home screen or in the app drawer. The Settings app is represented by a gear icon and is typically found among the installed apps on your device. Tap on the Settings app to open it.
-
Scroll Through the Settings: Upon opening the Settings app, you will be presented with a variety of options and configurations. Scroll through the settings to familiarize yourself with the available options. The settings menu encompasses a wide range of features, including network settings, display options, sound settings, and more.
-
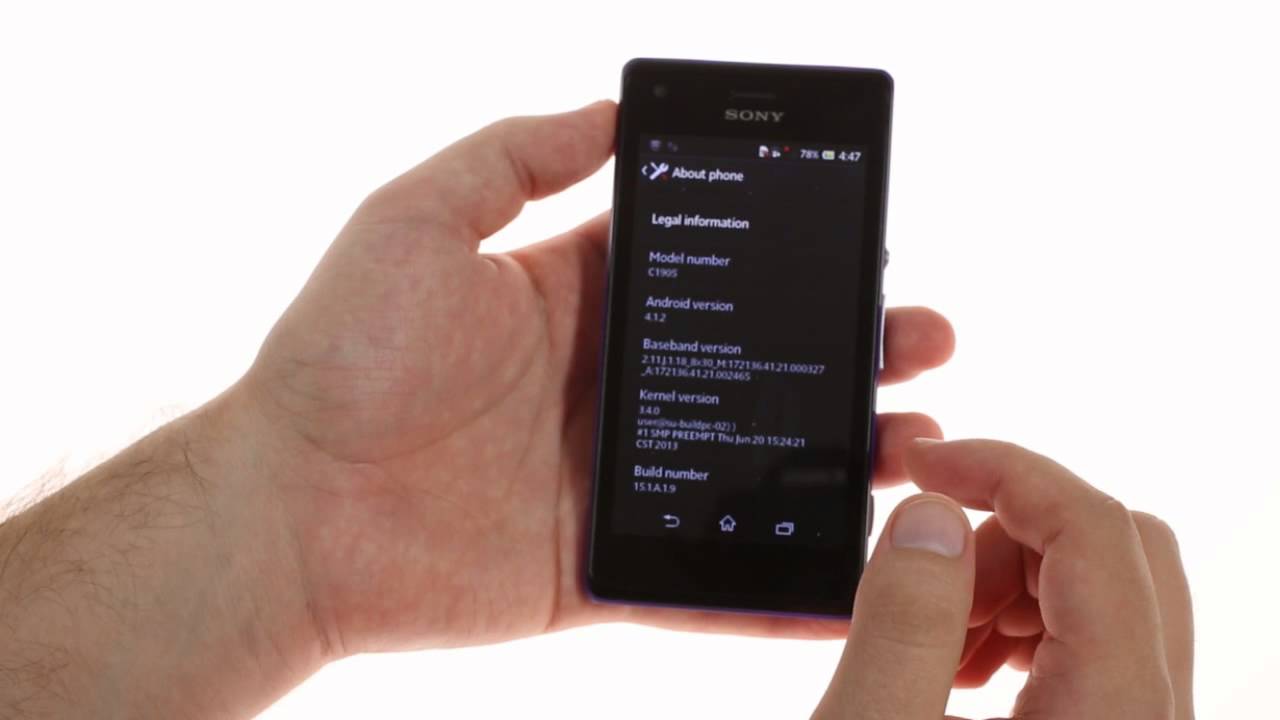
Select 'System': Within the settings menu, locate and tap on the 'System' option. This section houses essential system-related configurations and functions, including the option to perform a factory reset.
-
Access 'Reset Options': Once in the 'System' section, look for the 'Reset options' or 'Backup & reset' category. This is where you will find the option to initiate the factory reset process. Tap on 'Reset options' to proceed to the next step.
By following these detailed steps, you can effortlessly access the settings menu on your Xperia P and navigate to the specific section where the factory reset option is located. This seamless navigation through the settings menu sets the stage for the subsequent steps in the factory reset process, ensuring that you can confidently proceed with resetting your device to its original factory settings.
Step 3: Factory Reset
Initiating the factory reset on your Xperia P is a pivotal step in the process of restoring the device to its original factory settings. This comprehensive reset effectively wipes out all user data, installed apps, and personalized settings, returning the device to a pristine state. Here's a detailed guide on how to perform the factory reset on your Xperia P:
-
Navigate to Factory Reset Option: Within the "Reset options" or "Backup & reset" section of the settings menu, locate the "Factory data reset" or similar option. This is the gateway to initiating the factory reset process on your Xperia P.
-
Reviewing the Implications: Before proceeding with the factory reset, it's essential to understand the implications of this action. The reset will erase all data on the device, including apps, photos, videos, messages, and settings. Take a moment to ensure that you have backed up all essential data to prevent any loss during the reset process.
-
Initiating the Reset: Once you have reviewed the implications and backed up your data, tap on the "Factory data reset" option to proceed. You may be prompted to enter your device's PIN, pattern, or password to confirm your identity and authorization for the reset.
-
Confirmation Prompt: After initiating the factory reset, a confirmation prompt will appear, outlining the consequences of the reset. This prompt serves as a final checkpoint to ensure that you are fully aware of the implications before proceeding with the reset.
-
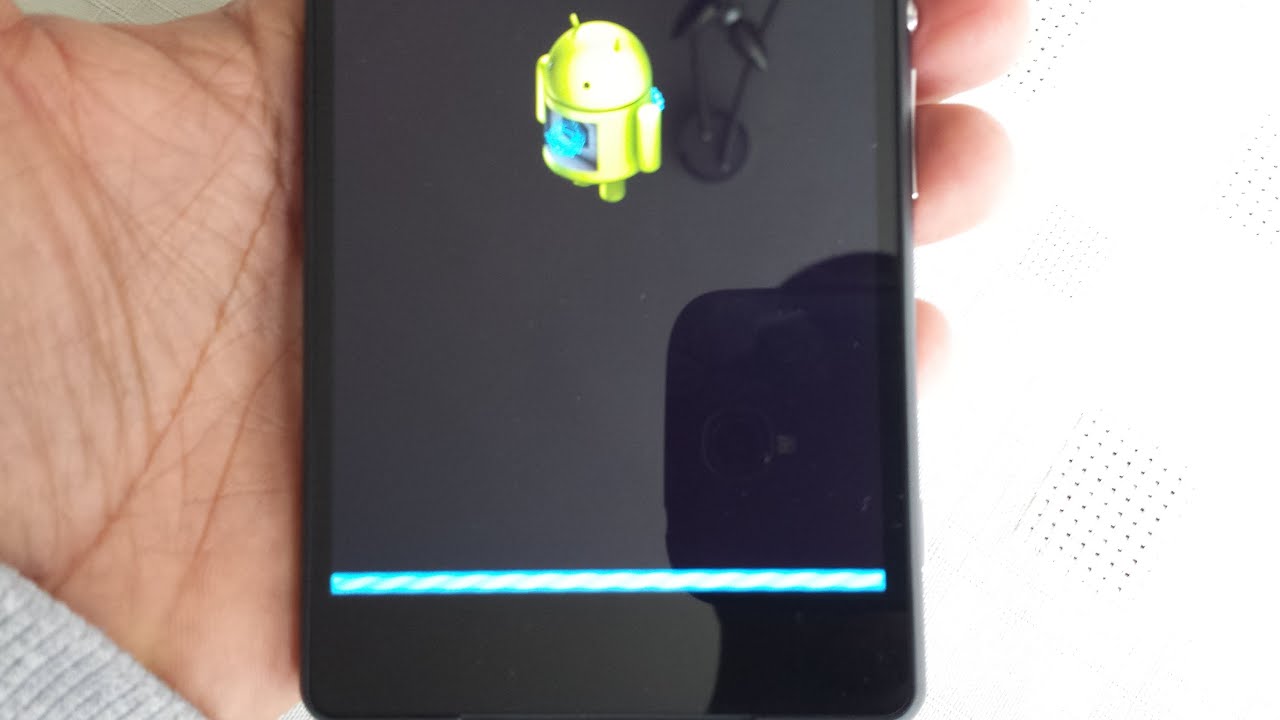
Proceeding with the Reset: To confirm the factory reset, tap on the "Reset phone" or "Erase everything" option, depending on the specific wording used on your Xperia P. This action initiates the reset process, effectively wiping out all user data and restoring the device to its original factory settings.
By following these detailed steps, you can confidently navigate through the factory reset process on your Xperia P, ensuring that the reset is initiated seamlessly and securely. The factory reset serves as a powerful tool for resolving persistent software issues, restoring the device's performance, and ensuring a fresh start for your Xperia P.
Step 4: Confirming the Reset
After initiating the factory reset process on your Xperia P, the confirmation step plays a crucial role in ensuring that the reset is deliberate and well-informed. This pivotal stage serves as a final checkpoint, prompting you to confirm your decision to proceed with the reset and emphasizing the irreversible nature of this action.
Upon initiating the factory reset, a confirmation prompt will appear on your device's screen, presenting a concise overview of the implications and consequences of the reset. This prompt serves as a safeguard against accidental or unintended resets, ensuring that you are fully aware of the irreversible nature of the reset process.
The confirmation prompt typically outlines the following key points:
-
Data Erasure: It emphasizes that all user data, including apps, photos, videos, messages, and personalized settings, will be permanently erased from the device's internal storage. This serves as a stark reminder of the irreversible nature of the reset and underscores the importance of backing up essential data beforehand.
-
Account Removal: The prompt may also highlight the removal of accounts linked to the device, such as Google accounts and associated data. This serves as a precautionary measure to prevent any unintended account removal and emphasizes the need to review and safeguard account information before proceeding with the reset.
-
Device State: It may emphasize that the device will be restored to its original factory settings, effectively reverting to the state it was in when first purchased. This serves as a clear indication of the comprehensive nature of the reset and underscores the impact it will have on the device's configuration.
-
Final Authorization: The confirmation prompt typically requires a final authorization from the user to proceed with the reset. This may involve entering the device's PIN, pattern, or password to validate the decision and prevent unauthorized or accidental resets.
Upon reviewing the confirmation prompt and acknowledging the implications of the reset, you can confidently proceed with the final step of confirming the reset. This deliberate and informed confirmation ensures that the factory reset is initiated intentionally, minimizing the risk of unintended data loss and emphasizing the irreversible nature of the reset process.
By carefully navigating through the confirmation prompt and providing the necessary authorization, you can confidently proceed with the factory reset, knowing that the decision is deliberate and well-informed. This meticulous approach ensures that the reset process is executed securely and intentionally, setting the stage for the device to be restored to its original factory settings.
The confirmation step serves as a pivotal checkpoint in the factory reset process, emphasizing the irreversible nature of the reset and ensuring that the decision to proceed is deliberate and well-considered. By acknowledging the implications outlined in the confirmation prompt, you can confidently finalize the reset process, paving the way for the restoration of your Xperia P to its original factory state.
Conclusion
In conclusion, the process of performing a factory reset on your Xperia P encompasses a series of deliberate and meticulous steps aimed at restoring the device to its original factory settings. This comprehensive guide has provided detailed insights into each stage of the reset process, ensuring that you can confidently navigate through the procedure with precision and assurance.
By meticulously backing up your essential data, accessing the settings menu, initiating the factory reset, and confirming the reset decision, you have gained a comprehensive understanding of the intricacies involved in resetting your Xperia P. This proactive approach underscores the importance of safeguarding your valuable data while ensuring a seamless and deliberate reset process.
The factory reset serves as a powerful tool for addressing persistent software issues, sluggish performance, and privacy concerns, offering a fresh start for your Xperia P. By returning the device to its original factory state, you can potentially resolve software-related glitches and restore the device's performance to its optimal state.
It's important to note that while the factory reset process can effectively address software-related issues, it is essential to exercise caution and ensure that all critical data is securely backed up before proceeding with the reset. This proactive measure minimizes the risk of data loss and provides peace of mind throughout the reset process.
As you embark on the journey of resetting your Xperia P, this guide equips you with the knowledge and confidence to navigate through each step with precision. Whether you are seeking to revitalize a sluggish device, address persistent software glitches, or simply start afresh with your Xperia P, the factory reset process offers a valuable solution.
In essence, the meticulous approach outlined in this guide empowers you to leverage the factory reset feature of your Xperia P effectively, ensuring that the reset process is deliberate, well-informed, and seamlessly executed. By embracing the potential of the factory reset, you can embark on a journey to restore your device to its original performance, potentially resolving software-related challenges and embracing a rejuvenated mobile experience.
With a comprehensive understanding of the factory reset process and its implications, you are well-equipped to confidently navigate through the reset journey, leveraging this powerful tool to breathe new life into your Xperia P and embark on a fresh mobile device experience.