Introduction
Resetting your Xperia M can be a quick and effective solution to various issues that may arise during the usage of your device. Whether you are experiencing performance issues, software glitches, or simply want to erase all data and start afresh, a reset can often resolve these concerns. However, it's crucial to approach this process with caution, as it will erase all data from your device. Therefore, it's essential to back up your data before proceeding with the reset.
In this article, we will guide you through the step-by-step process of resetting your Xperia M. By following these instructions, you can ensure a smooth and hassle-free reset while safeguarding your important data. Whether you're a tech-savvy individual or a novice in the world of mobile devices, our comprehensive guide will equip you with the knowledge and confidence to perform a reset with ease.
So, if you're ready to address any lingering issues with your Xperia M or simply want to start anew, let's dive into the essential steps for resetting your device. With the right guidance and a cautious approach, you can effectively reset your Xperia M and enjoy a refreshed user experience.
Step 1: Backing Up Your Data
Before initiating the reset process on your Xperia M, it's imperative to safeguard your valuable data by creating a backup. This precautionary step ensures that your photos, videos, contacts, messages, and other essential information are securely stored, allowing you to restore them after the reset. Here's a detailed guide on how to back up your data effectively:
1.1. Utilize Cloud Services
Take advantage of cloud-based services such as Google Drive, Dropbox, or OneDrive to store your data securely. These platforms offer seamless integration with Xperia M, allowing you to effortlessly upload and sync your files to the cloud. By doing so, your data will be accessible from any device with an internet connection, providing a convenient and reliable backup solution.
1.2. Transfer to a Computer
Connect your Xperia M to a computer using a USB cable and transfer your files to the computer's hard drive. This method enables you to create a local backup of your data, ensuring that it's readily available for restoration post-reset. Additionally, you can organize your files into specific folders on your computer, facilitating easy retrieval when needed.
1.3. Use Built-in Backup Features
Leverage the built-in backup features of your Xperia M, which may include options to back up your contacts, messages, and settings directly to the device's internal storage or an external SD card. This method provides a convenient way to preserve your data without relying on third-party services, offering a streamlined and integrated backup solution.
1.4. Sync with Google Account
Ensure that your contacts, calendar events, and other essential data are synced with your Google account. By synchronizing your Xperia M with your Google account, your data will be securely stored in the cloud, ready to be retrieved when needed. This seamless synchronization process simplifies the backup procedure and minimizes the risk of data loss during the reset.
By following these comprehensive steps to back up your data, you can proceed with the reset of your Xperia M with confidence, knowing that your valuable information is safely preserved. With a secure backup in place, you are well-prepared to initiate the reset process and address any existing issues or performance concerns with your device.
Step 2: Accessing the Reset Options
Accessing the reset options on your Xperia M is a crucial step in the process of performing a reset. By navigating through the device's settings, you can locate the reset options and initiate the procedure with ease. Here's a detailed guide on how to access the reset options on your Xperia M:
2.1. Navigate to Settings
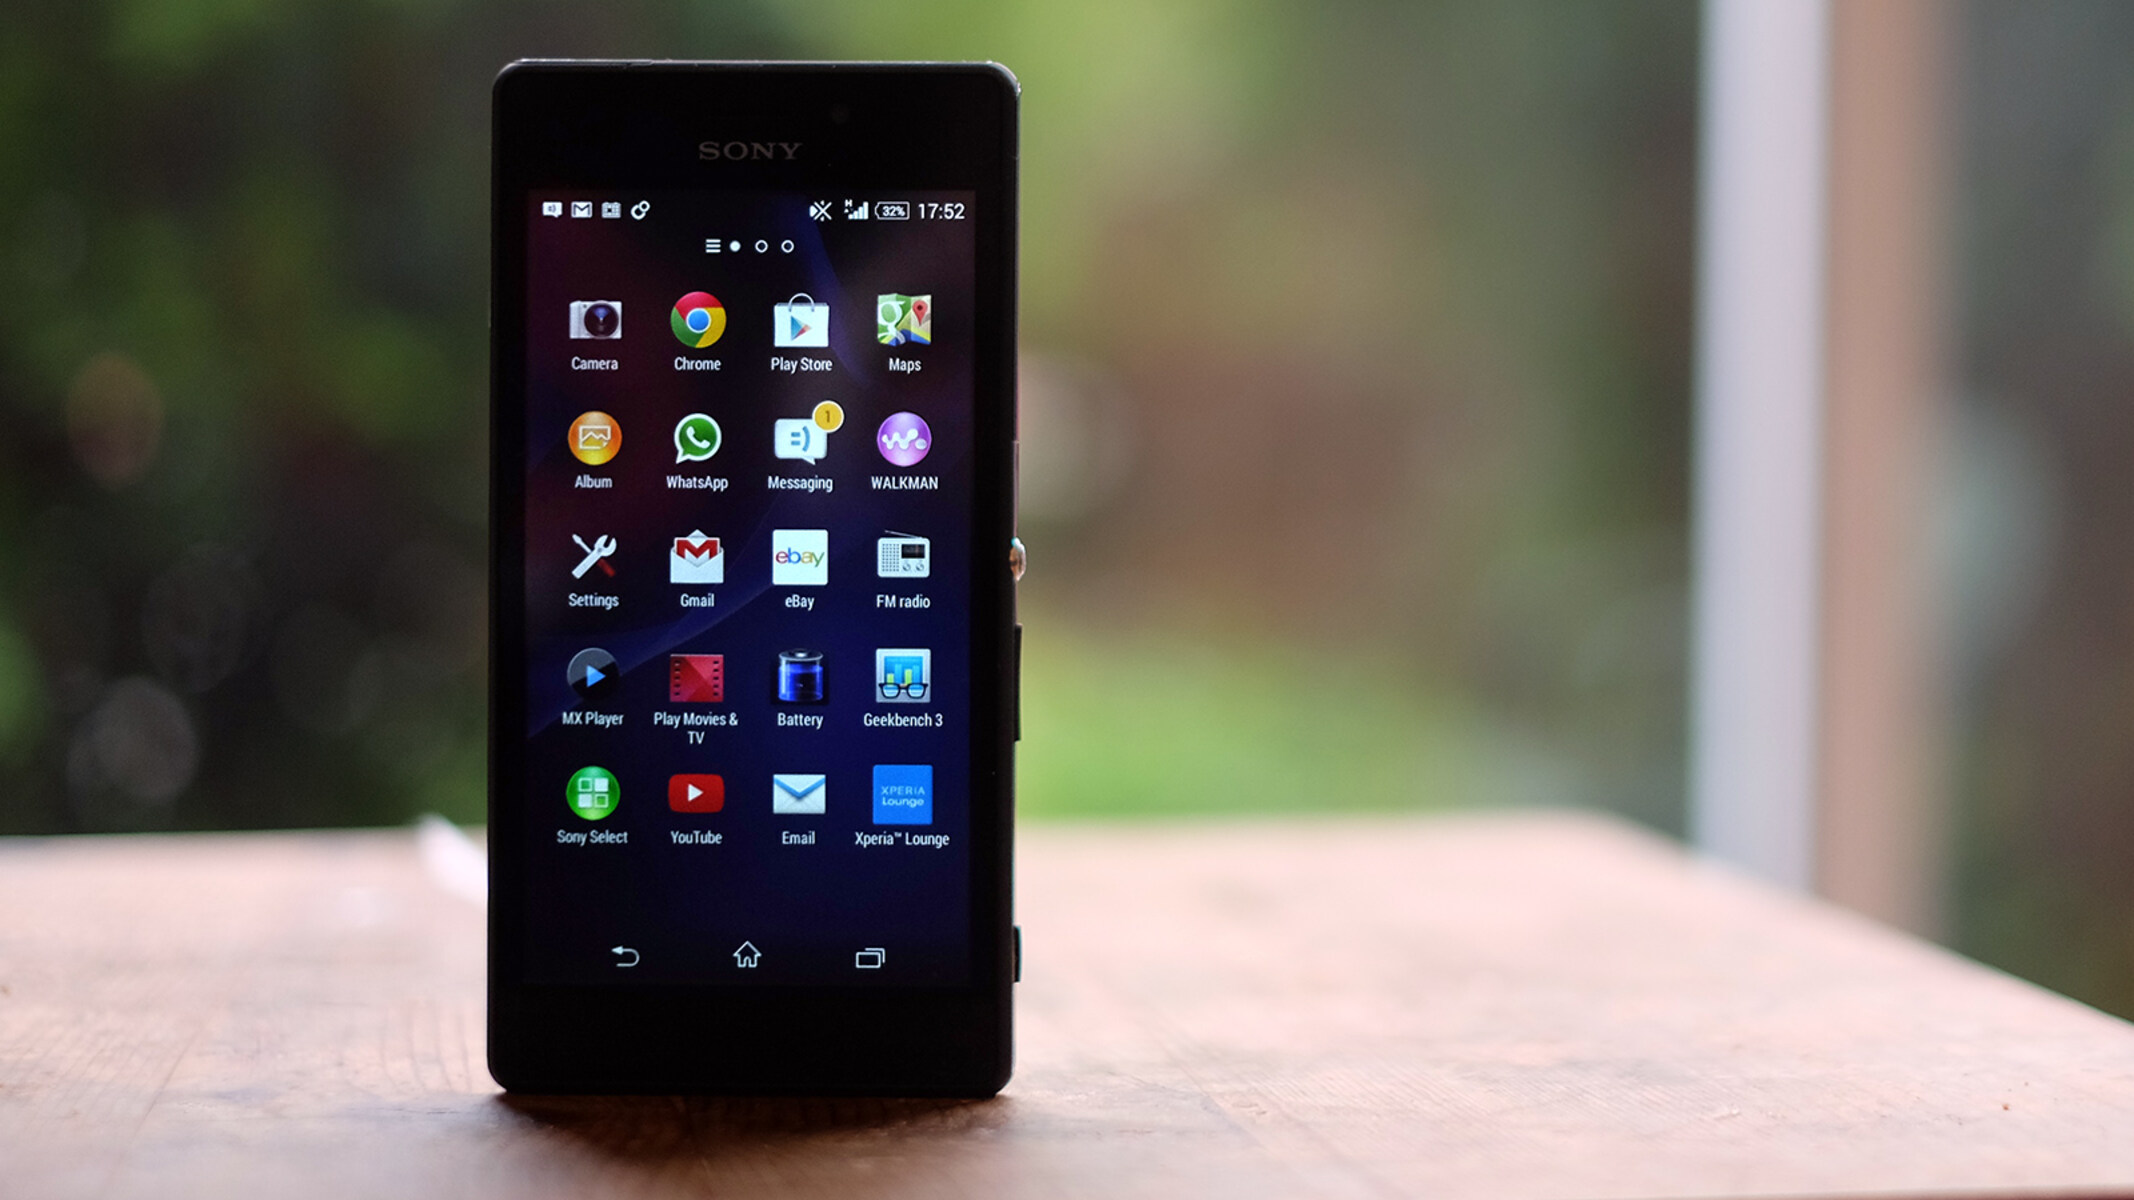
Begin by unlocking your Xperia M and accessing the home screen. From the home screen, locate and tap the "Settings" icon, which is represented by a gear or cogwheel symbol. This action will open the device settings, providing access to a wide range of configuration options and system preferences.
2.2. Select Backup & Reset
Within the settings menu, scroll down to find the "System" or "System & Device" category, depending on the specific layout of your Xperia M's settings. Once located, tap on this category to expand its options. Look for the "Backup & Reset" or similar option within this section, as it typically houses the reset options for the device.
2.3. Access Reset Options
Upon selecting the "Backup & Reset" option, you will be presented with a list of reset-related features and functions. Look for the specific reset option that aligns with your intentions. This may include a "Factory Data Reset," "Reset Settings," or similar labels, depending on the terminology used by your device's manufacturer.
2.4. Confirm Your Selection
Once you have identified the appropriate reset option, tap on it to proceed. At this stage, the device may prompt you to confirm your selection and provide additional details about the reset process. Carefully review the information presented on the screen to ensure that you are initiating the correct reset procedure.
2.5. Authenticate the Reset
Depending on the security settings of your Xperia M, the device may require you to enter your PIN, pattern, or password to authenticate the reset process. This security measure ensures that only authorized users can initiate a reset, safeguarding the device from unauthorized access and potential data breaches.
By following these step-by-step instructions, you can effectively access the reset options on your Xperia M and prepare for the subsequent stages of the reset process. With a clear understanding of how to navigate the device settings and locate the reset options, you are well-equipped to proceed with confidence and precision, ensuring a smooth and successful reset experience.
Step 3: Performing the Reset
With the necessary preparations in place, you are now ready to execute the reset on your Xperia M. This pivotal step involves initiating the reset process and overseeing the restoration of your device to its original state. Here's a comprehensive guide on how to perform the reset with precision and confidence:
3.1. Initiate the Reset Process
Navigate to the designated reset option within the device settings, as outlined in the previous step. Once you have located the appropriate reset feature, such as "Factory Data Reset" or a similar label, proceed to initiate the reset process by tapping on the respective option. This action signals the device to commence the reset procedure, preparing to erase all data and restore the device to its default settings.
3.2. Review and Confirm
Upon selecting the reset option, the device may present a confirmation prompt to ensure that you intend to proceed with the reset. Carefully review the information displayed on the screen, including details about the data that will be erased and the implications of the reset. Take this opportunity to confirm your decision and proceed with the reset process, ensuring that you are fully aware of the consequences of this action.
3.3. Await the Reset Completion
Once the reset process is initiated and confirmed, the device will commence the erasure of data and the restoration of default settings. This phase may take several minutes to complete, depending on the amount of data stored on the device. It is essential to exercise patience and allow the device to finalize the reset procedure without interruption, ensuring a thorough and effective restoration of the device's state.
3.4. Set Up the Device
After the reset process is complete, your Xperia M will reboot and present the initial setup screen, akin to when the device was first unboxed. Follow the on-screen instructions to configure essential settings, such as language preferences, Wi-Fi connectivity, and account credentials. Additionally, take this opportunity to restore your data from the backup created earlier, ensuring a seamless transition back to your personalized user experience.
3.5. Verify the Reset Outcome
Once the device setup is complete, take a moment to verify that the reset has been executed successfully. Navigate through the device settings and review the system configurations to ensure that the device has been restored to its default state. Additionally, access your data backup to confirm that your essential information has been securely restored, validating the effectiveness of the reset process.
By following these detailed steps to perform the reset on your Xperia M, you can effectively restore the device to its original state while preserving your valuable data. With a clear understanding of the reset process and its implications, you can navigate this procedure with confidence, ensuring a smooth and successful reset experience.
Conclusion
In conclusion, the process of resetting your Xperia M is a valuable tool for addressing various issues and restoring the device to its original state. By following the comprehensive steps outlined in this guide, you can confidently navigate the reset process while safeguarding your essential data. The journey begins with the crucial step of backing up your data, ensuring that your photos, contacts, messages, and other important information are securely preserved before initiating the reset.
Once your data is safely backed up, accessing the reset options on your Xperia M becomes the next pivotal step. Navigating through the device settings and locating the reset options empowers you to initiate the reset process with precision and confidence. By carefully accessing the reset options and confirming your selection, you lay the groundwork for a successful reset experience.
The subsequent stage involves performing the reset itself, where the device undergoes the erasure of data and the restoration of default settings. This phase requires patience and attentiveness as the device completes the reset process. Upon completion, setting up the device and verifying the reset outcome ensures a seamless transition back to your personalized user experience, with the added assurance that your essential data has been securely restored.
By embracing the reset process as a means of addressing performance concerns, software glitches, or the desire for a fresh start, you can effectively leverage the capabilities of your Xperia M to maintain a reliable and optimized user experience. Furthermore, the knowledge and confidence gained from navigating the reset process empower you to address potential issues with ease, ensuring that your device remains a dependable companion in your daily endeavors.
In essence, the process of resetting your Xperia M is not only a practical solution but also a valuable learning experience. By understanding the intricacies of the reset process and the importance of data backup, you can approach device maintenance with confidence and resilience. As you embark on the journey of resetting your Xperia M, may this guide serve as a trusted companion, empowering you to navigate the process with ease and precision, ultimately enhancing your overall mobile device experience.