A hard reset on a Sony Xperia phone, officially called a factory data reset, permanently erases all personal data, settings, and downloaded apps from the device's internal storage, restoring it to its original out-of-the-box state. This is the most effective fix for persistent software issues, performance slowdowns, or preparing your phone for a new owner, but it is irreversible, so back up anything you want to keep before you begin.
What a hard reset on your Sony Xperia does
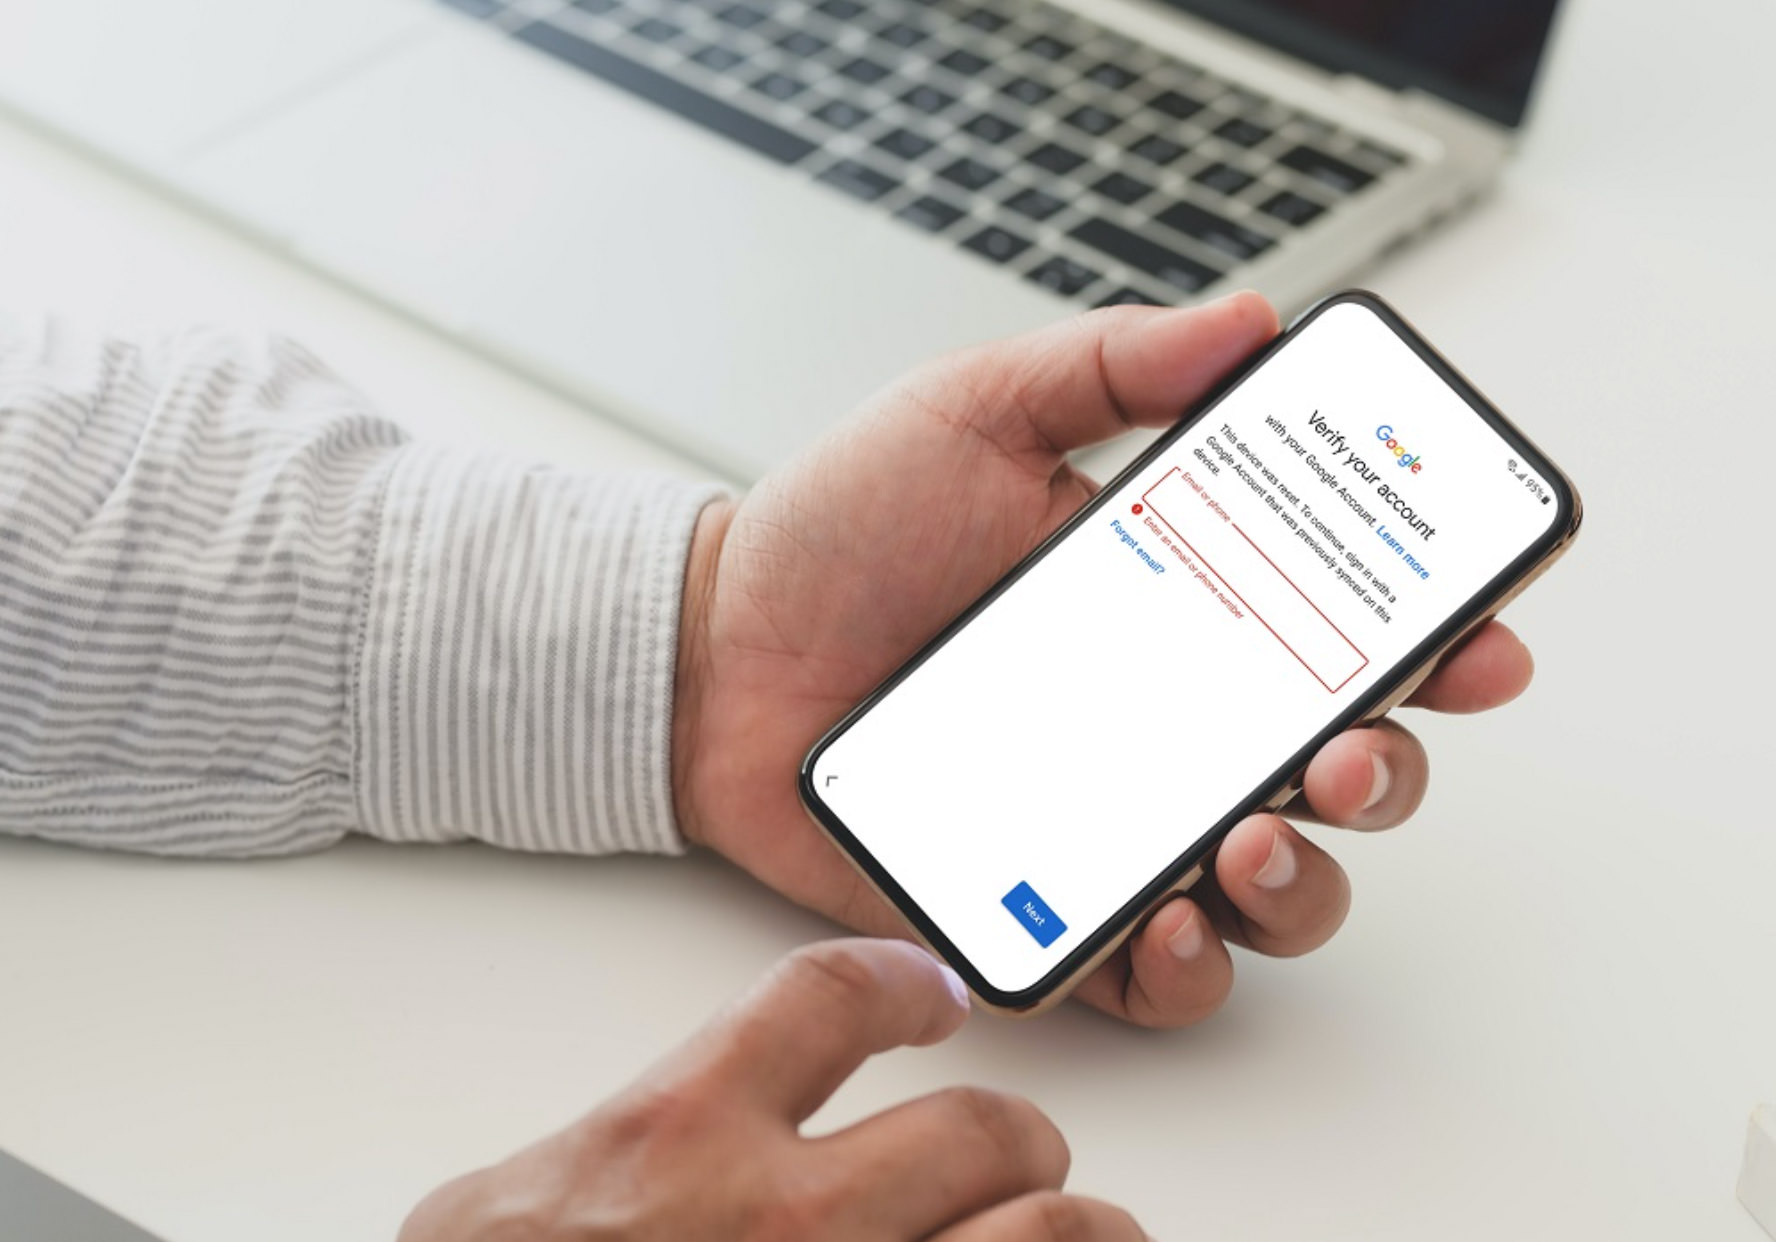
A factory data reset wipes the internal memory of your Xperia completely. This removes your accounts, contacts, messages, photos, music, and every app you've installed, returning the phone to the exact condition it was in when you first unboxed it. It's a powerful troubleshooting step for clearing out corrupted system files, stubborn bugs, or performance lag that won't go away with a simple restart. Note that this process also triggers Factory Reset Protection (FRP) on devices running Android 5.1 or higher: if a Google account is synced to the phone, you will need that account's username and password after the reset to set up the device again. If you forget those credentials, you will be permanently locked out.
Before you begin: back up and prepare
Proper preparation prevents data loss and avoids getting stuck during the reset. Follow these steps before you start any reset method:
- Back up your data: Use your Xperia's built-in backup feature (Settings > System > Backup) or sync your photos, contacts, and documents to a cloud service like Google Drive or Google Photos. Everything on internal storage will be erased.
- Remove the SD card: A factory reset via settings usually does not erase data on an external microSD card, but it's safer to remove it entirely, especially if you're using a remote wipe or software repair method that could affect it.
- Interrupting a reset due to a dead battery can permanently damage the device's software.
- Disable FRP and accounts: If you're selling or giving away the phone, go to Settings > Accounts and remove your Google account, then go to Settings > Security and turn off "Protection by my Xperia" (on older models). This prevents the phone from locking itself to your account after the reset.
Method 1: hard reset from the settings menu
This is the primary and safest method for a phone that is functional and responsive. It works on Android 9.0 and higher.
- Open the Settings app on your Xperia.
- Scroll down and tap System.
- Tap Reset options (on some models, it may be labeled "Reset" or "Backup & reset").
- Tap Erase all data (factory reset).
- Read the warning carefully, then tap Erase all data at the bottom.
- Enter your screen lock pattern, PIN, or password to confirm the action. This is a security step to verify you are the owner.
- The phone will begin erasing and automatically reboot. Do not interrupt this process. Once it finishes, the setup screen will appear.
Method 2: hard reset using Xperia Companion
If your Xperia is unresponsive, won't turn on, or you've forgotten the screen lock, use the official Xperia Companion software on a Windows PC or Mac. This method reinstalls the device's firmware and wipes all data in one step.
- Download and install Xperia Companion on your computer from the official Sony website.
- Open the application and connect your Xperia to the computer using a USB cable.
- If the phone is off, press and hold the Volume Down button while connecting the USB cable to put it into download mode (the app will guide you if needed).
- In Xperia Companion, click Software repair under the "Manage your Xperia" section.
- Follow the on-screen instructions. The software will download the correct firmware and reinstall it, deleting all personal data from the internal memory.
- Wait for the process to complete; the phone will reboot automatically. Do not unplug the USB cable during the repair.
Method 3: remote hard reset with Find My Device
If you've lost your Xperia or it's locked and you can't access the screen, use Google's Find My Device service to erase it remotely. This works as long as the phone is powered on and connected to the internet.
- On a computer or another device, go to Google.com/android/find.
- Sign in with the Google account that is linked to your Xperia.
- Select your Xperia from the list of devices at the top of the page.
- Click Erase device on the left panel. This will remotely factory reset your phone, wiping all data.
- Confirm the action. The erase will begin immediately if the phone is online, or it will queue until the phone connects to the internet.
After the reset: setting up your phone
Once the reset is complete, your Xperia will boot to the "Welcome" setup screen. Here's what to do next:
- Sign in with your Google account: If FRP was active, you must enter the username and password of the Google account that was previously synced to the phone. Without this, you cannot proceed past the setup screen.
- Restore your data: During setup, choose to restore from a Google Drive backup, or after setup, download your apps from the Play Store and re-sync your contacts and photos.
- Reconfigure settings: Set your language, Wi-Fi, and any personalized preferences like wallpaper and notification sounds to make the phone feel like yours again.
Related reading: Authenticity Check: Identifying Genuine Sony Xperia Z Ultra, Initiating Recovery Mode Reboot On Sony Xperia: Step-by-Step, and Resetting Your Motorola Razr Flip Phone.