Introduction
The Xperia Z3 is a remarkable device known for its sleek design and powerful performance. However, like any electronic device, its battery may eventually require replacement due to wear and tear. Whether you're looking to replace a worn-out battery or simply want to explore the inner workings of your Xperia Z3, this step-by-step battery removal guide will provide you with the necessary instructions to safely and effectively remove the battery from your device.
Taking on the task of removing the battery from your Xperia Z3 can seem daunting at first, but with the right guidance and a careful approach, it can be a manageable and rewarding experience. By following the detailed steps outlined in this guide, you'll gain a deeper understanding of your device's internal components and be equipped with the knowledge to carry out the battery removal process with confidence.
As we delve into the step-by-step instructions, it's important to approach this task with patience and precision. The Xperia Z3, like many modern smartphones, is a sophisticated piece of technology, and handling its internal components requires a gentle touch and attention to detail. By carefully following each step and exercising caution throughout the process, you can ensure that the battery removal is executed smoothly and without causing any damage to the device.
Whether you're a tech enthusiast eager to explore the inner workings of your Xperia Z3 or simply in need of guidance for replacing the battery, this comprehensive guide is designed to cater to your needs. With clear and concise instructions, accompanied by helpful tips and insights, you'll be well-prepared to embark on the journey of removing the battery from your Xperia Z3, empowering you to take charge of maintaining and understanding your device's essential components.
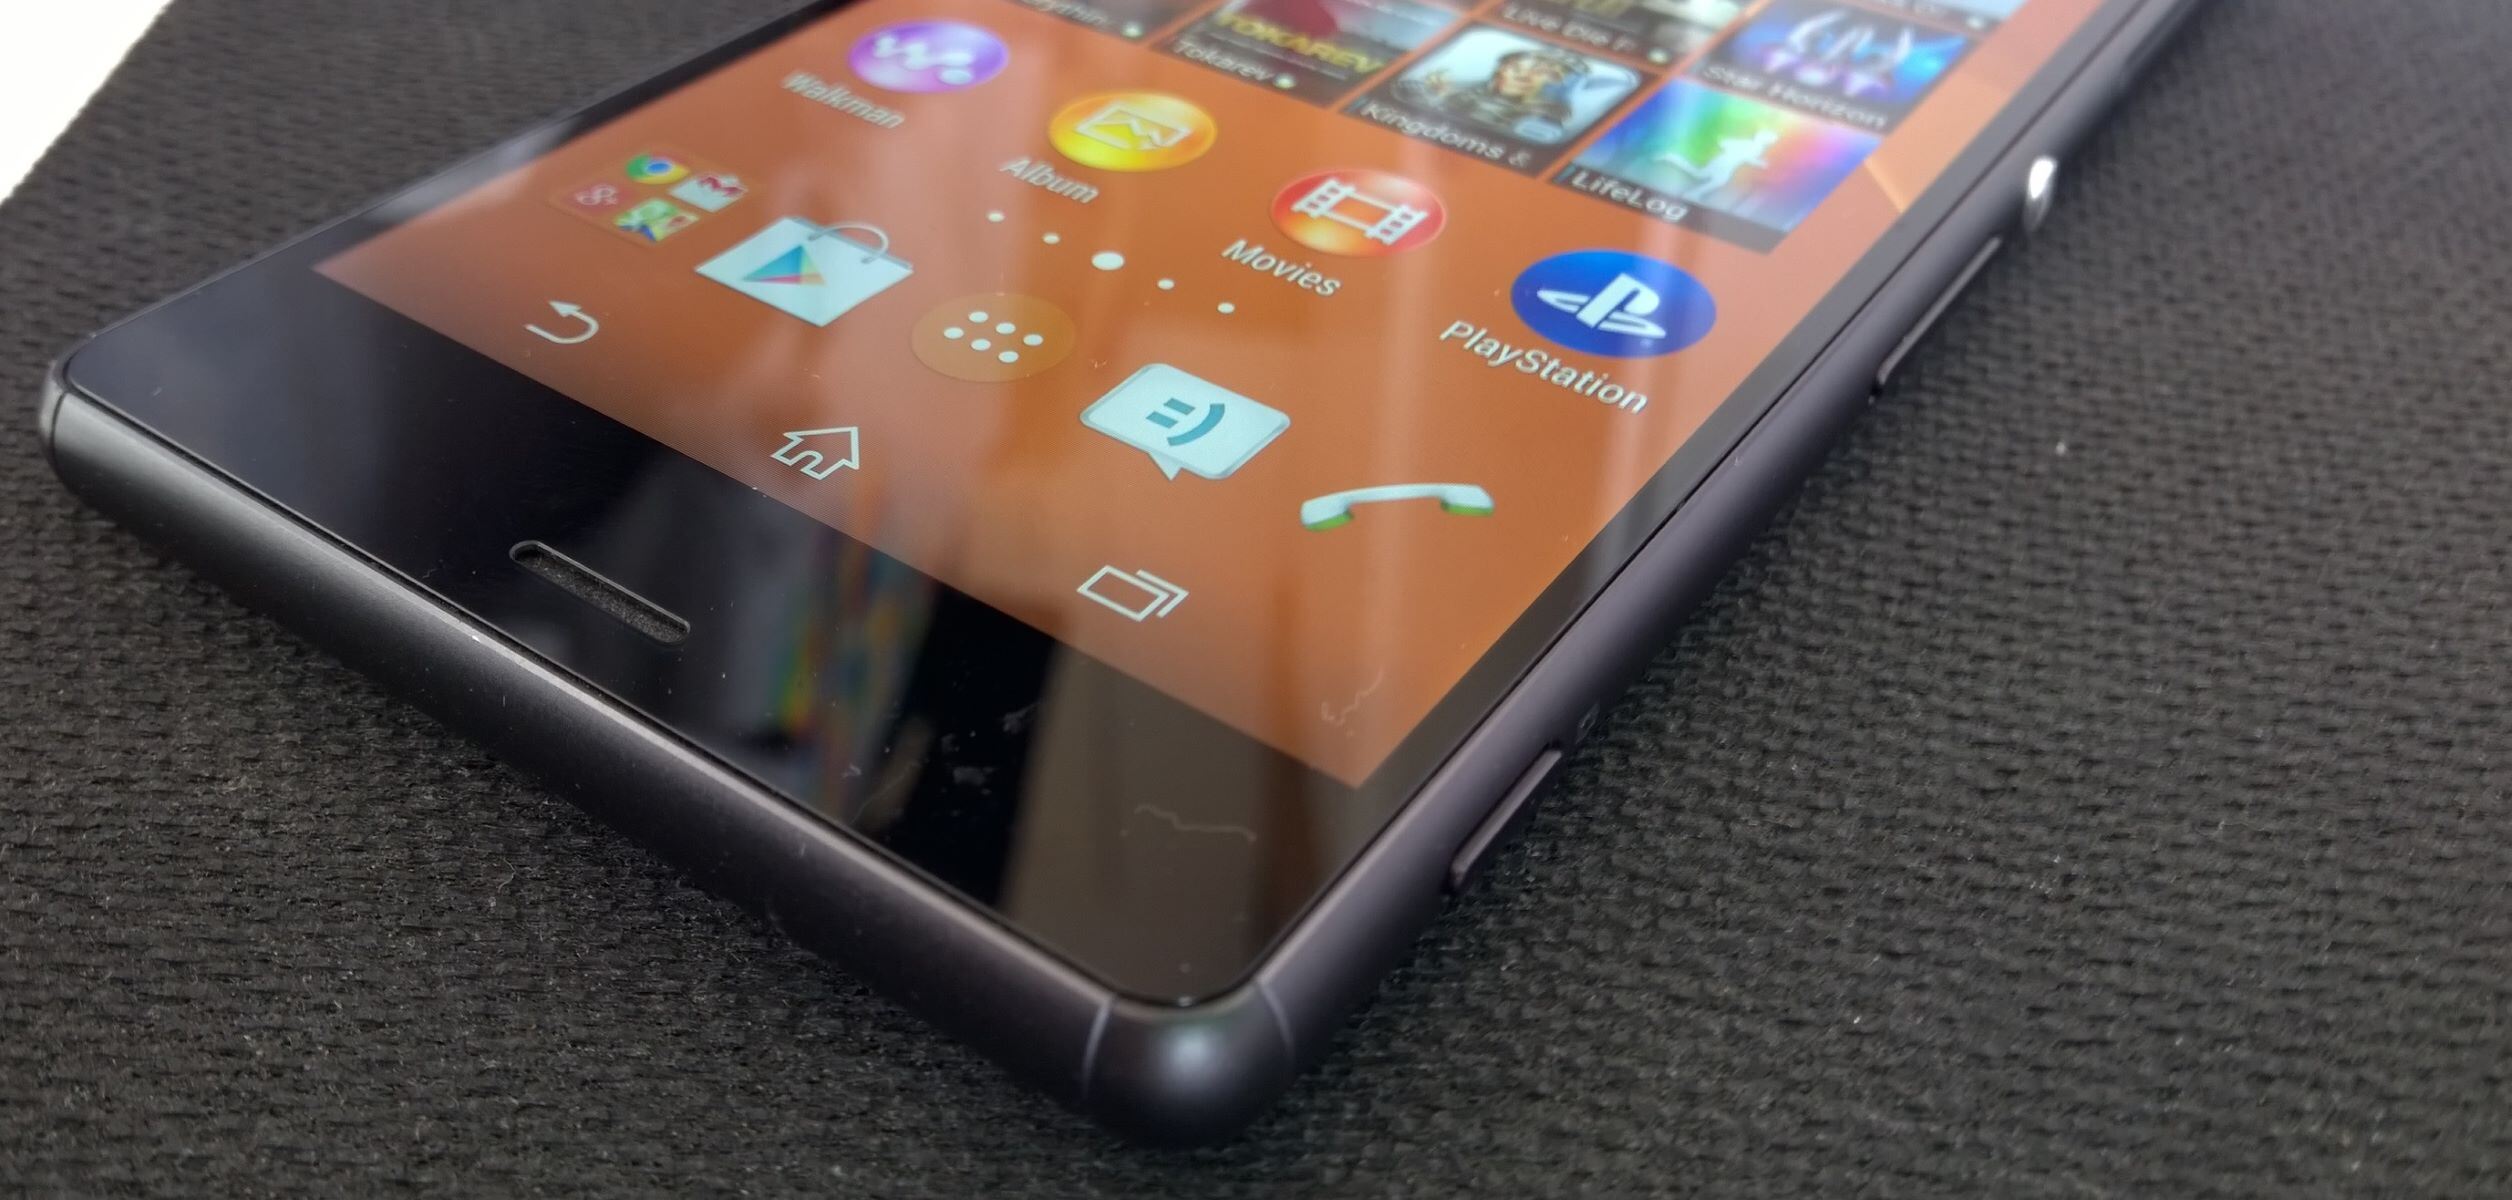
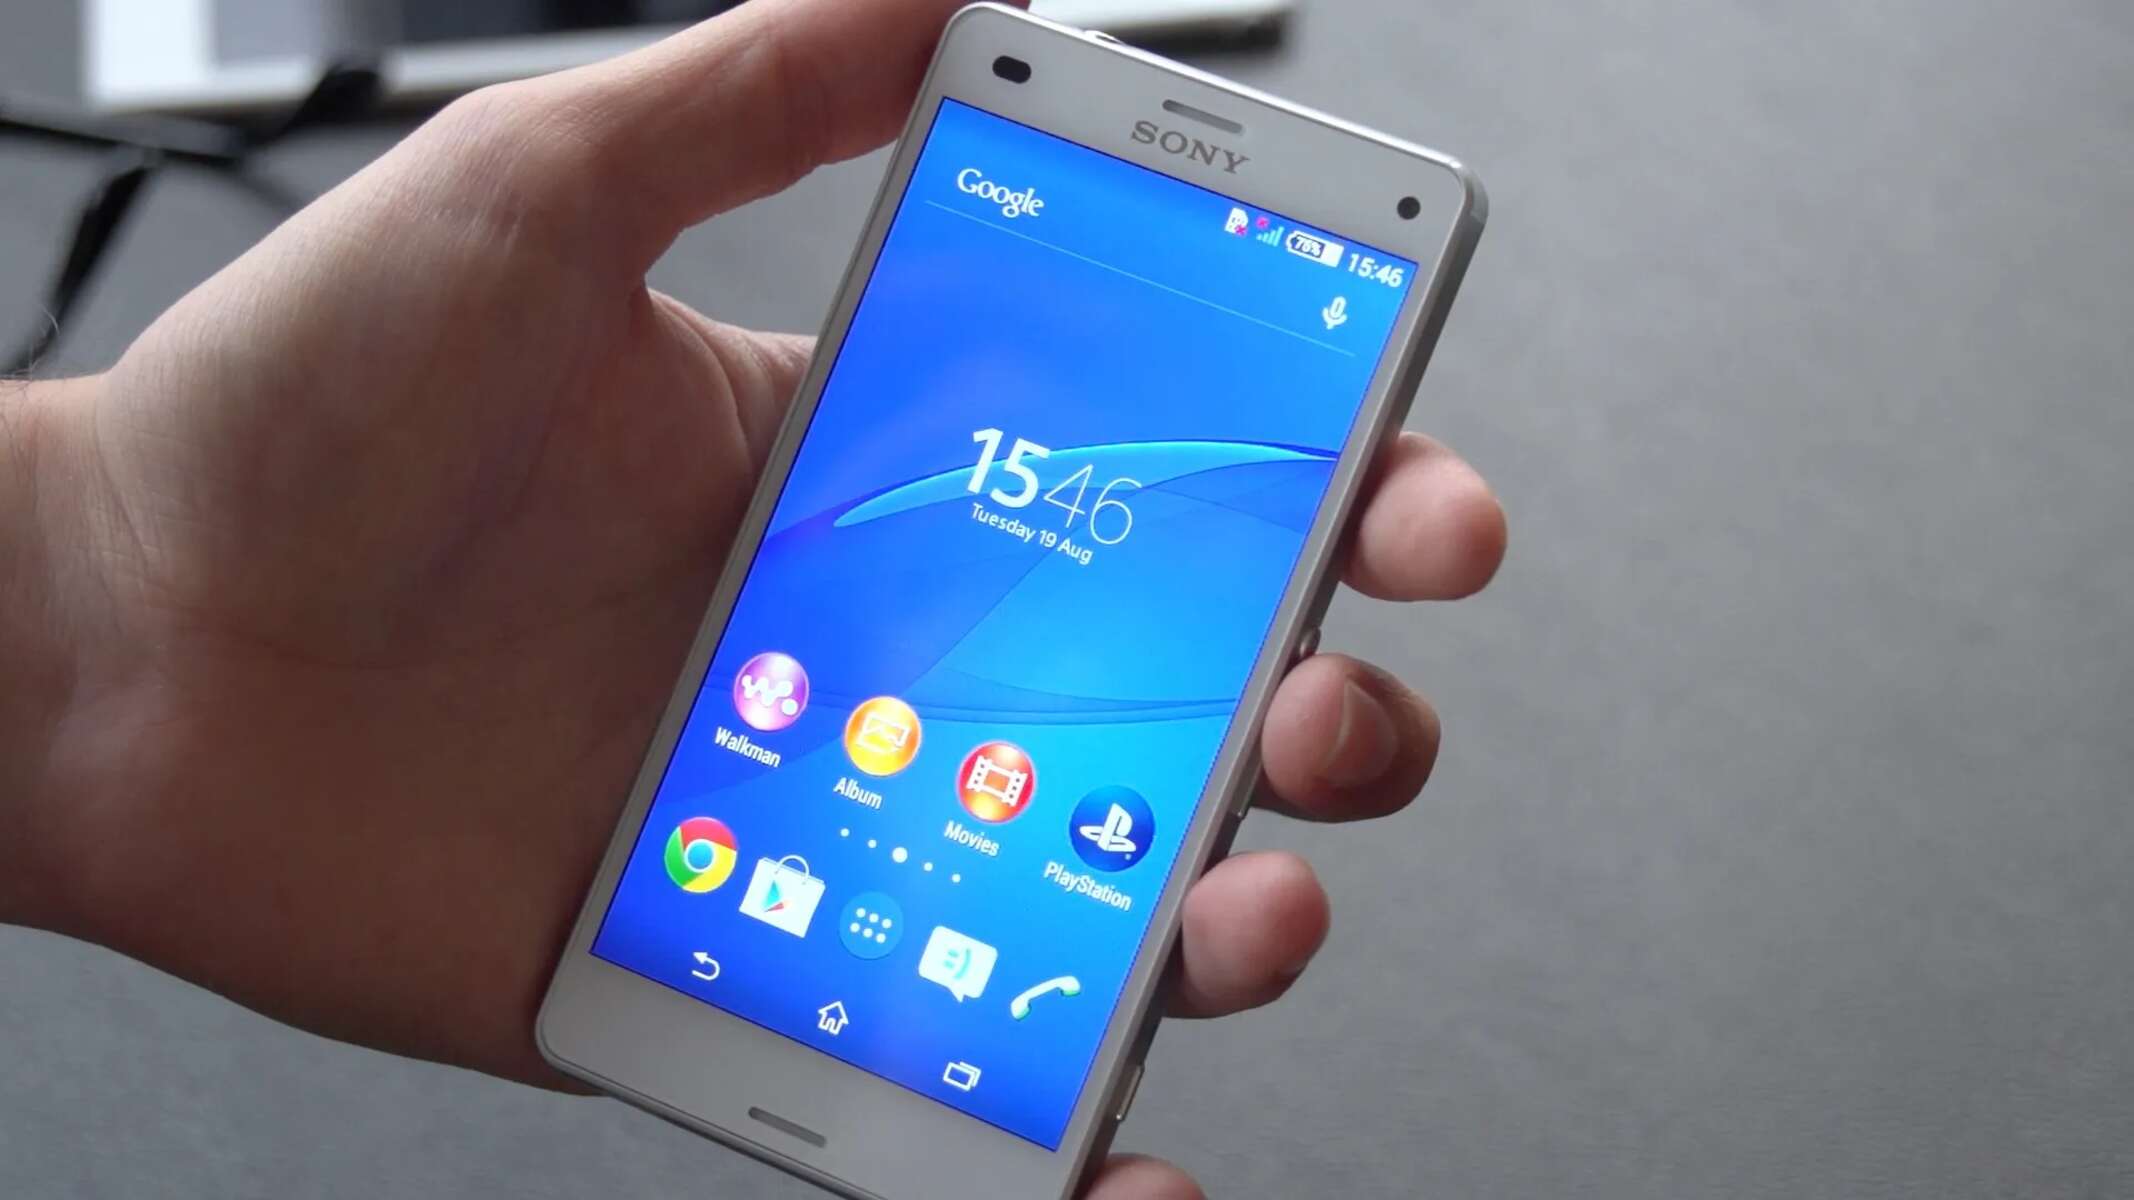
Step 1: Power off the Xperia Z3
Before beginning the battery removal process, it is crucial to power off the Xperia Z3 to ensure the safety of both the device and the individual performing the procedure. By turning off the device, you minimize the risk of electrical mishaps and create a secure environment for handling the internal components.
To power off the Xperia Z3, start by pressing and holding the power button located on the right side of the device. A prompt will appear on the screen, providing options to power off, restart, or enter standby mode. Slide the "Power off" option from left to right to initiate the shutdown process.
Once the shutdown sequence is initiated, the Xperia Z3 will begin powering down, indicated by the screen going dark and the device becoming unresponsive to touch. It is important to wait for the device to completely power off before proceeding to the next step. This ensures that the internal components are not active during the battery removal process, reducing the risk of electrical shock or damage to the device.
After the Xperia Z3 has powered off, it is advisable to wait a few additional moments to ensure that all internal processes have ceased. This extra precautionary measure helps guarantee that the device is in a fully powered-down state, providing a safe and controlled environment for the subsequent steps of the battery removal process.
By diligently following this initial step to power off the Xperia Z3, you establish a secure foundation for the battery removal procedure. This deliberate approach prioritizes safety and sets the stage for a methodical and successful battery removal process, ultimately contributing to a positive and rewarding experience for the individual undertaking this task.
Step 2: Remove the back cover
Removing the back cover of the Xperia Z3 is the next crucial step in the battery removal process. The back cover not only provides protection for the internal components but also houses the battery, making it essential to access the battery for removal. This step-by-step guide will walk you through the process of safely removing the back cover, allowing you to proceed with the subsequent steps of the battery removal procedure.
To begin, locate the small space or indentation along the edge of the Xperia Z3. This space serves as the entry point for separating the back cover from the main body of the device. With your fingertips or a plastic opening tool, gently insert and pry open the back cover from the designated entry point. It's important to exercise caution and apply even pressure to avoid damaging the back cover or the device's internal components.
As you carefully work your way around the edges of the Xperia Z3, continue to gently pry open the back cover, gradually releasing the clips securing it to the device. Take your time and ensure that each clip is disengaged before proceeding to the next section. By maintaining a methodical approach and exercising patience, you can effectively detach the back cover without causing any unnecessary damage.
Once all the clips have been disengaged, carefully lift the back cover away from the Xperia Z3, taking note of any resistance or additional connections that may need to be addressed. Some models of the Xperia Z3 may have additional components, such as wireless charging connectors or NFC antennas, attached to the back cover. If your device includes such components, be mindful of any corresponding connections as you lift the back cover away.
With the back cover successfully removed, you gain access to the internal components of the Xperia Z3, including the battery, which is now visible and ready for the subsequent steps of the battery removal process. The careful removal of the back cover sets the stage for the safe and efficient extraction of the battery, marking a significant milestone in the overall battery removal procedure.
By following these detailed instructions for removing the back cover, you demonstrate a meticulous and attentive approach to handling your Xperia Z3, ensuring that the device remains unharmed throughout the battery removal process. With the back cover successfully detached, you are now prepared to proceed to the next step, ready to tackle the subsequent stages of the battery removal process with confidence and precision.
Step 3: Disconnect the battery connector
With the back cover of the Xperia Z3 successfully removed, the next critical step in the battery removal process involves disconnecting the battery connector. This pivotal stage requires careful attention and precision to ensure the safe disconnection of the battery from the device's internal circuitry.
Locate the battery connector, which is typically situated near the center or bottom of the device's internal layout. The battery connector is a small, rectangular component with a thin, flexible cable attached to it. It is essential to identify the battery connector accurately to avoid inadvertently disconnecting other components.
Using a pair of fine-tipped tweezers or a plastic opening tool, gently lift the connector latch securing the battery cable in place. The latch is designed to hold the cable firmly in position, and by carefully lifting it, you can release the cable from its connection point. Exercise caution and ensure that the latch is fully lifted to allow for the safe removal of the battery cable.
Once the latch is lifted, delicately grasp the battery cable near the connector and gently pull it away from the device. It is crucial to maintain a steady and even pull, ensuring that the cable detaches smoothly without applying excessive force. Take your time and proceed with patience, as the goal is to disconnect the battery cable without causing any damage to the connector or the surrounding components.
As the battery cable is disconnected, take note of its position and orientation to facilitate the reconnection process when installing a new battery or reassembling the device. Carefully set the disconnected cable aside, ensuring that it remains free from any potential damage or entanglement with other internal components.
With the battery connector successfully disconnected, the Xperia Z3 is now prepared for the subsequent steps of the battery removal process. This pivotal stage marks a significant milestone in the overall procedure, setting the stage for the safe extraction of the battery from the device.
By meticulously following these detailed instructions for disconnecting the battery connector, you demonstrate a meticulous and attentive approach to handling the internal components of your Xperia Z3. With the battery connector safely disconnected, you are now poised to progress to the next step, ready to navigate the subsequent stages of the battery removal process with confidence and precision.
Step 4: Remove the adhesive tape
As we proceed with the battery removal process for the Xperia Z3, the next crucial step involves removing the adhesive tape securing the battery in place. The adhesive tape serves as a protective measure, ensuring that the battery remains firmly positioned within the device. By carefully addressing the adhesive tape, we can prepare the battery for safe extraction, marking a pivotal stage in the overall battery removal procedure.
To begin, carefully inspect the area surrounding the battery to identify the presence of adhesive tape. In most cases, the adhesive tape is strategically positioned to secure the battery in place, typically along the edges or corners of the battery. It is essential to exercise caution and attentiveness during this step to avoid damaging the battery or other internal components.
Using a pair of fine-tipped tweezers or a plastic opening tool, gently lift the edges of the adhesive tape to initiate its removal. Take care to apply even pressure and avoid sudden or forceful movements that may result in tearing or damaging the tape. By adopting a methodical and gentle approach, you can effectively loosen the adhesive tape from its position, preparing it for safe removal.
As the adhesive tape is carefully lifted and loosened, continue to work your way around the battery, ensuring that all sections of the tape are addressed. It is important to maintain a steady and deliberate pace, allowing the adhesive tape to release smoothly without causing any disruption to the battery or surrounding components.
Once the adhesive tape has been sufficiently loosened and lifted from its position, carefully peel it away from the battery, taking note of any residual adhesive or debris that may be present. By exercising patience and precision, you can ensure that the adhesive tape is removed without leaving any residue that may interfere with the subsequent steps of the battery removal process.
With the adhesive tape successfully removed, the battery of the Xperia Z3 is now prepared for safe extraction, marking a significant milestone in the overall battery removal procedure. This meticulous approach to addressing the adhesive tape sets the stage for a seamless and controlled battery removal process, ensuring that the internal components of the device remain unharmed throughout the procedure.
By diligently following these detailed instructions for removing the adhesive tape, you demonstrate a careful and attentive approach to handling the internal components of your Xperia Z3. With the adhesive tape successfully addressed, you are now ready to progress to the next step, poised to navigate the subsequent stages of the battery removal process with confidence and precision.
Step 5: Lift the battery out of the device
With the adhesive tape successfully removed, the final critical step in the battery removal process for the Xperia Z3 involves lifting the battery out of the device. This pivotal stage requires careful attention and precision to ensure the safe extraction of the battery without causing any damage to the device's internal components.
To begin, locate the edges of the battery within the Xperia Z3. Depending on the device model, the battery may be positioned in a specific compartment or secured in place by additional components. It is essential to approach this step with patience and attentiveness, carefully identifying the battery's placement within the device.
Using a pair of fine-tipped tweezers or a plastic opening tool, gently lift the edges of the battery to initiate its removal. It's important to exercise caution and apply even pressure to avoid bending or damaging the battery during this process. By adopting a methodical and gentle approach, you can effectively loosen the battery from its position, preparing it for safe extraction.
As the battery is carefully lifted, continue to work your way around its edges, ensuring that it is released smoothly without any resistance. It is crucial to maintain a steady and deliberate pace, allowing the battery to detach from its placement within the device without causing any disruption to the surrounding components.
Once the battery has been sufficiently lifted from its position, carefully maneuver it out of the device, taking note of any additional connections or securing mechanisms that may need to be addressed. Some models of the Xperia Z3 may have specific retention features or connectors holding the battery in place, requiring careful attention to ensure a safe and controlled extraction.
As the battery is lifted out of the device, take note of its orientation and position to facilitate the installation of a new battery or the reassembly of the device. Carefully set the extracted battery aside, ensuring that it remains free from any potential damage or interference with other internal components.
With the battery successfully lifted out of the device, the Xperia Z3 has now completed the crucial battery removal process. This meticulous approach to extracting the battery ensures that the internal components of the device remain unharmed throughout the procedure, setting the stage for the installation of a new battery or the reassembly of the device.
By diligently following these detailed instructions for lifting the battery out of the device, you demonstrate a careful and attentive approach to handling the internal components of your Xperia Z3. With the battery successfully extracted, you have completed the battery removal process with precision and confidence, ready to proceed with the installation of a new battery or the reassembly of the device.
Conclusion
In conclusion, the process of removing the battery from the Xperia Z3 is a meticulous and rewarding endeavor that empowers individuals to gain a deeper understanding of their device's internal components. By following the step-by-step guide outlined in this comprehensive article, users can confidently navigate the battery removal process with precision and care, ensuring the safety of the device and the successful extraction of the battery.
Throughout the detailed instructions provided in this guide, emphasis has been placed on prioritizing safety, exercising patience, and maintaining a methodical approach to each step of the battery removal process. From powering off the device to carefully lifting the battery out of the device, every stage has been meticulously addressed to ensure a seamless and controlled procedure.
By adhering to the instructions for disconnecting the battery connector, removing the adhesive tape, and lifting the battery out of the device, individuals can effectively address each critical aspect of the battery removal process. This approach not only facilitates the safe extraction of the battery but also fosters a sense of confidence and empowerment, allowing users to take charge of maintaining and understanding their Xperia Z3.
Furthermore, the careful removal of the back cover and the deliberate approach to addressing the adhesive tape serve as foundational steps that set the stage for the successful extraction of the battery. These initial stages not only provide access to the internal components of the device but also underscore the importance of attentiveness and precision in handling the Xperia Z3.
As individuals embark on the journey of removing the battery from their Xperia Z3, they are encouraged to approach the process with a sense of curiosity and a commitment to meticulousness. By doing so, they not only gain valuable insights into the inner workings of their device but also develop a deeper appreciation for the intricacies of modern technology.
In essence, the battery removal process for the Xperia Z3 is not merely a technical task but a journey that enables individuals to engage with their device in a meaningful and hands-on manner. By following the guidance provided in this comprehensive guide, users can navigate the battery removal process with confidence, ultimately enhancing their understanding of the Xperia Z3 and its essential components.