Checking the SIM Card Compatibility
Before setting up your new iPhone with a SIM card, it's crucial to ensure that the SIM card is compatible with your device. Here's how to check the SIM card compatibility:
-
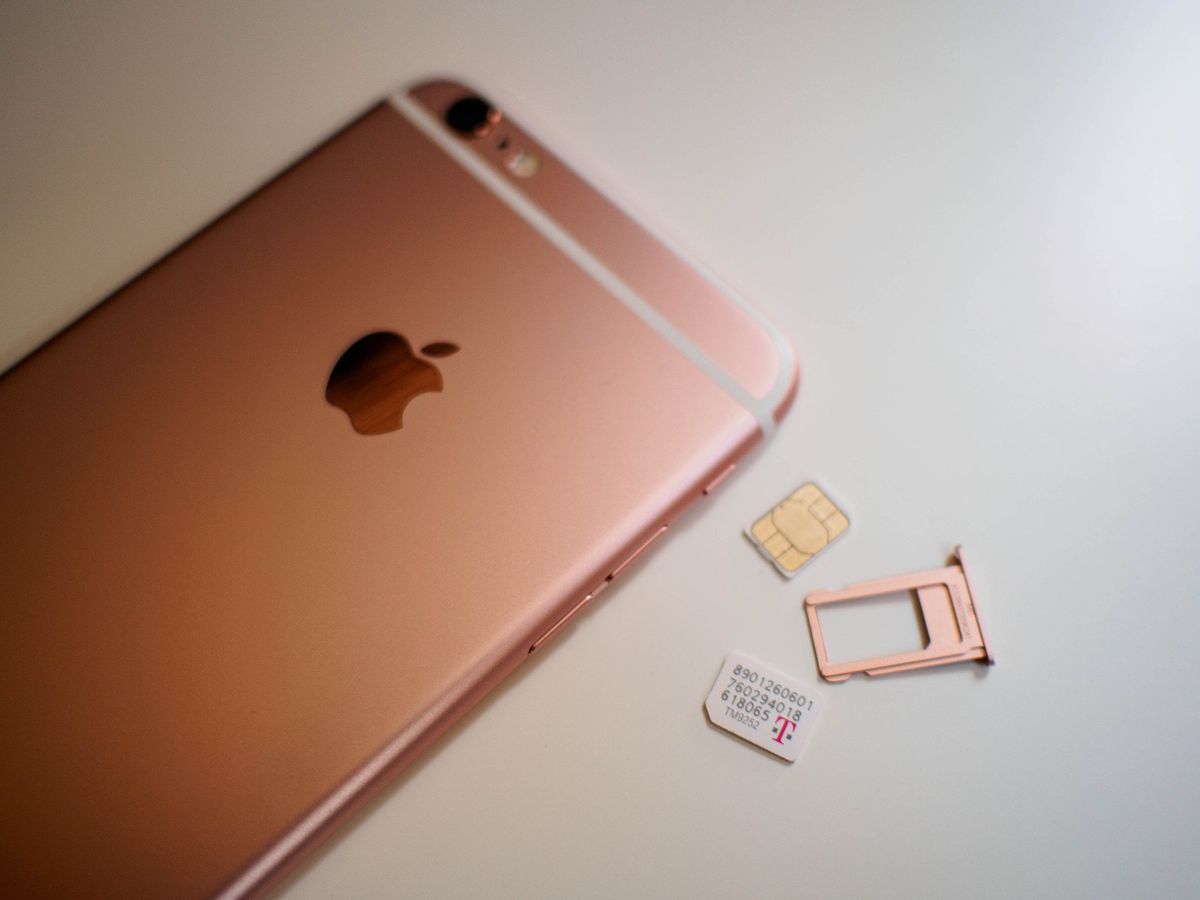
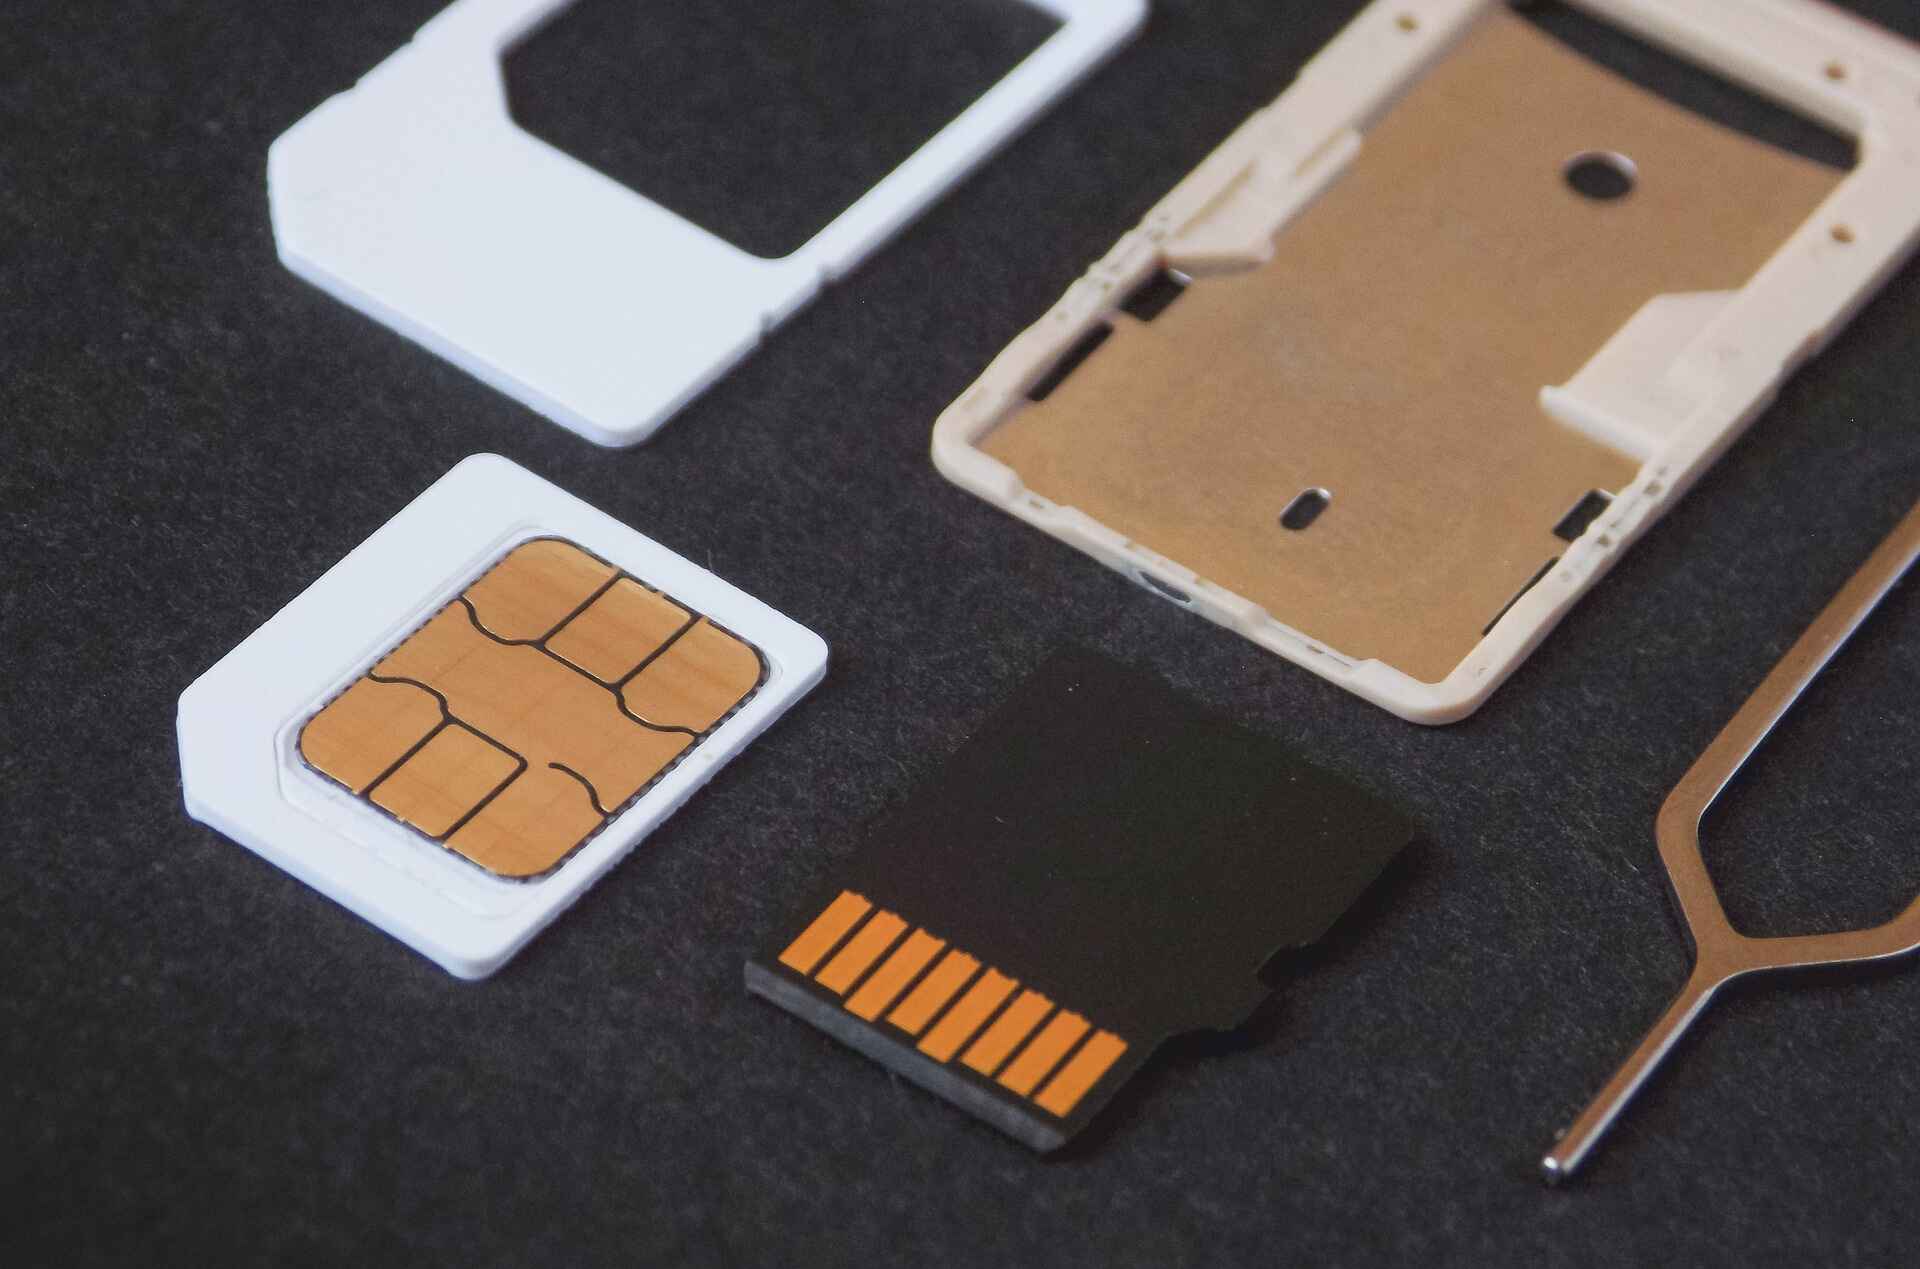
SIM Card Type: iPhones typically use nano-SIM cards. To verify compatibility, check the size of your SIM card. If it matches the nano-SIM specifications, you're good to go. If not, you may need to obtain a compatible nano-SIM card from your mobile carrier.
-
Network Compatibility: Different iPhone models support various network technologies, such as 4G LTE, 5G, and CDMA. It's essential to confirm that your SIM card and iPhone are compatible with the same network technologies to ensure seamless connectivity.
-
Carrier Lock Status: If you're using a SIM card from a specific carrier, ensure that your iPhone is not carrier-locked. A carrier-locked device only works with SIM cards from the associated carrier. If your iPhone is carrier-locked, you may need to contact the carrier to unlock it before proceeding.
-
SIM Activation: If you're using a new SIM card, ensure that it's been activated by your mobile carrier. Activation typically involves associating the SIM card with your phone number and account, enabling it to connect to the carrier's network.
-
SIM Compatibility Tools: Some mobile carriers provide online tools or customer support services to help customers determine SIM card compatibility with specific iPhone models. Utilize these resources if you're uncertain about the compatibility of your SIM card.
By verifying the SIM card compatibility before setting up your iPhone, you can avoid potential connectivity issues and ensure a smooth activation process. Once you've confirmed compatibility, you can proceed with inserting and activating the SIM card to begin using your new iPhone seamlessly.
Inserting the SIM Card
Inserting a SIM card into your new iPhone is a fundamental step in setting up the device for cellular connectivity. Here's a detailed guide on how to insert the SIM card seamlessly:
-
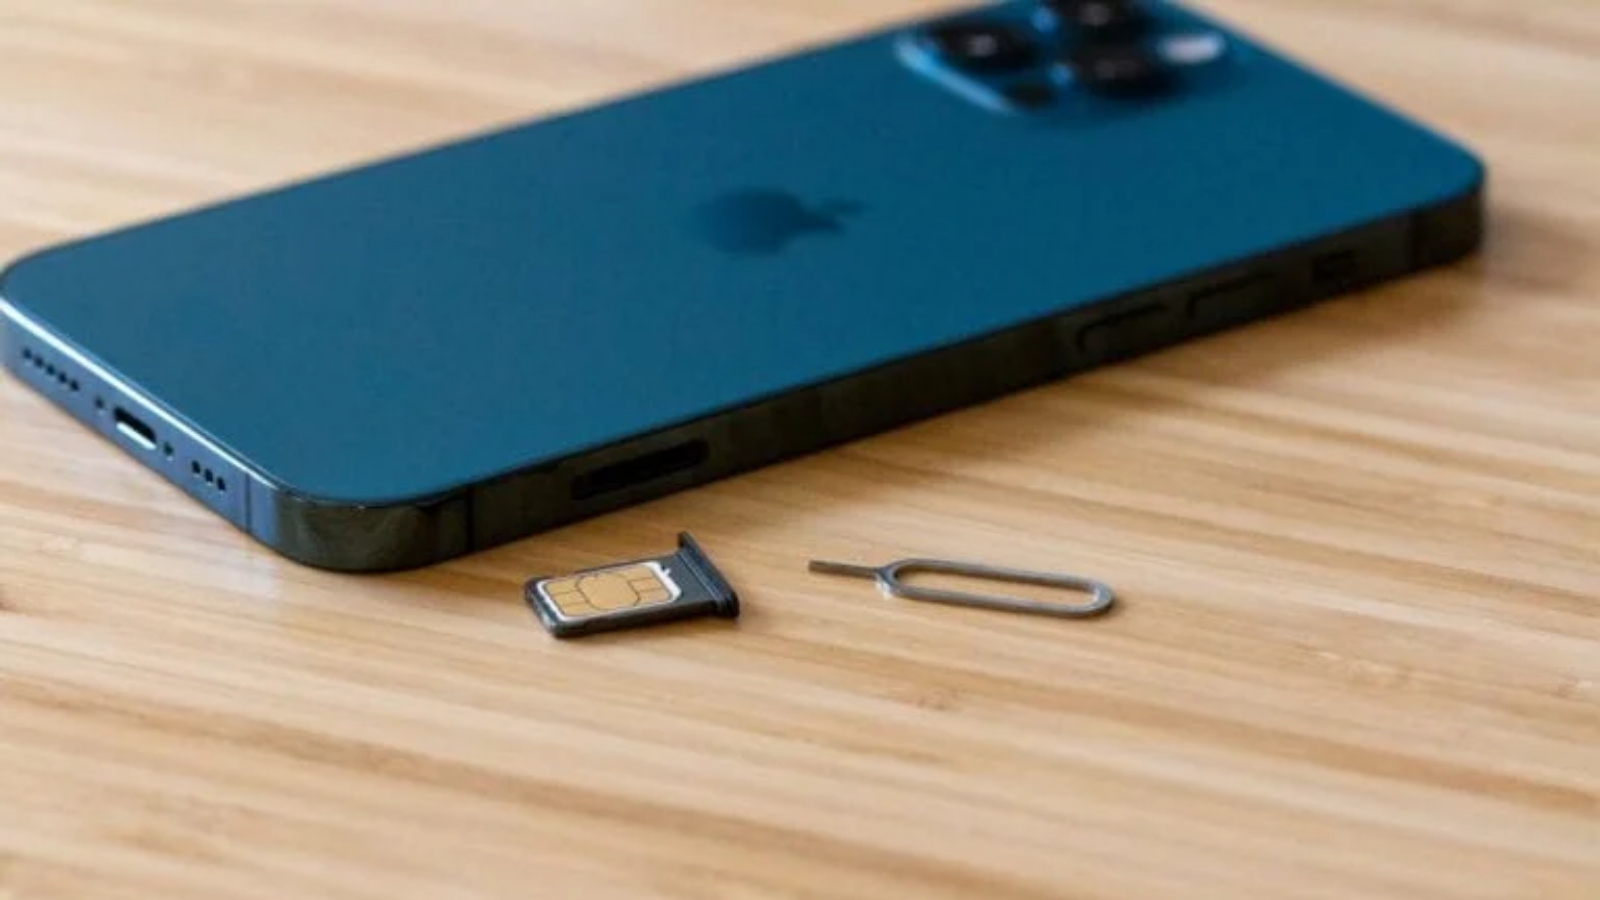
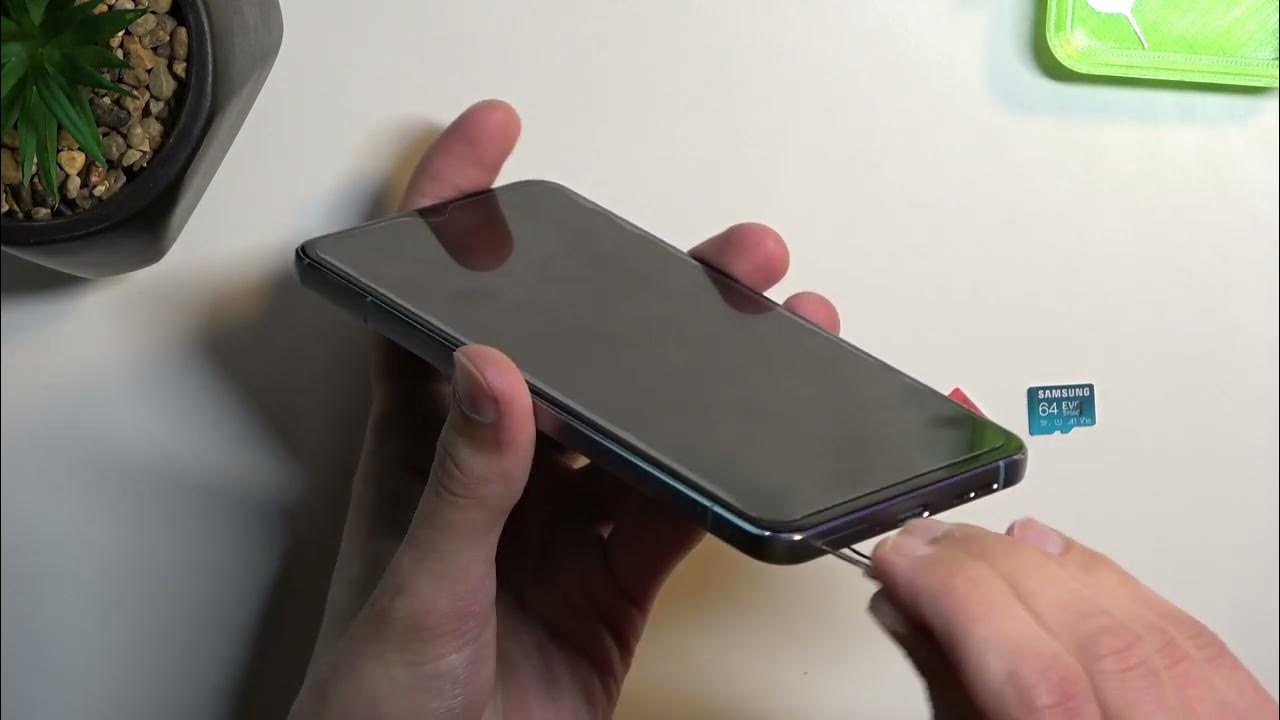
Locate the SIM Card Tray: The SIM card tray is usually located on the side of the iPhone. The exact placement varies depending on the iPhone model. Refer to the user manual or the manufacturer's website to identify the precise location of the SIM card tray on your specific iPhone model.
-
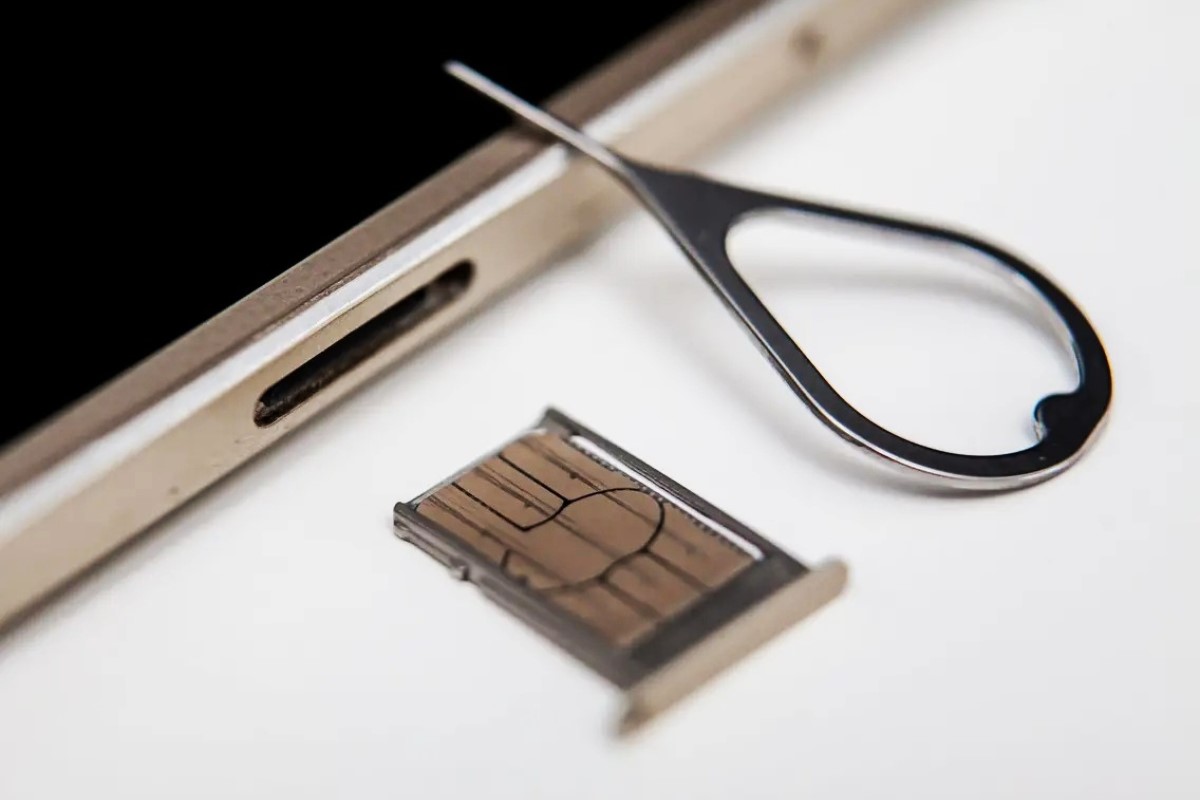
Eject the SIM Card Tray: To access the SIM card tray, you'll need to use the SIM eject tool provided with your iPhone or a small paperclip. Insert the tool into the pinhole next to the SIM card tray and apply gentle pressure to eject the tray from the device.
-
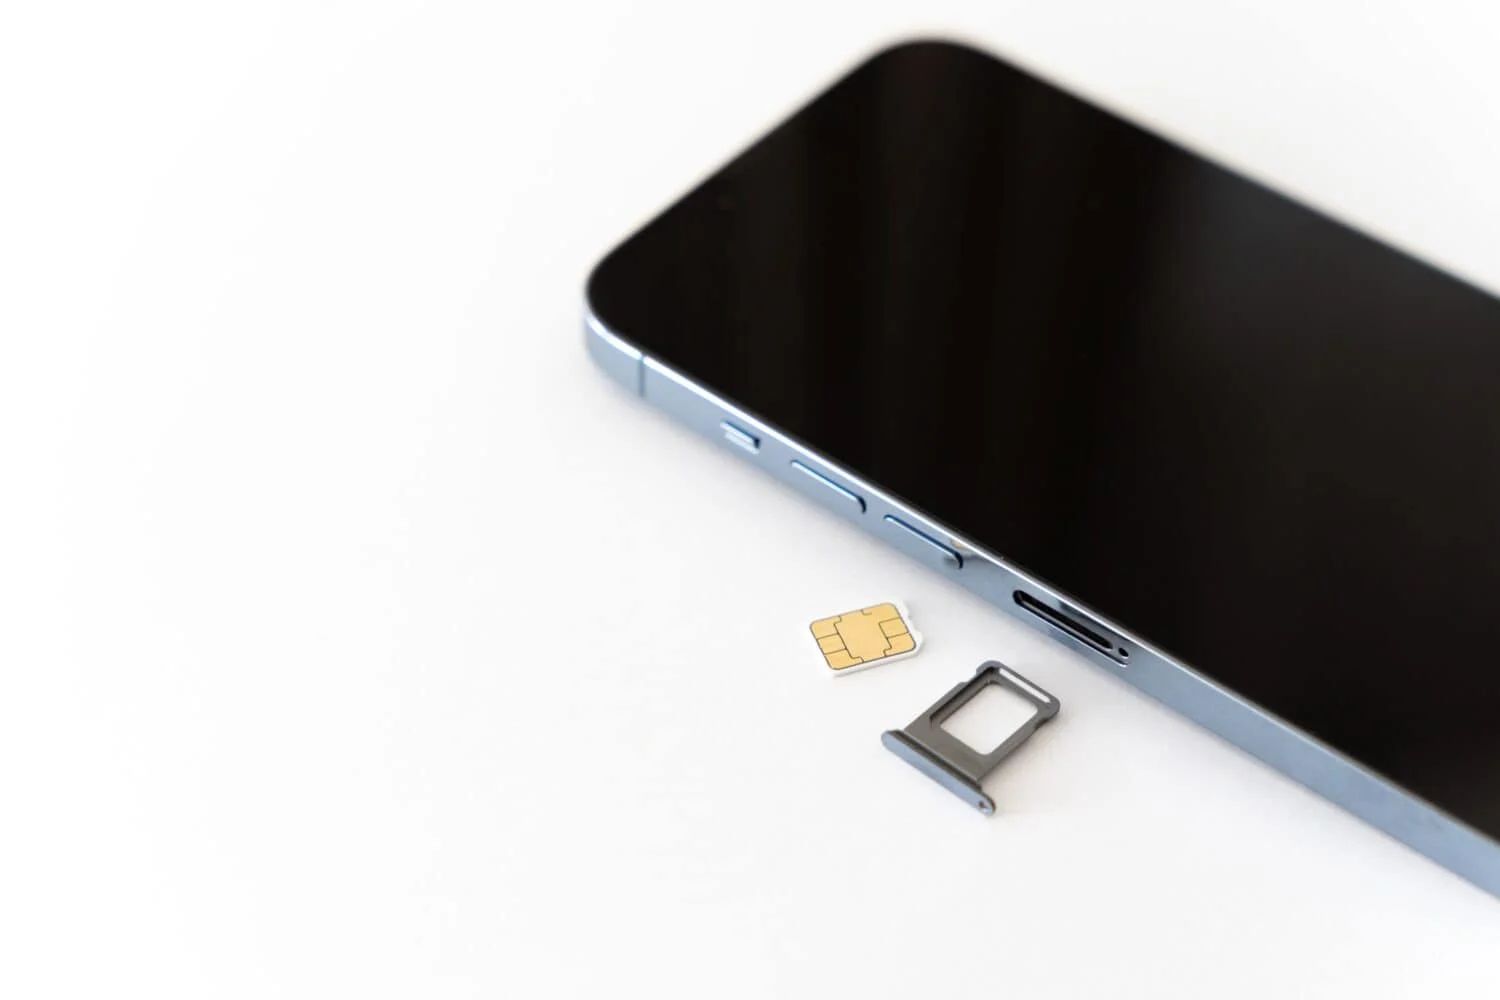
Remove the SIM Card Tray: Once the SIM card tray is partially ejected, carefully pull it out from the iPhone. Handle the tray and the SIM card with care to avoid any damage.
-
Place the SIM Card: Take your nano-SIM card and position it on the SIM card tray. Align the edges of the SIM card with the tray's designated area, ensuring that it fits securely without any protrusion.
-
Reinsert the SIM Card Tray: After placing the SIM card on the tray, carefully slide the tray back into the iPhone until it is fully seated. Ensure that the tray is inserted in the correct orientation to prevent any potential damage to the SIM card or the device.
-
Power On the iPhone: Once the SIM card tray is securely inserted, power on your iPhone by pressing and holding the power button. Allow the device to boot up, and the SIM card will be recognized by the iPhone's cellular system.
By following these steps, you can confidently insert the SIM card into your new iPhone, paving the way for seamless cellular connectivity. It's essential to handle the SIM card and the iPhone with care throughout the process to prevent any damage to the delicate components. Once the SIM card is inserted, you can proceed with activating the iPhone and configuring the cellular data and network settings to start using your device effectively.
Activating the iPhone with the SIM Card
Activating your iPhone with the SIM card is a pivotal step in the setup process, enabling you to connect to your mobile carrier's network and utilize cellular services. Here's a comprehensive guide to activating your iPhone seamlessly:
-
Power On the iPhone: After inserting the SIM card, power on your iPhone by pressing and holding the power button until the device boots up. Once the iPhone is powered on, it will initiate the activation process.
-
Connect to Wi-Fi or Cellular Network: To proceed with the activation, ensure that your iPhone is connected to a Wi-Fi network or has a stable cellular data connection. This connectivity is essential for initiating the activation and completing the setup process.
-
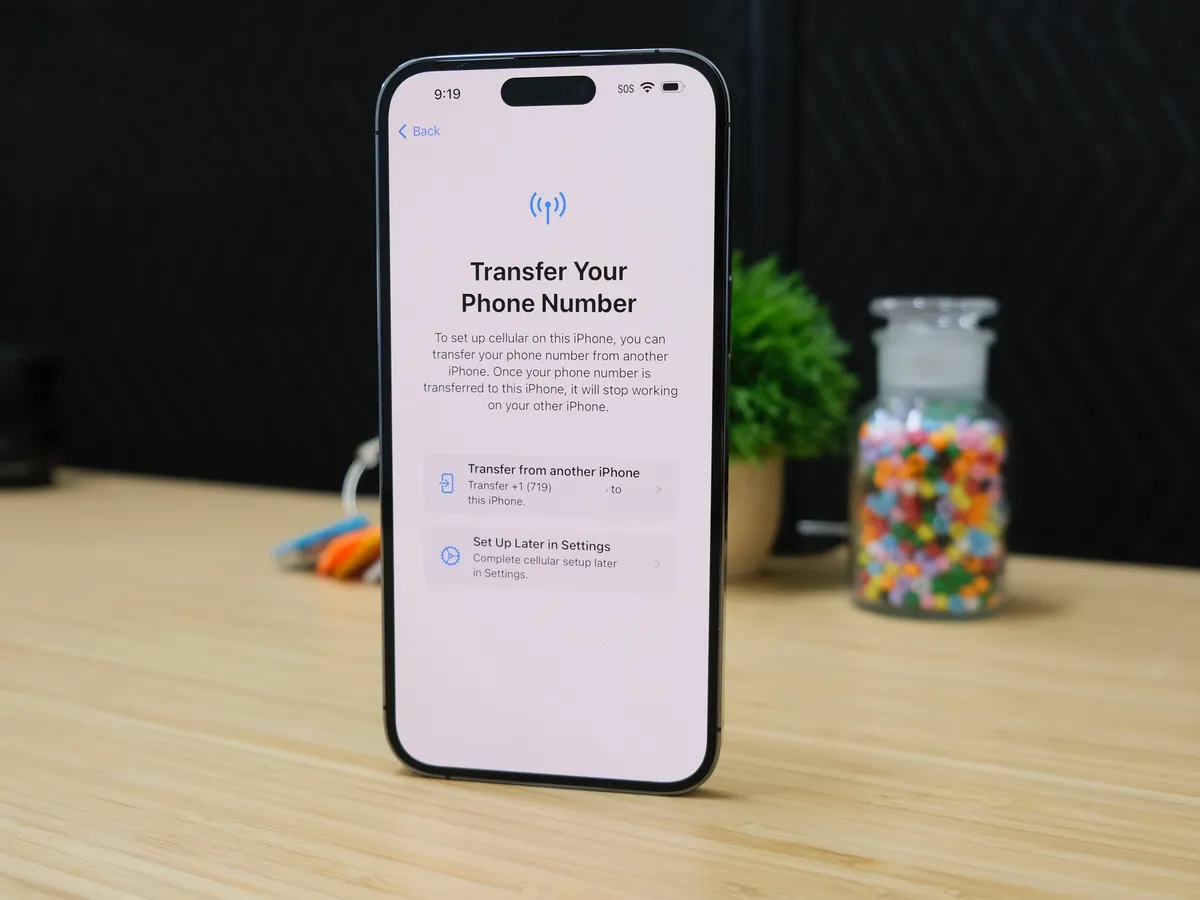
Follow On-Screen Instructions: Upon powering on the iPhone, you may encounter on-screen prompts guiding you through the activation process. Follow the instructions provided by the iPhone to activate the device with the inserted SIM card.
-
Carrier Activation: In some cases, the iPhone may automatically activate with the inserted SIM card, and you'll receive a confirmation message once the activation is complete. If the activation doesn't occur automatically, you may need to contact your mobile carrier to complete the activation process.
-
Carrier Activation Assistance: If manual intervention is required for activation, reach out to your mobile carrier's customer support for assistance. They can guide you through the activation steps and ensure that your iPhone is successfully activated with the SIM card.
-
Confirm Activation: Once the activation process is complete, verify that your iPhone is connected to the carrier's network. You can do this by checking for the signal bars or the carrier name displayed on the iPhone's status bar.
-
Test Cellular Services: To ensure that the activation was successful, make a test call, send a text message, or access the internet using your cellular data. If these services function as expected, it indicates that your iPhone has been activated successfully with the SIM card.
By following these steps, you can activate your iPhone seamlessly with the inserted SIM card, allowing you to harness the full potential of your device's cellular capabilities. Activation ensures that your iPhone is ready to make and receive calls, send messages, and access cellular data, empowering you to stay connected wherever you go.
Setting Up Cellular Data and Network Settings
Configuring the cellular data and network settings on your new iPhone is essential to ensure seamless connectivity and optimal performance. Here's a detailed guide to help you set up these crucial aspects effectively:
Accessing Cellular Settings
To begin, navigate to the "Settings" app on your iPhone. Scroll down and tap on "Cellular" or "Mobile Data," depending on your iOS version. This will grant you access to a range of settings related to your device's cellular connectivity.
Enabling Cellular Data
Within the "Cellular" or "Mobile Data" settings, toggle the switch to enable "Cellular Data." This action activates the use of cellular data for various functions on your iPhone, such as browsing the internet, using apps, and sending multimedia messages.
Managing Data Roaming
If you anticipate using your iPhone in locations outside your home network, consider enabling "Data Roaming." This setting allows your device to connect to cellular networks in other regions, ensuring continuous data access while traveling.
Configuring Network Selection
Under the "Cellular" settings, you may find the option to manage "Network Selection" or "Carrier." This feature enables you to manually select a preferred network or carrier, which can be useful when traveling or when you want to ensure a stable connection to a specific network.
Utilizing Wi-Fi Calling
For enhanced call quality and coverage, explore the "Wi-Fi Calling" feature within the cellular settings. Activating this option allows your iPhone to make and receive calls over a Wi-Fi network, providing an alternative communication method in areas with limited cellular coverage.
Managing Personal Hotspot
If you intend to share your iPhone's cellular data connection with other devices, navigate to the "Personal Hotspot" settings. Here, you can configure the hotspot feature, set a secure password, and manage connected devices, transforming your iPhone into a portable Wi-Fi hotspot.
Optimizing Cellular Data Usage
To monitor and control your data usage, explore the "Cellular Data Usage" section within the settings. Here, you can view data consumption statistics for individual apps, set data usage limits, and enable low data mode to conserve cellular data when needed.
Troubleshooting Network Issues
In the event of network-related challenges, such as poor signal reception or connectivity issues, the "Cellular" settings also provide options to troubleshoot problems. This may include resetting network settings, updating carrier settings, or contacting your mobile carrier for assistance.
By following these steps and customizing the cellular data and network settings to suit your preferences and usage patterns, you can optimize your iPhone's connectivity capabilities. These settings empower you to stay connected, manage data usage efficiently, and troubleshoot network issues effectively, ensuring a seamless and reliable cellular experience with your new iPhone.
Troubleshooting Common Issues
Troubleshooting common issues related to SIM card and network connectivity is essential for ensuring a seamless and uninterrupted experience with your iPhone. Here's a comprehensive guide to addressing prevalent challenges that may arise:
No Cellular Signal
If you encounter a situation where your iPhone displays "No Service" or fails to connect to the cellular network, consider the following troubleshooting steps:
- Check Signal Coverage: Verify that you are within the coverage area of your mobile carrier. In some instances, signal reception may be limited in certain locations.
- Restart the iPhone: Rebooting your device can often resolve temporary network connectivity issues. Power off your iPhone, wait a few seconds, and then power it back on to re-establish the connection.
SIM Card Not Recognized
If your iPhone fails to recognize the inserted SIM card, try the following troubleshooting measures:
- Reinsert the SIM Card: Power off your iPhone, eject the SIM card tray, and carefully reinsert the SIM card. Ensure that it is properly aligned and seated securely in the tray.
- Clean the SIM Card and Tray: Dust or debris on the SIM card or tray can hinder proper contact. Use a soft, dry cloth to gently clean the SIM card and the tray before reinserting it into the device.
Data Connection Issues
When experiencing difficulties with cellular data connectivity, consider the following troubleshooting steps:
- Enable Airplane Mode: Toggle Airplane Mode on and off to reset the device's network connections. This action can help resolve minor data connectivity issues.
- Reset Network Settings: Within the iPhone's settings, navigate to "General" > "Reset" > "Reset Network Settings." This process clears saved network configurations and can resolve persistent data connection problems.
Carrier Settings Update
At times, updating the carrier settings on your iPhone can address network-related issues. Here's how to ensure your device has the latest carrier settings:
- Check for Updates: Navigate to "Settings" > "General" > "About." If a carrier settings update is available, a prompt will appear, allowing you to download and install the update.
Contacting Your Mobile Carrier
If the aforementioned troubleshooting steps do not resolve the issues, consider reaching out to your mobile carrier's customer support. They can provide personalized assistance, diagnose network-related issues, and offer specific solutions tailored to your situation.
By proactively addressing common SIM card and network connectivity issues, you can optimize the performance of your iPhone and enjoy uninterrupted access to cellular services. These troubleshooting steps empower you to resolve challenges efficiently, ensuring that your iPhone operates seamlessly in various network environments.