Introduction
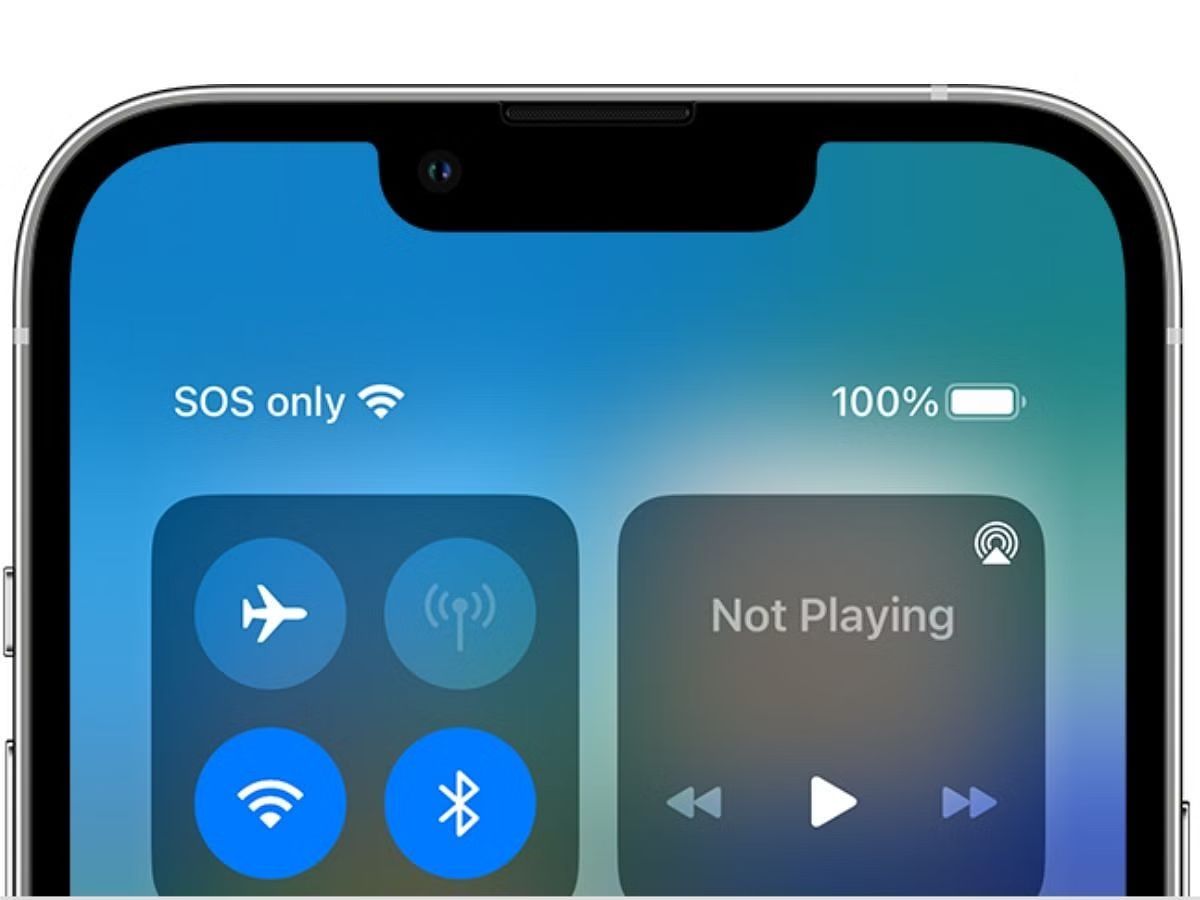
Encountering the dreaded "SOS Only" message on your mobile device can be a frustrating experience, especially when you rely on your phone for staying connected. This issue often leaves users feeling isolated and disconnected from the digital world. However, fear not, as there are several troubleshooting steps that can potentially resolve this problem and restore your phone's full functionality.
In this comprehensive guide, we will delve into the various methods to troubleshoot the "SOS Only" SIM card issue. From checking network coverage to updating your phone's software, we will explore step-by-step solutions to help you regain access to your mobile network. Whether you're a seasoned tech enthusiast or a novice smartphone user, this guide is designed to provide clear and practical instructions to address this frustrating issue.
So, if you've ever found yourself staring at your phone, desperately searching for a signal, only to be met with the distressing "SOS Only" message, fret not. By following the troubleshooting steps outlined in this guide, you can potentially bid farewell to this vexing issue and restore your phone's connectivity. Let's dive into the solutions and get your device back to its fully functional state.
Check Network Coverage
Ensuring that your mobile device has adequate network coverage is the first step in troubleshooting the "SOS Only" SIM card issue. It's essential to verify that the area you are in has a strong and stable network signal. Here's how you can perform a thorough check of the network coverage:
-
Check Signal Strength: Begin by checking the signal strength indicator on your device. This can usually be found in the top corner of the screen. If the signal bars are low or non-existent, it indicates a weak network signal in your current location.
-
Move to Open Areas: If you are indoors, try moving to an open area such as near a window or outside to see if the signal strength improves. Physical obstructions like buildings and walls can sometimes weaken the network signal.
-
Check Network Provider's Coverage Map: Visit your network provider's official website or use their mobile app to access the coverage map. This map provides a visual representation of the network signal strength in different areas, allowing you to determine if you are in an area with poor coverage.
-
Test in Different Locations: If possible, test your device in different locations to see if the "SOS Only" issue persists. This can help identify if the problem is specific to your current location or if it occurs across multiple areas.
By thoroughly checking the network coverage using the steps outlined above, you can gain valuable insights into the strength of the network signal in your vicinity. Identifying and addressing any issues related to network coverage is crucial in troubleshooting the "SOS Only" SIM card problem and restoring your device's connectivity.
Remember, a strong network signal is the foundation of reliable mobile communication, and ensuring that your device is within range of a robust network is an essential initial step in resolving the "SOS Only" SIM card issue.
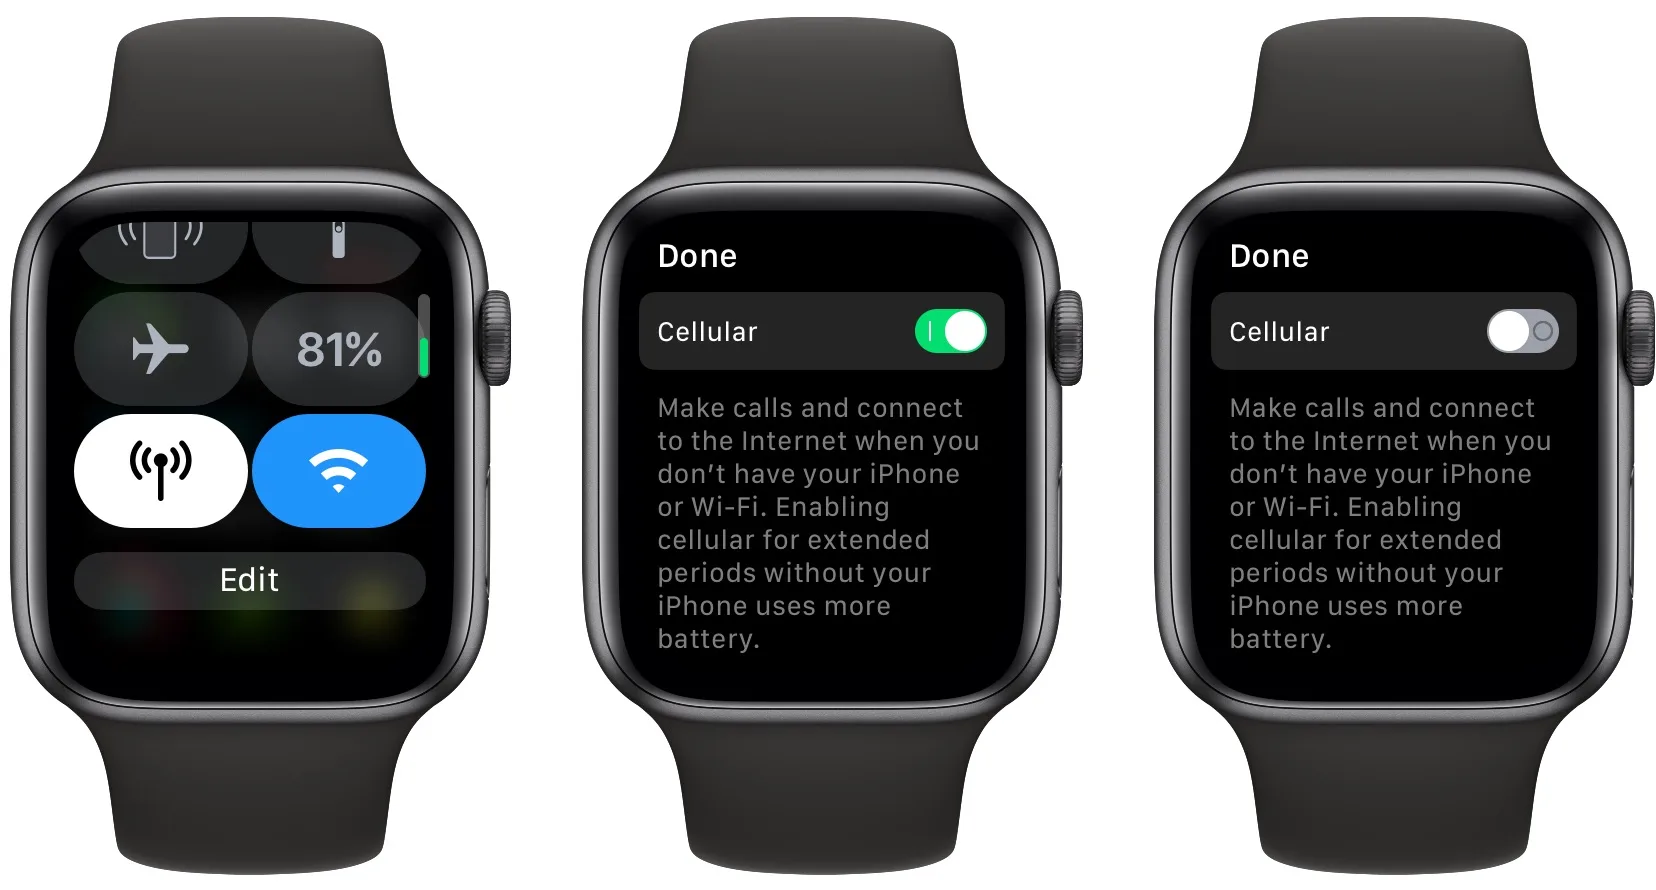
Restart Your Phone
Restarting your phone is a fundamental troubleshooting step that can effectively address a wide range of technical issues, including the "SOS Only" SIM card problem. It serves as a simple yet powerful method to refresh the device's software and network connections, potentially resolving any underlying issues causing the connectivity issue.
To restart your phone, follow these straightforward steps:
-
Power Off: Begin by pressing and holding the power button on your device. Depending on the model of your phone, a menu will appear on the screen, prompting you to power off the device. Proceed to power off the phone completely.
-
Wait and Power On: After the phone has been powered off, wait for a few seconds to ensure that it has fully shut down. Subsequently, press and hold the power button again to turn the device back on. Allow the phone to go through the startup process and reconnect to the mobile network.
Restarting your phone essentially clears the device's temporary memory and resets various software components, potentially resolving any software glitches or network connection issues that may have led to the "SOS Only" message. It provides a fresh start for the device's operating system and can often rectify temporary technical hiccups that impact network connectivity.
Additionally, restarting your phone is a quick and non-invasive troubleshooting step that can be performed by users of all technical levels. It does not require technical expertise or specialized knowledge, making it an accessible method for addressing the "SOS Only" SIM card issue.
By incorporating the simple act of restarting your phone into the troubleshooting process, you can potentially eliminate the "SOS Only" message and restore your phone's ability to connect to the mobile network. This straightforward step serves as an essential initial approach in resolving connectivity issues and is a valuable tool in the quest to regain seamless access to mobile communication.
Check SIM Card
The SIM card, or Subscriber Identity Module, plays a pivotal role in facilitating communication between your mobile device and the cellular network. When encountering the "SOS Only" issue, it's crucial to thoroughly inspect the SIM card and its associated components to identify and address any potential issues. Here's a detailed exploration of the steps involved in checking the SIM card:
-
Inspect the SIM Card: Begin by carefully removing the SIM card from your device. Examine the card for any visible signs of damage, such as scratches, dents, or discoloration. Additionally, check for any foreign particles or debris that may be obstructing the SIM card contacts.
-
Clean the SIM Card and Slot: If the SIM card or its slot appears to be dirty or dusty, gently clean them using a soft, dry cloth. Avoid using liquid cleaners or abrasive materials, as these can potentially damage the SIM card and its contacts. Ensuring that both the card and the slot are free from debris can help establish a secure connection between the SIM card and the device.
-
Reinsert the SIM Card: After inspecting and cleaning the SIM card and its slot, carefully reinsert the SIM card into the designated slot on your device. Ensure that the card is properly aligned and securely placed within the slot. A firm and secure insertion is essential for establishing a reliable connection between the SIM card and the device's hardware.
-
Test with Another SIM Card (if available): If you have access to another compatible SIM card, consider testing your device with the alternate card. This can help determine if the "SOS Only" issue is specific to the original SIM card or if it may be related to the device itself. By testing with a different SIM card, you can gain valuable insights into the source of the connectivity problem.
-
Contact Your Network Provider: If the issue persists after checking and reinserting the SIM card, consider reaching out to your network provider for further assistance. They can provide valuable insights and guidance on potential SIM card-related issues, including potential network provisioning or SIM card replacement if necessary.
Thoroughly examining and addressing potential issues related to the SIM card is an essential step in troubleshooting the "SOS Only" problem. By paying close attention to the condition of the SIM card, ensuring proper insertion, and exploring alternative testing methods, you can effectively narrow down the potential causes of the connectivity issue and take appropriate measures to restore seamless mobile communication.
Update Your Phone's Software
Ensuring that your phone's software is up to date is a crucial step in troubleshooting the "SOS Only" SIM card issue. Software updates often include patches, bug fixes, and enhancements that can address underlying technical issues affecting the device's connectivity. By updating your phone's software, you can potentially resolve software-related glitches and improve its compatibility with the mobile network. Here's a detailed exploration of the steps involved in updating your phone's software:
-
Check for Updates: Begin by accessing the settings menu on your device and navigating to the "Software Update" or "System Update" section. This is typically found in the "About Phone" or "General" settings. Once there, initiate a manual check for available updates. If an update is available, follow the on-screen prompts to download and install it on your device.
-
Connect to a Stable Wi-Fi Network: To ensure a smooth and uninterrupted update process, connect your phone to a stable Wi-Fi network. Software updates can be large in size, and using a Wi-Fi connection prevents potential interruptions and conserves your mobile data.
-
Backup Your Data: Before initiating the software update, consider backing up your important data such as photos, contacts, and documents. While rare, software updates have the potential to cause data loss or corruption. Creating a backup provides an added layer of protection for your valuable information.
-
Follow On-Screen Instructions: Once the software update begins, carefully follow any on-screen instructions provided by the device. This may include granting permissions, accepting terms and conditions, and allowing the device to restart as part of the update process.
-
Allow Sufficient Time: Depending on the size of the update and the speed of your internet connection, the update process may take some time to complete. It's important to allow the device ample time to download and install the update without interruption.
By proactively updating your phone's software, you can potentially address underlying software-related issues that may be contributing to the "SOS Only" SIM card problem. Software updates often include optimizations and improvements to the device's network connectivity protocols, making it an essential step in troubleshooting connectivity issues.
Incorporating the process of updating your phone's software into the troubleshooting journey can lead to a more robust and stable device, enhancing its overall performance and connectivity. With the latest software installed, your device is better equipped to establish and maintain a reliable connection with the mobile network, potentially resolving the vexing "SOS Only" issue once and for all.
Reset Network Settings
Resetting the network settings on your mobile device can serve as a powerful troubleshooting step in addressing the persistent "SOS Only" SIM card issue. This process essentially clears and reconfigures the device's network-related settings, potentially resolving any underlying connectivity issues or conflicts that may be hindering its ability to establish a stable connection with the cellular network.
Here's a detailed exploration of the steps involved in resetting your phone's network settings:
-
Access Network Settings: Begin by navigating to the settings menu on your device. Look for the "Network," "Connections," or "Wireless & Networks" section, where the network settings are typically located. Once there, locate the option to reset network settings. The specific location of this option may vary depending on the device model and software version.
-
Initiate Network Reset: Upon finding the network reset option, proceed to initiate the reset process. The device may prompt you to confirm your decision, emphasizing that this action will reset all network-related settings to their default configurations. It's important to note that performing a network reset will not delete any personal data or media on your device.
-
Confirm Reset: After confirming your intent to reset the network settings, the device will proceed with the reset process. This may take a few moments to complete, during which the device will clear and reconfigure its network settings.
-
Restart Your Device: Once the network settings have been reset, it's advisable to restart your device. This allows the device to apply the newly configured network settings and establish a fresh connection with the mobile network.
-
Reconnect to Wi-Fi and Mobile Networks: After the device has restarted, reestablish connections to any Wi-Fi networks and mobile data networks that you typically use. This ensures that the device establishes new network connections using the freshly configured settings.
By resetting the network settings, you effectively provide the device with a clean slate to establish and maintain network connections. This process can potentially resolve underlying conflicts, software glitches, or misconfigurations that may have contributed to the "SOS Only" SIM card issue. It serves as a proactive measure to refresh the device's network configurations and restore its ability to seamlessly connect to the cellular network.
Incorporating the network settings reset into the troubleshooting process can lead to a more stable and reliable network connection, potentially eliminating the persistent "SOS Only" message. This method is accessible to users of all technical levels and can serve as a valuable tool in the quest to regain uninterrupted access to mobile communication.
Contact Your Network Provider
When all other troubleshooting steps have been exhausted and the "SOS Only" SIM card issue persists, reaching out to your network provider is a crucial next step. Your network provider's support team possesses the expertise and resources to delve deeper into the underlying causes of the connectivity problem and provide tailored assistance to address the issue.
Upon contacting your network provider, you can expect to engage in a collaborative troubleshooting process aimed at resolving the "SOS Only" SIM card issue. The support representative may guide you through additional diagnostic steps, including remotely assessing the network connectivity status of your device and evaluating any potential network-related issues in your area.
Furthermore, your network provider can offer valuable insights into the health and status of your SIM card, ensuring that it is properly provisioned and activated on the network. In cases where the SIM card itself may be faulty or damaged, the provider can facilitate the replacement of the card, enabling you to regain seamless access to the mobile network.
Additionally, your network provider can provide information on any ongoing network maintenance or upgrades that may be impacting the connectivity in your area. By staying informed about network-related developments, you can gain a clearer understanding of the broader context surrounding the "SOS Only" issue and the potential timelines for resolution.
In instances where the "SOS Only" issue is determined to be rooted in network infrastructure or provisioning, your network provider's support team can escalate the matter to their technical specialists for in-depth investigation and resolution. This collaborative approach underscores the significance of leveraging the expertise and resources of your network provider to address complex connectivity issues effectively.
Ultimately, contacting your network provider represents a pivotal step in the troubleshooting journey, providing access to specialized support and insights tailored to the intricacies of the mobile network environment. By partnering with your network provider, you can navigate the complexities of the "SOS Only" SIM card issue with confidence, leveraging their expertise to restore your device's connectivity and regain uninterrupted access to mobile communication.