Introduction
In today's digital age, our smartphones have become indispensable tools for capturing life's precious moments. Whether it's a breathtaking sunset, a spontaneous adventure, or a heartwarming family gathering, our smartphones serve as our faithful companions, ready to immortalize these cherished memories with just a tap of the screen. However, as we continue to amass a treasure trove of photos and videos, our device's storage capacity can quickly dwindle, leaving us with the dreaded "storage full" notification at the most inopportune times.
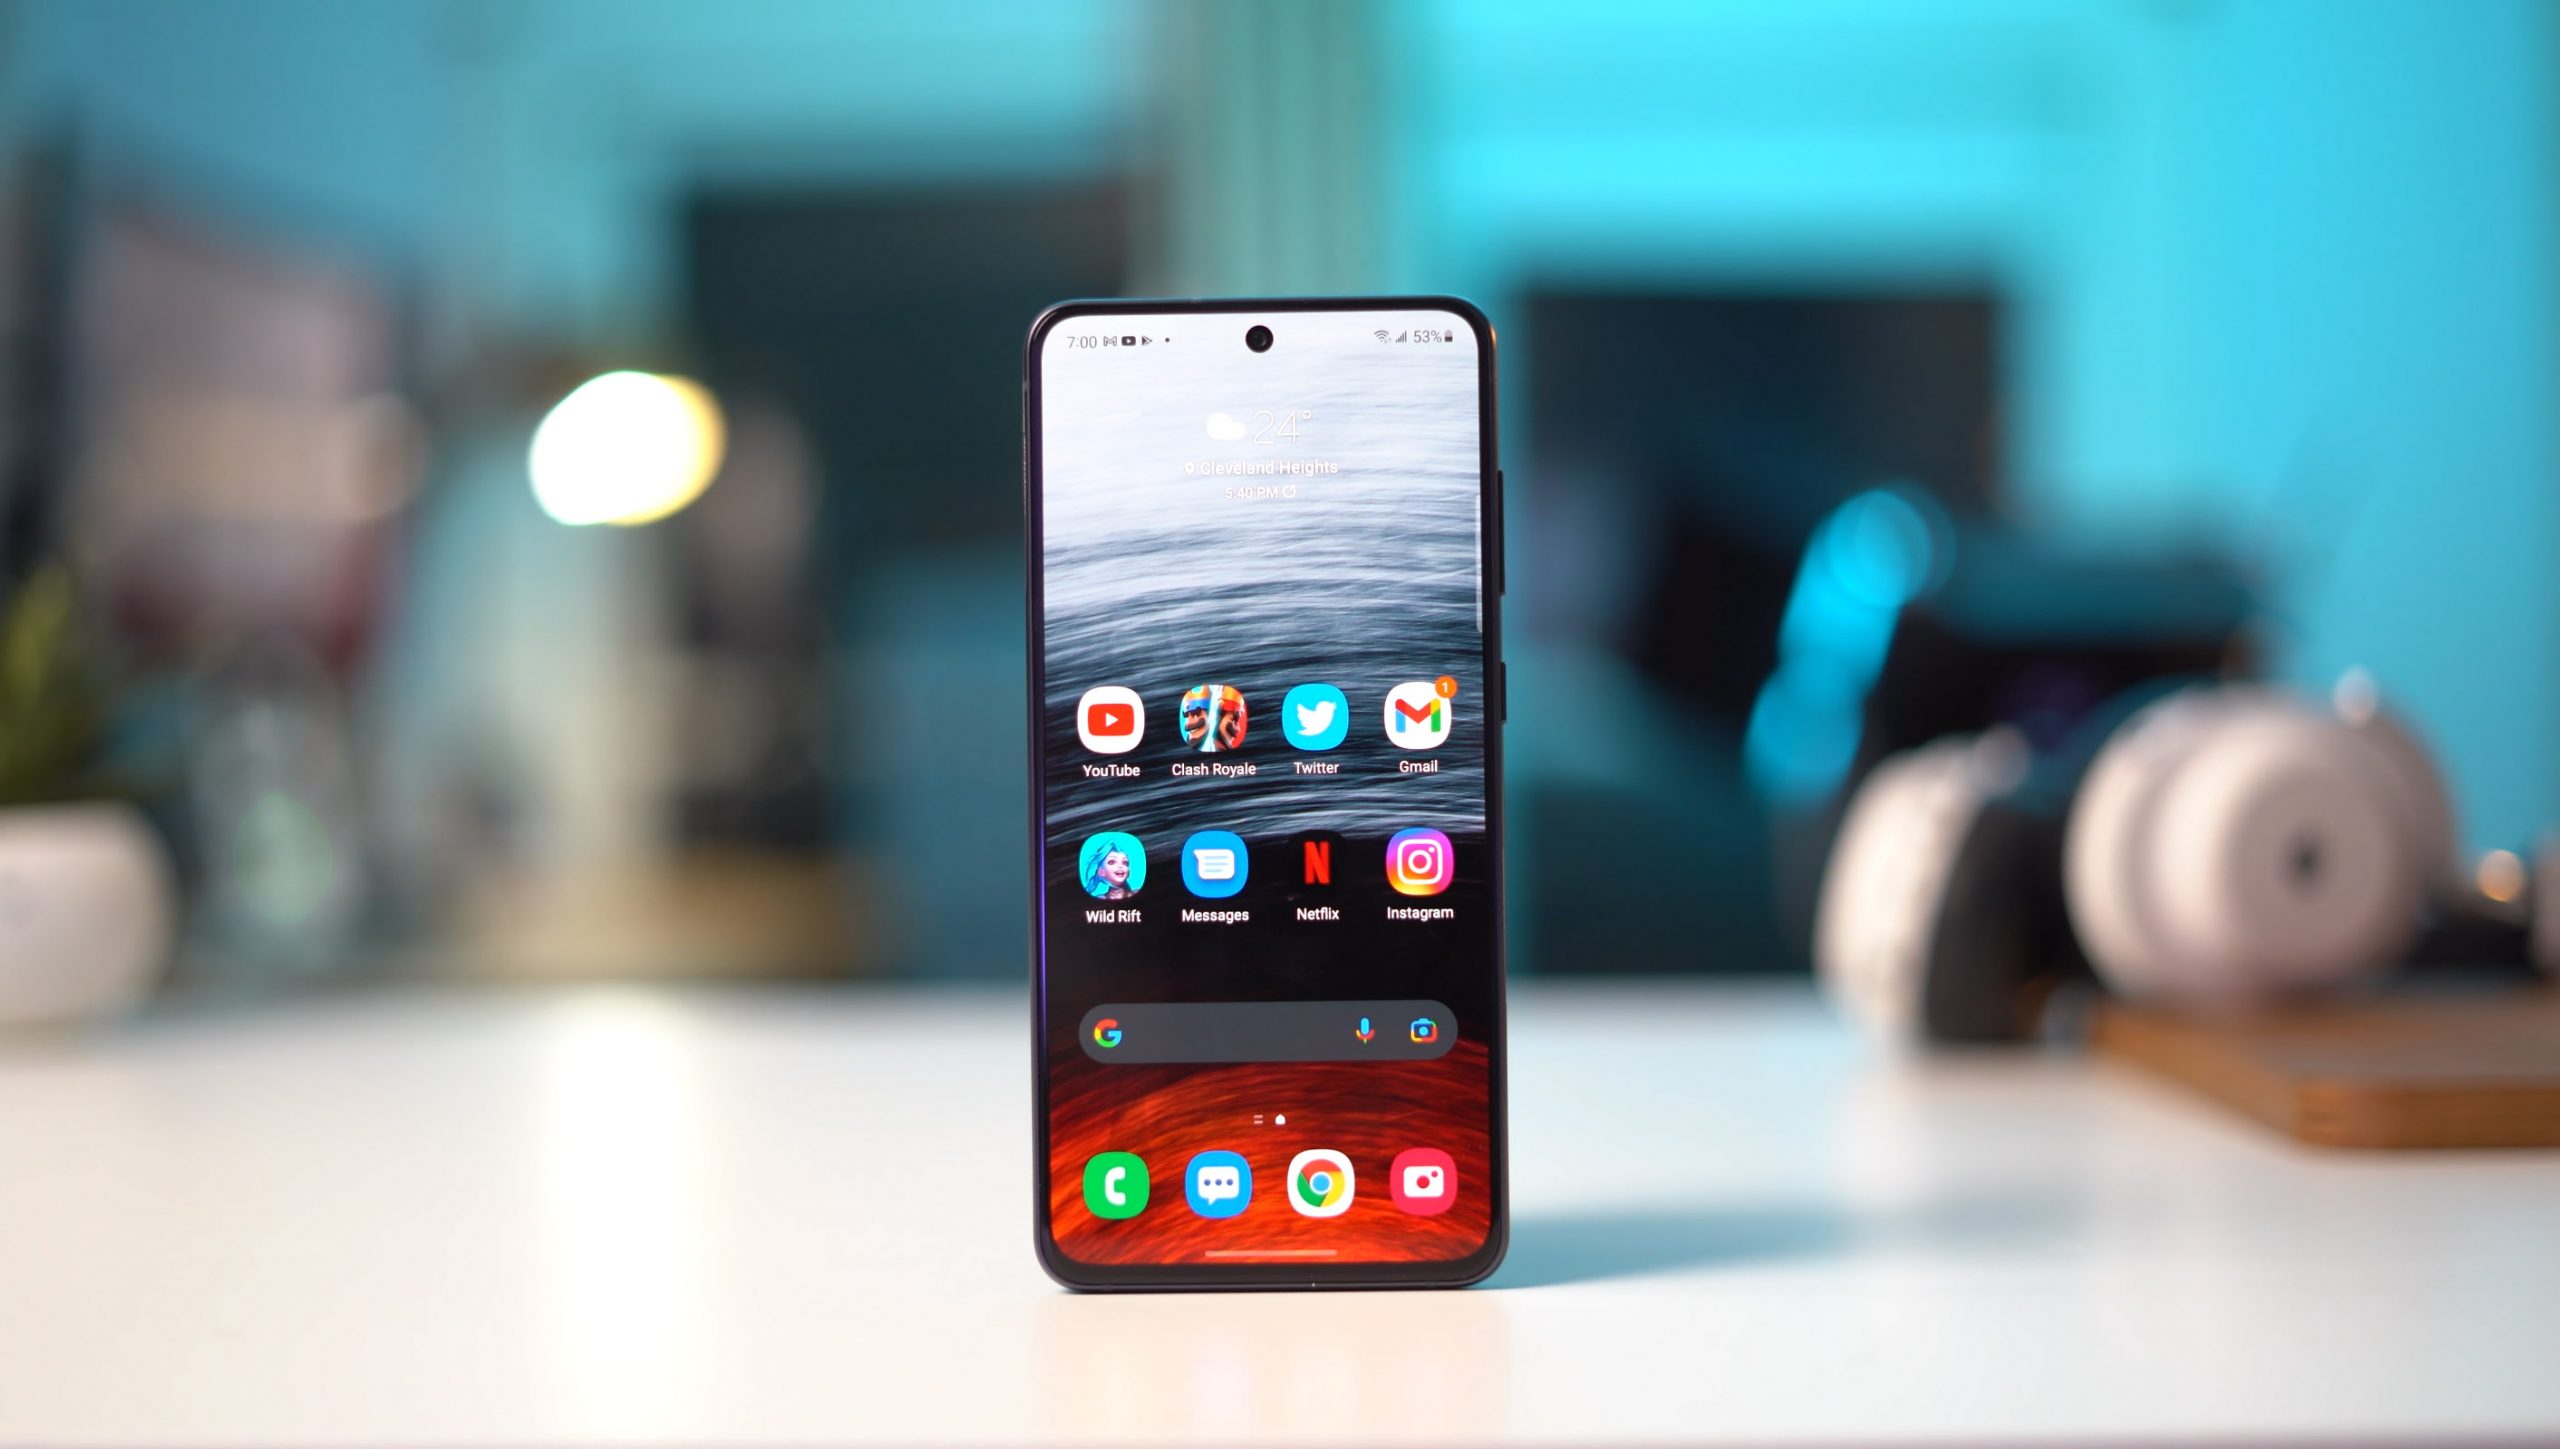
For Samsung S20 users, the struggle with limited storage space is a familiar one. The good news is that the Samsung S20 comes equipped with a convenient solution: the option to expand storage using a microSD card. By leveraging this feature, users can seamlessly transfer their photos and videos to the SD card, freeing up valuable space on their device and ensuring that they never miss a moment due to storage constraints.
In this comprehensive guide, we will delve into the step-by-step process of transferring photos to the SD card on the Samsung S20. From inserting the SD card to setting it as the default storage location, we will walk you through each stage, empowering you to optimize your device's storage and continue capturing life's beautiful moments without limitations.
So, if you've found yourself grappling with storage woes on your Samsung S20, fear not! By the end of this guide, you'll be equipped with the knowledge and skills to effortlessly manage your device's storage, ensuring that you can continue to snap, save, and share your most treasured memories without the looming threat of limited space. Let's embark on this journey to unlock the full potential of your Samsung S20 and liberate your photo gallery from the confines of internal storage.
Step 1: Inserting the SD Card
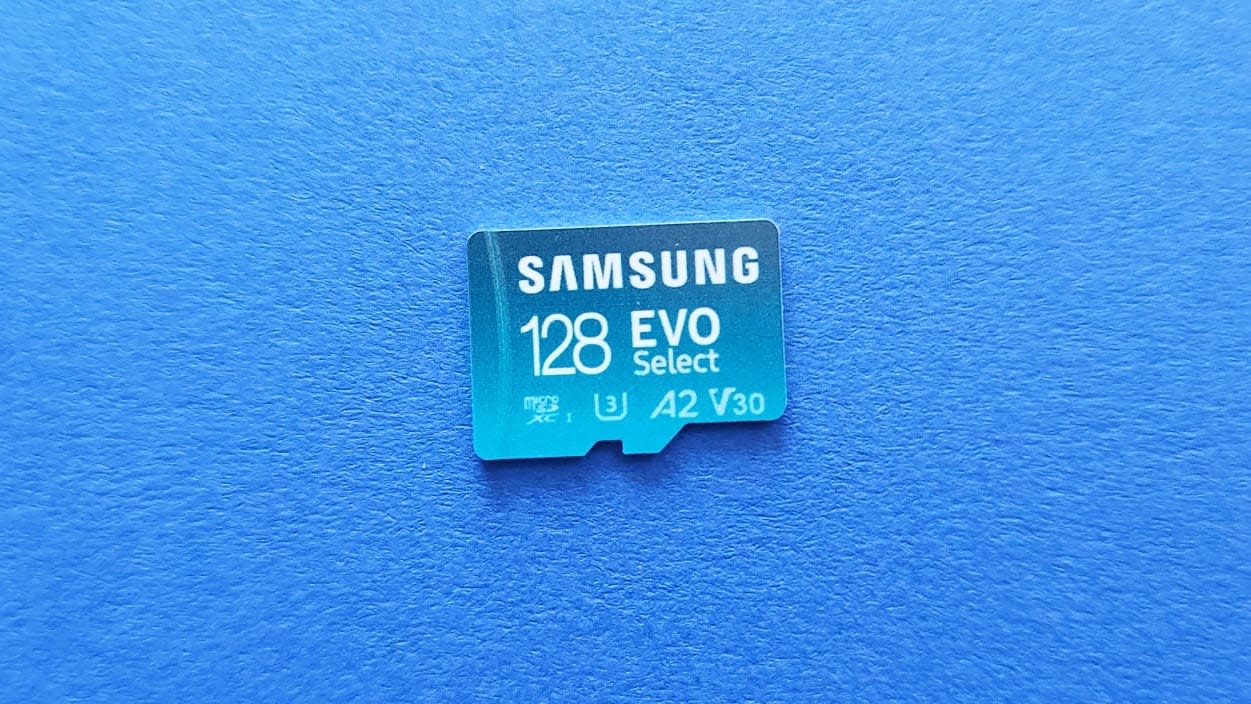
The first step in expanding the storage capacity of your Samsung S20 involves the physical insertion of a microSD card. This small yet powerful accessory serves as a lifeline for your device, offering a simple and effective way to alleviate storage constraints and ensure that you never miss a photo-worthy moment.
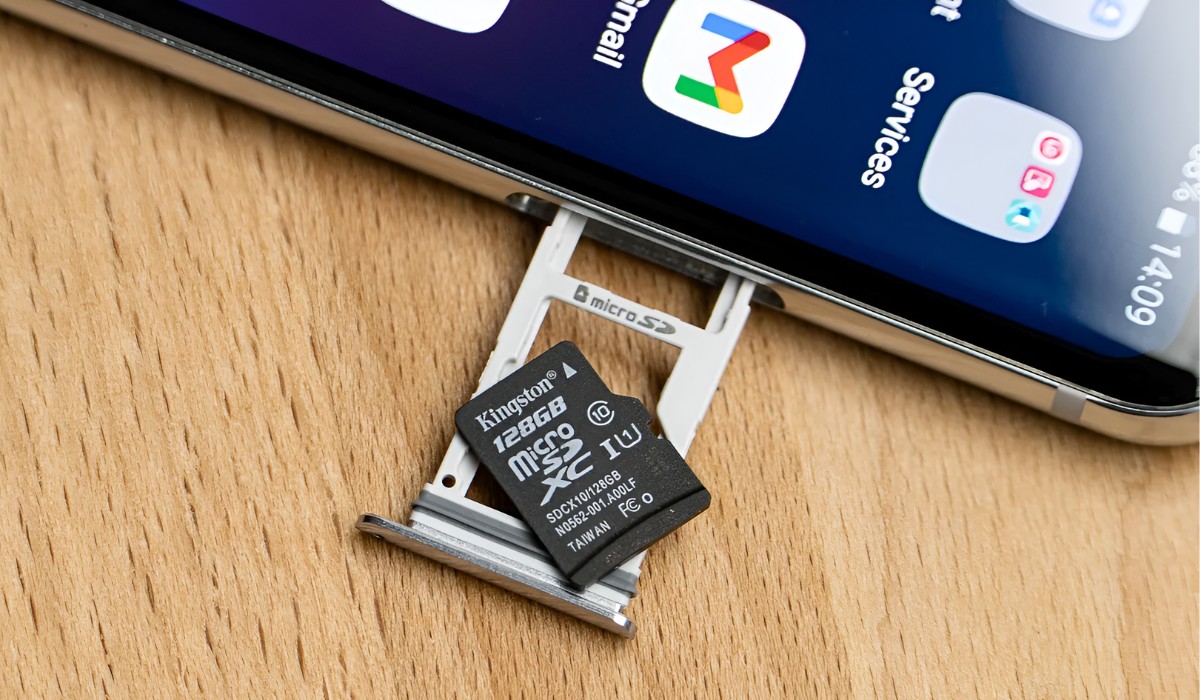
To begin, locate the SIM card tray on your Samsung S20. This tray is typically situated on the upper edge of the device, and it may be concealed by a small cover. Gently insert the provided SIM ejection tool or a paperclip into the pinhole adjacent to the tray, applying light pressure to release the tray from its housing.
Once the SIM card tray is accessible, carefully remove it from the device, taking care not to force or damage the delicate components. Within the tray, you will notice two compartments: one designated for the SIM card and the other intended for the microSD card. Prioritize the latter compartment for the insertion of your microSD card.
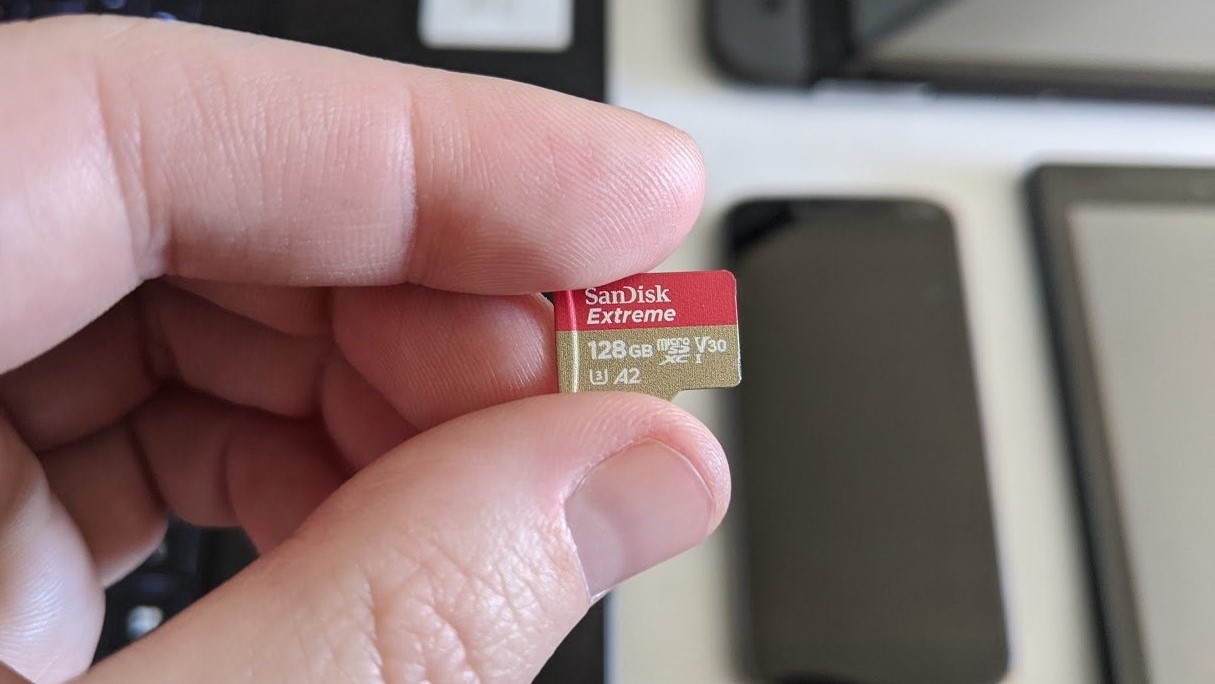
Before proceeding, ensure that the microSD card is oriented correctly to align with the tray's slot. Most microSD cards feature a notched corner, facilitating proper alignment and insertion. Gently place the microSD card into the designated compartment, taking care to avoid bending or damaging the card during this process.
With the microSD card securely positioned within the tray, carefully reinsert the tray into the device, aligning it with the corresponding slot. Apply gentle pressure to ensure a snug fit, taking care not to dislodge the microSD card in the process.
Upon successful insertion, power on your Samsung S20 and navigate to the device's settings to verify the recognition of the newly inserted microSD card. Once confirmed, you are now equipped with expanded storage capacity, ready to embark on the next phase of optimizing your device's storage.
By seamlessly integrating a microSD card into your Samsung S20, you have taken the crucial first step toward liberating your device from the constraints of limited internal storage. With this foundational element in place, you are now poised to transfer your cherished photos and videos to the microSD card, ensuring that your device's storage remains ample and accommodating for all your digital keepsakes.
Step 2: Transferring Photos to the SD Card
With the microSD card seamlessly integrated into your Samsung S20, you are now ready to embark on the pivotal stage of transferring your cherished photos to this expanded storage medium. This process not only liberates valuable space on your device but also ensures that your precious memories remain safely preserved on the microSD card. Let's delve into the seamless steps to transfer photos to the SD card on your Samsung S20.
1. Accessing the Photos App
Begin by unlocking your Samsung S20 and navigating to the home screen. Locate and tap on the "Photos" app, which serves as the central hub for managing and accessing your photo gallery. Upon launching the app, you will be greeted by a visual array of your captured memories, ranging from scenic landscapes to heartwarming family moments.
2. Selecting Photos for Transfer
Once within the Photos app, browse through your collection and select the photos and videos that you wish to transfer to the microSD card. This can be achieved by tapping and holding on a specific photo, prompting a selection mode that allows you to choose multiple items simultaneously. Alternatively, you can tap on the options menu within the app to access the selection feature.
3. Initiating the Transfer Process
After selecting the desired photos and videos, tap on the "Share" icon, typically represented by a series of interconnected dots or arrows. This action prompts a menu of sharing options, including the ability to transfer the selected items to various destinations. From the available sharing options, select "Move" or "Copy" to initiate the transfer process.
4. Choosing the SD Card as the Destination
Upon selecting the "Move" or "Copy" option, you will be presented with a list of available destinations for the transfer. Locate and tap on the microSD card as the designated destination for your photos and videos. This action directs the selected items to be seamlessly transferred to the expanded storage capacity offered by the microSD card.
5. Verifying the Transfer
Once the transfer process is initiated, monitor the progress as your photos and videos are seamlessly relocated to the microSD card. Upon completion, navigate to the microSD card within the file manager or gallery app to verify the successful transfer of your cherished memories.
By following these intuitive steps, you have successfully transferred your photos and videos to the microSD card, effectively optimizing the storage capacity of your Samsung S20. With your digital keepsakes now residing on the expanded storage medium, you can continue capturing life's beautiful moments without the constraints of limited internal storage.
Step 3: Setting the SD Card as Default Storage
As you revel in the newfound freedom of expanded storage capacity offered by the microSD card on your Samsung S20, it's essential to optimize the device's functionality by designating the SD card as the default storage location for future captures and downloads. This strategic configuration ensures that your device seamlessly utilizes the microSD card as the primary storage medium, effectively alleviating the burden on internal storage and empowering you to capture and store an abundance of memories without constraints.
1. Navigating to Device Settings
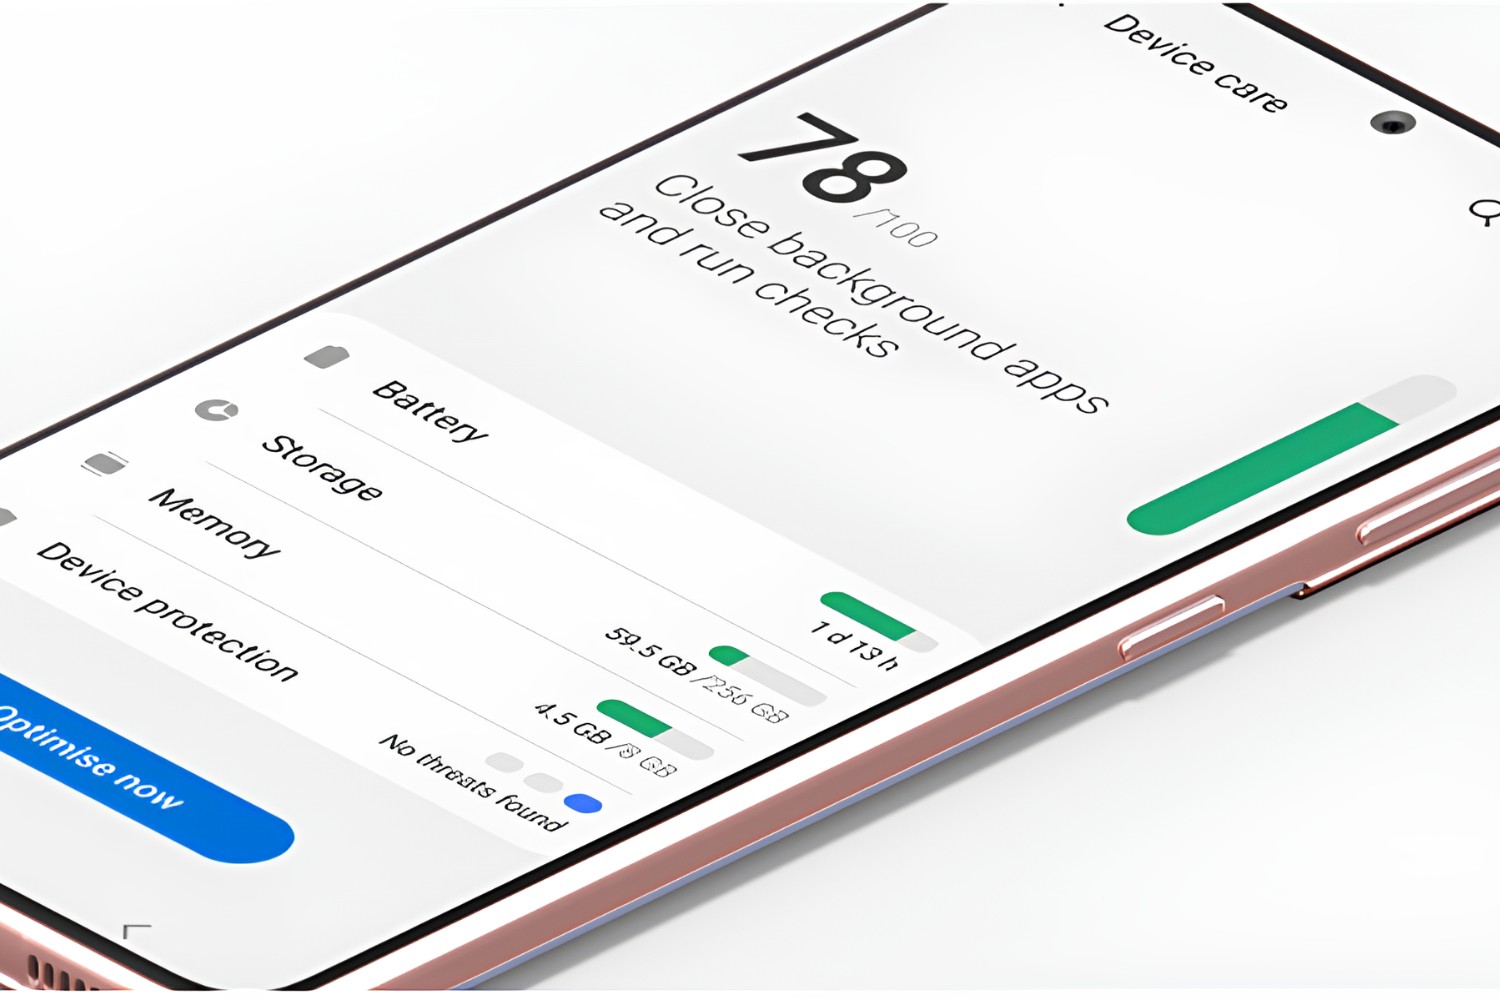
Commence the process by unlocking your Samsung S20 and accessing the device's settings. This can be achieved by tapping on the gear-shaped "Settings" icon, typically located on the home screen or within the app drawer. Once within the settings interface, navigate to the "Device care" or "Device maintenance" section, which serves as the central hub for optimizing and managing your device's performance and storage.
2. Accessing Storage Settings
Within the "Device care" or "Device maintenance" section, locate and tap on the "Storage" option. This action directs you to a comprehensive overview of your device's storage utilization, including the distribution of data between internal storage and the microSD card. From this interface, you can seamlessly manage and configure the storage settings to align with your preferences and requirements.
3. Designating the SD Card as Default Storage
Upon accessing the storage settings, navigate to the option that allows you to designate the microSD card as the default storage location. This setting may be labeled as "Storage settings," "Storage preferences," or a similar designation, depending on the specific firmware version of your Samsung S20. Once located, tap on this option to initiate the process of configuring the microSD card as the primary storage medium for future captures and downloads.
4. Confirming the Configuration
After designating the microSD card as the default storage location, the device will prompt you to confirm this configuration. This serves as a safeguard to ensure that the setting adjustment aligns with your intentions and preferences. Upon confirmation, the Samsung S20 seamlessly reconfigures its storage utilization, prioritizing the microSD card as the primary destination for new data, including photos, videos, and app downloads.
By following these intuitive steps, you have successfully optimized your Samsung S20's storage functionality by designating the microSD card as the default storage location. This strategic configuration ensures that your device operates seamlessly, leveraging the expanded storage capacity offered by the microSD card to accommodate your digital lifestyle without limitations. With this pivotal adjustment in place, you can confidently capture, store, and enjoy an abundance of memories, knowing that your Samsung S20 is primed to maximize its storage potential.
Conclusion
In conclusion, the Samsung S20 offers a seamless and effective solution for expanding storage capacity through the integration of a microSD card. By following the step-by-step process outlined in this guide, users can liberate their device from the constraints of limited internal storage, ensuring that they never miss a photo-worthy moment due to storage limitations.
The journey begins with the physical insertion of the microSD card, a foundational step that sets the stage for the optimization of storage capacity. With the microSD card securely integrated into the device, users can proceed to transfer their cherished photos and videos to this expanded storage medium, effectively freeing up valuable space on their Samsung S20.
Furthermore, by designating the microSD card as the default storage location, users can ensure that their device seamlessly leverages the expanded storage capacity for future captures and downloads. This strategic configuration empowers users to capture and store an abundance of memories without the looming threat of limited internal storage, enhancing the overall user experience and versatility of the Samsung S20.
As users navigate through the process of optimizing storage on their Samsung S20, they are not only expanding the device's functionality but also unlocking the full potential of their digital lifestyle. With the ability to seamlessly capture, store, and enjoy an array of memories without constraints, users can embrace the freedom of a device that adapts to their evolving storage needs.
In essence, the integration of a microSD card and the strategic optimization of storage settings on the Samsung S20 represent a transformative approach to managing digital content. By empowering users to transcend the limitations of internal storage, Samsung has elevated the user experience, ensuring that every moment is captured, preserved, and cherished without compromise.
With this comprehensive guide, users are equipped with the knowledge and skills to harness the full potential of their Samsung S20, ensuring that storage limitations never hinder their ability to capture life's beautiful moments. As they embark on this journey of storage optimization, they can do so with confidence, knowing that their Samsung S20 is primed to accommodate their digital lifestyle with ample storage capacity and seamless functionality.


