Introduction
Welcome to this quick guide on locating the SIM card slot on your Samsung Galaxy A51. Whether you're a new user setting up your device for the first time or someone who simply needs to replace or install a SIM card, this step-by-step tutorial will walk you through the process. The Samsung Galaxy A51 is a popular and feature-rich smartphone, and understanding how to access and utilize its SIM card slot is essential for enjoying its full functionality.
The SIM card slot is a crucial component of any mobile device, as it allows you to connect to your mobile network and access voice, text, and data services. Knowing how to locate and access this slot is a fundamental skill for any smartphone user. In this guide, we'll cover each step in detail, ensuring that you can confidently manage your SIM card on the Samsung Galaxy A51.
By the end of this tutorial, you'll be equipped with the knowledge and skills to easily locate the SIM card slot on your Samsung Galaxy A51 and manage your SIM card with ease. Let's dive in and get started with the first step: turning off the device.
Step 1: Turn off the device
Before we begin the process of locating and accessing the SIM card slot on your Samsung Galaxy A51, it's important to ensure that the device is powered off. Turning off the device is a crucial step to prevent any potential damage to the SIM card or the device itself during the SIM card installation or removal process.
To power off your Samsung Galaxy A51, simply press and hold the power button located on the right side of the device. After a few seconds, a menu will appear on the screen, prompting you to either power off or restart the device. Select the "Power off" option and confirm your choice. The device will then proceed to shut down, and you'll be ready to move on to the next step.
Ensuring that the device is powered off before handling the SIM card slot is essential for minimizing the risk of any electrical interference or damage. This precautionary measure helps safeguard the integrity of both the device and the SIM card, allowing for a smooth and safe SIM card management experience.
By following this simple yet crucial step, you're taking the necessary precaution to protect your Samsung Galaxy A51 and ensure that the SIM card installation or removal process proceeds without any complications. With the device powered off, you're now ready to proceed to the next step, where we'll delve into locating the SIM card slot on your Samsung Galaxy A51.
Step 2: Locate the SIM card slot
Locating the SIM card slot on your Samsung Galaxy A51 is a pivotal step in managing your device's connectivity. The SIM card slot is where you insert your SIM card, enabling your device to connect to your mobile network and access essential services. Understanding the precise location of this slot is crucial for seamless SIM card installation and removal. Let's delve into the process of locating the SIM card slot on your Samsung Galaxy A51.
The SIM card slot on the Samsung Galaxy A51 is typically situated on the upper left-hand side of the device. To access it, you'll need to locate the SIM card tray, which is a small, discreet compartment designed to securely hold the SIM card. The tray is equipped with a tool ejection hole, allowing you to easily open it and access the SIM card slot.
To locate the SIM card slot:
- Begin by identifying the small pinhole on the upper left-hand side of your Samsung Galaxy A51. This pinhole is the tool ejection hole for the SIM card tray.
- Once you've located the pinhole, gently insert the SIM ejection tool that came with your device into the hole. Apply light pressure to release the SIM card tray.
- The SIM card tray will partially protrude from the device, allowing you to carefully pull it out with your fingers.
- Upon removing the SIM card tray, you'll notice the SIM card slot within the tray. It is a small, rectangular opening designed to accommodate the SIM card.
By following these steps, you can easily locate the SIM card slot on your Samsung Galaxy A51. Familiarizing yourself with the precise location of the SIM card slot empowers you to confidently manage your SIM card, whether it's for installation, replacement, or removal. With the SIM card slot identified, you're now prepared to proceed to the next step, where we'll cover the process of inserting the SIM card into the slot.
Step 3: Insert the SIM card
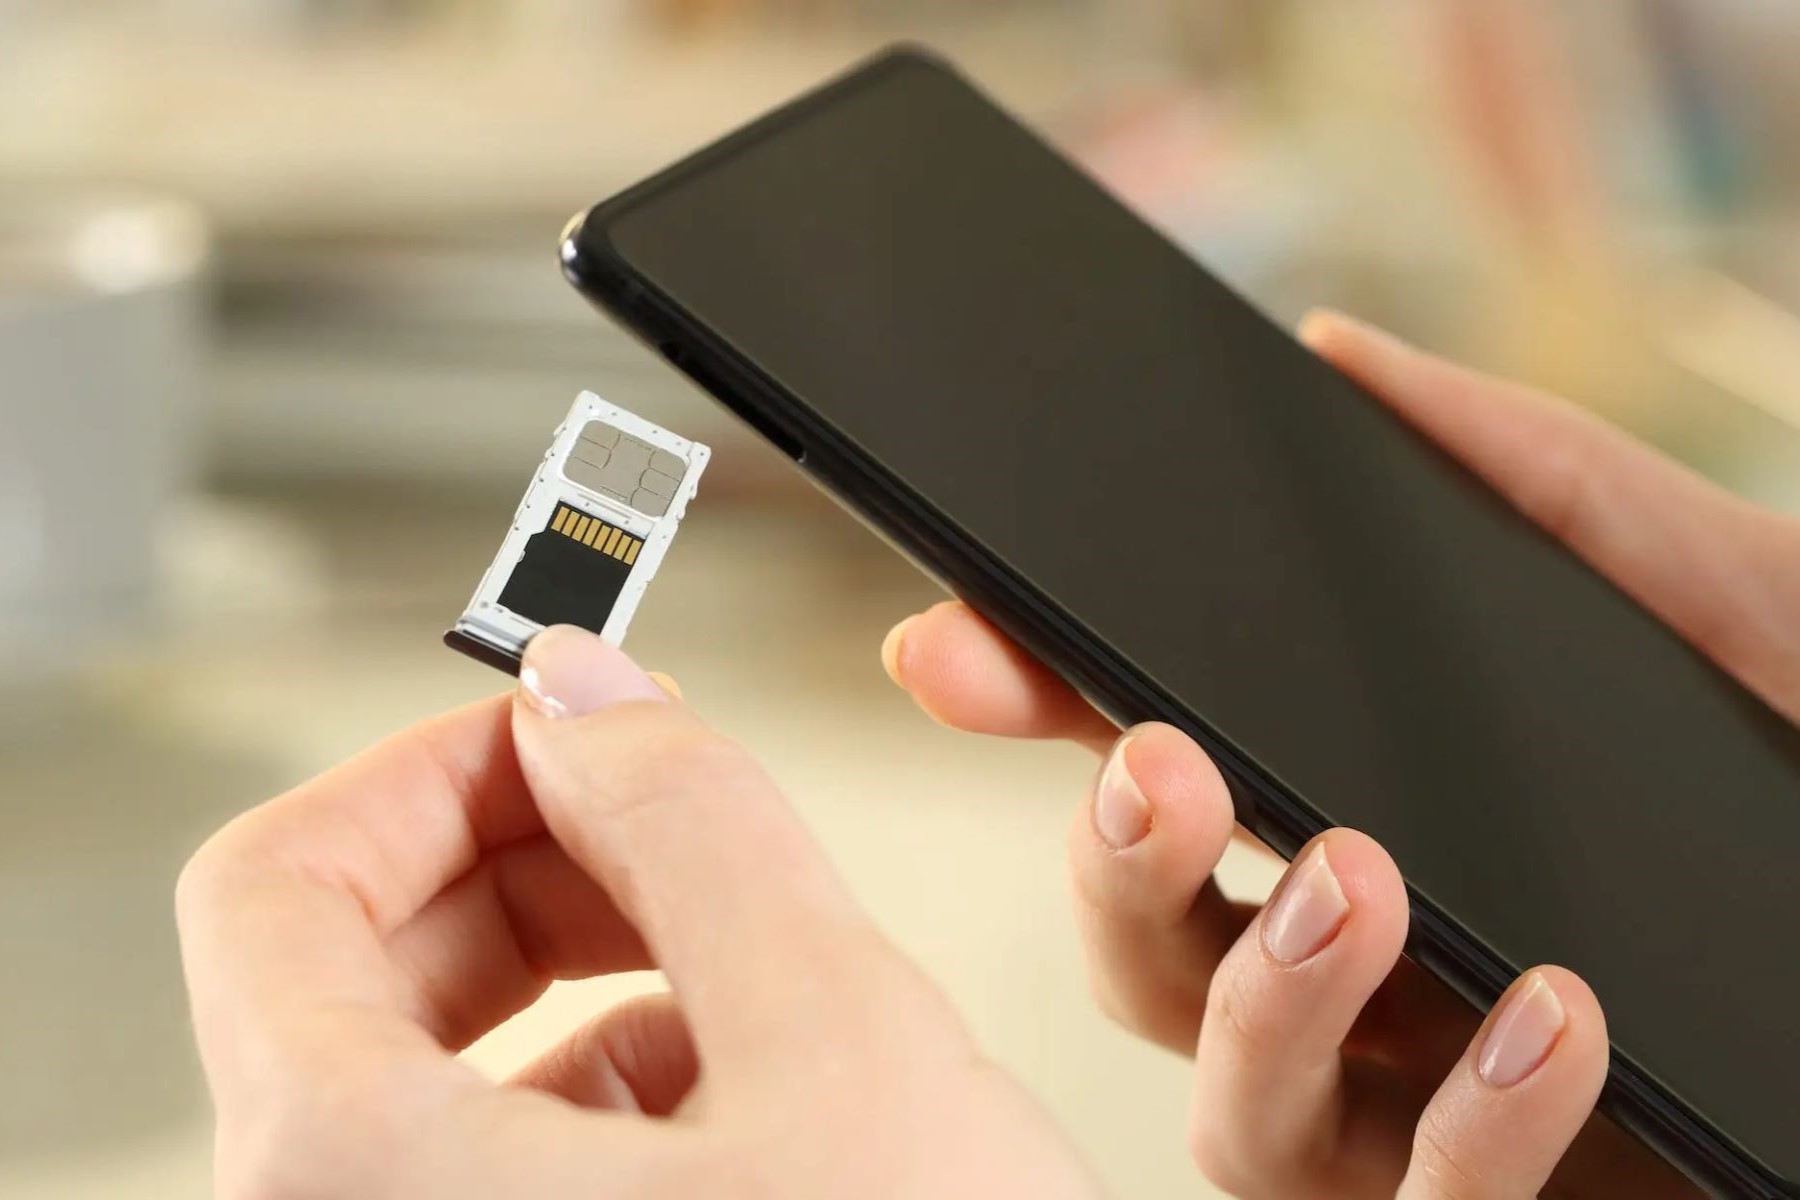
Now that you have successfully located the SIM card slot on your Samsung Galaxy A51, it's time to proceed with the next crucial step: inserting the SIM card. The SIM card is a vital component that enables your device to connect to your mobile network, allowing you to make calls, send messages, and access mobile data. Properly inserting the SIM card ensures seamless connectivity and optimal functionality of your smartphone. Let's walk through the process of inserting the SIM card into the designated slot on your Samsung Galaxy A51.
-
Prepare the SIM card: Before inserting the SIM card, ensure that it is compatible with the Samsung Galaxy A51. The SIM card should correspond to the correct size and type supported by the device. Most modern smartphones, including the Samsung Galaxy A51, typically use a nano-SIM card. If your SIM card is of the correct size and type, proceed to the next step.
-
Position the SIM card: Take the SIM card and carefully position it within the designated slot on the SIM card tray. The SIM card will align with the contours of the slot, ensuring a proper fit. Be mindful of the orientation of the SIM card, as it should align with the guides within the slot to ensure a secure connection.
-
Insert the SIM card: With the SIM card properly positioned, gently slide the SIM card tray back into the SIM card slot on your Samsung Galaxy A51. Apply light pressure to ensure that the tray is securely inserted, allowing the SIM card to make contact with the device's internal connectors.
-
Verify the insertion: Once the SIM card tray is securely inserted, take a moment to verify that the SIM card is properly seated within the slot. The SIM card should be flush with the tray, indicating that it is correctly positioned and ready for use.
By following these steps, you can confidently insert the SIM card into the designated slot on your Samsung Galaxy A51. Properly installing the SIM card is essential for establishing a reliable connection to your mobile network and enjoying the full range of communication and data services offered by your smartphone. With the SIM card successfully inserted, you're now prepared to power on your device and resume your mobile connectivity.
With the SIM card securely in place, you're now ready to proceed to the final step: turning on the device. Let's move on to the next step and complete the process of managing the SIM card on your Samsung Galaxy A51.
Step 4: Turn on the device
After successfully inserting the SIM card into the designated slot on your Samsung Galaxy A51, it's time to power on the device and initiate the activation process. Turning on the device is the final step in managing your SIM card, allowing you to establish connectivity with your mobile network and access the full range of services offered by your smartphone.
To power on your Samsung Galaxy A51:
- Press and hold the power button located on the right side of the device. After a few seconds, the Samsung logo will appear on the screen, indicating that the device is booting up.
- Once the device has powered on, you'll be prompted to enter your PIN or unlock pattern, depending on your security settings. This step ensures that the device is securely accessed and that your SIM card is protected from unauthorized use.
- Upon successfully unlocking the device, you'll notice the signal bars or network indicator appear in the status bar, signifying that your Samsung Galaxy A51 has established a connection to your mobile network. This indicates that your SIM card is recognized and operational.
As the device completes the startup process, you'll be able to make calls, send messages, and access mobile data using your Samsung Galaxy A51. The successful activation of your SIM card ensures that you can seamlessly utilize the communication and connectivity features of your smartphone.
By following these steps, you have effectively managed your SIM card on the Samsung Galaxy A51, from locating the SIM card slot to powering on the device. This comprehensive guide equips you with the knowledge and skills to confidently handle your SIM card, whether it's for installation, replacement, or removal.
With the device powered on and your SIM card activated, you're now ready to enjoy the full functionality of your Samsung Galaxy A51, leveraging its advanced features and staying connected with ease. Whether it's staying in touch with loved ones, accessing online services, or utilizing mobile apps, your smartphone is now fully equipped to meet your communication and connectivity needs.
With the completion of the activation process, you've successfully managed your SIM card on the Samsung Galaxy A51. Your device is now ready for seamless connectivity and optimal performance, ensuring that you can make the most of its capabilities in your daily life.
Conclusion
Congratulations! You've successfully navigated the process of locating the SIM card slot on your Samsung Galaxy A51 and managing your SIM card with confidence. By following this step-by-step guide, you've gained valuable insights into the essential steps of handling your device's connectivity, ensuring that you can seamlessly utilize its communication and data services.
Understanding the precise location of the SIM card slot empowers you to effortlessly insert, replace, or remove your SIM card as needed. The careful execution of each step, from powering off the device to verifying the successful activation of your SIM card, ensures that you've taken the necessary precautions to safeguard your device and maintain optimal functionality.
By familiarizing yourself with the process of locating and accessing the SIM card slot, you've acquired a fundamental skill that contributes to your overall smartphone proficiency. The ability to confidently manage your SIM card enhances your user experience, allowing you to stay connected and leverage the full potential of your Samsung Galaxy A51.
As you power on your device and witness the signal bars or network indicator appear, you can take pride in the successful management of your SIM card. Your smartphone is now ready to serve as a reliable communication tool, enabling you to make calls, send messages, and access mobile data with ease.
The completion of this guide signifies your readiness to harness the capabilities of your Samsung Galaxy A51, leveraging its advanced features to enrich your daily life. Whether you're communicating with friends and family, staying productive on the go, or exploring the myriad of apps and services available, your smartphone is now equipped to meet your connectivity needs.
With the knowledge and skills acquired from this guide, you're well-prepared to handle future SIM card management tasks with confidence. The seamless integration of your SIM card ensures that your Samsung Galaxy A51 remains a versatile and indispensable companion in your day-to-day activities.
In conclusion, by mastering the process of locating and managing the SIM card slot on your Samsung Galaxy A51, you've unlocked the full potential of your device and set the stage for a seamless and enriching mobile experience. Embrace the connectivity, communication, and convenience that your smartphone offers, knowing that you have the expertise to manage your SIM card with ease.