Introduction
The Samsung Galaxy Note 5 is a remarkable device, renowned for its powerful features and sleek design. One of the essential components of this cutting-edge smartphone is the SIM card, which enables users to connect to their mobile network and access a wide array of services. Understanding how to locate and insert the SIM card is crucial for anyone looking to maximize the functionality of their Galaxy Note 5.
In this comprehensive guide, we will walk you through the process of locating the SIM card slot on your Galaxy Note 5 and inserting a SIM card. Whether you're a first-time user or simply need a refresher, this step-by-step tutorial will equip you with the knowledge to effortlessly manage your device's SIM card.
By following these instructions, you'll be able to seamlessly integrate the SIM card into your Galaxy Note 5, ensuring that you can harness the full potential of this remarkable smartphone. So, let's dive in and explore the simple yet vital process of managing the SIM card on your Galaxy Note 5.
Step 1: Turn off the Galaxy Note 5
Before embarking on the task of locating and inserting the SIM card into your Galaxy Note 5, it is crucial to ensure that the device is powered down. This simple yet essential step is often overlooked, but it plays a significant role in preventing any potential damage to the device or the SIM card itself.
To power off your Galaxy Note 5, you can follow these straightforward steps:
-
Locate the Power Button: The power button on the Galaxy Note 5 is typically situated on the right-hand side of the device. It is easily identifiable as a protruding button, often positioned above the volume buttons.
-
Press and Hold the Power Button: To initiate the power-off sequence, press and hold the power button until the power menu appears on the screen. This menu provides options for Power off, Restart, and Emergency mode.
-
Select "Power Off": Once the power menu is displayed, tap on the "Power off" option to commence the shutdown process. A confirmation prompt may appear, asking you to confirm the action. Simply tap "Power off" again to confirm.
-
Wait for the Device to Power Down: After confirming the power-off command, the Galaxy Note 5 will proceed to shut down. You may notice the screen dimming, followed by the device powering off completely.
-
Ensure the Device Is Off: It's essential to verify that the device has powered down completely. You can do this by pressing the power button briefly to check if the screen remains inactive.
By following these steps, you can safely power off your Galaxy Note 5 in preparation for the subsequent tasks of locating the SIM card slot and inserting the SIM card. This simple yet vital precaution ensures that the device is in a suitable state for managing the SIM card, minimizing the risk of any potential issues during the process.
With your Galaxy Note 5 powered down, you are now ready to proceed to the next step of locating the SIM card slot, a fundamental aspect of managing the SIM card on your device.
Step 2: Locate the SIM Card Slot
Upon powering off your Galaxy Note 5, the next crucial step is to locate the SIM card slot, which houses the SIM card and facilitates its seamless integration with the device. The SIM card slot on the Galaxy Note 5 is strategically positioned to ensure easy access while maintaining the device's sleek and sophisticated design. To locate the SIM card slot, follow these steps:
-
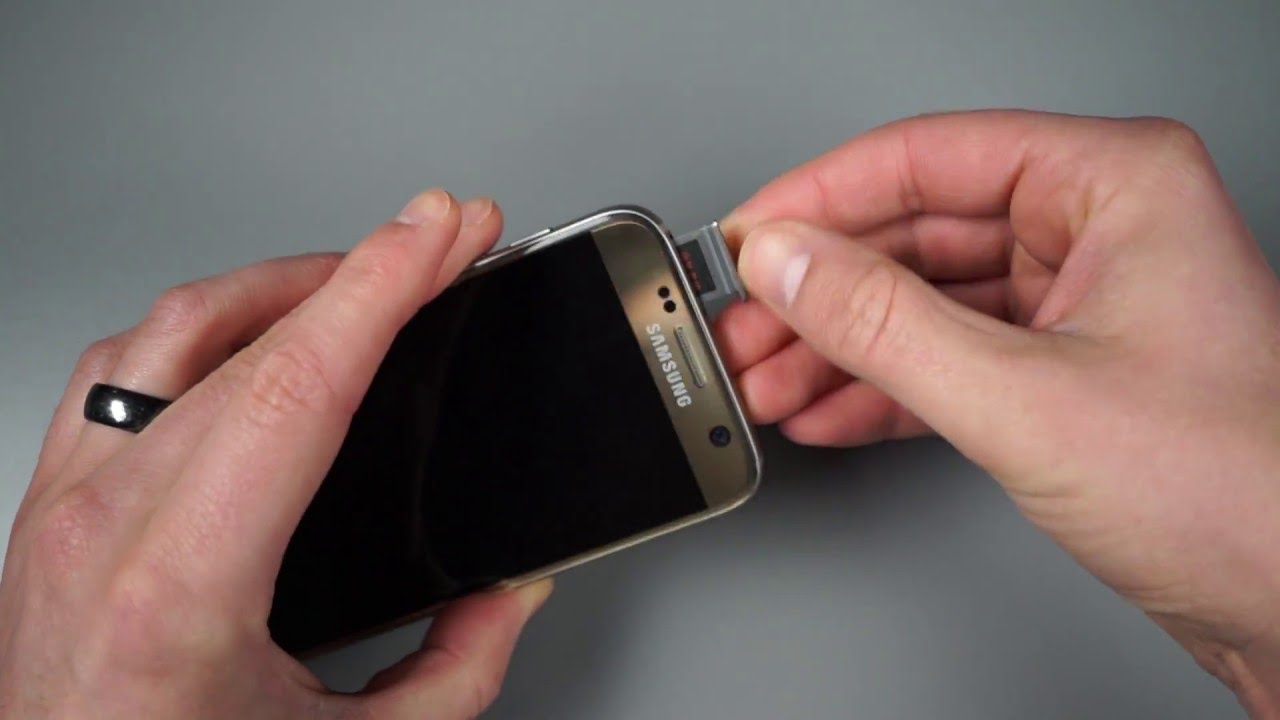
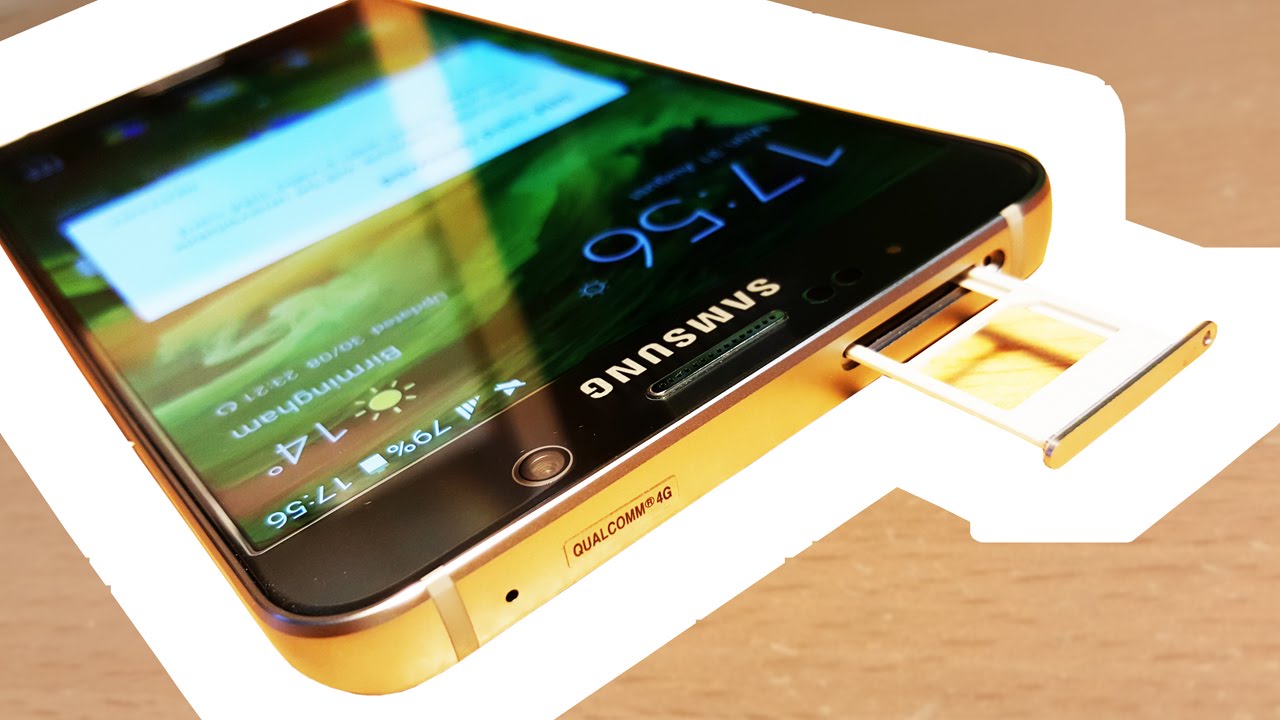
Identify the SIM Card Tray: The SIM card slot on the Galaxy Note 5 is ingeniously concealed within the device's frame, ensuring a seamless and unobtrusive design. To begin the process of locating the SIM card slot, you'll need to identify the SIM card tray, which is typically situated on the top edge of the device.
-
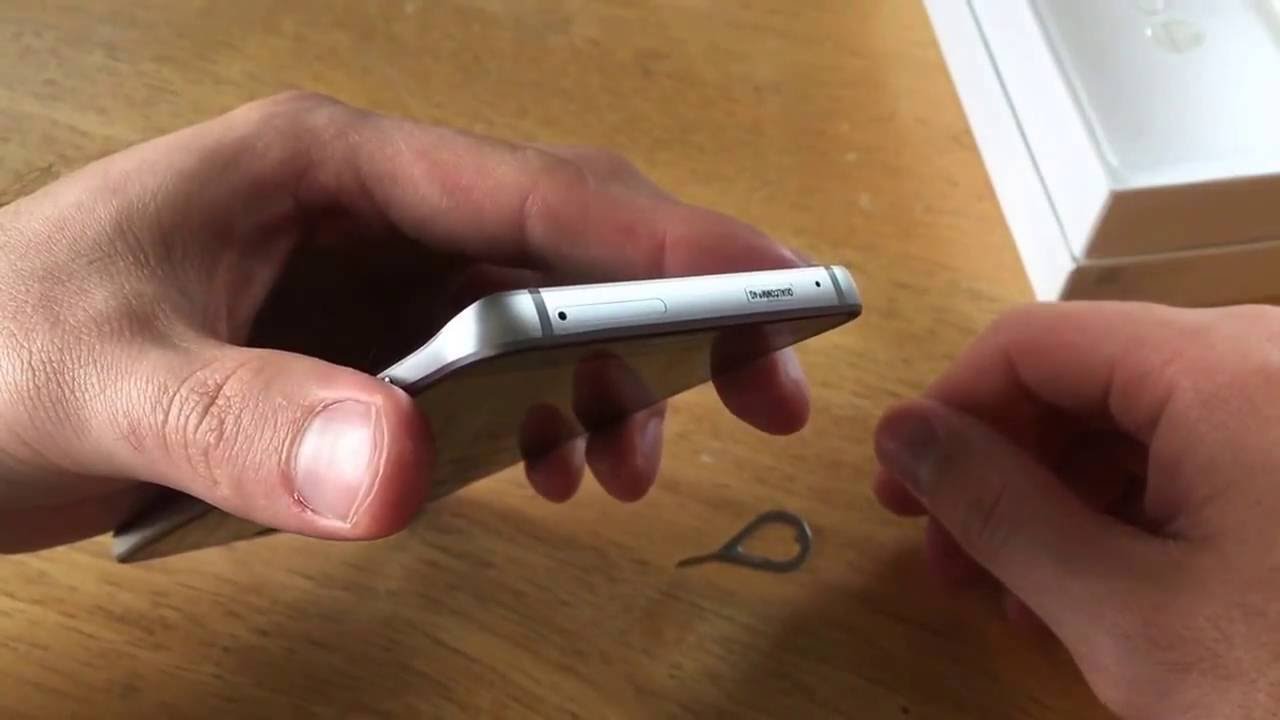
Use the Ejection Tool: The Galaxy Note 5 comes with a dedicated SIM card ejection tool, designed to facilitate the effortless removal and insertion of the SIM card. This specialized tool is included in the packaging of the device and is essential for accessing the SIM card slot.
-
Insert the Ejection Tool: Gently insert the provided ejection tool into the small pinhole located adjacent to the SIM card tray. Apply light pressure to ensure that the ejection tool is securely inserted, as this will enable you to initiate the release mechanism for the SIM card tray.
-
Eject the SIM Card Tray: Once the ejection tool is properly inserted, exert a slight amount of pressure to activate the release mechanism. You will feel a subtle resistance as the SIM card tray is ejected from its slot, allowing you to access the tray and proceed with inserting the SIM card.
By following these steps, you can successfully locate the SIM card slot on your Galaxy Note 5 and prepare it for the subsequent task of inserting the SIM card. The deliberate placement of the SIM card slot ensures that you can effortlessly manage your device's SIM card without compromising its elegant design. With the SIM card tray readily accessible, you are now poised to proceed with the pivotal task of inserting the SIM card into your Galaxy Note 5.
Step 3: Insert the SIM Card
With the SIM card tray successfully ejected from the Galaxy Note 5, the next crucial task is to insert the SIM card into the designated slot. This process is straightforward and requires careful handling to ensure the proper integration of the SIM card with the device. Here's a detailed guide on how to insert the SIM card into your Galaxy Note 5:
-
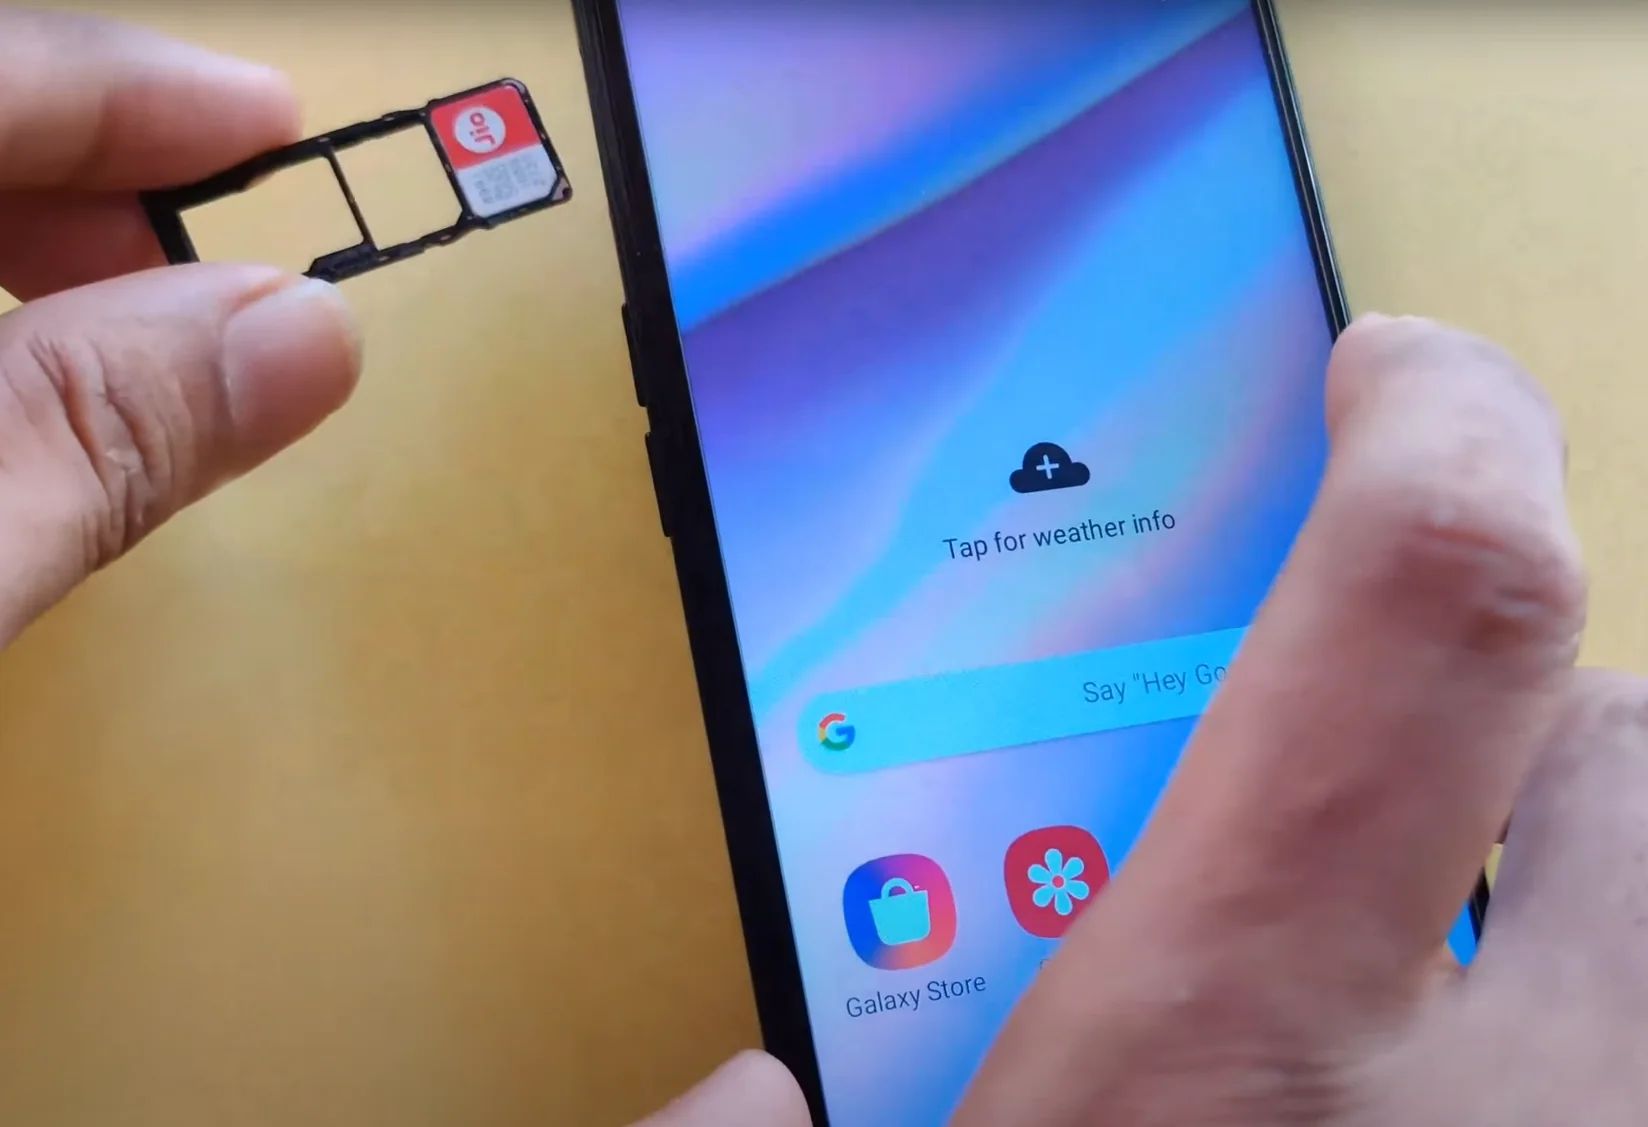
Prepare the SIM Card: Before proceeding with the insertion, it's essential to ensure that the SIM card is properly oriented and free from any damage. The SIM card will typically have a notched corner, which aligns with the corresponding notch within the SIM card tray. Take a moment to inspect the SIM card and position it correctly for seamless insertion.
-
Position the SIM Card Tray: Hold the ejected SIM card tray securely, ensuring that it is stable and level. The tray features a designated area where the SIM card will be placed, and it's crucial to maintain a steady grip to prevent any accidental displacement during the insertion process.
-
Place the SIM Card: With the SIM card tray held firmly, carefully position the SIM card onto the designated area within the tray. Align the notched corner of the SIM card with the corresponding notch within the tray, ensuring a precise fit. The SIM card should rest securely within the tray, with no protrusions or misalignment.
-
Insert the SIM Card Tray: Once the SIM card is correctly positioned within the tray, gently slide the tray back into the SIM card slot on the Galaxy Note 5. Apply steady and even pressure to ensure that the tray glides smoothly into its original position, securing the SIM card within the device.
-
Verify the Insertion: After inserting the SIM card tray, take a moment to ensure that it is fully seated within the device. The tray should fit flush with the Galaxy Note 5, with no gaps or uneven edges. Additionally, visually confirm that the SIM card is securely housed within the tray, maintaining the correct orientation.
By following these detailed steps, you can successfully insert the SIM card into your Galaxy Note 5, ensuring seamless integration and optimal functionality. The careful handling and precise positioning of the SIM card are essential to guarantee a secure and reliable connection to your mobile network. With the SIM card securely in place, you are now ready to proceed to the final step of turning on your Galaxy Note 5 and validating the successful integration of the SIM card.
Step 4: Turn on the Galaxy Note 5
Turning on your Galaxy Note 5 after successfully inserting the SIM card marks the final step in this essential process. This step is pivotal as it ensures that the device recognizes the SIM card and establishes a seamless connection to your mobile network. Here's a detailed guide on how to turn on your Galaxy Note 5 and validate the successful integration of the SIM card:
-
Press and Hold the Power Button: Located on the right-hand side of the device, the power button serves as the gateway to activating your Galaxy Note 5. To turn on the device, press and hold the power button until the screen lights up and the Samsung logo appears. This action initiates the boot-up sequence, signaling that the device is powering on.
-
Wait for the Device to Start: As the Galaxy Note 5 boots up, you'll notice the screen transitioning from the initial Samsung logo to the vibrant display of the device's home screen. This process may take a few moments, during which the device undergoes system checks and initializes the necessary components for operation.
-
Enter the SIM Card PIN (if applicable): In some instances, your SIM card may be protected by a PIN (Personal Identification Number) to enhance security. If your SIM card requires a PIN, the device will prompt you to enter it after powering on. Simply enter the designated PIN using the on-screen keyboard and proceed to confirm the entry. This step ensures that the SIM card is securely authenticated by the device.
-
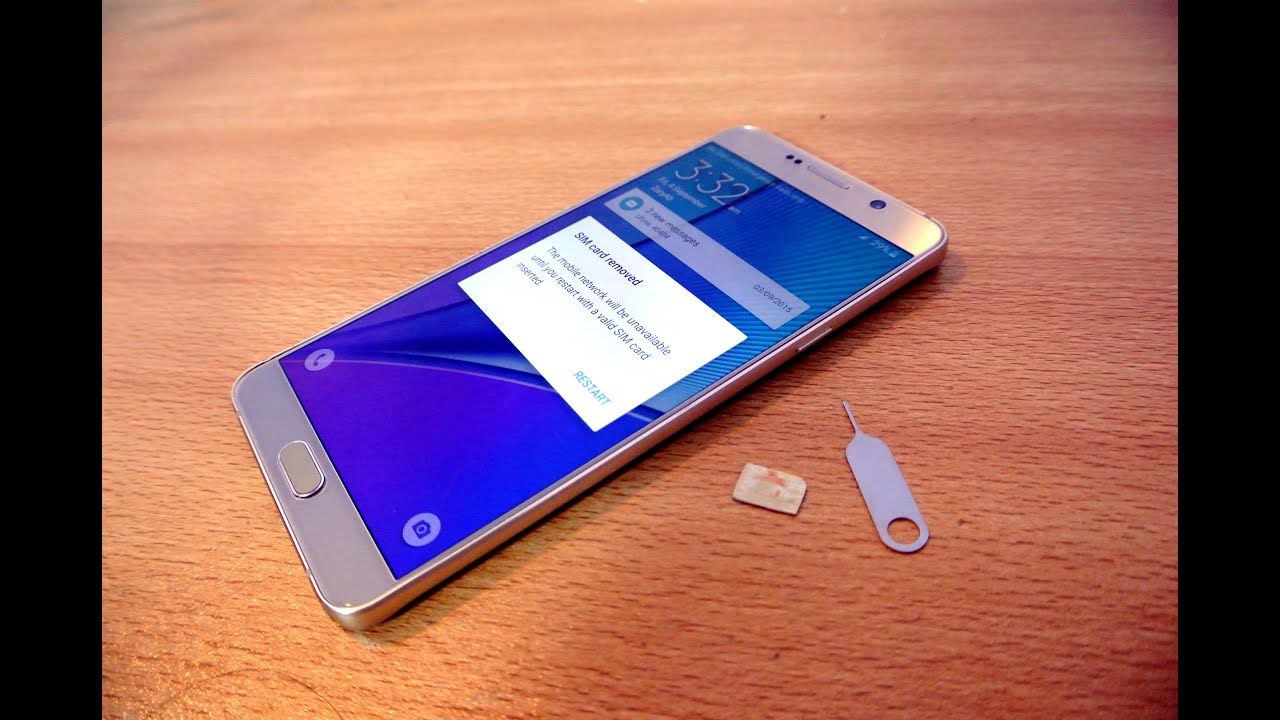
Verify Network Connectivity: Upon successfully turning on your Galaxy Note 5, take a moment to verify the network connectivity indicators on the device. You should see the signal strength bars and the network name displayed on the screen, indicating that the device has established a connection to your mobile network. Additionally, you may notice the appearance of network-related icons, such as the cellular data and Wi-Fi symbols, confirming the device's connectivity.
-
Test Call and Data Usage: To further validate the successful integration of the SIM card, consider placing a test call or accessing mobile data services on your Galaxy Note 5. Initiating a call and ensuring that the device can send and receive data over the mobile network serves as a practical confirmation of the SIM card's functionality within the device.
By following these steps, you can effectively turn on your Galaxy Note 5 and validate the successful integration of the SIM card. This final stage ensures that your device is fully operational and capable of leveraging the functionalities offered by the SIM card, allowing you to stay connected and engaged with the world around you.