Introduction
Installing a SIM card on a Samsung Galaxy Note 8 is a fundamental step in setting up the device for optimal functionality. A SIM (Subscriber Identity Module) card serves as the key to unlocking the full potential of your smartphone, enabling essential features such as making calls, sending text messages, and accessing mobile data. Whether you're activating a new Note 8 or replacing an existing SIM card, this comprehensive guide will walk you through the process step by step.
The Samsung Galaxy Note 8 boasts a sleek and sophisticated design, with a stunning infinity display and powerful hardware that promises a seamless user experience. However, without a properly installed SIM card, this cutting-edge device would be unable to connect to a mobile network, limiting its functionality to Wi-Fi usage only. Therefore, understanding how to install a SIM card is crucial for harnessing the full capabilities of this remarkable smartphone.
In this guide, you will learn the precise steps to install a SIM card on your Note 8, ensuring that you can effortlessly make calls, send messages, and access mobile data. By following these instructions, you will be equipped to enjoy the full spectrum of features and services offered by your Samsung Galaxy Note 8. So, let's delve into the process and empower your device with the essential connectivity it requires.
Step 1: Gather Necessary Tools
Before embarking on the process of installing a SIM card on your Samsung Galaxy Note 8, it's essential to gather the necessary tools to ensure a smooth and hassle-free experience. Here's what you'll need:
1. SIM Eject Tool
The SIM eject tool is a small, needle-like device that comes packaged with your Note 8. It is specifically designed to eject the SIM card tray from the device, allowing you to access and insert the SIM card. The SIM eject tool is crucial for safely and effectively managing the SIM card installation process.
2. SIM Card
Of course, you'll need the SIM card itself. Whether you're activating a new line or replacing an existing SIM card, ensure that you have the appropriate SIM card provided by your mobile service provider. It's important to handle the SIM card with care to avoid any damage that could compromise its functionality.
3. Adequate Lighting
While not a physical tool, having access to adequate lighting is crucial for clearly identifying the SIM card tray and ensuring that the SIM card is inserted correctly. Good lighting will help you avoid any potential mishaps during the installation process.
By having these tools at your disposal, you'll be fully prepared to proceed with confidence through the subsequent steps of installing the SIM card on your Samsung Galaxy Note 8. With the necessary tools in hand, you can ensure a seamless and successful installation, setting the stage for an enhanced mobile experience with your device.
Step 2: Locate the SIM Card Tray
The next step in the process of installing a SIM card on your Samsung Galaxy Note 8 is to locate the SIM card tray. This small yet crucial component is where the SIM card will be housed within the device. To begin, you'll need to identify the precise location of the SIM card tray on your Note 8.
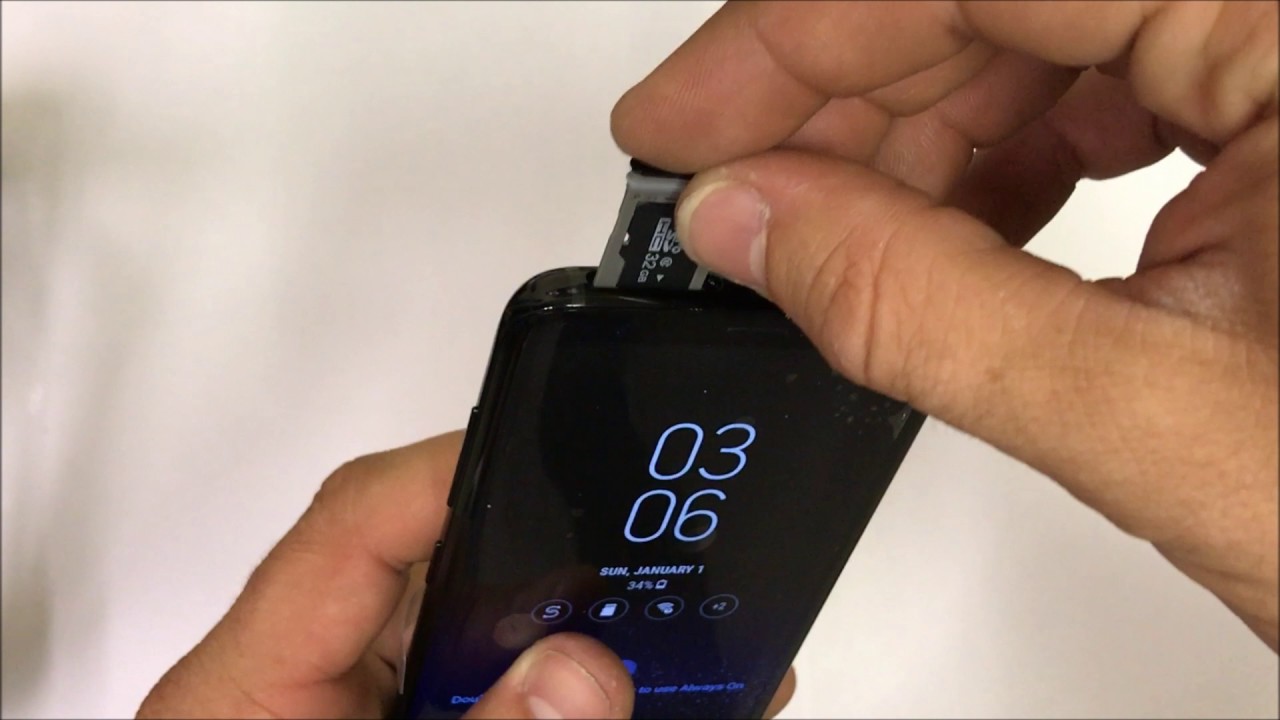
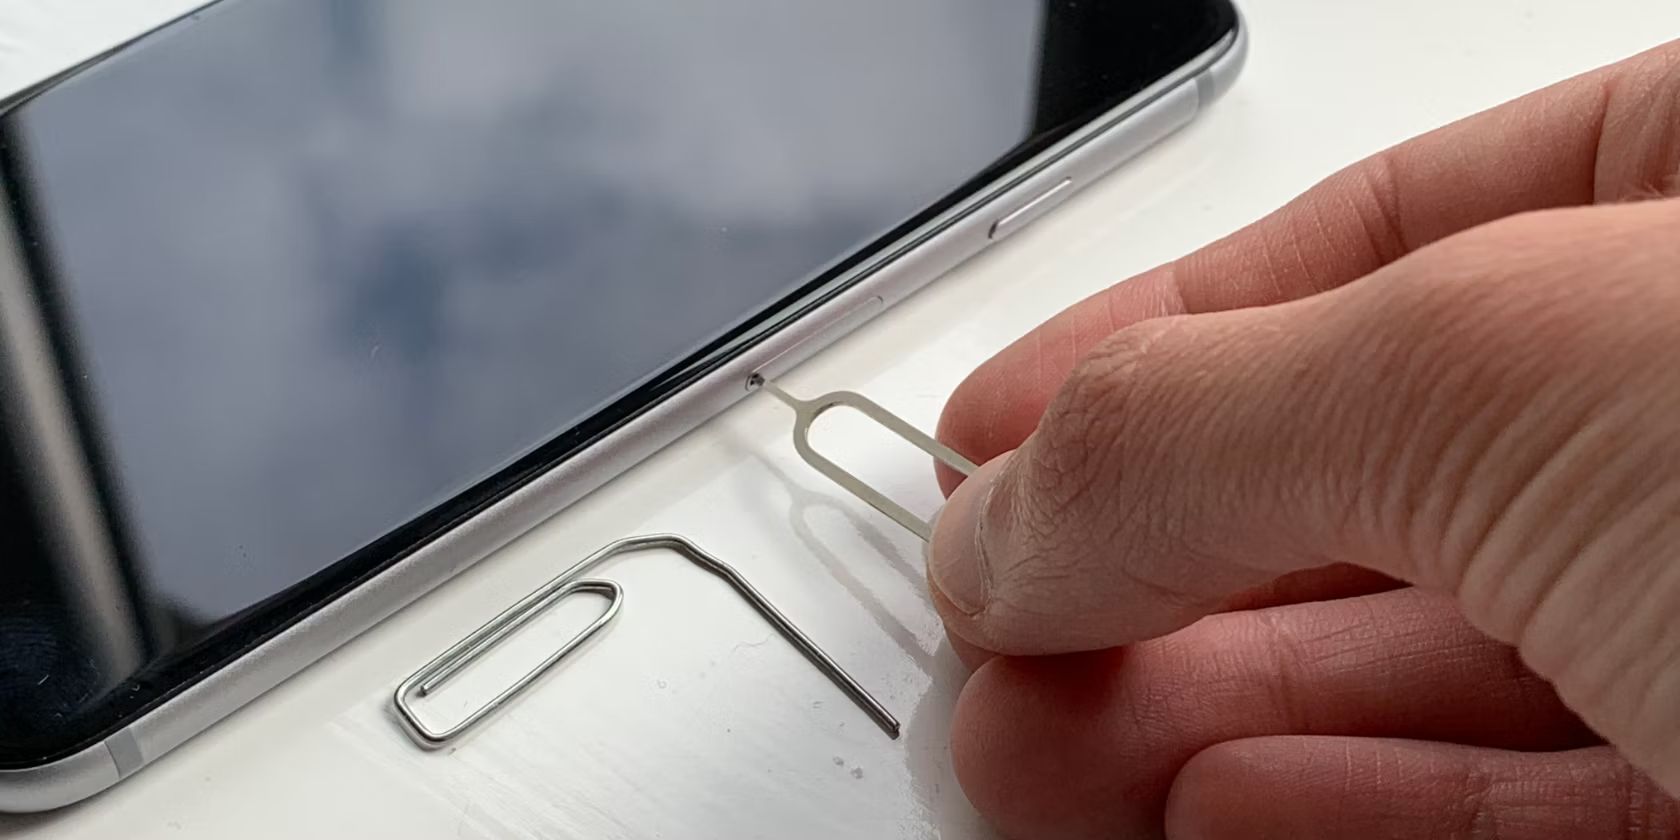
First, position your Note 8 in a well-lit environment to ensure clear visibility. The SIM card tray is typically located on the upper edge of the device. Look for a small pinhole or slot near the top of the phone. This pinhole is where the SIM eject tool will be inserted to access the SIM card tray.
Once you have located the pinhole, it's important to handle the device with care. Gently insert the SIM eject tool into the pinhole, applying light pressure until you feel a slight resistance. This action will initiate the release of the SIM card tray from its slot within the device.
As you navigate this step, it's essential to exercise caution and precision. The SIM card tray is a delicate component, and applying excessive force or using improper tools can lead to damage. By carefully following these instructions and taking your time, you can safely and effectively access the SIM card tray without risking any harm to your Note 8.
By successfully locating the SIM card tray, you have completed a critical phase in the process of installing a SIM card on your Samsung Galaxy Note 8. With the SIM card tray now accessible, you are ready to proceed to the next step, which involves preparing the tray for the insertion of the SIM card. This accomplishment brings you one step closer to fully activating the essential mobile connectivity of your Note 8, setting the stage for a seamless and enriching user experience.
With the SIM card tray within reach, you are now poised to move forward with confidence, knowing that you have navigated this pivotal step with precision and care. This progress sets the stage for the subsequent stages of the installation process, as you prepare to insert the SIM card into the tray and complete the activation of your Samsung Galaxy Note 8.
Step 3: Insert the SIM Eject Tool
With the SIM card tray located, the next critical step in the process of installing a SIM card on your Samsung Galaxy Note 8 is to carefully insert the SIM eject tool into the designated pinhole. This action will facilitate the release of the SIM card tray, allowing you to access and prepare it for the insertion of the SIM card.
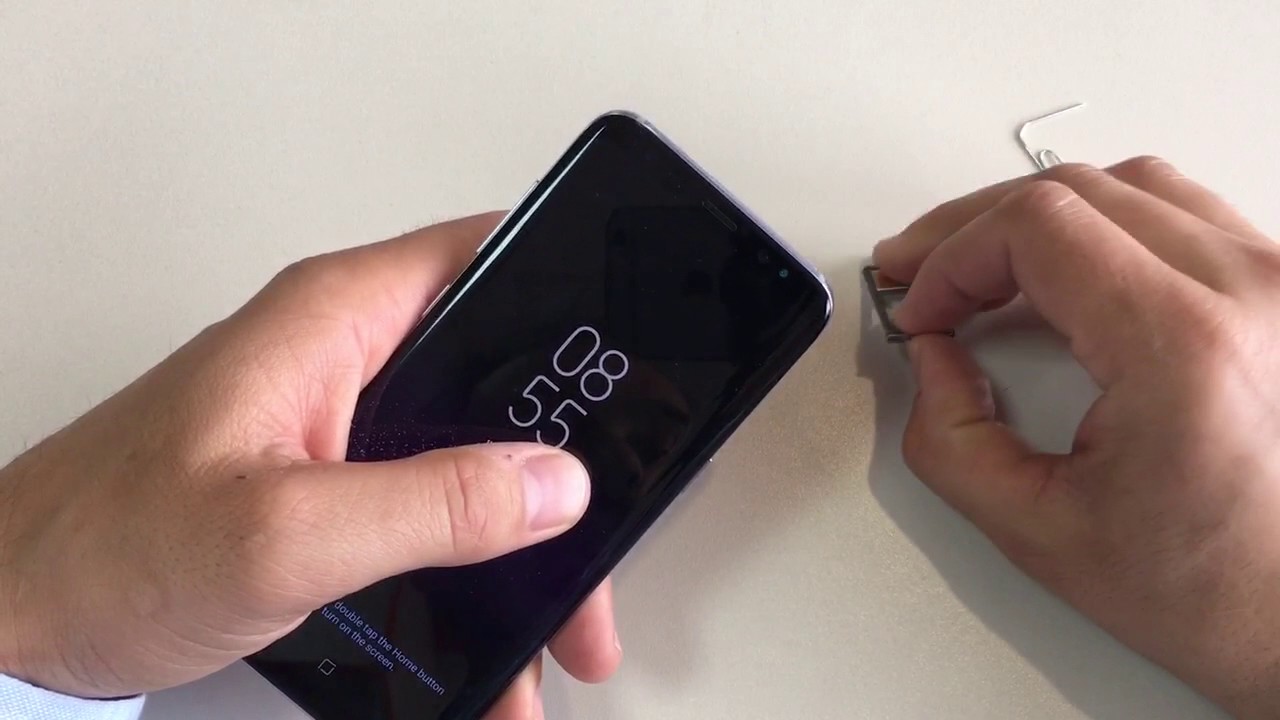
As you hold the Note 8 securely, take the SIM eject tool and align its pointed end with the pinhole located near the device's upper edge. Gently but firmly insert the tool into the pinhole, applying steady pressure until you feel a slight resistance. This action initiates the mechanism that releases the SIM card tray from its position within the device.
It's crucial to approach this step with precision and care, ensuring that the SIM eject tool is inserted straight into the pinhole without angling or forcing it. By maintaining a steady hand and a gentle touch, you can effectively trigger the release mechanism without risking any damage to the device.
Upon successful insertion of the SIM eject tool, you will feel a subtle click or release, indicating that the SIM card tray is now disengaged from its slot within the Note 8. At this point, carefully remove the SIM eject tool from the pinhole, preparing to access the SIM card tray and proceed to the subsequent steps of the installation process.
By navigating this step with patience and attention to detail, you have completed the crucial task of initiating the release of the SIM card tray from your Samsung Galaxy Note 8. With the tray now accessible, you are ready to progress to the next phase, which involves removing the tray from the device and preparing it for the insertion of the SIM card.
As you move forward, remember to handle the SIM eject tool and the device itself with care, ensuring that each action is executed deliberately and without haste. By approaching this step with diligence and precision, you are well-positioned to seamlessly proceed with the installation process, ultimately unlocking the full mobile connectivity potential of your Samsung Galaxy Note 8.
Step 4: Remove the SIM Card Tray
With the SIM card tray now released from its slot, the next pivotal step in the process of installing a SIM card on your Samsung Galaxy Note 8 is to carefully remove the tray from the device. This action will provide access to the compartment where the SIM card will be placed, setting the stage for the seamless integration of the card into your Note 8.
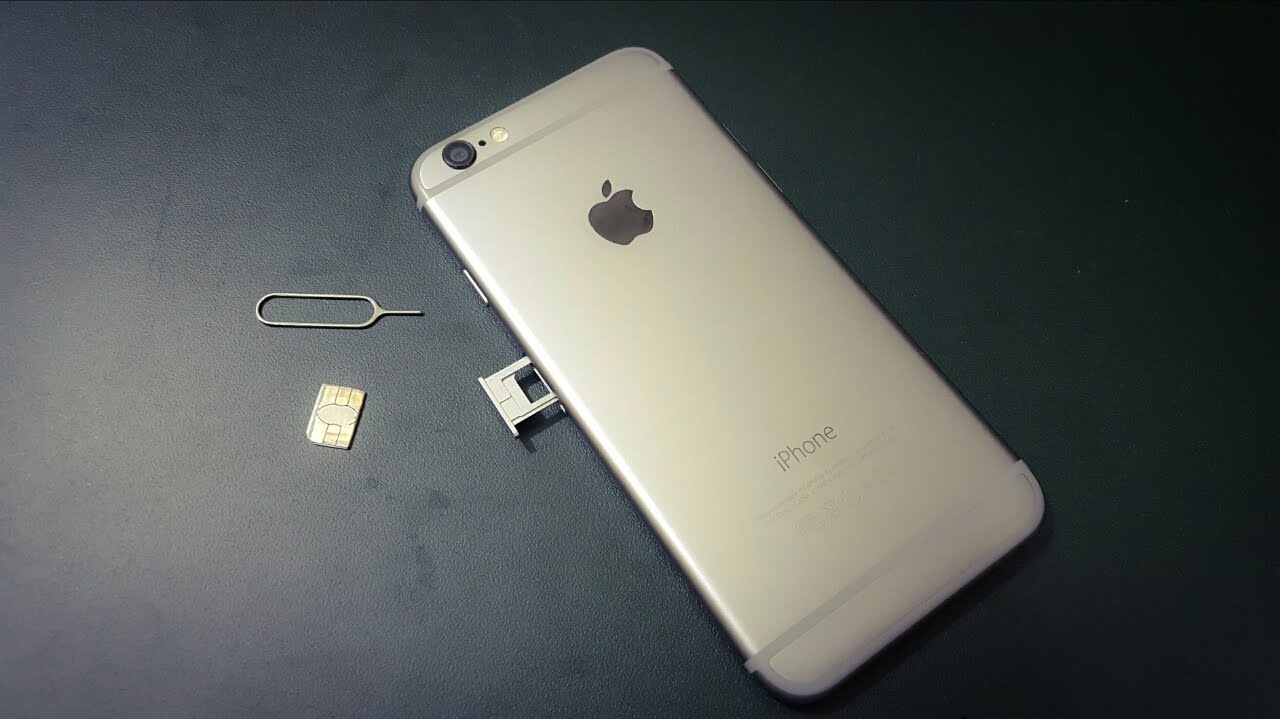
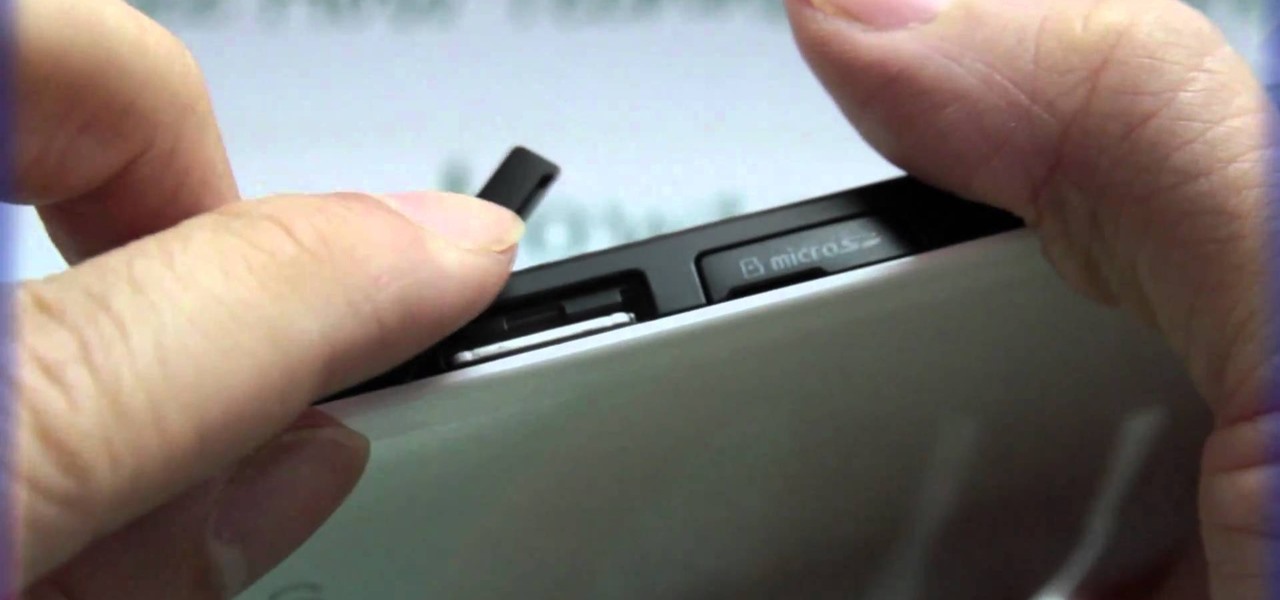
As you gently grasp the Note 8, locate the exposed SIM card tray, which should now be partially protruding from the device. Using your fingers, carefully and steadily pull the tray out of the phone, ensuring smooth and controlled movement. It's essential to exercise caution during this step, as the SIM card tray is a delicate component that should be handled with care to avoid any damage.
As the SIM card tray is gradually removed from the device, take note of its positioning and orientation. Pay close attention to the alignment of the tray, as this will guide the subsequent insertion of the SIM card. By maintaining a steady and deliberate approach, you can ensure that the tray is extracted smoothly and without any abrupt movements that could potentially cause damage.
Once the SIM card tray is fully removed from your Samsung Galaxy Note 8, take a moment to inspect it for any signs of damage or irregularities. Carefully examine the tray to ensure that it is in optimal condition, free from any obstructions or debris that could interfere with the subsequent insertion of the SIM card.
By successfully removing the SIM card tray from your Note 8, you have completed a critical phase in the installation process, bringing you one step closer to activating the essential mobile connectivity of your device. With the tray now accessible and in optimal condition, you are poised to proceed to the next step, which involves preparing the tray for the insertion of the SIM card.
As you move forward, maintain a focused and attentive approach, ensuring that each action is executed with precision and care. By navigating this step with diligence and attention to detail, you are well-positioned to seamlessly proceed with the installation process, ultimately unlocking the full potential of your Samsung Galaxy Note 8.
Step 5: Place the SIM Card in the Tray
With the SIM card tray now accessible, it's time to proceed with the pivotal task of placing the SIM card into the tray of your Samsung Galaxy Note 8. This step requires precision and care to ensure that the SIM card is correctly positioned, setting the stage for seamless integration and optimal functionality within the device.
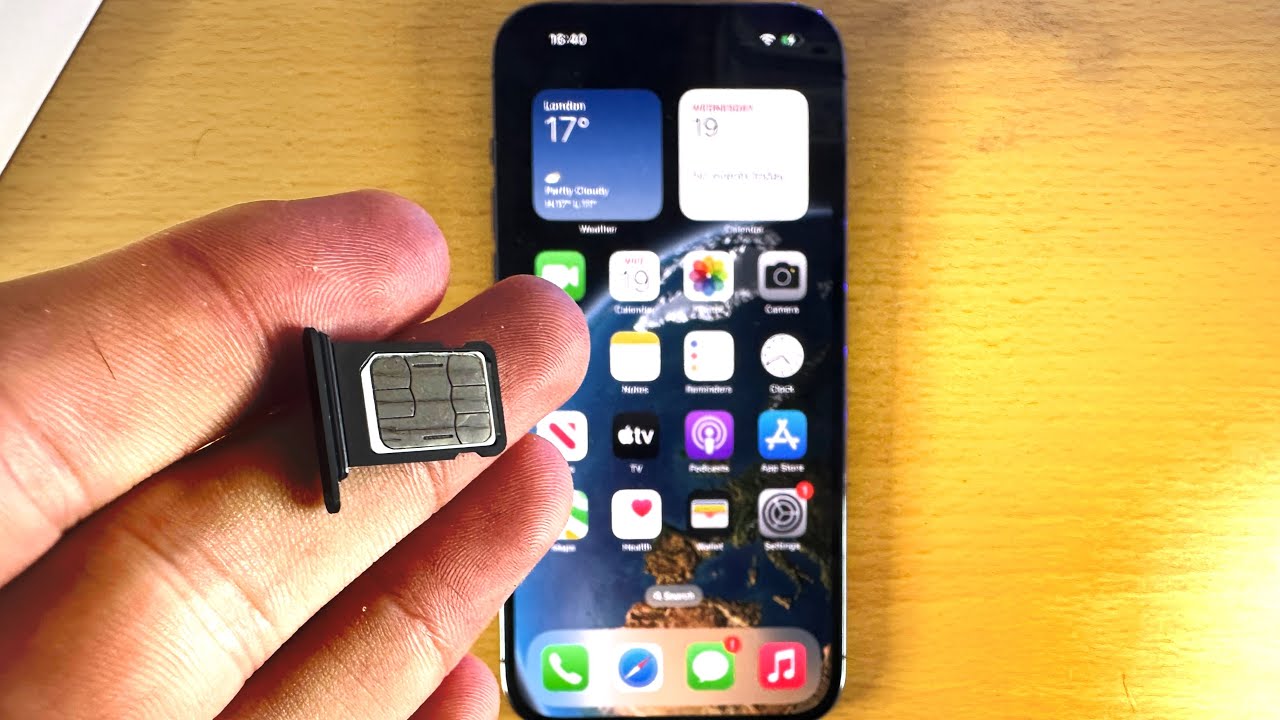
First, take the SIM card and carefully examine it to identify the correct orientation for insertion into the tray. Most SIM cards are designed with a notched corner or other distinctive markings to indicate the proper alignment. It's essential to align the SIM card correctly to avoid any potential issues with connectivity or functionality.
Once you have identified the correct orientation, gently place the SIM card into the designated area within the SIM card tray. Ensure that the SIM card rests securely within the tray, with no protruding edges or misalignment. The SIM card should fit snugly within the tray, aligning with any guides or markings to maintain proper positioning.
As you navigate this step, it's crucial to handle the SIM card with care, avoiding any excessive force or abrupt movements that could potentially damage the card. By approaching this task with a steady hand and a focused mindset, you can ensure that the SIM card is seamlessly integrated into the tray, setting the stage for optimal performance within your Note 8.
Once the SIM card is securely in place within the tray, take a moment to verify its positioning and alignment. Ensure that the card sits flush within the tray, without any protrusions or misalignments that could impede the reinsertion of the tray into the device. This careful inspection will help to confirm that the SIM card is ready for the next phase of the installation process.
By successfully placing the SIM card into the tray of your Samsung Galaxy Note 8, you have accomplished a critical milestone in the installation process, bringing you one step closer to activating the essential mobile connectivity of your device. With the SIM card securely integrated into the tray, you are now prepared to proceed to the next step, which involves reinserting the tray into the device and finalizing the installation of the SIM card.
As you move forward, maintain a deliberate and attentive approach, ensuring that each action is executed with precision and care. By navigating this step with diligence and attention to detail, you are well-positioned to seamlessly proceed with the installation process, ultimately unlocking the full potential of your Samsung Galaxy Note 8.
Step 6: Reinsert the SIM Card Tray
With the SIM card securely placed in the tray, the next crucial step in the process of installing a SIM card on your Samsung Galaxy Note 8 is to carefully reinsert the tray into the device. This action will secure the SIM card within the Note 8, setting the stage for seamless integration and optimal functionality.
To begin, hold the SIM card tray with the inserted SIM card, ensuring that the card remains securely in place within the tray. Take note of the orientation and positioning of the tray, aligning it with the slot within the device. It's essential to handle the tray with care, avoiding any abrupt movements or misalignments that could potentially dislodge the SIM card.
Gently but firmly guide the SIM card tray back into the slot within the Note 8, ensuring smooth and controlled movement. It's crucial to approach this step with precision, maintaining a steady hand and a focused mindset. By aligning the tray correctly and applying gentle pressure, you can seamlessly reinsert the tray into the device without risking any damage to the SIM card or the device itself.
As the SIM card tray is gradually reinserted into the device, take a moment to ensure that it glides smoothly into place, with no resistance or obstruction. The tray should fit snugly within the slot, aligning seamlessly with the device's frame. This careful approach will help to confirm that the SIM card is securely housed within the Note 8, setting the stage for seamless connectivity and functionality.
Once the SIM card tray is fully reinserted into the device, take a moment to verify its positioning and alignment. Ensure that the tray sits flush within the slot, with no protrusions or misalignments. This careful inspection will help to confirm that the SIM card is securely integrated into the Note 8, ready to facilitate essential mobile connectivity.
By successfully reinserting the SIM card tray into your Samsung Galaxy Note 8, you have completed a critical phase in the installation process, bringing you one step closer to activating the essential mobile connectivity of your device. With the tray securely in place, you are now prepared to proceed to the final step of the installation process, which involves powering on the device and initiating the activation of the SIM card.
As you move forward, maintain a deliberate and attentive approach, ensuring that each action is executed with precision and care. By navigating this step with diligence and attention to detail, you are well-positioned to seamlessly proceed with the installation process, ultimately unlocking the full potential of your Samsung Galaxy Note 8.
Step 7: Power On the Device
Having successfully completed the intricate process of installing the SIM card into your Samsung Galaxy Note 8, the final step involves powering on the device to initiate the activation of the SIM card and ensure seamless connectivity. This pivotal step marks the culmination of the installation process, setting the stage for you to harness the full potential of your Note 8's mobile capabilities.
To power on your Samsung Galaxy Note 8, locate the power button, typically situated on the right-hand side of the device. With a steady hand, press and hold the power button for a few seconds until the screen lights up and the device begins to boot up. As the Note 8 powers on, you'll be greeted by the familiar Samsung logo, signaling that the device is initializing and preparing for operation.
As the device completes the startup process, you'll soon be prompted to enter your SIM card PIN, if applicable. The SIM card PIN serves as an added layer of security, ensuring that only authorized users can access the SIM card and its associated services. Enter the PIN as prompted, carefully inputting each digit to ensure accuracy.
Once the SIM card PIN has been successfully entered, your Samsung Galaxy Note 8 will proceed to establish a connection with the mobile network. This crucial step enables the device to access voice, messaging, and data services, unlocking the full spectrum of mobile connectivity that the Note 8 has to offer.
As the device establishes a connection with the mobile network, you'll notice the signal bars or indicator on the screen, confirming that the SIM card has been successfully activated and is ready for use. This visual cue signifies that your Note 8 is now fully equipped to make calls, send messages, and access mobile data, providing you with the essential connectivity needed to stay connected and productive.
With the successful activation of the SIM card, your Samsung Galaxy Note 8 is now fully operational and ready to deliver a seamless and enriching user experience. Whether you're making your first call, sending a text message, or browsing the web, the activation of the SIM card ensures that your Note 8 is primed to deliver reliable and efficient mobile connectivity.
By powering on your Samsung Galaxy Note 8 and completing the activation of the SIM card, you have successfully navigated the installation process, unlocking the full potential of your device's mobile capabilities. With the SIM card seamlessly integrated and activated, you are now poised to enjoy the rich array of features and services offered by your Note 8, empowering you to stay connected and engaged in today's dynamic digital landscape.
Conclusion
In conclusion, the installation of a SIM card on your Samsung Galaxy Note 8 is a fundamental process that paves the way for seamless mobile connectivity and unlocks the full potential of your device. By following the step-by-step guide outlined in this comprehensive article, you have gained the knowledge and confidence to navigate the intricacies of installing a SIM card with precision and ease.
From gathering the necessary tools to powering on the device, each step in the installation process plays a crucial role in ensuring a successful and seamless integration of the SIM card into your Note 8. By carefully locating the SIM card tray, inserting the SIM eject tool, removing and reinserting the tray, and placing the SIM card with precision, you have effectively set the stage for activating essential mobile connectivity.
With the successful activation of the SIM card, your Samsung Galaxy Note 8 is now fully equipped to deliver a rich and immersive user experience. Whether you're making calls, sending messages, or accessing mobile data, the seamless integration of the SIM card ensures that your Note 8 is primed to keep you connected and productive in today's dynamic digital landscape.
As you embark on your journey with your Samsung Galaxy Note 8, the successful installation of the SIM card serves as a testament to your ability to navigate the intricacies of mobile device setup with confidence and precision. With the essential tools and knowledge at your disposal, you are well-positioned to harness the full spectrum of features and services offered by your Note 8, empowering you to stay connected and engaged in every aspect of your digital life.
In embracing the process of installing a SIM card on your Samsung Galaxy Note 8, you have not only unlocked the device's mobile capabilities but also demonstrated your commitment to maximizing the potential of your smartphone. With the SIM card seamlessly integrated and activated, your Note 8 stands ready to accompany you on your daily adventures, keeping you connected and informed as you navigate the ever-evolving landscape of modern communication.
Congratulations on successfully completing the installation of the SIM card on your Samsung Galaxy Note 8. Your proactive approach to setting up your device ensures that you are fully prepared to embark on a seamless and enriching mobile experience, empowered by the essential connectivity that the Note 8 has to offer.