Introduction
Installing a SIM card in your LG Stylo is a fundamental step to ensure that your device is fully functional and capable of making calls, sending texts, and accessing mobile data. Whether you're setting up a new device or switching to a different carrier, understanding the process of installing a SIM card is essential. This step-by-step guide will walk you through the process, ensuring that you can complete the installation with ease and confidence.
The Subscriber Identity Module (SIM) card is a small, removable card that is essential for connecting your LG Stylo to your mobile network. It contains vital information, including your phone number, network authorization data, personal contacts, and text messages. Without a SIM card, your device would not be able to communicate with the mobile network, rendering it unable to make calls or send text messages.
By following this guide, you will learn how to properly install a SIM card in your LG Stylo. It's important to note that while the process may vary slightly depending on the specific model of your device, the general steps remain consistent. With a few simple tools and a clear understanding of the process, you'll be able to complete the installation in no time.
Now, let's dive into the step-by-step process of installing a SIM card in your LG Stylo, ensuring that you can seamlessly integrate your device with your chosen mobile network.
Step 1: Gather the necessary tools
Before embarking on the process of installing a SIM card in your LG Stylo, it's crucial to gather the essential tools to ensure a smooth and successful installation. The following tools are required for this process:
-
LG Stylo Device: Ensure that the device is powered off before beginning the installation process. This will prevent any potential damage to the device or the SIM card.
-
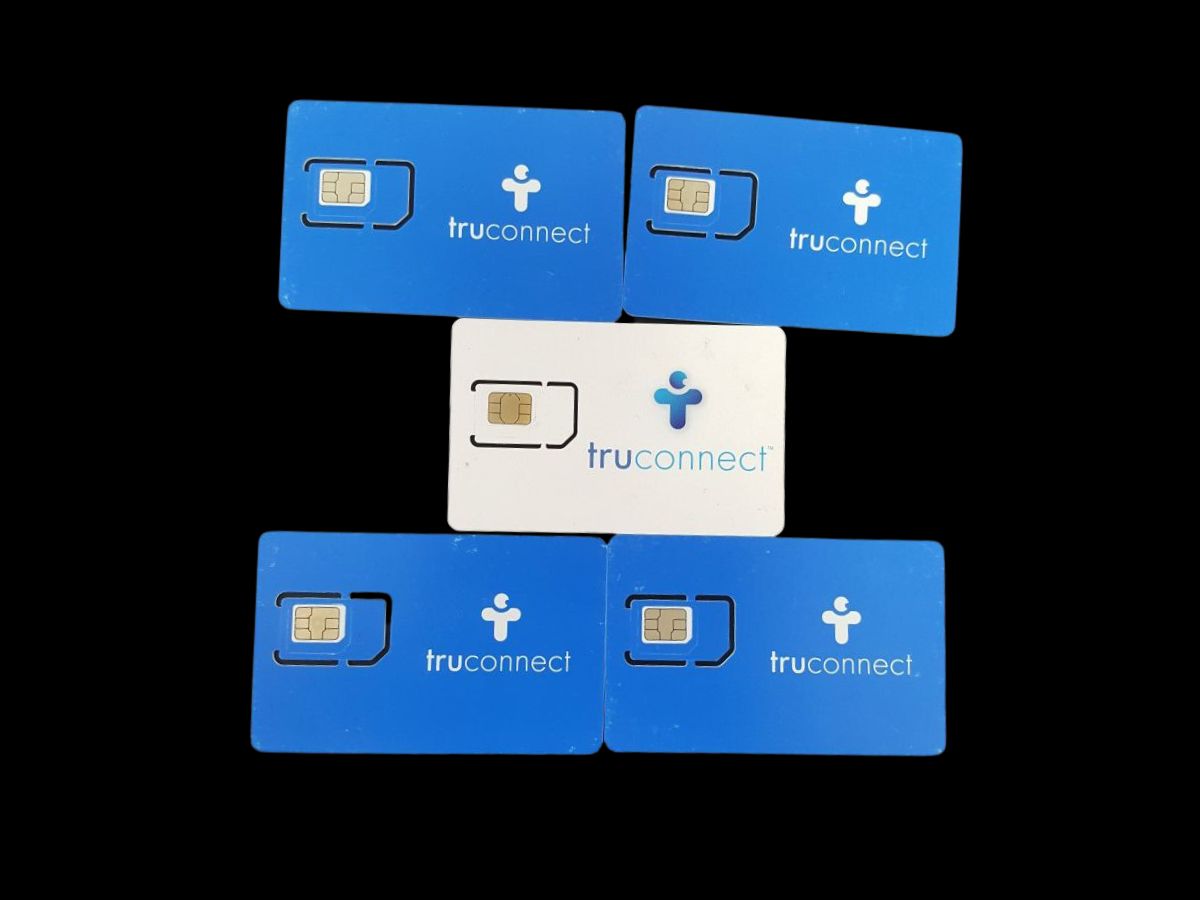
SIM Card: Obtain the appropriate SIM card provided by your mobile network carrier. It's important to ensure that the SIM card is compatible with your LG Stylo model and the mobile network you intend to use.
-
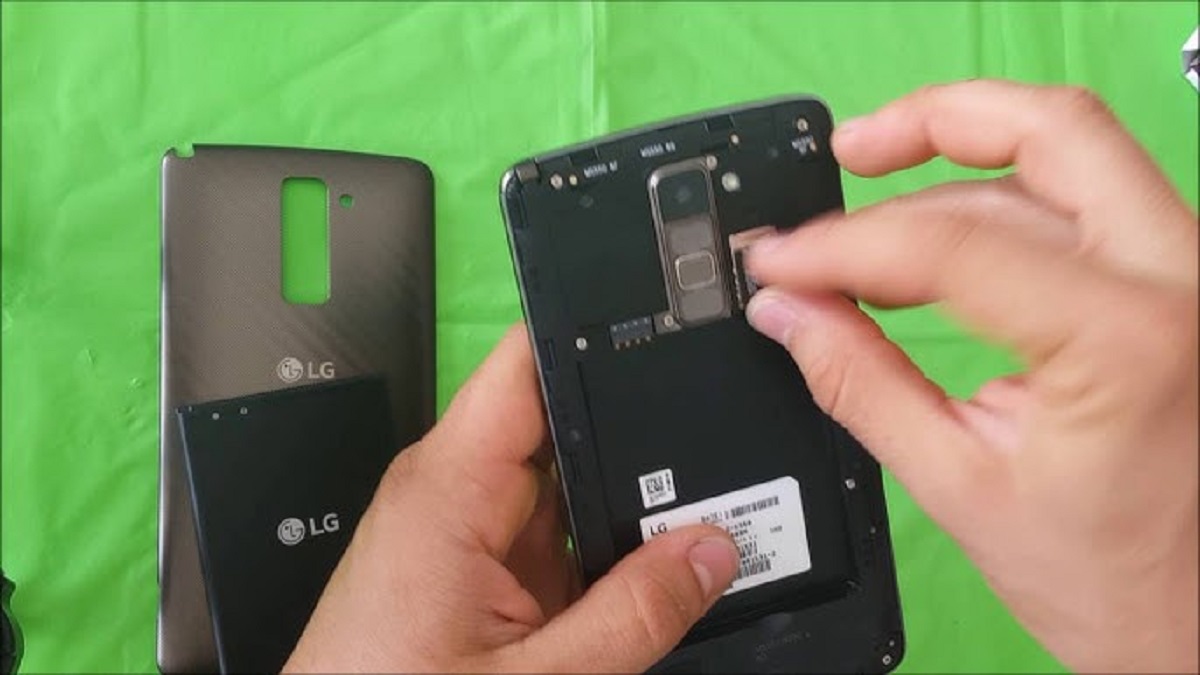
SIM Ejection Tool or Paperclip: Most LG Stylo devices are equipped with a small SIM card tray located on the side of the device. To access this tray, you will need a SIM ejection tool or a paperclip to gently eject the tray.
By gathering these essential tools, you are well-prepared to proceed with the installation of the SIM card in your LG Stylo. This careful preparation will help to streamline the installation process and minimize any potential complications that may arise during the installation. With the necessary tools at your disposal, you can confidently move on to the next step of locating the SIM card tray on your device.
Step 2: Locate the SIM card tray
Locating the SIM card tray is a crucial step in the process of installing a SIM card in your LG Stylo. The SIM card tray is typically located on the side of the device and is designed to securely hold the SIM card in place. To locate the SIM card tray on your LG Stylo, follow these steps:
-
Power Off the Device: Before proceeding, ensure that your LG Stylo is powered off to prevent any potential damage to the device or the SIM card.
-
Identify the SIM Card Tray Slot: Examine the sides of your LG Stylo to locate the SIM card tray slot. The exact placement of the SIM card tray may vary slightly depending on the specific model of your LG Stylo. However, it is commonly found on the upper left or right side of the device.
-
Use the SIM Ejection Tool or Paperclip: Once you have identified the location of the SIM card tray, retrieve the SIM ejection tool or a straightened paperclip. This tool will be used to gently eject the SIM card tray from the device.
-
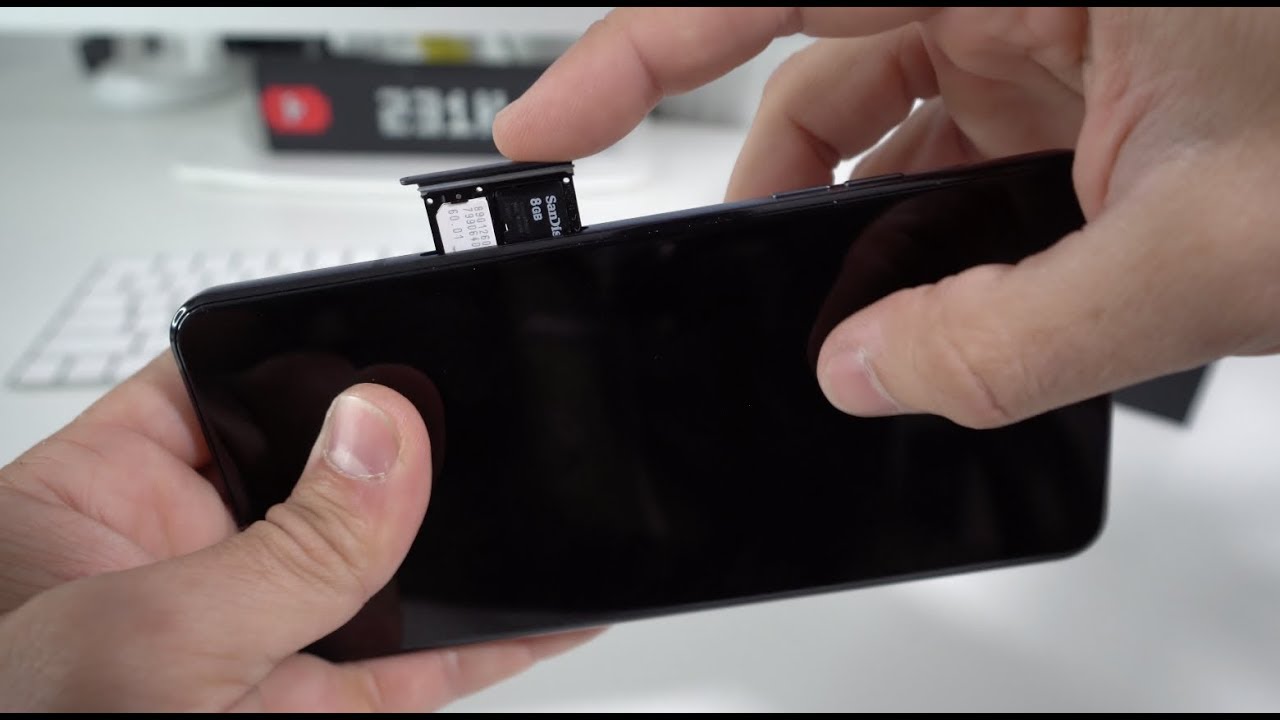
Insert the Tool into the Ejection Hole: Insert the SIM ejection tool or the straightened end of the paperclip into the small pinhole located adjacent to the SIM card tray slot. Apply gentle pressure to activate the ejection mechanism, causing the SIM card tray to partially protrude from the device.
-
Carefully Remove the SIM Card Tray: Once the SIM card tray is partially ejected, carefully remove it from the device. Be mindful of the orientation of the tray and avoid applying excessive force to prevent any damage.
By following these steps, you will successfully locate the SIM card tray on your LG Stylo, setting the stage for the next phase of the installation process. With the SIM card tray in hand, you can proceed to the next step of inserting the SIM card into your device, thus bringing you closer to completing the installation and activating your LG Stylo on your chosen mobile network.
Step 3: Insert the SIM card
With the SIM card tray in hand, it's time to proceed with the crucial step of inserting the SIM card into your LG Stylo. Follow these detailed instructions to ensure a seamless and successful insertion:
-
Prepare the SIM Card: Before inserting the SIM card, carefully examine it to identify the correct orientation. Most SIM cards have a notched corner that aligns with a corresponding notch inside the SIM card tray. Ensure that the gold contacts on the SIM card are facing downward, matching the orientation of the SIM card tray.
-
Place the SIM Card on the Tray: Gently place the SIM card onto the designated area of the SIM card tray, ensuring that it fits securely within the provided slot. Take care to align the notched corner of the SIM card with the corresponding notch inside the tray. The SIM card should rest flat and level within the tray, without any protrusions.
-
Reinsert the SIM Card Tray: Once the SIM card is securely positioned on the tray, carefully reinsert the tray back into the SIM card slot on your LG Stylo. Ensure that the tray is inserted in the correct orientation, with the notched corner aligning with the corresponding slot inside the device. Apply gentle pressure to slide the tray back into place, ensuring that it sits flush with the device's exterior.
-
Power On the Device: After successfully inserting the SIM card, power on your LG Stylo to initiate the activation process. Allow the device to boot up fully, giving it sufficient time to recognize and configure the newly inserted SIM card.
By following these detailed steps, you have effectively inserted the SIM card into your LG Stylo, bringing you one step closer to enjoying the full functionality of your device on your chosen mobile network. With the SIM card securely in place, your LG Stylo is now primed to establish a connection with the mobile network, enabling you to make calls, send texts, and access mobile data with ease.
This completes the installation process, ensuring that your LG Stylo is fully equipped to meet your communication and connectivity needs. Whether you're setting up a new device or transitioning to a new mobile network, the successful installation of the SIM card is a pivotal step in maximizing the functionality of your LG Stylo.
Step 4: Power on the device
As you have successfully inserted the SIM card into your LG Stylo, the next crucial step is to power on the device. This step is essential as it initiates the activation process, allowing your device to recognize and configure the newly inserted SIM card. By powering on your LG Stylo, you are setting the stage for seamless connectivity and access to the full range of mobile network services.
To power on your LG Stylo, locate the power button, which is typically situated on the side or top of the device. Press and hold the power button for a few seconds until you see the device's screen illuminate, indicating that it is booting up. As the device powers on, you may observe the manufacturer's logo or an animation, signifying that the device is initializing.
During the boot-up process, your LG Stylo will detect the presence of the SIM card and proceed to configure it for use with your chosen mobile network. This configuration involves establishing a secure connection between the device and the network, enabling essential functions such as making calls, sending texts, and accessing mobile data.
As the device completes the boot-up process, you may be prompted to enter the SIM card PIN, if one has been set by your mobile network provider. The SIM card PIN serves as an additional layer of security, safeguarding your SIM card and personal data from unauthorized access. Enter the PIN as prompted to unlock the SIM card and allow the device to establish a secure connection with the mobile network.
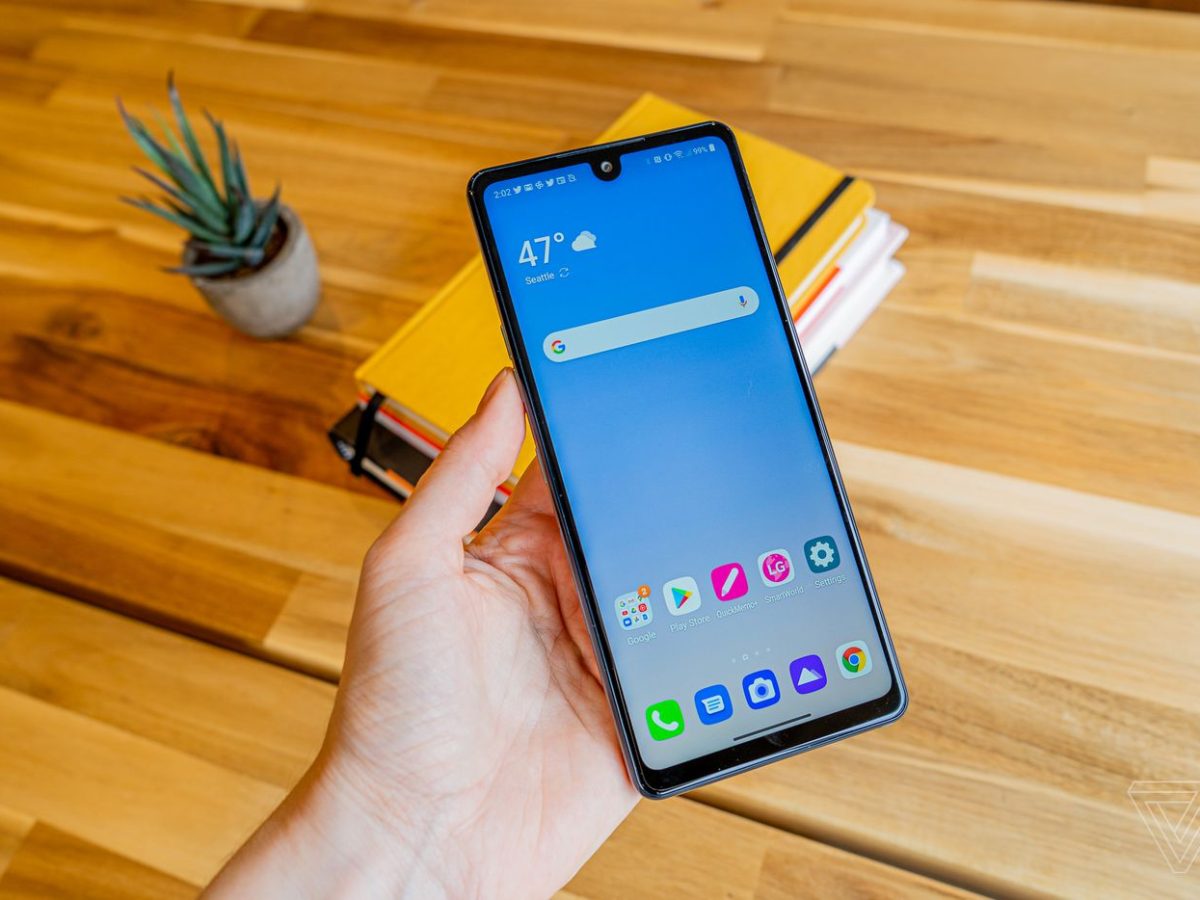
Once the boot-up process is complete and the SIM card is successfully recognized and configured, your LG Stylo will display the home screen, indicating that the device is ready for use. At this stage, you can proceed to explore the device's features, make test calls, send text messages, and verify your access to mobile data.
By powering on your LG Stylo, you have completed a crucial step in the installation process, ensuring that the device is fully activated and ready to deliver seamless connectivity. With the SIM card securely installed and the device powered on, you are now poised to enjoy the full range of capabilities offered by your LG Stylo on your chosen mobile network.
The successful power-on process marks a significant milestone in the installation of the SIM card, bringing you closer to experiencing the convenience and connectivity that your LG Stylo has to offer. Whether you're a new user setting up the device for the first time or transitioning to a new mobile network, the power-on process signifies the successful integration of the SIM card with your LG Stylo, unlocking its full potential for communication and connectivity.
Step 5: Verify SIM card installation
After powering on your LG Stylo and completing the SIM card installation process, it is essential to verify that the SIM card has been successfully recognized and activated by the device. Verifying the SIM card installation ensures that your LG Stylo is fully equipped to connect to the mobile network and utilize all the essential functions provided by your chosen carrier.
To verify the SIM card installation, follow these steps:
-
Check Signal Strength: Look for the signal strength indicator on your device, typically represented by a series of bars or an icon displaying cellular signal strength. A strong signal indication signifies that your LG Stylo has successfully established a connection with the mobile network, indicating the proper recognition and activation of the SIM card.
-
Make a Test Call: Initiate a test call to a known phone number to confirm that your LG Stylo can successfully make and receive calls. By placing a test call, you can verify that the SIM card is fully functional and that your device is capable of communicating over the mobile network.
-
Send a Test Text Message: Send a test text message to a known recipient to ensure that your LG Stylo can successfully send and receive text messages. Verifying the ability to send and receive text messages confirms that the SIM card is fully integrated with your device and capable of transmitting data over the mobile network.
-
Access Mobile Data: Open a web browser or a mobile app that requires an internet connection to verify that your LG Stylo can access mobile data. By accessing mobile data, you can confirm that the SIM card enables your device to connect to the internet and utilize data services provided by your mobile network.
-
Check Network Settings: Navigate to the network settings on your LG Stylo to confirm that the device is configured to use the correct mobile network operator. Ensure that the network settings reflect the name of your chosen carrier, indicating that the SIM card has been correctly recognized and configured for use with the designated mobile network.
By following these steps to verify the SIM card installation, you can ensure that your LG Stylo is fully equipped to deliver seamless connectivity and functionality on your chosen mobile network. Successful verification of the SIM card installation confirms that your device is ready to provide reliable communication, messaging, and data services, empowering you to make the most of your LG Stylo's capabilities.
With the SIM card installation verified, you can proceed to enjoy the full range of features and services offered by your LG Stylo, confident in the knowledge that your device is fully integrated with your chosen mobile network. Whether you're making calls, sending texts, or accessing mobile data, the successful verification of the SIM card installation ensures that your LG Stylo is primed to deliver a seamless and reliable mobile experience.
Conclusion
In conclusion, the process of installing a SIM card in your LG Stylo is a fundamental step in ensuring that your device is fully equipped to deliver reliable communication, messaging, and data services. By following the step-by-step guide outlined in this article, you have gained a comprehensive understanding of the essential steps required to successfully install and activate a SIM card in your LG Stylo.
Throughout this guide, you have learned how to gather the necessary tools, locate the SIM card tray, insert the SIM card, power on the device, and verify the SIM card installation. Each step is crucial in seamlessly integrating your LG Stylo with your chosen mobile network, enabling you to make calls, send texts, and access mobile data with ease.
The careful preparation and execution of each step have equipped you with the knowledge and confidence to navigate the SIM card installation process, whether you are setting up a new device or transitioning to a new mobile network. By understanding the significance of each step and following the detailed instructions provided, you have ensured that your LG Stylo is fully activated and ready to deliver a seamless mobile experience.
As you power on your LG Stylo and verify the successful installation of the SIM card, you can take full advantage of the device's capabilities, from staying connected with friends and family through calls and texts to accessing a wealth of information and entertainment via mobile data. The successful integration of the SIM card with your device marks a pivotal milestone in maximizing the functionality of your LG Stylo, empowering you to stay connected and productive on the go.
By completing the SIM card installation process, you have set the stage for a seamless and reliable mobile experience, underpinned by the robust connectivity and communication features of your LG Stylo. Whether you are a new user embarking on an exciting journey with your device or an existing user seeking to enhance your mobile experience, the successful installation of the SIM card ensures that your LG Stylo is fully equipped to meet your communication and connectivity needs.
In essence, the installation of the SIM card in your LG Stylo is not just a technical procedure; it represents the gateway to a world of seamless connectivity, empowering you to stay in touch, informed, and engaged in the digital age. With the SIM card securely installed and your LG Stylo fully activated, you are poised to embark on a mobile journey filled with convenience, productivity, and the freedom to connect anytime, anywhere.


