Introduction
In the realm of mobile devices, the Sony Xperia 1 stands out as a powerhouse of innovation and functionality. One of its key features is the ability to expand its storage capacity using a Micro SD card. This feature allows users to store more photos, videos, music, and other files without compromising the device's performance.
In this article, we will delve into the step-by-step process of formatting a Micro SD card on the Sony Xperia 1. Formatting a Micro SD card is essential for preparing it to work seamlessly with the device, ensuring optimal performance and compatibility. Whether you're a seasoned Xperia 1 user or a newcomer to the world of mobile technology, understanding the process of formatting a Micro SD card will empower you to make the most of your device's capabilities.
By following the instructions provided in this guide, you will gain the knowledge and confidence to navigate the settings of your Sony Xperia 1 with ease. Let's embark on this journey together, as we uncover the simple yet crucial steps to format a Micro SD card on the Sony Xperia 1.
Step 1: Inserting the Micro SD Card
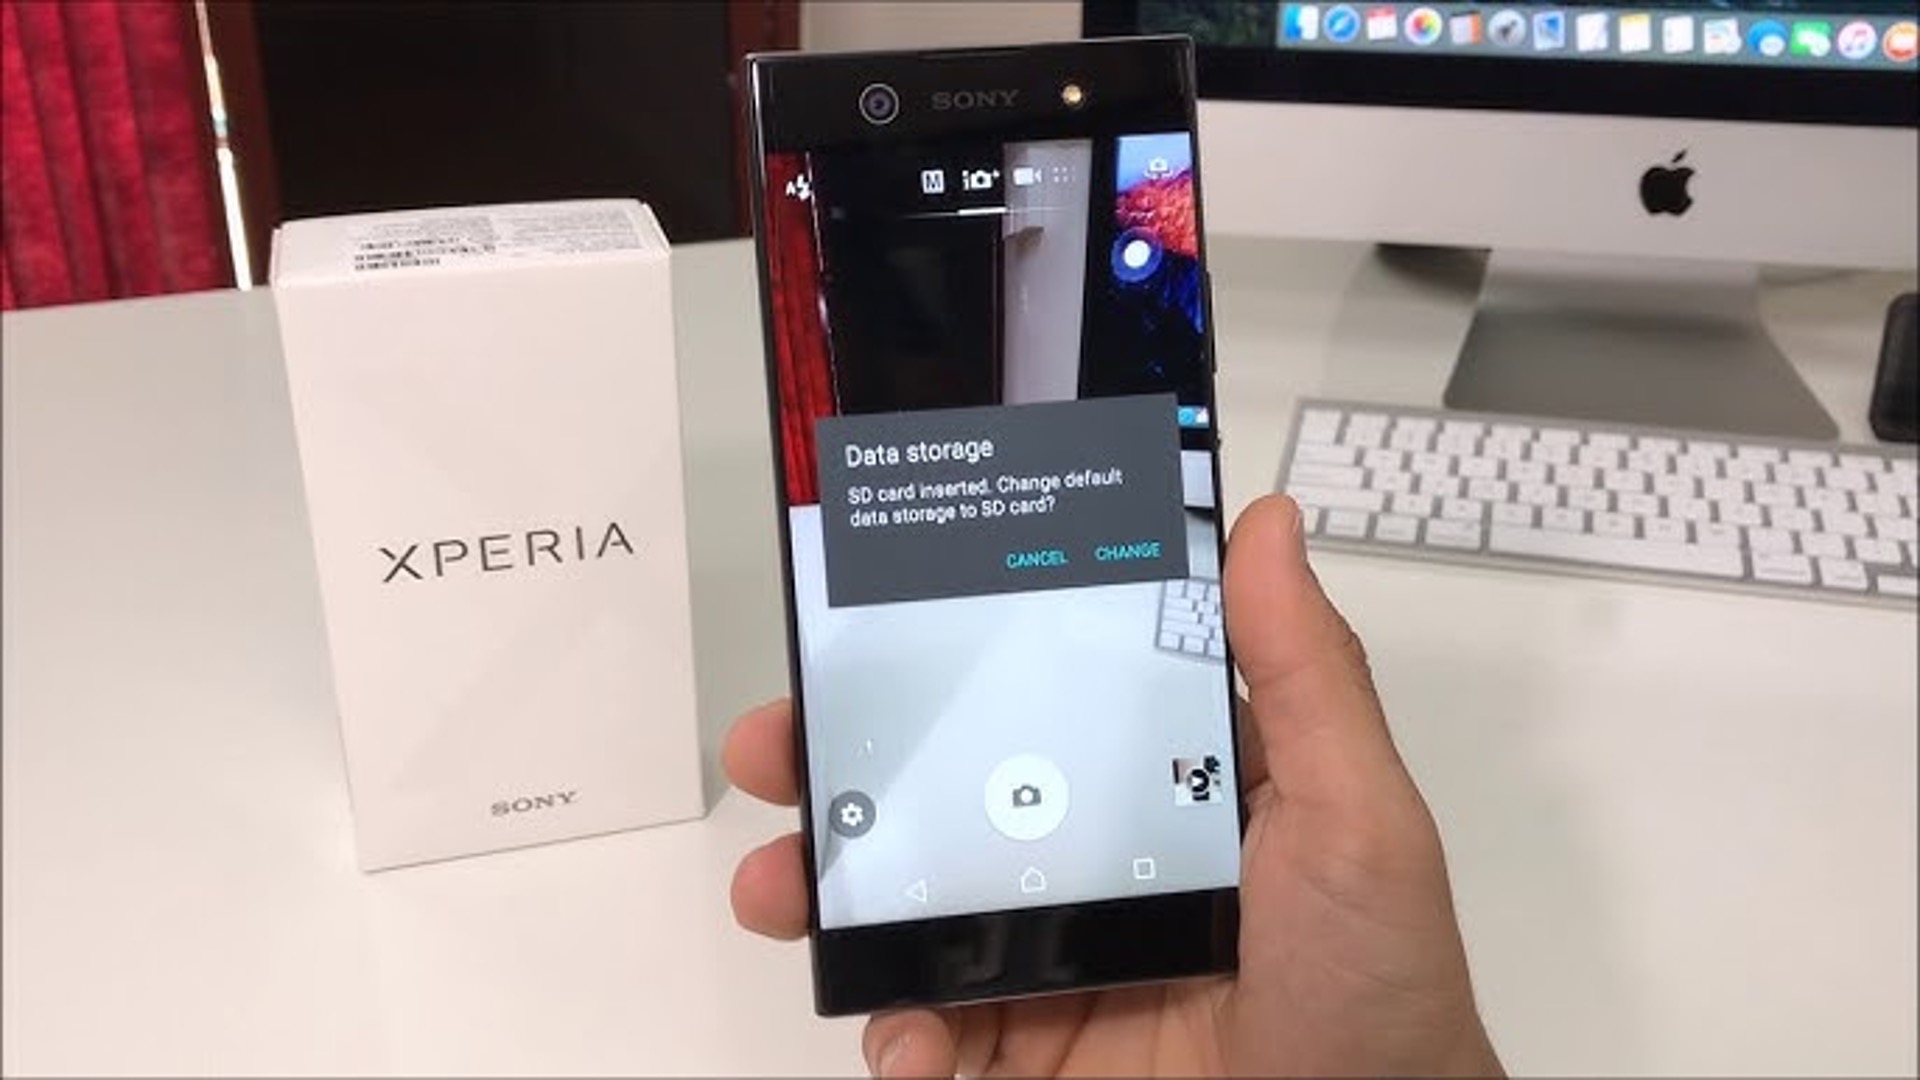
To begin the process of expanding your Sony Xperia 1's storage capacity, the first step is to insert the Micro SD card into the device. This straightforward procedure sets the stage for the subsequent steps involved in formatting the card.
-
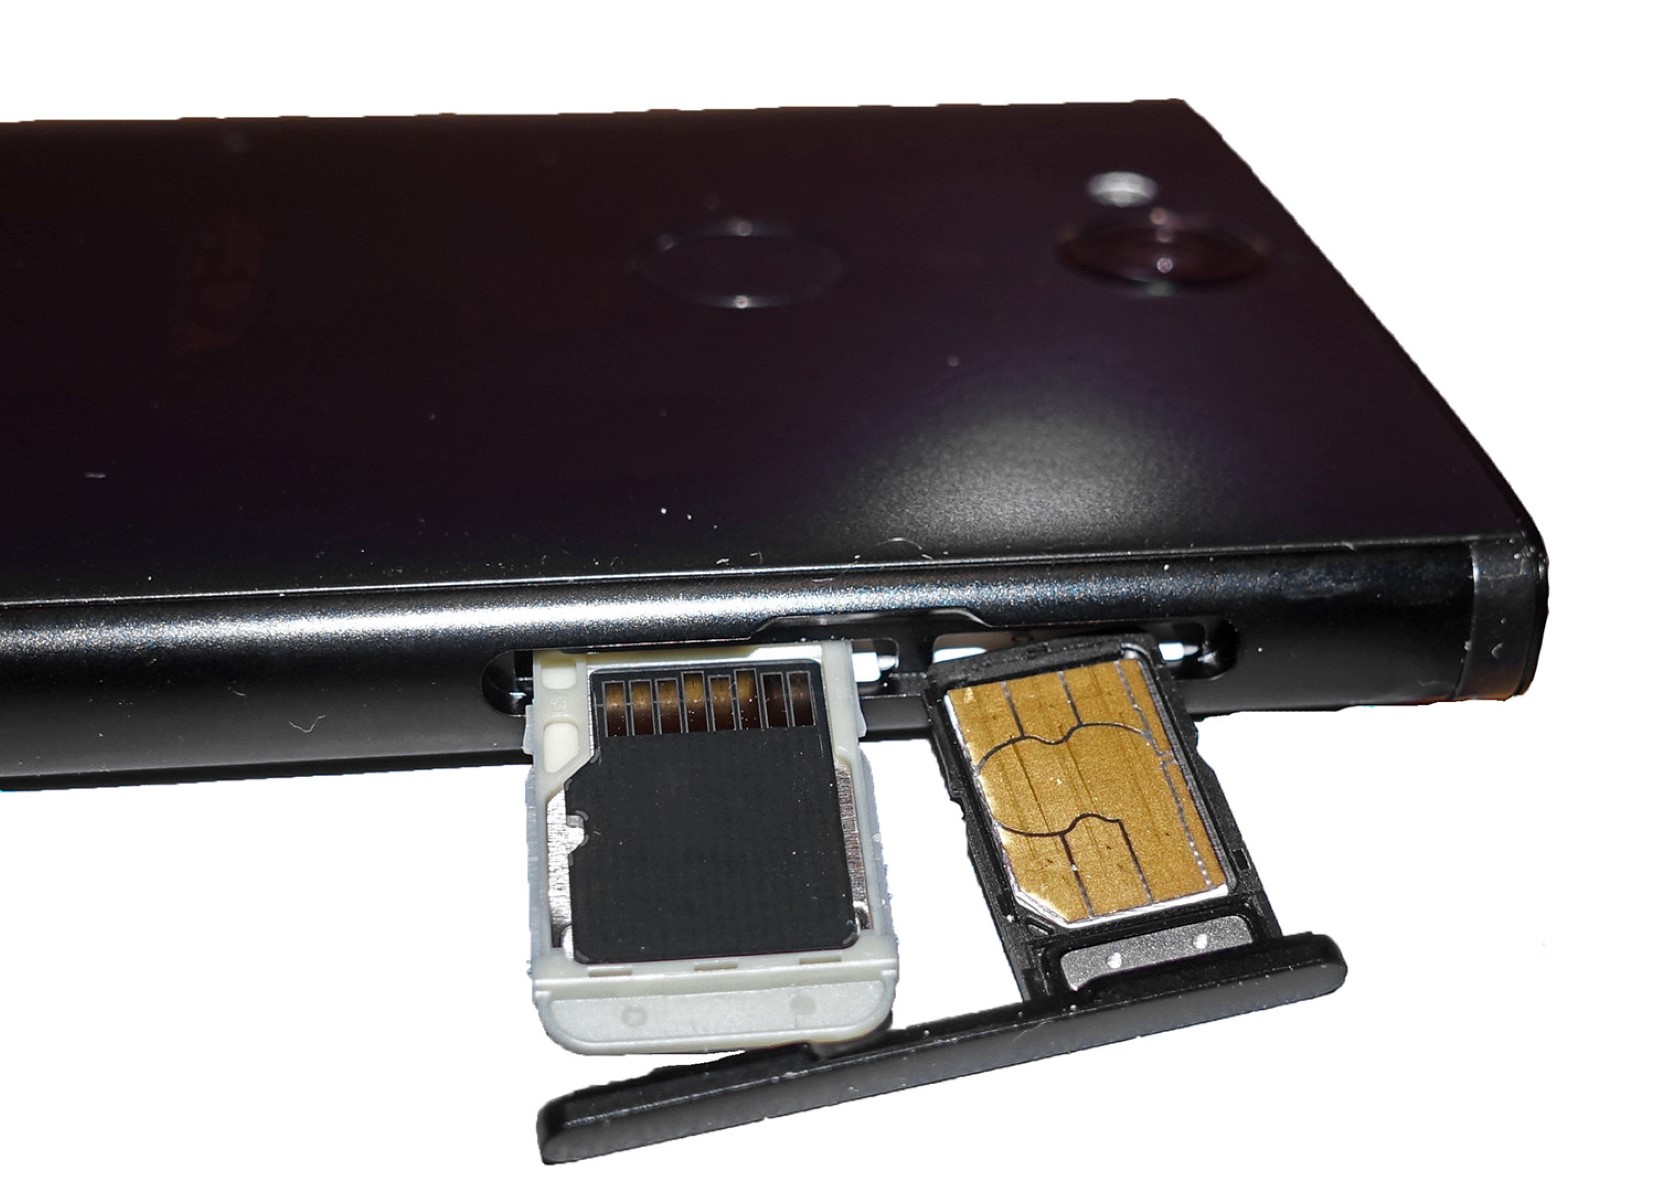
Locate the SIM/SD Card Tray: The Sony Xperia 1 features a convenient SIM/SD card tray located on the left side of the device. This tray is designed to accommodate both the SIM card and the Micro SD card, providing a seamless and user-friendly experience.
-
Eject the Tray: Using the SIM card removal tool provided with the device, gently insert it into the small hole adjacent to the SIM/SD card tray. Apply a slight amount of pressure to release the tray from its slot. Once the tray is partially ejected, carefully pull it out to reveal the designated areas for the SIM card and the Micro SD card.
-
Insert the Micro SD Card: With the tray in hand, identify the section allocated for the Micro SD card. Position the Micro SD card with the metal contacts facing downward, aligning it with the corresponding grooves within the tray. Gently slide the Micro SD card into place, ensuring that it fits snugly and securely within the designated area.
-
Reinsert the Tray: Once the Micro SD card is securely positioned within the tray, carefully reinsert the tray back into the device. Ensure that it is inserted in the correct orientation, aligning it with the slot to prevent any potential damage to the card or the device.
By successfully completing this step, you have effectively inserted the Micro SD card into your Sony Xperia 1, setting the stage for the subsequent steps involved in formatting the card. This seamless process paves the way for an enhanced user experience, allowing you to harness the full potential of your device's expanded storage capacity.
Step 2: Accessing the Settings Menu
Accessing the settings menu on the Sony Xperia 1 is a fundamental step in the process of formatting a Micro SD card. This menu serves as the gateway to a myriad of customization options and device configurations, allowing users to tailor their Xperia 1 experience to their preferences. Here's a detailed guide on how to access the settings menu:
-
Unlock Your Device: If your device is locked, unlock it by using the designated unlocking method, such as entering your PIN, pattern, or fingerprint.
-
Navigate to the Home Screen: If you're not already on the home screen, press the home button or swipe up from the bottom of the screen to access it.
-
Access the App Drawer: From the home screen, locate and tap the "App Drawer" icon. This will display all the apps installed on your device in a convenient and organized manner.
-
Locate and Tap "Settings": Within the app drawer, scroll through the available apps and locate the "Settings" app. The icon typically resembles a gear or cogwheel. Once found, tap on the "Settings" app to initiate the next step.
-
Navigate to the Desired Settings: Upon tapping the "Settings" app, you will be presented with a comprehensive array of device settings and configurations. From here, you can navigate through various categories such as "Wireless & networks," "Device," "Personal," and more, depending on the specific layout of your device's settings menu.
-
Access the Storage Option: To proceed with formatting the Micro SD card, locate and tap on the "Storage" or "Storage & memory" option within the settings menu. This will provide access to the storage settings, allowing you to manage and configure the storage devices connected to your Xperia 1.
By following these steps, you have successfully accessed the settings menu on your Sony Xperia 1, paving the way for the next crucial phase of formatting the Micro SD card. This seamless process empowers you to navigate the device's settings with confidence and precision, ensuring that you can effortlessly configure and optimize your Xperia 1 to suit your specific needs and preferences.
Step 3: Formatting the Micro SD Card
Formatting a Micro SD card on the Sony Xperia 1 is a pivotal step in preparing the card for seamless integration with the device. This process ensures that the card is optimized for performance and compatibility, allowing you to store and access data with ease. Here's a detailed guide on how to format the Micro SD card:
-
Select the Micro SD Card: Upon accessing the storage settings in the device's settings menu, you will be presented with a list of available storage devices, including the internal storage and the inserted Micro SD card. Tap on the option corresponding to the Micro SD card to initiate the formatting process.
-
Initiate the Format: Once the Micro SD card is selected, you will be presented with various options and information related to the card, including its capacity, usage, and format. Look for the option to format the Micro SD card, typically represented by a "Format" or "Format SD card" button. Tap on this option to proceed with the formatting process.
-
Confirm the Format: A confirmation prompt will appear, informing you that formatting the Micro SD card will erase all data stored on the card. It's crucial to ensure that you have backed up any important data from the card before proceeding. If you are certain that you want to format the card, tap on the "Format" or "Erase" button to confirm your decision.
-
Wait for the Formatting to Complete: Once the format is initiated and confirmed, the device will begin the formatting process. This may take a few moments, depending on the size and speed of the Micro SD card. It's important to refrain from removing the card or interrupting the process to prevent any potential data corruption or damage to the card.
-
Formatting Completion: Upon successful completion of the formatting process, you will receive a confirmation message indicating that the Micro SD card has been formatted and is ready for use. At this point, the card is fully prepared to store data and media, seamlessly integrating with your Sony Xperia 1.
By following these steps, you have effectively formatted the Micro SD card on your Sony Xperia 1, optimizing it for performance and compatibility with the device. This streamlined process empowers you to expand your device's storage capacity with confidence, ensuring a seamless and efficient user experience.
Step 4: Confirming the Format
Confirming the format of the Micro SD card is a critical step in the process of preparing the card for seamless integration with your Sony Xperia 1. Once you have initiated the formatting process, the device will prompt you to confirm your decision before proceeding. This confirmation serves as a safeguard, ensuring that you are fully aware of the implications of formatting the card and that you have taken the necessary steps to back up any important data.
Upon selecting the option to format the Micro SD card, a confirmation prompt will appear on the screen, accompanied by a message informing you that formatting the card will result in the deletion of all data stored on it. This serves as a crucial reminder to safeguard any valuable photos, videos, documents, or other files that may be stored on the card. It is essential to take this opportunity to ensure that you have backed up any important data to an alternative location, such as your device's internal storage or a computer, before proceeding with the format confirmation.
Once you have confirmed your decision to format the Micro SD card, the device will proceed with the formatting process, erasing all existing data and preparing the card for optimal performance and compatibility with your Xperia 1. It is important to note that once the format confirmation is initiated, the process cannot be reversed, and the data on the card will be irreversibly erased. Therefore, exercising caution and attentiveness during this step is paramount to prevent the loss of any irreplaceable data.
After confirming the format, the device will commence the formatting process, which may take a few moments to complete, depending on the size and speed of the Micro SD card. It is crucial to allow the device to finalize the formatting without interruption, as any disruption during this phase could potentially lead to data corruption or damage to the card.
Upon successful completion of the formatting process, you will receive a confirmation message indicating that the Micro SD card has been formatted and is ready for use. This confirmation signifies that the card is now optimized for seamless integration with your Sony Xperia 1, empowering you to store and access data with ease while maximizing the device's expanded storage capacity.
By carefully confirming the format of the Micro SD card, you have taken a pivotal step in ensuring that the card is prepared to deliver optimal performance and compatibility within your Xperia 1. This meticulous approach underscores the importance of data protection and device optimization, allowing you to harness the full potential of your device's expanded storage capabilities with confidence and peace of mind.
Conclusion
In conclusion, the process of formatting a Micro SD card on the Sony Xperia 1 is a fundamental aspect of optimizing the device's storage capabilities and ensuring seamless integration with the expanded storage medium. By following the step-by-step instructions outlined in this guide, users can confidently navigate the intricacies of preparing a Micro SD card for use with their Xperia 1, empowering them to store and access data with ease while maximizing the device's functionality.
The journey begins with the simple yet crucial step of inserting the Micro SD card into the device, setting the stage for the subsequent phases of the formatting process. This seamless procedure allows users to expand their Xperia 1's storage capacity effortlessly, laying the foundation for a more versatile and personalized user experience.
Accessing the settings menu serves as a gateway to a myriad of customization options and configurations, enabling users to tailor their Xperia 1 to their specific preferences. Navigating through the settings menu with precision and confidence empowers users to optimize their device's storage settings, ensuring that the Micro SD card is seamlessly integrated and ready for use.
The pivotal phase of formatting the Micro SD card is a testament to the device's adaptability and user-centric design. By carefully initiating and confirming the format, users can prepare the card for optimal performance and compatibility, safeguarding against potential data loss and ensuring a seamless transition into expanded storage functionality.
The confirmation of the format serves as a critical reminder of the importance of data protection and attentiveness throughout the formatting process. By exercising caution and ensuring that valuable data is backed up, users can proceed with confidence, knowing that their Micro SD card is being prepared for seamless integration with their Xperia 1.
Upon successful completion of the formatting process, users receive a confirmation message, signifying that the Micro SD card is now ready for use. This marks the culmination of a meticulous and user-centric journey, where the Xperia 1's storage capabilities are expanded with precision and care, ensuring a seamless and efficient user experience.
In essence, the process of formatting a Micro SD card on the Sony Xperia 1 embodies the device's commitment to user empowerment and seamless functionality. By following the steps outlined in this guide, users can harness the full potential of their Xperia 1's expanded storage capacity, unlocking a world of possibilities for storing, accessing, and enjoying their digital content with unparalleled ease and convenience.