Introduction
Are you running out of storage space on your Xperia XA2 Ultra? Don't worry, there's a simple and cost-effective solution to expand your device's storage capacity: a micro SD card. By adding a micro SD card to your Xperia XA2 Ultra, you can significantly increase the available storage space for your apps, photos, videos, and other files. In this guide, we'll walk you through the process of adding and optimizing a micro SD card for your Xperia XA2 Ultra, allowing you to make the most of your device's storage capabilities.
Expanding your device's storage with a micro SD card offers numerous benefits. Not only does it provide additional space for storing media files and apps, but it also enables you to free up the internal storage of your device, which can help improve its overall performance. Whether you're a photography enthusiast looking to store more high-resolution images, a movie buff wanting to download and watch videos on the go, or simply someone who needs more space for apps and games, adding a micro SD card to your Xperia XA2 Ultra can be a game-changer.
In the following steps, we'll cover everything you need to know to successfully integrate a micro SD card into your Xperia XA2 Ultra. From checking the compatibility of the micro SD card to setting it as the default storage location, we'll guide you through each step of the process. By the end of this guide, you'll have a comprehensive understanding of how to effectively increase the storage capacity of your Xperia XA2 Ultra using a micro SD card. Let's dive in and unlock the full potential of your device's storage capabilities!
Step 1: Check compatibility of the micro SD card
Before adding a micro SD card to your Xperia XA2 Ultra, it's crucial to ensure that the card is compatible with your device. Not all micro SD cards are created equal, and compatibility issues can arise if the card's specifications do not align with the requirements of your Xperia XA2 Ultra. Here's how to check the compatibility of the micro SD card:
1. Review the Supported Micro SD Card Specifications
Start by reviewing the supported micro SD card specifications for your Xperia XA2 Ultra. Refer to the device's user manual or visit the official Sony website to find the recommended micro SD card specifications. Pay attention to factors such as the maximum supported capacity, speed class, and file system compatibility. These specifications will serve as a guide to help you select a micro SD card that is fully compatible with your device.
2. Consider the Maximum Supported Capacity
The maximum supported capacity of micro SD cards can vary across different devices. For your Xperia XA2 Ultra, ensure that the micro SD card you choose does not exceed the maximum supported capacity. Exceeding this limit can lead to performance issues and may render the card incompatible with your device. Common maximum capacities for micro SD cards include 32GB, 64GB, 128GB, 256GB, and 512GB. Select a card with a capacity that falls within the supported range for your Xperia XA2 Ultra.
3. Check the Speed Class Rating
Micro SD cards are classified based on their speed class ratings, which indicate the minimum sustained write speeds for recording video. When selecting a micro SD card for your Xperia XA2 Ultra, ensure that it meets the minimum speed class rating recommended for optimal performance. Higher speed class ratings, such as Class 10 or UHS Class 1, are ideal for handling the demands of high-resolution photo and video capture, as well as seamless app performance.
4. Verify File System Compatibility
Check the file system compatibility of the micro SD card to ensure that it is supported by your Xperia XA2 Ultra. Common file systems for micro SD cards include FAT32, exFAT, and NTFS. Confirm that the file system format of the micro SD card is compatible with your device to prevent any issues when using the card for storage expansion.
By carefully reviewing the supported specifications, capacity, speed class rating, and file system compatibility, you can confidently select a micro SD card that is fully compatible with your Xperia XA2 Ultra. This proactive approach will help avoid potential compatibility issues and ensure a seamless integration of the micro SD card into your device, setting the stage for an enhanced storage experience.
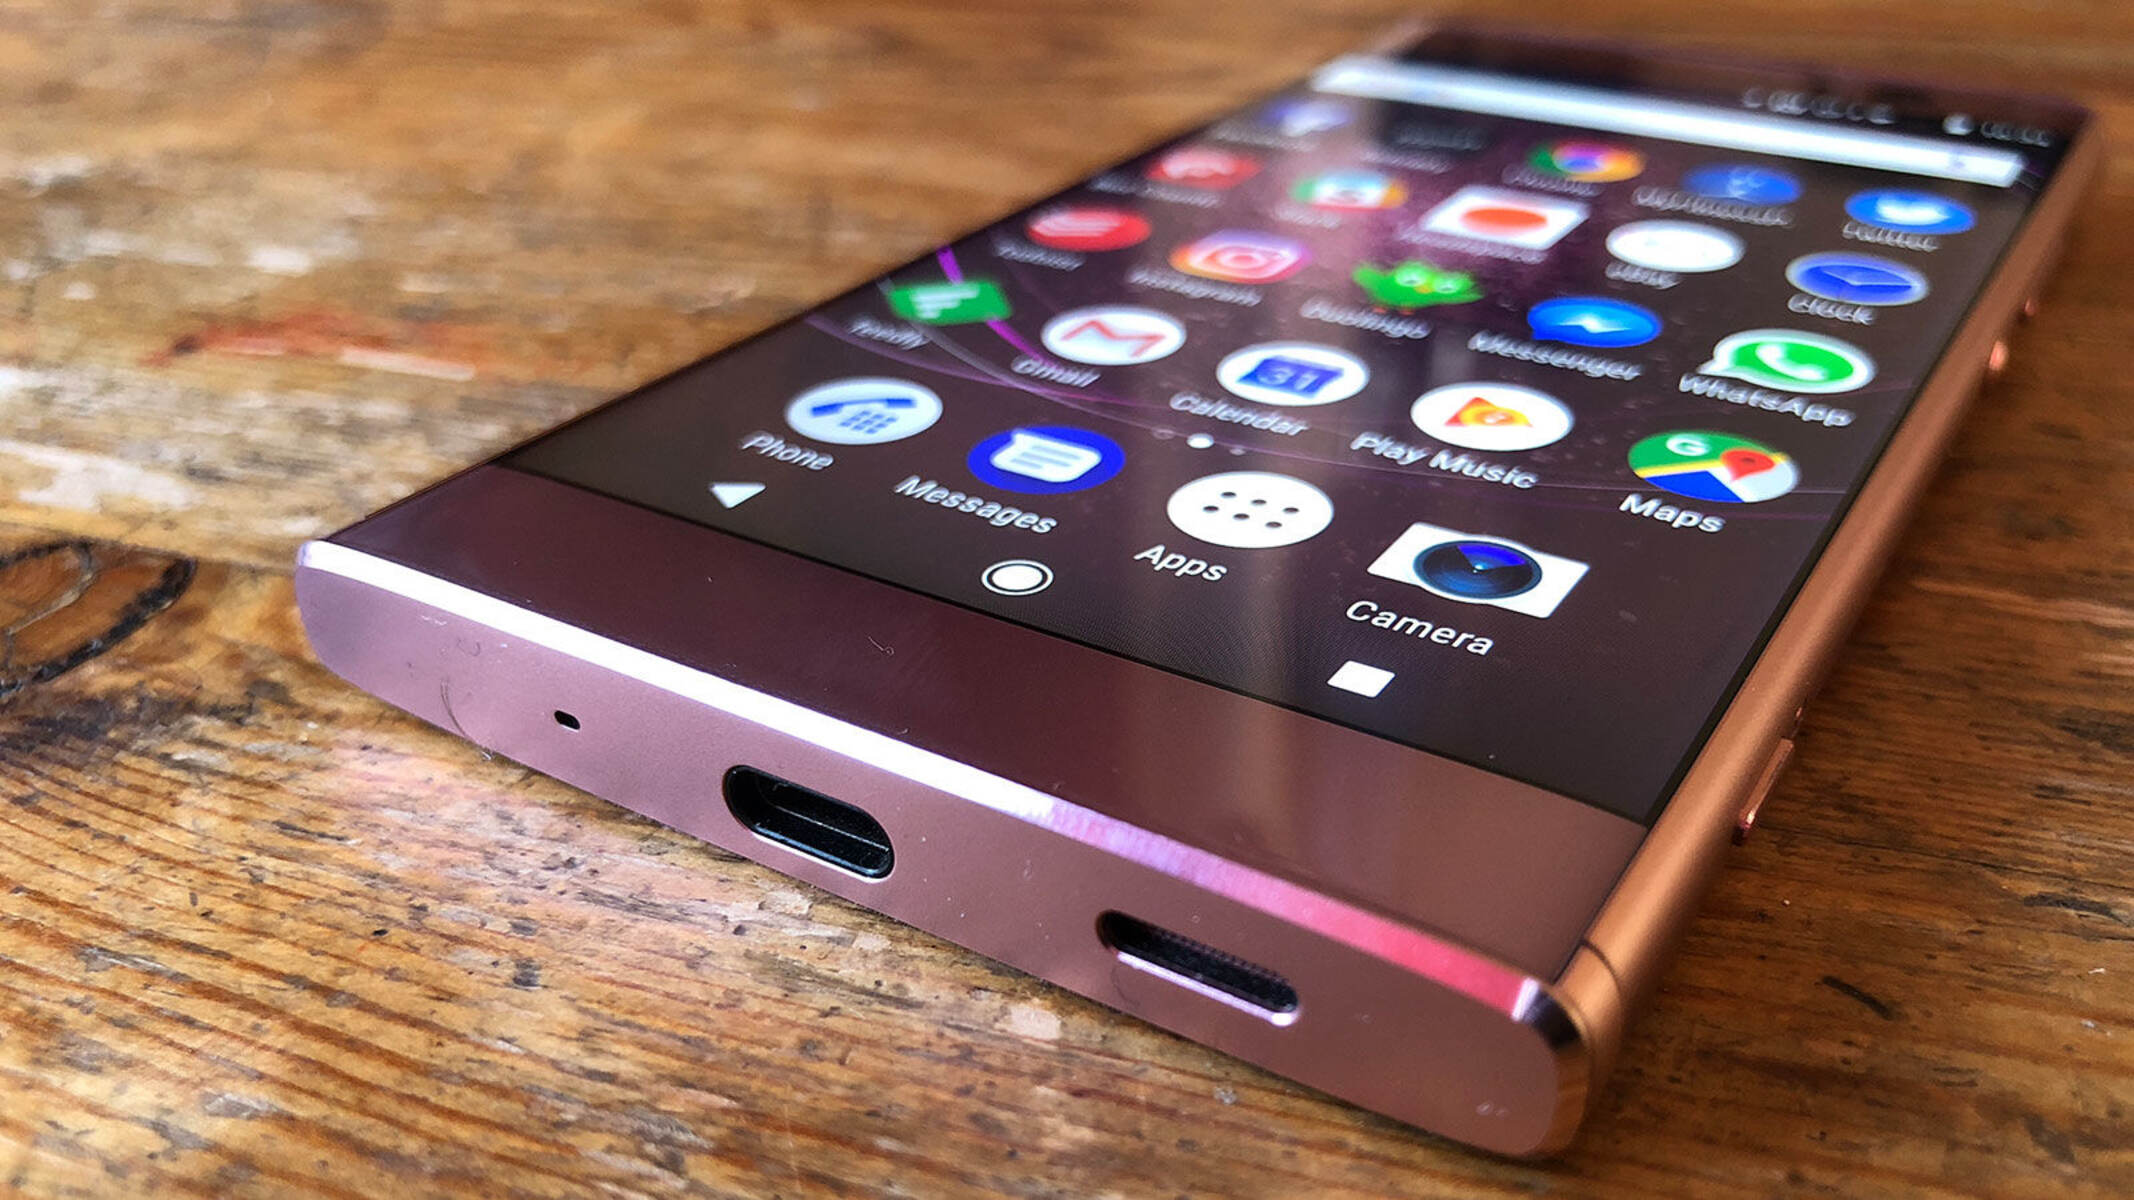
Step 2: Insert the micro SD card into the Xperia XA2 Ultra
Now that you've selected a compatible micro SD card for your Xperia XA2 Ultra, it's time to physically insert the card into your device. This straightforward process involves accessing the SIM and micro SD card tray on your Xperia XA2 Ultra and securely placing the micro SD card into the designated slot. Here's a detailed guide on how to insert the micro SD card into your Xperia XA2 Ultra:
-
Power Off Your Xperia XA2 Ultra:
Before inserting the micro SD card, ensure that your Xperia XA2 Ultra is powered off. This precautionary step helps prevent any potential data corruption or damage to the micro SD card during the insertion process. -
Locate the SIM and micro SD Card Tray:
The SIM and micro SD card tray is typically located on the side of the Xperia XA2 Ultra. Use the provided SIM tray ejection tool or a small paperclip to gently press the SIM/micro SD card tray eject button, which will partially release the tray from the device. -
Remove the SIM and micro SD Card Tray:
Once the SIM/micro SD card tray is partially ejected, carefully pull it out from the Xperia XA2 Ultra. The tray will house designated slots for both the SIM card and the micro SD card. -
Place the micro SD Card in the Tray:
Identify the micro SD card slot within the SIM/micro SD card tray. Position the micro SD card with the metal contacts facing downward and the notched edge aligned with the corresponding notch in the slot. Gently place the micro SD card into the slot, ensuring that it sits securely and flush with the tray. -
Reinsert the SIM and micro SD Card Tray:
After securely placing the micro SD card into the tray, carefully reinsert the SIM/micro SD card tray back into the Xperia XA2 Ultra. Ensure that the tray is fully inserted and sits flush with the device's frame. -
Power On Your Xperia XA2 Ultra:
Once the micro SD card is inserted, power on your Xperia XA2 Ultra to initiate the recognition and configuration of the newly added storage. Your device will detect the micro SD card and prepare it for use, expanding the available storage capacity for your apps, media, and files.
By following these steps, you can seamlessly insert a micro SD card into your Xperia XA2 Ultra, unlocking additional storage space and enhancing the versatility of your device. With the micro SD card successfully integrated, you're one step closer to optimizing the storage capabilities of your Xperia XA2 Ultra and enjoying an expanded storage experience.
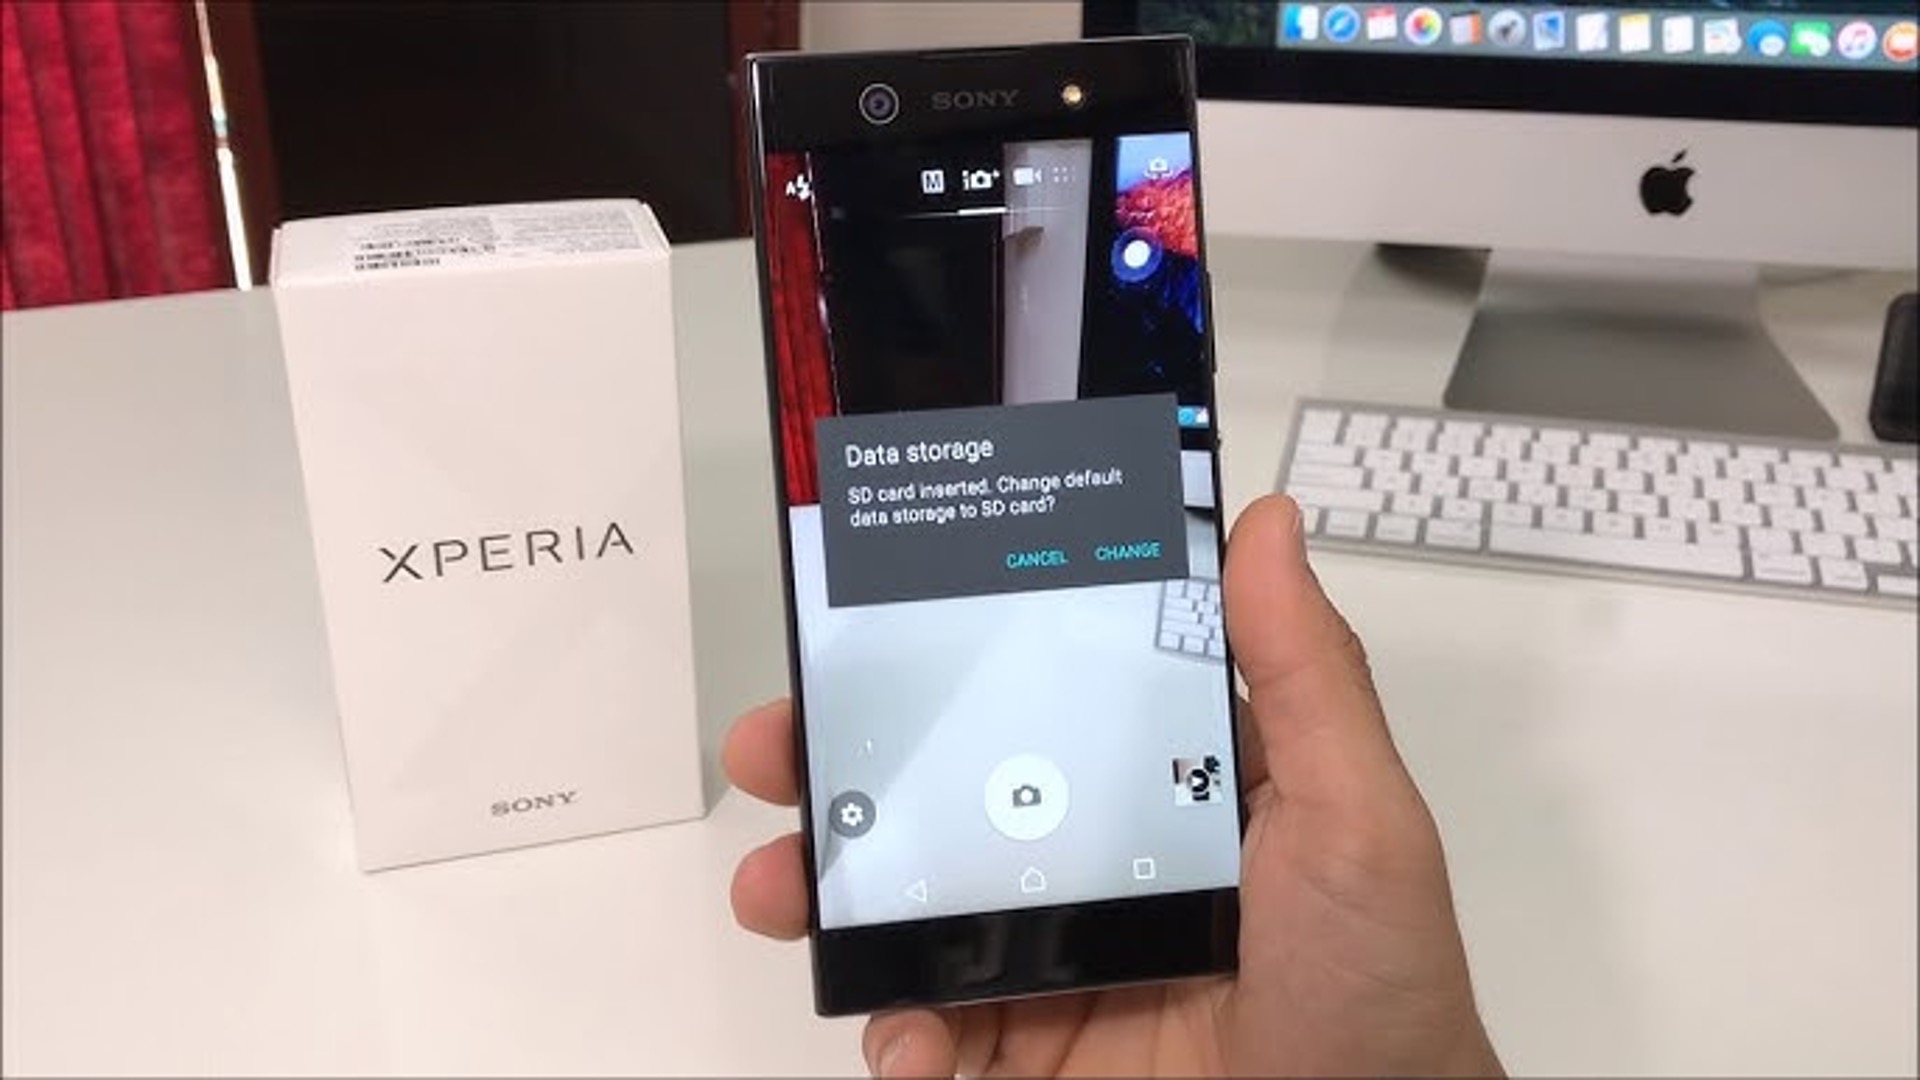
Step 3: Format the micro SD card
Formatting the micro SD card is a crucial step in preparing it for optimal performance and seamless integration with your Xperia XA2 Ultra. By formatting the micro SD card, you can ensure that it is properly recognized by your device, set up with the appropriate file system, and ready to accommodate your apps, media, and files. Here's a detailed guide on how to format the micro SD card for use with your Xperia XA2 Ultra:
-
Access the Storage Settings:
Begin by accessing the storage settings on your Xperia XA2 Ultra. Navigate to the device's settings menu and locate the "Storage" or "Storage & memory" section. This is where you can manage the storage settings and initiate the formatting process for the micro SD card. -
Select the micro SD Card:
Within the storage settings, you should see the option to view and manage the available storage devices, including the internal storage and the newly inserted micro SD card. Locate the entry corresponding to the micro SD card and select it to access the card-specific settings and management options. -
Initiate the Format Process:
Once you've selected the micro SD card, look for the option to format or initialize the card. Depending on the device's interface, this option may be labeled as "Format SD card," "Erase SD card," or a similar variation. Select this option to begin the formatting process for the micro SD card. -
Confirm the Formatting Action:
Before proceeding with the formatting, your Xperia XA2 Ultra may prompt you to confirm the action and acknowledge that all data on the micro SD card will be erased during the formatting process. Take this opportunity to review the confirmation message and ensure that you are formatting the correct storage device. -
Complete the Formatting Process:
Once you've confirmed the formatting action, your device will initiate the formatting process for the micro SD card. This process may take a few moments to complete, during which the device will prepare the micro SD card with the appropriate file system and directory structure for seamless integration. -
Verify the Formatted Status:
After the formatting process is complete, your Xperia XA2 Ultra will display a confirmation message indicating that the micro SD card has been successfully formatted and is ready for use. At this point, the micro SD card is fully prepared to serve as expanded storage for your device.
By following these steps to format the micro SD card, you can ensure that it is properly configured and optimized for use with your Xperia XA2 Ultra. This essential preparation step sets the stage for a seamless storage expansion experience, allowing you to make the most of the additional storage capacity provided by the micro SD card.
Step 4: Transfer files to the micro SD card
With the micro SD card successfully integrated into your Xperia XA2 Ultra and formatted for optimal performance, it's time to transfer your files to the expanded storage. This step allows you to offload existing data from your device's internal storage to the micro SD card, freeing up space and leveraging the additional capacity offered by the card. Here's a detailed guide on how to transfer files to the micro SD card:
-
Access the File Management Interface:
Begin by accessing the file management interface on your Xperia XA2 Ultra. This can typically be done through the device's built-in file manager or a third-party file management app. Navigate to the location of the files you wish to transfer, whether they are photos, videos, music, documents, or other media. -
Select the Files for Transfer:
Once you've accessed the file management interface, select the specific files or folders that you want to transfer to the micro SD card. You can choose individual files or opt to transfer entire folders containing multiple items. This selection process allows you to customize the transfer based on your storage needs. -
Initiate the Transfer Process:
After selecting the files for transfer, look for the option to move or copy the selected items to the micro SD card. Depending on the file management interface, this option may be accessible through a menu, toolbar, or contextual actions. Select the appropriate transfer action to proceed with the process. -
Specify the Destination Location:
When prompted to specify the destination location for the transfer, choose the micro SD card as the target storage location. Your Xperia XA2 Ultra will display the available storage options, including the internal storage and the micro SD card. Select the micro SD card to designate it as the destination for the file transfer. -
Monitor the Transfer Progress:
Once you've confirmed the transfer action and specified the destination location, your device will initiate the file transfer process. Monitor the transfer progress to ensure that the selected files are successfully moved or copied to the micro SD card. Depending on the file sizes and quantities, the transfer may take some time to complete. -
Verify the Transferred Files:
After the transfer process is complete, verify that the selected files now reside on the micro SD card. Navigate to the micro SD card storage location using the file management interface and confirm that the transferred files are present and accessible. This verification step ensures that the transfer was successful.
By following these steps to transfer files to the micro SD card, you can effectively leverage the expanded storage capacity of your Xperia XA2 Ultra. Offloading files to the micro SD card not only frees up space on the device's internal storage but also allows you to organize and manage your data more efficiently. With your files seamlessly transferred, you can enjoy an optimized storage experience with enhanced capacity and flexibility.
Step 5: Set the micro SD card as default storage
Setting the micro SD card as the default storage location on your Xperia XA2 Ultra is a strategic move to maximize the benefits of the expanded storage capacity. By designating the micro SD card as the default storage, you can ensure that new apps, media, and downloads are automatically stored on the card, freeing up the internal storage of your device and streamlining the overall storage management process. Here's a detailed guide on how to set the micro SD card as the default storage on your Xperia XA2 Ultra:
-
Access the Storage Settings:
Begin by accessing the storage settings on your Xperia XA2 Ultra. Navigate to the device's settings menu and locate the "Storage" or "Storage & memory" section. This is where you can manage the storage settings and configure the default storage location for your device. -
Select the Default Storage Option:
Within the storage settings, look for the option to set the default storage location. Depending on the device's interface and software version, this option may be labeled as "Default storage location," "Storage settings," or a similar variation. Select this option to access the default storage configuration. -
Choose the micro SD Card as Default Storage:
Once you've accessed the default storage settings, your Xperia XA2 Ultra will display the available storage options, including the internal storage and the inserted micro SD card. Select the micro SD card as the preferred default storage location for your device. -
Confirm the Default Storage Selection:
After choosing the micro SD card as the default storage, your device may prompt you to confirm the selection and acknowledge the implications of setting the micro SD card as the default storage location. Review the confirmation message and proceed to confirm the default storage selection. -
Finalize the Default Storage Configuration:
Once the micro SD card is confirmed as the default storage location, your Xperia XA2 Ultra will apply the configuration, ensuring that new apps, media, and downloads are automatically stored on the micro SD card. This streamlined storage setup optimizes the use of the expanded storage capacity and simplifies the management of your device's storage resources.
By following these steps to set the micro SD card as the default storage on your Xperia XA2 Ultra, you can harness the full potential of the expanded storage capacity offered by the micro SD card. This strategic configuration not only optimizes the use of the micro SD card but also contributes to a more efficient and organized storage experience on your device.
Conclusion
In conclusion, integrating a micro SD card into your Xperia XA2 Ultra presents a valuable opportunity to expand the device's storage capacity and enhance its overall versatility. By following the comprehensive steps outlined in this guide, you can seamlessly integrate a micro SD card into your device and optimize its use as expanded storage for apps, media, and files.
The process begins with checking the compatibility of the micro SD card, ensuring that it aligns with the supported specifications, capacity, speed class rating, and file system compatibility for the Xperia XA2 Ultra. This proactive approach helps avoid compatibility issues and sets the stage for a smooth integration.
Once the compatibility is confirmed, the next step involves physically inserting the micro SD card into the Xperia XA2 Ultra, following a straightforward process that ensures the card is securely placed in the designated slot. This step marks the physical integration of the micro SD card, preparing it for the subsequent configuration.
Formatting the micro SD card is a crucial step that prepares the card for optimal performance and seamless integration with the device. By formatting the card, you ensure that it is recognized by the Xperia XA2 Ultra and set up with the appropriate file system, laying the foundation for a seamless storage expansion experience.
Transferring files to the micro SD card allows you to offload existing data from the device's internal storage, freeing up space and leveraging the additional capacity offered by the card. This step empowers you to organize and manage your data more efficiently, optimizing the use of the expanded storage capacity.
Setting the micro SD card as the default storage location on your Xperia XA2 Ultra streamlines the storage management process, ensuring that new apps, media, and downloads are automatically stored on the card. This strategic configuration maximizes the benefits of the expanded storage capacity and contributes to a more efficient storage experience.
In essence, integrating a micro SD card into your Xperia XA2 Ultra not only expands the device's storage capacity but also unlocks new possibilities for storing and accessing your apps, media, and files. Whether you're a photography enthusiast, a multimedia aficionado, or simply in need of additional space for apps and downloads, the integration of a micro SD card empowers you to make the most of your Xperia XA2 Ultra's storage capabilities.