Introduction
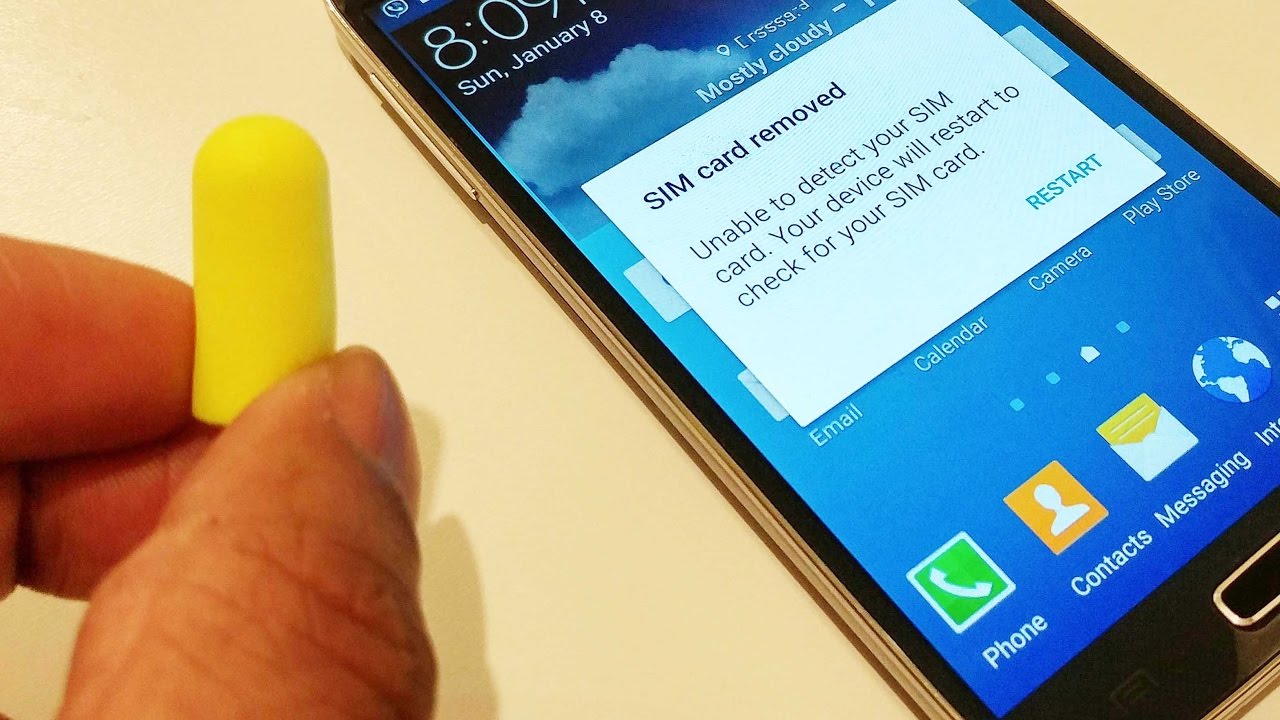
Encountering the dreaded "No SIM Card" error on your Samsung device can be a frustrating experience, disrupting your ability to make calls, send texts, and access mobile data. This issue can arise due to various factors, including software glitches, faulty SIM cards, or debris accumulation in the SIM card tray. Fortunately, there are several troubleshooting steps you can take to resolve this issue and restore seamless functionality to your device.
In this comprehensive guide, we will walk you through the essential steps to address the "No SIM Card" problem on your Samsung smartphone. By following these instructions, you can potentially bypass the inconvenience of visiting a service center and resolve the issue on your own. From basic troubleshooting methods to more advanced software-related solutions, we've got you covered with practical tips to get your Samsung device back on track.
So, if you've been grappling with the vexing "No SIM Card" error on your Samsung phone, fret not. We're here to equip you with the knowledge and strategies to troubleshoot and resolve this issue effectively. Let's dive into the essential steps that can help you bid farewell to the persistent "No SIM Card" error and regain the full functionality of your Samsung device.
Step 1: Restart Your Phone
When faced with the exasperating "No SIM Card" error on your Samsung device, the first step is to perform a simple yet effective action: restart your phone. This straightforward troubleshooting method can often work wonders in resolving temporary software glitches and connectivity issues that may be triggering the error message.
To restart your Samsung smartphone, press and hold the power button until the power off menu appears on the screen. Next, tap on the "Restart" or "Reboot" option, and allow your device to power down and restart. This process helps in refreshing the device's system and can potentially eliminate any transient software hiccups that could be causing the "No SIM Card" error.
Upon rebooting, your Samsung phone will undergo a fresh start, which can clear out minor software inconsistencies and reestablish proper communication with the SIM card. This simple yet effective action serves as a preliminary step in troubleshooting the "No SIM Card" issue, and in many cases, it can swiftly resolve the error, allowing your device to recognize the SIM card and restore normal functionality.
By initiating a restart, you are essentially providing your Samsung device with an opportunity to recalibrate and rectify any underlying software irregularities that might be hindering the proper detection of the SIM card. This uncomplicated approach can serve as a quick fix, sparing you from more intricate troubleshooting methods and potential visits to service centers.
In the event that the "No SIM Card" error persists even after restarting your phone, fret not, as we have a series of additional steps to guide you through the process of resolving this vexing issue. So, let's move on to the next step and continue our journey toward restoring seamless functionality to your Samsung smartphone.
Step 2: Check SIM Card and Tray
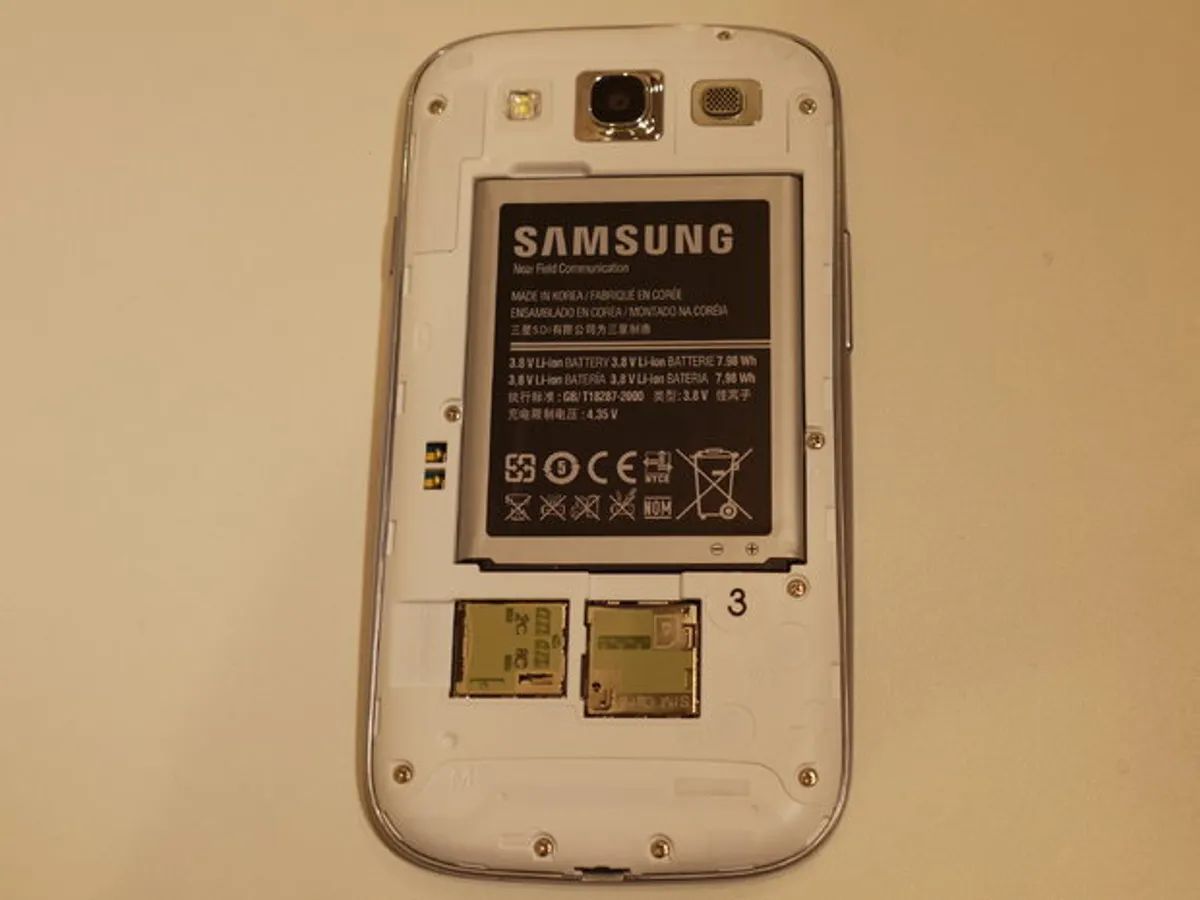
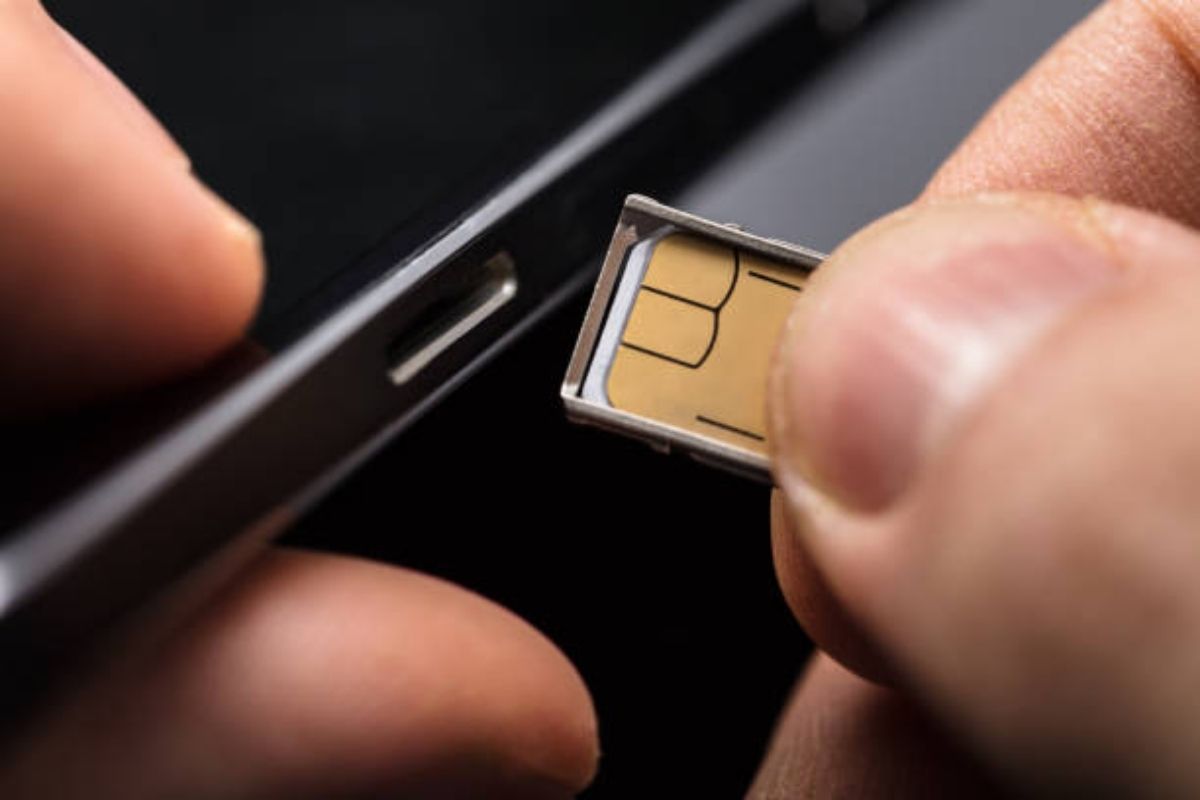
The next crucial step in addressing the persistent "No SIM Card" issue on your Samsung device is to meticulously examine the SIM card and its corresponding tray. While this may seem like a straightforward task, it is essential to approach it with attentiveness and precision to identify potential issues that could be triggering the error message.
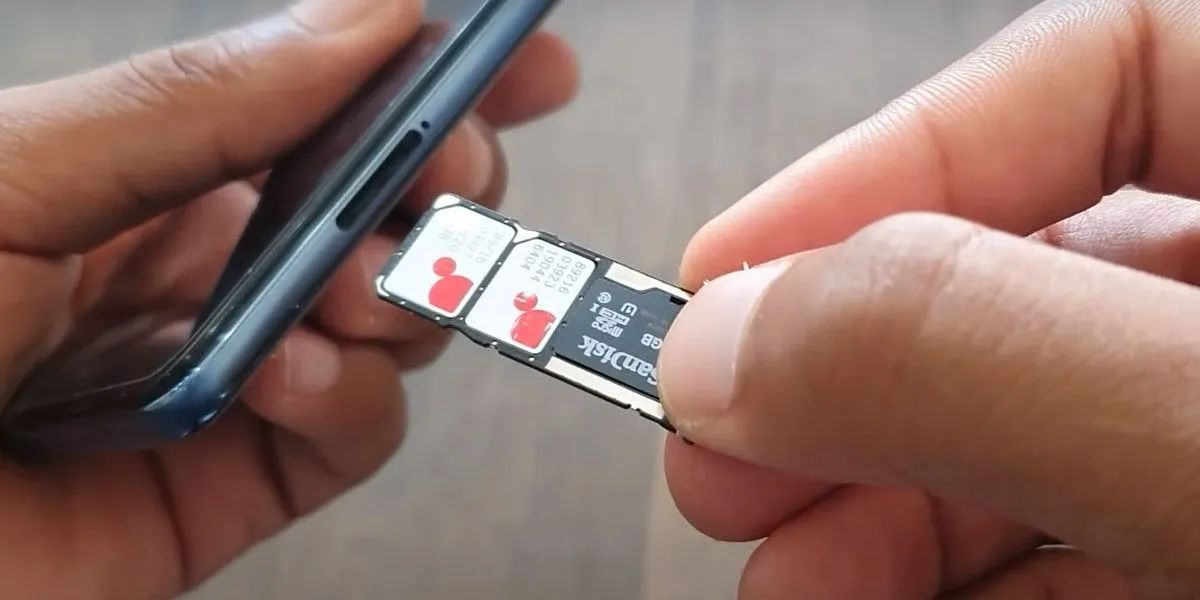
Begin by locating the SIM card tray on your Samsung smartphone. Depending on the model of your device, the SIM card tray may be situated on the side or the top of the phone. Once you have located the tray, use the provided SIM ejector tool or a small paperclip to gently eject the tray from the device.
With the SIM card tray in hand, carefully inspect the SIM card for any visible signs of damage, such as scratches, dents, or discoloration. Additionally, ensure that the gold contacts on the SIM card are clean and free from any debris or corrosion, as these can impede proper connectivity with the device.
Simultaneously, examine the SIM card tray for any foreign objects, dust, or debris that may have accumulated within the tray. Even minuscule particles can interfere with the snug insertion of the SIM card and hinder its ability to establish a secure connection with the device.
After thoroughly examining the SIM card and tray, gently reinsert the SIM card into the tray, ensuring that it is properly aligned and securely placed. Take care to avoid applying excessive force during this process, as it could potentially damage the SIM card or the device's SIM card slot.
Once the SIM card is securely reinserted, carefully slide the tray back into the device until it is flush with the phone's frame. Ensure that the tray is inserted in the correct orientation to prevent any unnecessary resistance or misalignment.
By meticulously checking the SIM card and tray for any anomalies and ensuring that they are in optimal condition, you are taking a proactive step toward resolving the "No SIM Card" error on your Samsung smartphone. This meticulous approach can unveil underlying issues related to the SIM card and its interface with the device, potentially leading to a successful resolution of the error.
With the SIM card and tray thoroughly inspected and reinserted, we are now ready to proceed to the next step in our journey toward troubleshooting and resolving the persistent "No SIM Card" issue on your Samsung device.
Step 3: Clean SIM Card and Tray
Ensuring the cleanliness of the SIM card and its corresponding tray is a pivotal step in troubleshooting the persistent "No SIM Card" issue on your Samsung smartphone. Over time, dust, dirt, and other forms of residue can accumulate on the SIM card and within the SIM card tray, potentially obstructing the seamless interaction between the card and the device. By undertaking a thorough cleaning process, you can eliminate these obstructions and enhance the likelihood of resolving the error.
To initiate the cleaning process, begin by carefully removing the SIM card from the tray, using the provided SIM ejector tool or a small, pointed implement. Exercise caution to prevent any damage to the SIM card or the device's SIM card slot during this procedure.
Next, inspect the SIM card for any visible signs of dirt, dust, or smudges. Gently wipe the gold contacts on the SIM card using a soft, lint-free cloth or a microfiber cloth. Avoid using abrasive materials or harsh chemicals, as these can potentially damage the delicate contacts and impair the functionality of the SIM card.
Simultaneously, examine the SIM card tray for any accumulated debris or foreign particles. Using a can of compressed air or a soft-bristled brush, carefully remove any dust or dirt that may be present within the tray. It is essential to exercise care and precision during this process to prevent dislodging any internal components or causing damage to the tray.
Once the SIM card and tray have been meticulously cleaned, reinsert the SIM card into the tray, ensuring that it is securely positioned and aligned correctly. Carefully slide the tray back into the device until it is flush with the phone's frame, ensuring that it is inserted in the correct orientation.
By undertaking this meticulous cleaning process, you are effectively eliminating potential barriers to the proper functioning of the SIM card within your Samsung smartphone. The removal of accumulated debris and the restoration of clean contact surfaces can significantly contribute to the resolution of the "No SIM Card" error, allowing for seamless recognition and interaction between the SIM card and the device.
With the SIM card and tray now cleaned and reinserted, we are poised to progress to the subsequent steps in our endeavor to troubleshoot and resolve the persistent "No SIM Card" issue on your Samsung smartphone.
Step 4: Update Software
Keeping the software on your Samsung device up to date is crucial in maintaining optimal performance and addressing potential issues, including the persistent "No SIM Card" error. Software updates often include bug fixes, security enhancements, and improvements to system stability, all of which can contribute to the seamless functionality of your device.
To initiate the software update process, navigate to the "Settings" app on your Samsung smartphone. From the settings menu, scroll down and select the "Software update" option. Within this section, you can check for any available updates for your device's operating system and related firmware.
Upon selecting the "Software update" option, your Samsung device will connect to the update servers to check for any pending updates. If an update is available, you will be prompted to download and install it. It is essential to ensure that your device is connected to a stable Wi-Fi network and has an ample battery charge before initiating the update process to prevent any interruptions during the installation.
Once the update is downloaded, follow the on-screen prompts to install the software update on your Samsung device. The installation process may take some time, during which your device will restart and apply the update. It is important to refrain from interrupting the update process to prevent potential complications or data loss.
By updating the software on your Samsung smartphone, you are not only enhancing the overall performance and security of your device but also addressing any underlying software-related issues that may be contributing to the "No SIM Card" error. Software updates often include optimizations and fixes that can rectify connectivity issues and improve the device's ability to recognize and interact with the SIM card effectively.
In the event that the "No SIM Card" error persists even after updating the software, there are additional troubleshooting steps that can be explored to further address the issue. However, ensuring that your device is running the latest software version is a fundamental measure in maintaining its functionality and resolving potential software-related anomalies.
With the software on your Samsung device successfully updated, we can proceed to the subsequent steps in our endeavor to troubleshoot and resolve the persistent "No SIM Card" issue, ensuring that your device operates at its optimal capacity.
Step 5: Reset Network Settings
Resetting the network settings on your Samsung smartphone can serve as a potent troubleshooting measure in addressing the persistent "No SIM Card" error. This step entails restoring the device's network configurations to their default state, potentially resolving underlying connectivity issues and enhancing the device's ability to recognize and interact with the SIM card seamlessly.
To initiate the process of resetting network settings, navigate to the "Settings" app on your Samsung device. From the settings menu, locate and select the "General management" or "Connections" option, depending on the specific layout of your device's settings.
Within the "General management" or "Connections" section, look for the "Reset" or "Reset network settings" option. Upon selecting this option, your device will present you with a prompt outlining the implications of resetting network settings, including the restoration of Wi-Fi, Bluetooth, and cellular network configurations to their default state.
Before proceeding with the network settings reset, it is crucial to be cognizant of the potential outcomes of this action. Resetting network settings will erase any saved Wi-Fi networks, Bluetooth pairings, and cellular network preferences on your device. Therefore, it is advisable to take note of your Wi-Fi passwords and any essential network-related information before proceeding with the reset.
Upon confirming the reset action, your Samsung device will proceed to restore the network settings to their default configurations. This process may take a few moments to complete, after which your device will reboot to apply the changes.
By resetting the network settings, you are effectively clearing any potential network-related inconsistencies or misconfigurations that may be contributing to the "No SIM Card" error. This action serves as a comprehensive reset of the device's network components, potentially rectifying connectivity issues and allowing the device to recognize and establish seamless communication with the SIM card.
In the event that the "No SIM Card" error persists even after resetting the network settings, there are additional steps that can be explored to further troubleshoot and resolve the issue. However, resetting the network settings represents a fundamental measure in addressing potential network-related anomalies and ensuring the optimal functionality of your Samsung smartphone.
With the network settings successfully reset, we can proceed to the subsequent steps in our endeavor to troubleshoot and resolve the persistent "No SIM Card" issue, ensuring that your Samsung device operates at its optimal capacity.
Step 6: Contact Samsung Support
If all previous steps have been diligently followed and the "No SIM Card" error on your Samsung device persists, it may be time to seek assistance from Samsung's dedicated support channels. Contacting Samsung Support provides you with access to expert assistance and specialized resources to address the issue effectively.
To reach Samsung Support, you can explore various avenues, including:
-
Online Support: Visit Samsung's official website and navigate to the support section, where you can access a wealth of resources, including troubleshooting guides, FAQs, and community forums. These online resources can provide valuable insights and potential solutions to the "No SIM Card" error.
-
Live Chat: Engage in a live chat session with a Samsung support representative, who can offer personalized guidance and troubleshooting advice tailored to your specific device and issue. This interactive support channel allows for real-time assistance and clarifications on intricate technical matters.
-
Phone Support: Contact Samsung's customer support hotline to connect with a knowledgeable representative who can provide comprehensive assistance over the phone. Be prepared to provide details about your device, the specific error encountered, and the troubleshooting steps you have already undertaken.
-
Service Center Visits: If the "No SIM Card" error persists despite your best efforts, consider scheduling a visit to an authorized Samsung service center. Trained technicians at these centers possess the expertise and diagnostic tools to assess and resolve complex hardware and software issues.
When reaching out to Samsung Support, it is beneficial to have essential details readily available, such as your device model, software version, and a concise description of the troubleshooting steps you have performed. This information enables the support team to offer targeted assistance and expedite the resolution process.
By contacting Samsung Support, you are tapping into a wealth of technical expertise and resources aimed at resolving the "No SIM Card" error on your Samsung device. The dedicated support channels are designed to empower users with the necessary guidance and solutions to overcome persistent issues and restore the full functionality of their devices.
In the rare event that the "No SIM Card" error is indicative of a hardware malfunction, Samsung Support can facilitate the initiation of repair processes or device replacements, ensuring that you receive comprehensive assistance in addressing the issue.
Remember, Samsung's support infrastructure is committed to providing users with a seamless and reliable experience, and reaching out for assistance can be instrumental in resolving complex technical issues such as the "No SIM Card" error.
With the support of Samsung's dedicated assistance channels, you can navigate through the intricacies of the "No SIM Card" error and work toward a successful resolution, allowing you to enjoy the full capabilities of your Samsung device without the hindrance of persistent connectivity issues.