Introduction
Venmo has become an increasingly popular mobile payment app that allows you to easily send, receive, and request money from friends and family. It offers a convenient and secure way to split bills, repay debts, or even make online purchases. One of the key features of Venmo is its ability to link your bank account, making transactions even more effortless.
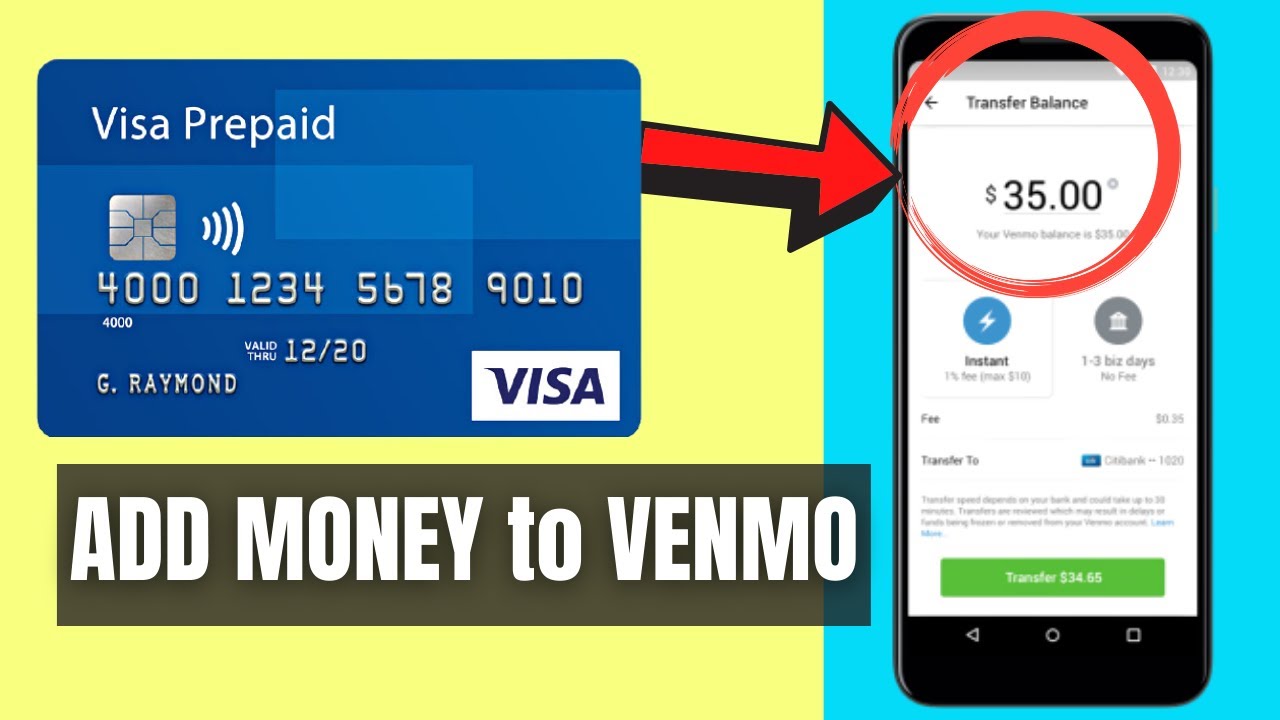
Linking your bank account to your Venmo account provides several benefits. Firstly, it allows you to seamlessly transfer funds between your bank account and Venmo balance. This means you can easily send money to friends or transfer funds back to your bank whenever needed. Moreover, it eliminates the need to manually enter debit or credit card details for every transaction, saving you time and ensuring a faster payment process.
Additionally, linking your bank account to Venmo enables you to access and manage your funds more efficiently. You can easily track your transaction history, view your balances, and keep a record of all your payments and transfers directly within the app. It provides a consolidated overview of your financial activity, making it easier to monitor and control your spending.
In this guide, we will walk you through the step-by-step process of linking your bank account to Venmo. Whether you are a new Venmo user or looking to add a bank account to your existing account, this article will provide you with the necessary instructions to seamlessly connect your finances. So, let’s get started and ensure that your Venmo experience is as convenient and hassle-free as possible!
Why Link Your Bank Account to Venmo
Linking your bank account to Venmo offers numerous advantages that enhance your overall experience with the app. Here are a few compelling reasons why you should consider connecting your bank account to Venmo:
1. Seamless Transactions: By linking your bank account, you can easily transfer funds between your bank and Venmo balance. This means you can effortlessly split bills with friends or cover expenses without the need to handle cash or manually enter your debit or credit card details for every transaction.
2. Instant Access: When your bank account is linked to Venmo, you can quickly move money between your accounts. This allows for immediate access to funds, making it convenient to send money to friends or withdraw money back into your bank account whenever you need it.
3. Budgeting Made Easy: By seeing a consolidated view of your transactions and balances, linking your bank account to Venmo enables you to manage your finances more efficiently. You can track your spending, set budgets, and gain better control over your monetary habits.
4. Enhanced Security: Venmo takes security seriously, and linking your bank account adds an extra layer of protection. With your bank account connected, you can rest assured that your transactions and personal information are secure, as Venmo uses advanced encryption and security measures to safeguard your financial data.
5. Convenience and Flexibility: Having your bank account linked to Venmo ensures that you can make payments anytime, anywhere, and from any device. Whether you’re splitting a bill at a restaurant, purchasing goods online, or sending money to a family member, Venmo’s seamless integration with your bank account provides you with unparalleled convenience and flexibility.
Overall, linking your bank account to Venmo offers a range of benefits that simplify and streamline your financial transactions. From saving time to enhancing security, the advantages it provides significantly improve your experience using Venmo. So, take a moment to connect your bank account and unlock the full potential of this popular payment app.
Step 1: Download the Venmo App
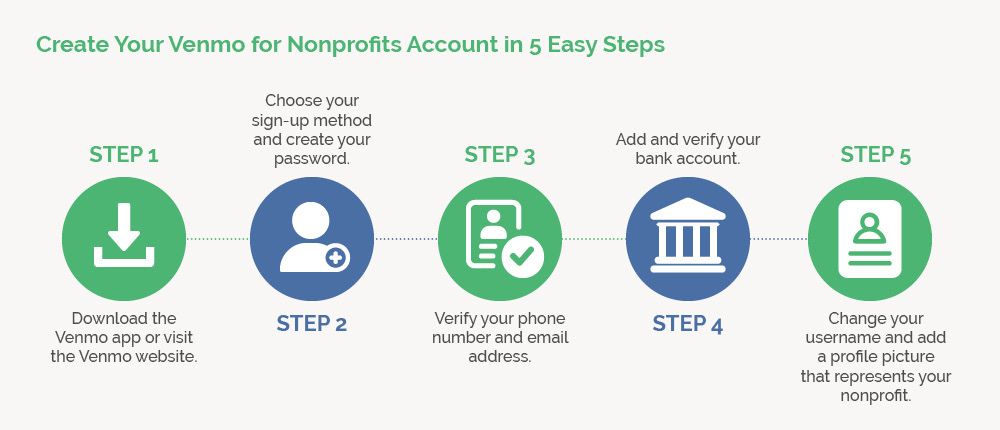
To begin the process of linking your bank account to Venmo, the first step is to download the Venmo app onto your mobile device. Venmo is available for both iOS and Android platforms, making it accessible to a wide range of users.
To download the Venmo app, follow these simple instructions:
- Open the App Store on your iPhone or the Google Play Store on your Android device.
- Search for “Venmo” using the search bar at the top of the screen.
- Locate the Venmo app in the search results and tap on it.
- Tap the “Install” or “Get” button to begin downloading the app.
- Wait for the app to download and install on your device.
- Once the installation is complete, you’ll find the Venmo app icon on your home screen.
Congratulations! You have successfully downloaded the Venmo app onto your mobile device. Now, let’s move on to the next step and create your Venmo account.
Step 2: Create Your Venmo Account
After downloading the Venmo app, the next step is to create your Venmo account. Follow these simple instructions to get started:
- Open the Venmo app on your mobile device by tapping on the app icon.
- On the welcome screen, tap “Sign Up With Email or Phone Number.”
- Enter your email address or phone number in the provided field.
- Create a strong and secure password for your Venmo account.
- Tap “Next” to proceed.
- On the next screen, enter your first and last name.
- Tap “Next” to continue.
- Choose a profile picture for your Venmo account, if desired. This step is optional.
- Tap “Next” to proceed.
- Review the terms of service and privacy policy, then tap “Agree & Join” to complete the account creation process.
Congratulations! You have successfully created your Venmo account. Now, you can start using Venmo to send and receive money with friends and family. In the next step, we will guide you on how to navigate the Venmo app to link your bank account.
Step 3: Open the Venmo App
Now that you have successfully created your Venmo account, it’s time to open the Venmo app and get ready to link your bank account. Follow these simple steps to open the Venmo app on your mobile device:
- Locate the Venmo app icon on your home screen or app drawer.
- Tap on the Venmo app icon to launch it.
- The Venmo app will open to the login screen.
- Enter your Venmo email address or phone number and password.
- Tap on the “Log In” button to proceed.
Once you have successfully logged in to your Venmo account, you will be directed to the home screen of the Venmo app. From here, you can access various features and settings, including the option to link your bank account. In the next step, we will guide you on how to navigate to the settings menu in the Venmo app.
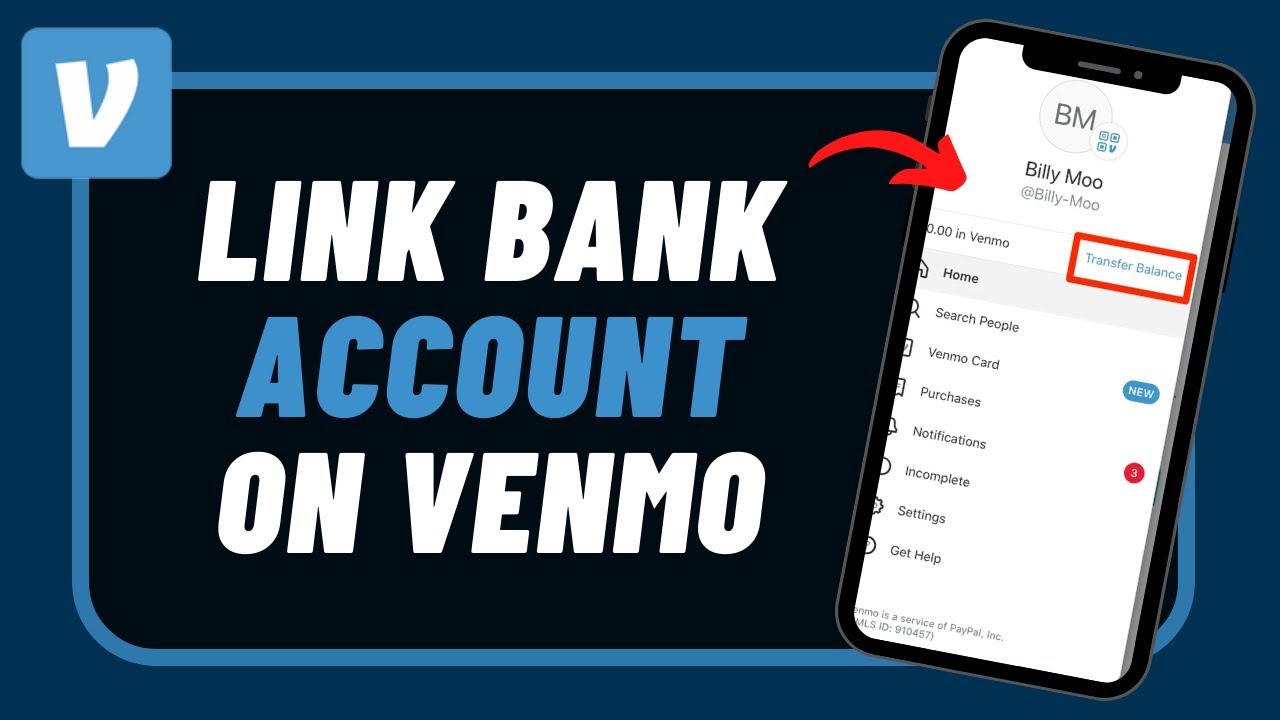
Step 4: Tap on the Menu Icon
To link your bank account to Venmo, you need to access the settings menu within the app. Follow the steps below to find the menu icon and navigate to the settings screen:
- Open the Venmo app on your mobile device and log in to your account.
- Once you are on the home screen, look for the menu icon. It is typically represented by three horizontal lines or a hamburger icon, located in the top-left or top-right corner of the screen.
- Tap on the menu icon to expand the menu options.
- A drop-down menu will appear, displaying a list of options and settings available in the Venmo app.
- Scroll through the menu to locate and select the “Settings” option.
By tapping on the menu icon and accessing the settings menu, you are one step closer to linking your bank account to Venmo. In the next step, we will guide you on how to navigate to the “Payment Methods” section within the settings menu.
Step 5: Select “Settings”
After tapping on the menu icon in the Venmo app, the next step is to select the “Settings” option. This will allow you to access and manage various settings and preferences within your Venmo account. Follow these steps to find and select the “Settings” option:
- Open the Venmo app on your mobile device and log in to your account.
- Tap on the menu icon, typically represented by three horizontal lines or a hamburger icon, located in the top-left or top-right corner of the screen.
- A drop-down menu will appear, displaying a list of options and settings.
- Scroll through the menu to find and select the “Settings” option.
By selecting the “Settings” option, you will be directed to the settings screen where you can customize and manage various aspects of your Venmo account. In the next step, we will guide you on how to navigate to the “Payment Methods” section within the settings menu.
Step 6: Tap “Payment Methods”
After accessing the settings menu in the Venmo app, the next step is to tap on the “Payment Methods” option. This section allows you to manage the payment methods linked to your Venmo account, including bank accounts and cards. Follow these steps to find and select the “Payment Methods” option:
- Open the Venmo app on your mobile device and log in to your account.
- Tap on the menu icon, typically represented by three horizontal lines or a hamburger icon, located in the top-left or top-right corner of the screen.
- A drop-down menu will appear, displaying various options and settings.
- Scroll through the menu to locate and select the “Settings” option.
- In the settings menu, look for and tap on the “Payment Methods” option.
By tapping on the “Payment Methods” option, you will be directed to a screen where you can view and manage the payment methods associated with your Venmo account. In the next step, we will guide you on how to add a bank account to Venmo.
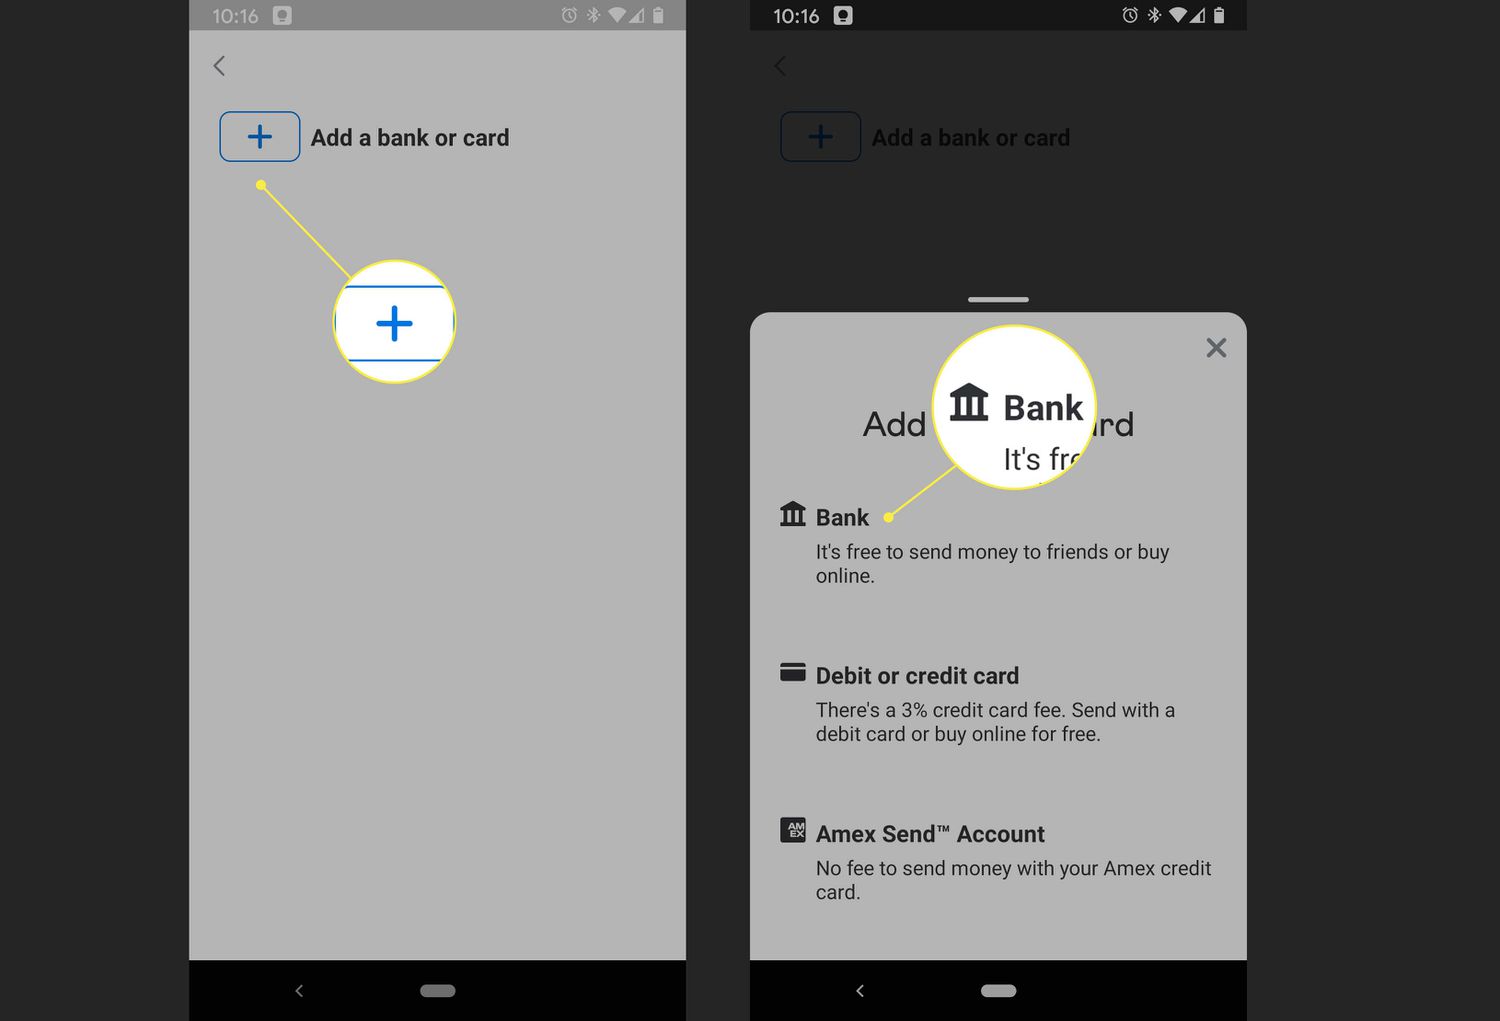
Step 7: Tap “Add a Bank or Card”
Once you are in the “Payment Methods” section of the Venmo app, the next step is to tap on the “Add a Bank or Card” option. This will allow you to add a bank account or card to your Venmo account for seamless transactions. Follow these steps to find and select the “Add a Bank or Card” option:
- Open the Venmo app on your mobile device and log in to your account.
- Tap on the menu icon, typically represented by three horizontal lines or a hamburger icon, located in the top-left or top-right corner of the screen.
- A drop-down menu will appear, displaying various options and settings.
- Scroll through the menu and select the “Settings” option.
- In the settings menu, find and tap on the “Payment Methods” option.
- On the “Payment Methods” screen, locate and tap on the “Add a Bank or Card” option.
By tapping on “Add a Bank or Card,” you are ready to proceed with adding your bank account to Venmo. In the next step, we will guide you through the process of selecting the “Bank Account” option within the “Add a Bank or Card” screen.
Step 8: Choose “Bank Account”
After tapping on “Add a Bank or Card” in the Venmo app, the next step is to choose the “Bank Account” option. This selection allows you to link your bank account to Venmo for effortless transactions. Follow these steps to find and choose the “Bank Account” option:
- Open the Venmo app on your mobile device and log in to your account.
- Tap on the menu icon, typically represented by three horizontal lines or a hamburger icon, located in the top-left or top-right corner of the screen.
- A drop-down menu will appear, displaying various options and settings.
- Scroll through the menu and select the “Settings” option.
- In the settings menu, find and tap on the “Payment Methods” option.
- On the “Payment Methods” screen, tap on the “Add a Bank or Card” option.
- In the “Add a Bank or Card” screen, choose the “Bank Account” option.
By selecting “Bank Account,” you are ready to enter your bank account details and proceed with linking your account to Venmo. In the next step, we will guide you on how to enter your bank account information accurately.
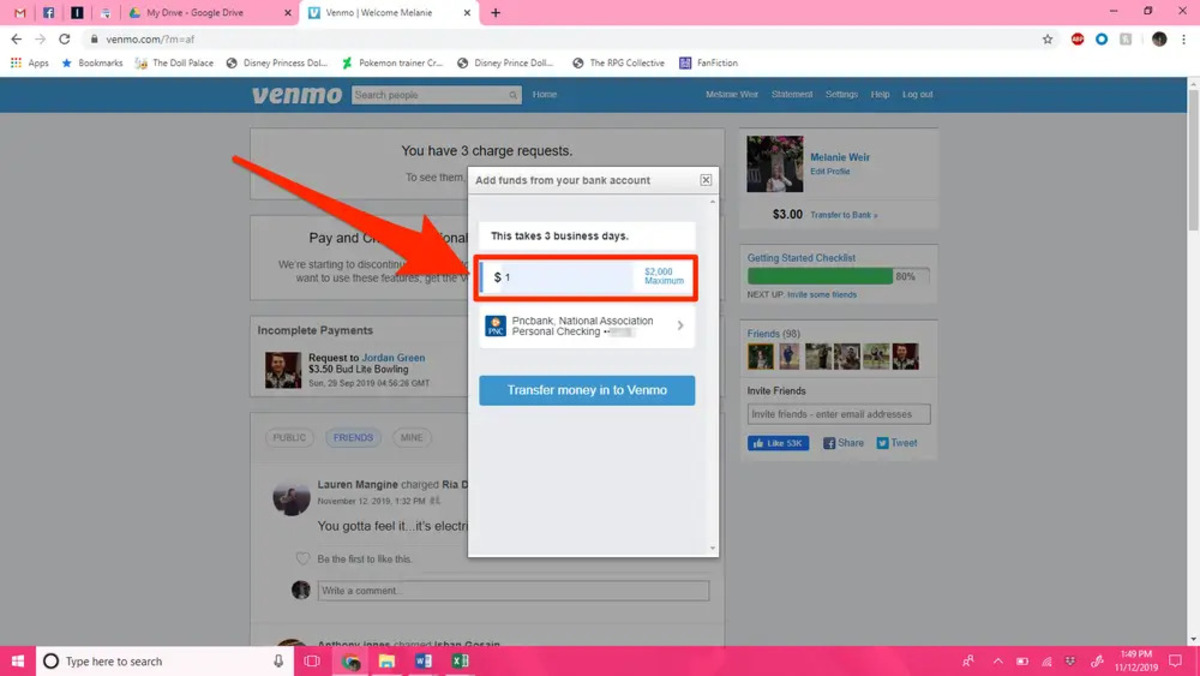
Step 9: Enter Your Bank Account Details
After choosing the “Bank Account” option, you can now enter your bank account details to link it to your Venmo account. Follow these steps to enter your bank account information accurately:
- Open the Venmo app on your mobile device and log in to your account.
- Tap on the menu icon, typically represented by three horizontal lines or a hamburger icon, located in the top-left or top-right corner of the screen.
- A drop-down menu will appear, displaying various options and settings.
- Scroll through the menu and select the “Settings” option.
- In the settings menu, find and tap on the “Payment Methods” option.
- On the “Payment Methods” screen, tap on the “Add a Bank or Card” option.
- In the “Add a Bank or Card” screen, choose the “Bank Account” option.
- Next, you will be prompted to enter your bank account details.
- Start by selecting your bank from the list of supported banks or select “Other Bank” if your bank is not listed.
- Enter your bank account number and routing number in the designated fields.
- Double-check the entered information to ensure accuracy.
- Tap on the “Next” or “Continue” button to proceed.
By providing the correct bank account details, you are one step away from verifying your bank account and completing the process of linking it to your Venmo account. In the next step, we will guide you on how to verify your bank account.
Step 10: Verify Your Bank Account
After entering your bank account details in the Venmo app, the final step is to verify your bank account. This process ensures the security and accuracy of your linked bank account. Follow these steps to verify your bank account in Venmo:
- Open the Venmo app on your mobile device and log in to your account.
- Tap on the menu icon, typically represented by three horizontal lines or a hamburger icon, located in the top-left or top-right corner of the screen.
- A drop-down menu will appear, displaying various options and settings.
- Scroll through the menu and select the “Settings” option.
- In the settings menu, find and tap on the “Payment Methods” option.
- On the “Payment Methods” screen, tap on the “Add a Bank or Card” option.
- In the “Add a Bank or Card” screen, choose the “Bank Account” option.
- Enter your bank account details accurately, including your bank account number and routing number.
- Once the information is entered, double-check for any errors.
- Tap on the “Next” or “Continue” button to proceed to the verification process.
- Depending on your bank, you may have different verification options available, such as micro-deposits or instant verification.
- Follow the prompts provided by Venmo to complete the verification process.
After successfully verifying your bank account, you can now enjoy the full benefits of linking your account to Venmo. You can easily transfer funds, make payments, and manage your finances seamlessly within the app. Congratulations! You have successfully linked your bank account to Venmo and can now take advantage of its convenient payment features.
Conclusion
Linking your bank account to Venmo provides a multitude of benefits, making your financial transactions smooth and hassle-free. By following the steps outlined in this guide, you can easily connect your bank account to Venmo and unlock the full potential of the app.
Through linking your bank account, you gain the ability to seamlessly transfer funds between your bank and Venmo balance. This eliminates the need for manual entry of card details and facilitates quick and convenient payments. Moreover, having your bank account linked allows you to track your transaction history, view balances, and maintain better control over your finances.
Getting started is simple. Download the Venmo app, create your account, and then access the settings menu. From there, navigate to the “Payment Methods” section and choose “Add a Bank or Card” followed by selecting “Bank Account.” Enter your bank account details accurately and proceed to verify your bank account. Once the verification process is complete, you can enjoy the seamless integration of your bank account with Venmo.
With your bank account linked to Venmo, you can make payments anytime, anywhere, and from any device, providing you with unmatched convenience and flexibility. In addition, Venmo prioritizes the security of your transactions and personal information, ensuring that your financial data remains protected.
So, take advantage of the easy and secure payment options offered by Venmo by linking your bank account today. Simplify your financial transactions, effortlessly split bills with friends, and enjoy the convenience of digital payments with Venmo. Start enhancing your financial management and experience the ease of Venmo’s mobile payment platform now!