Introduction
Are you looking to transfer money from your Venmo account to your Chime card? You’ve come to the right place! In this article, we’ll guide you through the process of setting up your Venmo account, setting up your Chime card, and linking the two accounts together so you can seamlessly transfer funds.
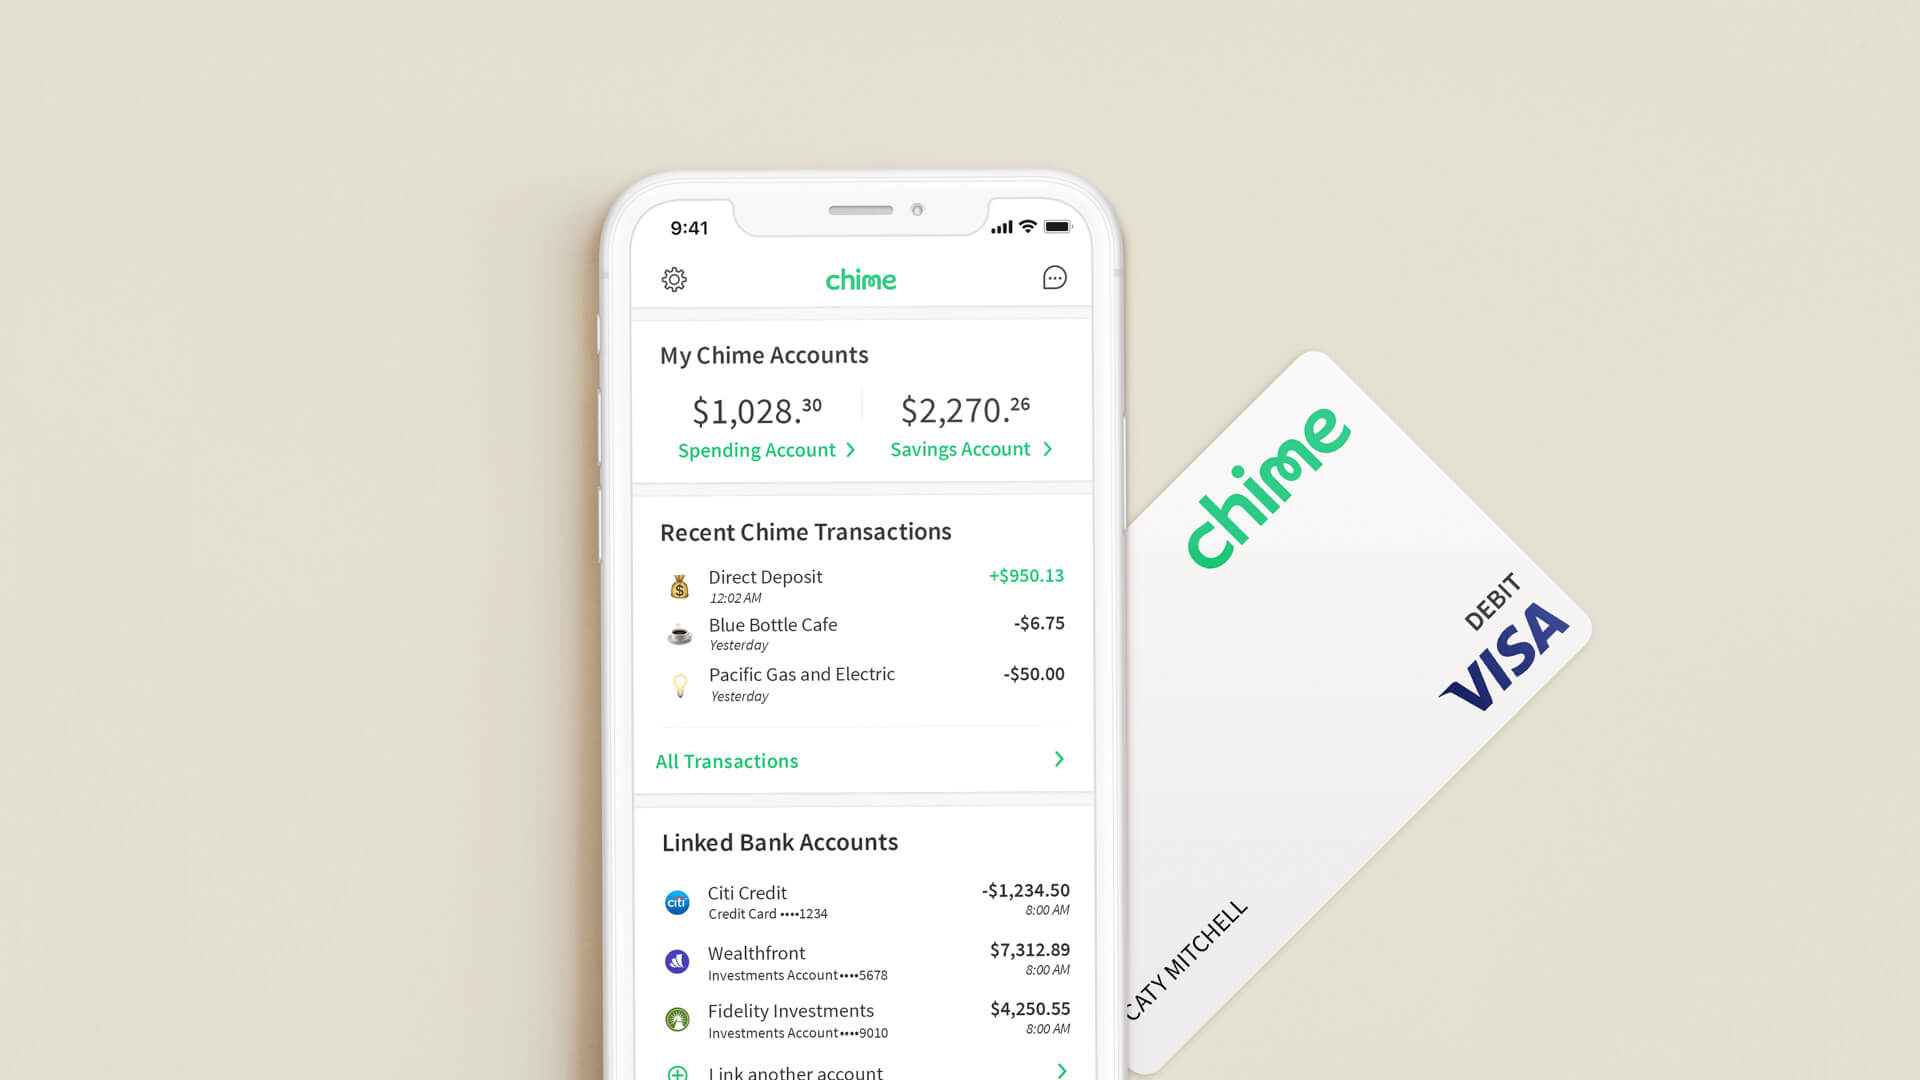
Venmo has become a popular peer-to-peer payment platform that allows users to send and receive money easily. On the other hand, Chime is a mobile banking platform that provides users with a wide range of features, including a Visa debit card.
By linking your Venmo account to your Chime card, you’ll be able to transfer money from one account to the other, providing you with more flexibility and control over your funds. Whether you need to pay bills, make purchases, or simply consolidate your finances, this guide will walk you through the necessary steps to get money from Venmo to your Chime card effortlessly.
Throughout this article, we’ll outline the process step-by-step and provide you with some additional tips and considerations to ensure a smooth and successful transfer. So, let’s not waste any more time and dive right into setting up your Venmo account and Chime card!
Setting up your Venmo account
Before you can transfer money from Venmo to your Chime card, you need to set up a Venmo account. If you already have one, you can skip this step and move on to the next section.
To create a Venmo account, you’ll need to download the Venmo app from the App Store or Google Play Store and follow the on-screen instructions to sign up. You’ll be asked to provide some personal information, including your name, email address, and mobile number. Make sure to choose a strong, unique password to keep your account secure.
Once you’ve created your account, you’ll have the option to link a funding source, such as a bank account or debit card, to add money to your Venmo balance. This step is essential for transferring funds to your Chime card later on. Venmo will guide you through the process of linking your bank account or card, which may involve providing additional verification.
It’s worth noting that Venmo charges a fee for instant transfers, so if you’re not in a rush, it’s advisable to choose the standard transfer option, which is free of charge. This allows you to transfer money from your Venmo balance to your Chime card within 1-3 business days. If you choose the instant transfer option, a small fee will be deducted from the transfer amount.
Once you’ve successfully set up and linked your funding source to your Venmo account, you’re ready to move on to the next section and set up your Chime card. Keep in mind that you’ll need a valid Chime card to complete the transfer process, so if you don’t have one, you can apply for it through the Chime mobile app or website.
Now that you’ve learned how to set up your Venmo account, let’s proceed to the next section and explore how to get your Chime card up and running!
Setting up your Chime card
In order to transfer money from Venmo to your Chime card, you’ll need to have a Chime card set up. If you already have one, feel free to skip this section and move on to the next step.
Setting up a Chime card is a simple and straightforward process. To get started, download the Chime mobile app from the App Store or Google Play Store, or visit the Chime website on your computer. Follow the instructions to create an account and provide the necessary personal information, such as your name, address, and social security number.
After setting up your Chime account, you’ll have the option to order a Chime card. This card acts as a Visa debit card and allows you to access your Chime account balance for purchases and transfers. Be sure to provide the required information, such as your mailing address, to ensure the card is delivered to the correct location.
Once the card arrives, you’ll need to activate it. This can typically be done through the Chime mobile app or by calling the provided activation number. Follow the prompts and provide the necessary information to activate your Chime card successfully.
It’s important to note that Chime offers a variety of additional features and services beyond the Chime card, such as early direct deposit, automatic savings, and fee-free overdraft protection. Take some time to explore these features and customize your Chime account settings to suit your financial needs.
With your Chime card set up and activated, you’re now ready to link it to your Venmo account and start transferring money. In the next section, we’ll guide you through the process of linking your Venmo account to your Chime card, so you can easily move funds between the two accounts.
Now that your Chime card is ready to go, let’s proceed to the next step and learn how to link your Venmo account to your Chime card for seamless money transfers!
Linking your Venmo account to your Chime card
Now that you have your Venmo account and Chime card set up, the next step is to link the two accounts together. This will allow you to transfer money from your Venmo account directly to your Chime card for easy access and spending.
To link your Venmo account to your Chime card, open the Venmo app on your mobile device and navigate to the “Settings” or “Profile” section. Look for the option to link a bank account or card and select it. From there, you’ll be prompted to provide the necessary information.
Make sure to have your Chime card details on hand, including the card number, expiration date, and CVV code. Enter this information accurately to ensure a successful link between Venmo and Chime. Follow the prompts to complete the linking process.
It’s important to note that the linking process may involve a verification step to confirm that you are the owner of the Chime card. This could be done by entering a verification code received via text message, email, or by making a small transaction that requires your confirmation.
Once the linking process is complete, you’ll be able to see your Chime card as a funding source within your Venmo account. This means you can easily select it when making a transfer from Venmo to your Chime card.
Keep in mind that there may be a slight delay in the linking process, so don’t worry if you don’t see your Chime card immediately. Give it some time and refresh your app to see if it appears. If you still encounter issues, reach out to Venmo or Chime customer support for further assistance.
Now that your Venmo account and Chime card are successfully linked, you’re ready to move on to the next step and learn how to transfer money from Venmo to your Chime card. We’ll guide you through the process in the following section, so let’s dive in!
Transferring money from Venmo to your Chime card
Now that you have your Venmo account and Chime card linked, it’s time to transfer money from Venmo to your Chime card. Follow these simple steps to complete the transfer:
1. Open the Venmo app on your mobile device and log in to your account.
2. Navigate to the “Menu” or “Settings” section, where you’ll find the option to transfer money.
3. Select the option to transfer funds or make a payment.
4. Choose the amount you wish to transfer from your Venmo account to your Chime card.
5. From the list of available funding sources, select your Chime card as the payment method.
6. Review the transfer details, ensuring the accuracy of the transaction amount and recipient.
7. Confirm the transfer and wait for the transaction to be processed.
It’s worth noting that standard transfers typically take 1-3 business days to complete. If you’re in a hurry and need immediate access to the funds, you can opt for instant transfer. However, keep in mind that there may be a small fee associated with instant transfers.
After completing the transfer, you’ll receive a confirmation notification from Venmo. You can also check the transaction history in your Venmo app to ensure the funds were successfully transferred to your Chime card.
It’s important to maintain sufficient funds in your Venmo account to cover the transfer amount. If there are insufficient funds, the transfer may fail, and you may incur fees or penalties. Ensure that you have enough funds in your Venmo balance before initiating a transfer.
Once the transfer is complete, the funds will be available on your Chime card. You can use your Chime card for everyday purchases, online shopping, bill payments, or ATM withdrawals.
It’s important to keep track of your Chime card balance and ensure you’re aware of any transaction limits or fees associated with the card. This way, you can effectively manage your finances and make the most out of your Chime card.
Now that you know the steps to transfer money from Venmo to your Chime card, let’s move on to the next section and learn how to confirm the transfer and access your funds on your Chime card.
Confirming the transfer and accessing funds on your Chime card
After successfully transferring money from Venmo to your Chime card, it’s important to confirm the transfer and ensure the funds are available for use. Follow these steps to confirm the transfer and access your funds:
1. Open the Chime mobile app on your device and log in to your account.
2. Navigate to the “Account” or “Balances” section, where you’ll find your Chime card balance.
3. Verify that the transfer amount matches the amount you transferred from Venmo.
4. If the funds reflect the correct amount, you can be confident that the transfer was successful.
5. Now, you can start using your Chime card to make purchases, pay bills, or withdraw cash at ATMs.
It’s important to monitor your Chime card balance and track your transactions to ensure accuracy. The Chime mobile app provides real-time updates on your account balance and transaction history, making it easy to stay on top of your finances.
If you encounter any issues or discrepancies with the transfer, reach out to Venmo or Chime customer support for assistance. They will be able to investigate and provide guidance to resolve any concerns.
Additionally, Chime offers various features and benefits that can further enhance your financial management. These include early direct deposit, automatic savings, and alerts for account activity. Take advantage of these features to optimize your Chime experience.
Another important consideration is the security of your Chime card and account. Be sure to keep your card and account information confidential and report any suspicious activity immediately to Chime customer support.
By confirming the transfer and accessing your funds on your Chime card, you can enjoy the convenience and flexibility of using your Chime card for all your financial needs.
In the next section, we’ll provide some additional tips and considerations to ensure a smooth transfer process and make the most out of your Venmo to Chime card transactions.
Now that you know how to confirm the transfer and access your funds on your Chime card, let’s move on to the next section and explore some helpful tips and considerations.
Additional tips and considerations
As you navigate the process of transferring money from Venmo to your Chime card, here are some additional tips and considerations to keep in mind:
1. Set up notifications: Both Venmo and Chime offer notification settings that allow you to stay informed about transactions, account activity, and balance updates. Enable these notifications to receive real-time alerts and avoid any unauthorized transactions.
2. Check transaction limits and fees: Familiarize yourself with the transaction limits and any fees associated with transferring money from Venmo to your Chime card. Understanding these limits and fees will help you plan your transfers efficiently and avoid unexpected charges.
3. Maintain a budget: Create a budget to manage your finances effectively. Track your income, expenses, and transfers to ensure that you’re staying within your financial limits and goals. This will help you make informed decisions when transferring money from Venmo to your Chime card.
4. Protect your personal information: Be cautious when sharing your personal and financial information online. Only provide your details on secure and trusted platforms. Both Venmo and Chime have measures in place to protect your information, but it’s always important to exercise caution.
5. Be aware of scams: Unfortunately, there are scams associated with money transfers. Be vigilant and avoid sharing your Venmo or Chime account details with unknown individuals or entities. If you encounter any suspicious activity or requests, report them immediately.
6. Keep track of your transfers: Maintain a record of your transfers for future reference. This will not only help you keep track of your financial transactions but also serve as a reference in case any issues arise.
7. Explore additional features: Take the time to explore the additional features and services offered by both Venmo and Chime. These platforms provide various tools to help you manage your finances better, such as expense categorization, savings goals, and spending insights.
By keeping these tips in mind and being proactive in managing your funds, you can make the most out of your Venmo to Chime card transfers and ensure a smooth financial experience.
Now that we’ve covered these additional tips and considerations, let’s wrap up this guide and summarize the key points.
Conclusion
Congratulations! You have successfully learned how to transfer money from Venmo to your Chime card. By following the steps outlined in this guide, you can seamlessly link your Venmo account to your Chime card and transfer funds with ease.
Remember, the process involves setting up your Venmo account, setting up your Chime card, linking the two accounts, initiating the transfer, and confirming the funds on your Chime card. By adhering to these steps and considering the additional tips and considerations provided, you can ensure a smooth and efficient transfer process.
Transferring money between Venmo and Chime provides you with the flexibility to access and manage your funds conveniently. Whether you need to pay bills, make purchases, or withdraw cash, your Chime card can facilitate these transactions easily.
Additionally, Chime offers various features such as early direct deposit, automatic savings, and fee-free overdraft protection that can enhance your financial management. Explore these features to optimize your Chime experience and make the most out of your financial transactions.
As you continue to utilize the Venmo to Chime card transfer option, be cautious of transaction limits, fees, and security protocols. Regularly monitor your account activity, protect your personal information, and report any suspicious activity to maintain the security of your funds.
We hope this guide has provided you with the information you need to confidently transfer money from Venmo to your Chime card. Should you have any further questions or encounter any issues, don’t hesitate to reach out to Venmo or Chime customer support for assistance.
Start taking advantage of the convenience and flexibility offered by Venmo and Chime today. Enjoy the seamless transfer of funds and the myriad of financial management features available to you.
Happy transferring!