Introduction
Welcome to the digital age of payments where convenience and security go hand in hand. With the merging of cutting-edge technology and finance, it’s now easier than ever to streamline your payment methods and make transactions seamlessly. One such innovation is the integration of Chime Card with Apple Pay.
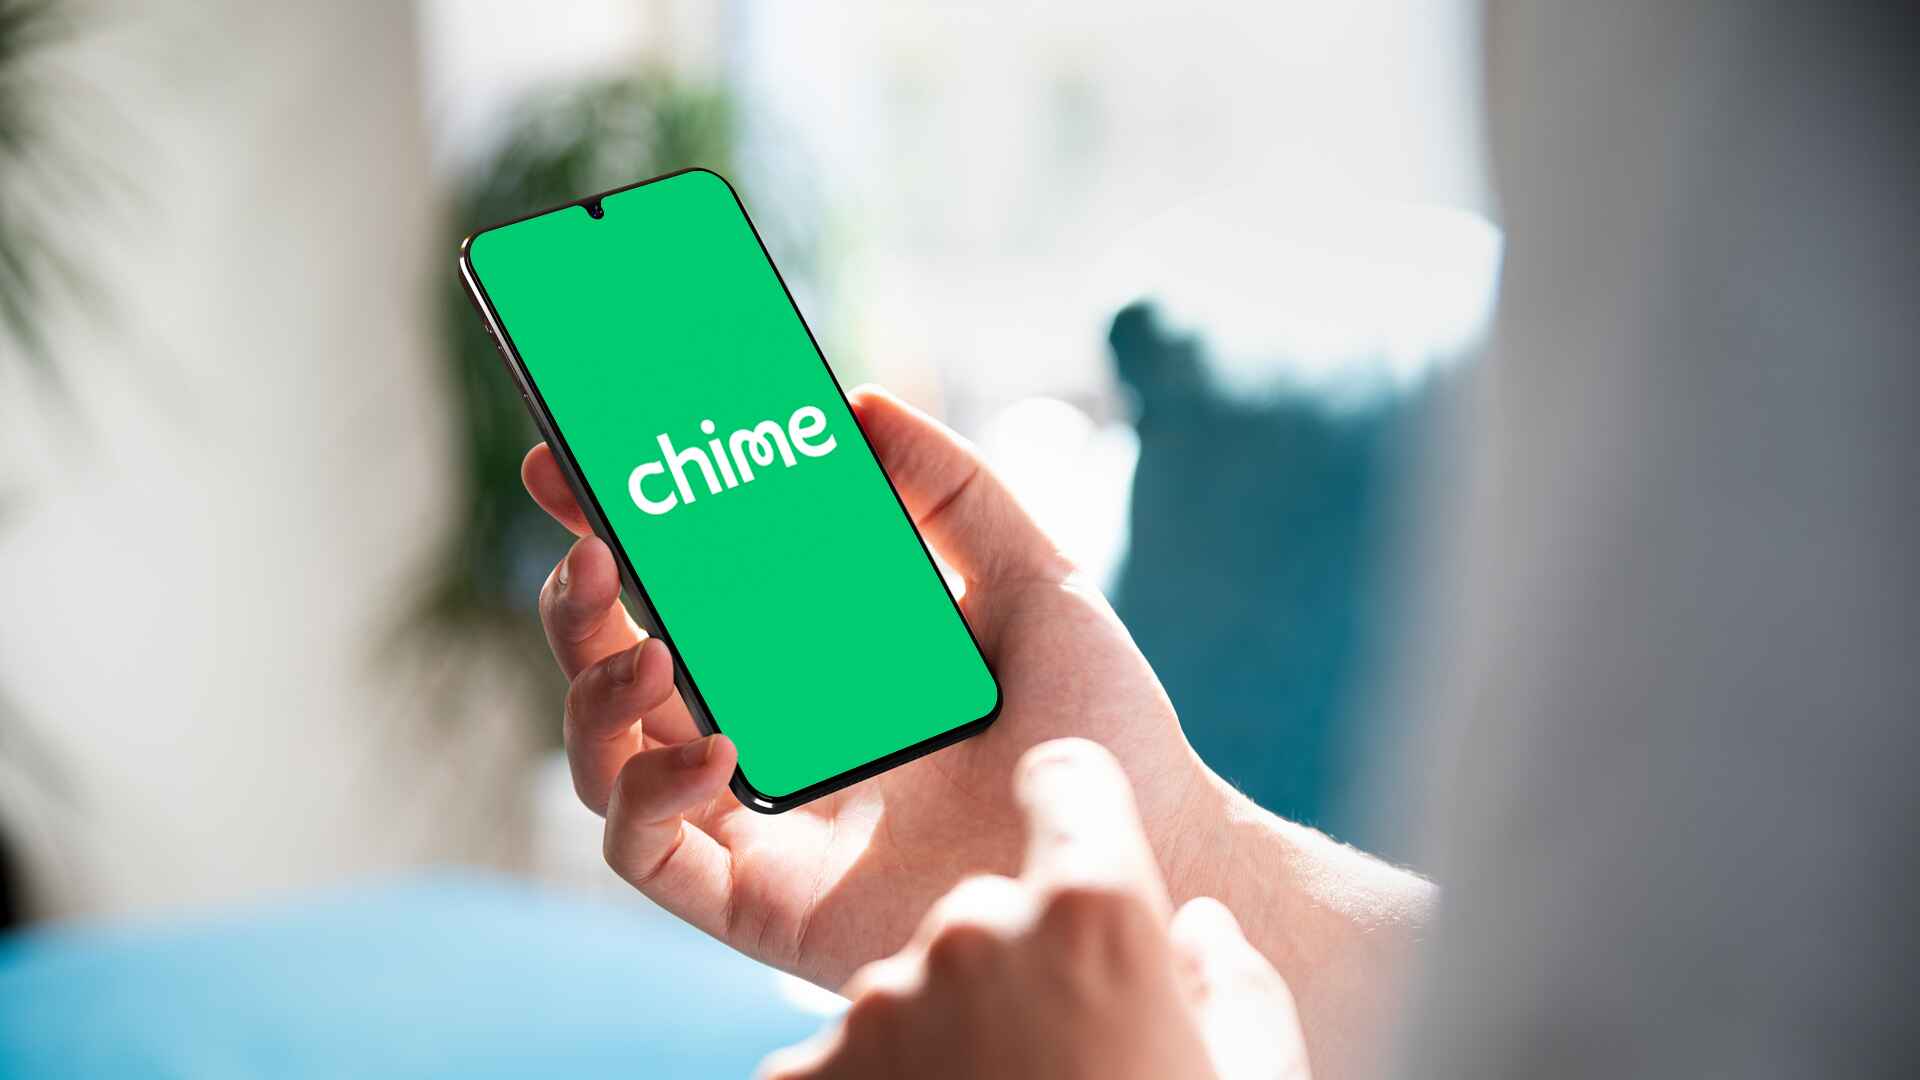
If you’re not already familiar with Chime, it’s a modern banking platform that provides a range of financial services tailored to suit your needs. From its user-friendly interface to its fee-free structure, Chime has gained popularity among individuals seeking a convenient and hassle-free banking experience.
On the other hand, Apple Pay has revolutionized the way we make payments by allowing us to use our iPhones as virtual wallets. By securely linking your credit or debit cards to your Apple Pay account, you can make contactless transactions with a simple tap of your device.
By combining the benefits of Chime and Apple Pay, you can enjoy the perks of both platforms and simplify your financial routine. In this article, we’ll guide you through the process of adding your Chime Card to Apple Pay, so you can start using it for convenient and secure payments.
Whether you’re an existing user of Chime or have just discovered this innovative banking platform, adding your Chime Card to Apple Pay is a breeze. So let’s dive in and explore the steps required to set up this powerful payment combination.
Step 1: Check if your iPhone is compatible
Before proceeding with adding your Chime Card to Apple Pay, it’s essential to ensure that your iPhone is compatible with this feature. Apple Pay is supported by a wide range of iPhone models, but there are a few requirements to keep in mind.
Firstly, your iPhone must be equipped with an NFC (Near Field Communication) chip. This chip enables contactless communication and is essential for making transactions with Apple Pay. The iPhone models that support NFC include the iPhone 6 and later, as well as the iPhone SE. If you own an older iPhone model, unfortunately, you won’t be able to use Apple Pay.
Secondly, your iPhone should be running the latest version of iOS. To check if your iPhone is up to date, go to the Settings app, tap on “General,” and then select “Software Update.” If a new iOS version is available, follow the on-screen instructions to download and install it.
Once you’ve confirmed that your iPhone meets these requirements, you’re ready to proceed to the next step of adding your Chime Card to Apple Pay. If, however, your iPhone isn’t compatible with Apple Pay, you may consider upgrading to a more recent model or explore alternative methods of making contactless payments.
Remember, compatibility is crucial to ensure a seamless experience when using Apple Pay with Chime. Now that you’ve verified that your iPhone is compatible, it’s time to move on to the next step: downloading the Chime app.
Step 2: Download the Chime app
The next step in adding your Chime Card to Apple Pay is to download the Chime app onto your iPhone. The Chime app is available for free on the App Store, making it easily accessible to all users.
To download the Chime app, follow these simple steps:
- Open the App Store on your iPhone. You can find the App Store icon on your home screen.
- Tap on the search bar at the bottom of the screen and type in “Chime”.
- From the search results, select the official Chime app by Chime Financial, Inc.
- Tap the “Get” button next to the app icon. The button will change to “Install” during the download process.
- Once the app is downloaded and installed on your iPhone, tap “Open” to launch the Chime app.
Note that you’ll need a stable internet connection throughout the download and installation process. Depending on your internet speed, the app may take a few moments to download and install. Ensure that you have enough free space on your iPhone to accommodate the Chime app.
Once you’ve successfully downloaded and installed the Chime app, you’re ready to move on to the next step of adding your Chime Card to Apple Pay. In the next step, we’ll guide you through locating the Chime Card within the app.
Step 3: Open the Chime app and locate the Chime Card
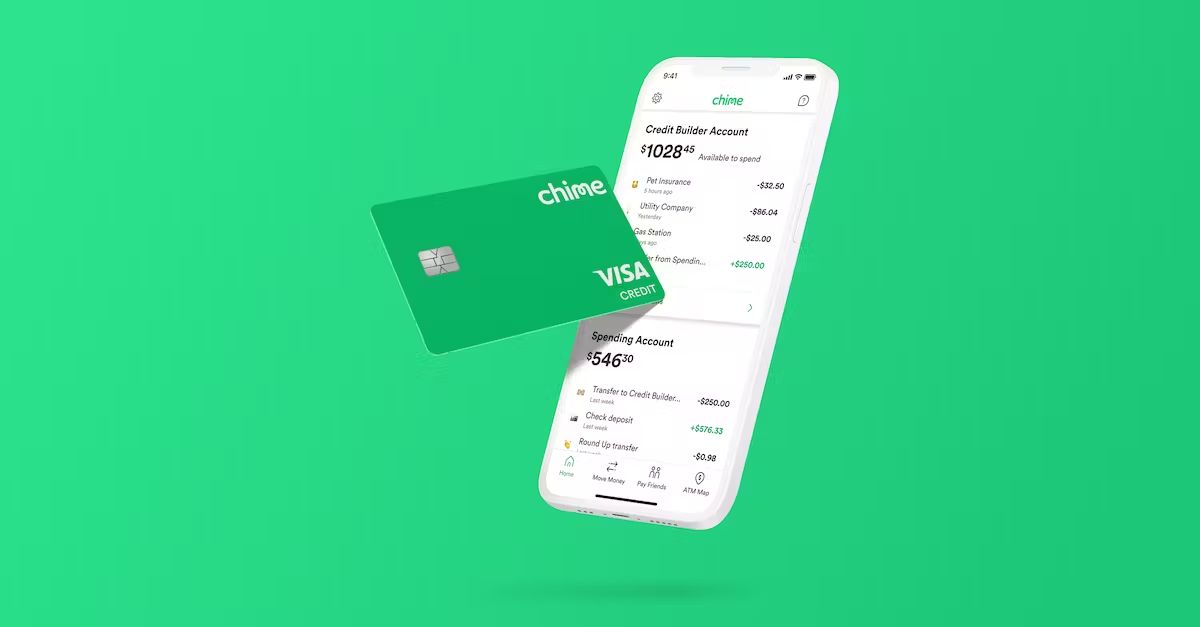
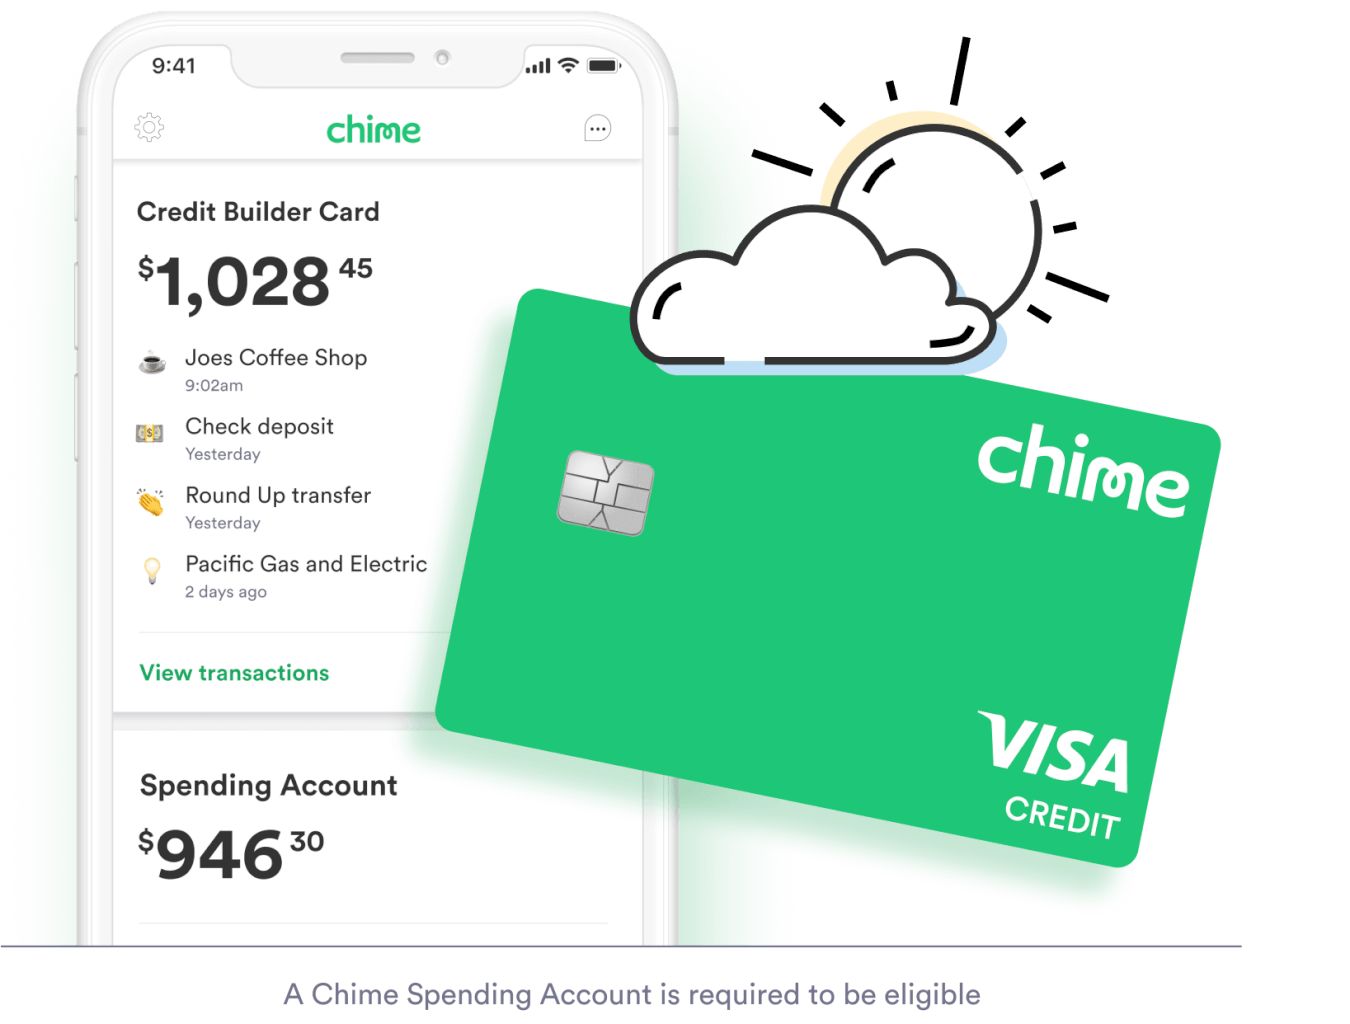
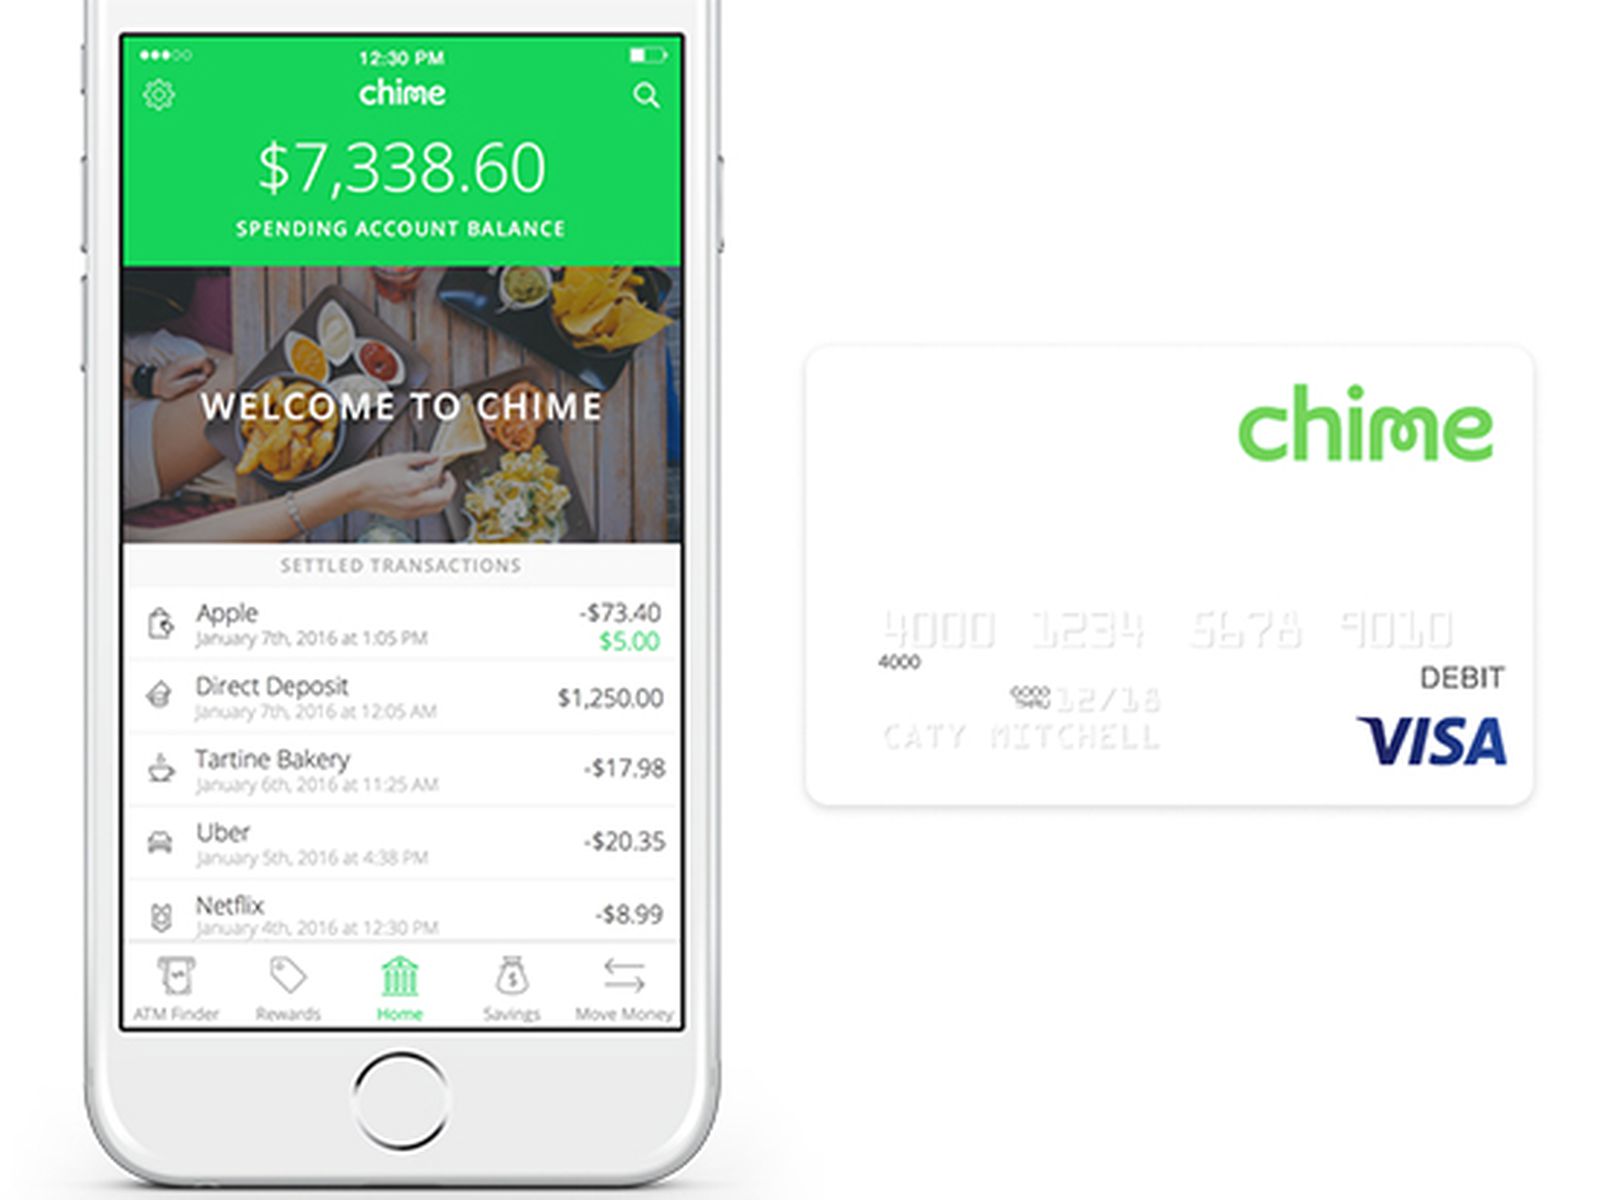
Now that you have downloaded and installed the Chime app, it’s time to open it and locate your Chime Card. The Chime Card is the virtual representation of your Chime account, and it is within this card that you’ll find the necessary details to add it to Apple Pay.
To open the Chime app and locate your Chime Card, follow these steps:
- Locate the Chime app on your iPhone’s home screen and tap on its icon to launch it.
- Once inside the Chime app, you’ll be prompted to sign in to your Chime account. Enter your login details (username and password) and tap “Sign In”. If you haven’t created a Chime account yet, you can sign up for one within the app.
- After signing in, you’ll be taken to the home screen of the Chime app. Here, you’ll find various options and features related to your Chime account.
- Locate and tap on the section within the app that corresponds to your Chime Card. This can usually be found under the “Accounts” or “Cards” tab.
- Once you’ve selected your Chime Card, you’ll be able to view its details, including its card number, expiration date, and CVV code. These details are necessary for adding your Chime Card to Apple Pay in the following steps.
Take a moment to ensure that you have accessed the correct Chime Card within the app. Check the details to confirm that you are looking at the card you intend to add to Apple Pay.
Now that you’ve successfully opened the Chime app and located your Chime Card, you’re ready to proceed to the next step: adding your Chime Card to Apple Pay.
Step 4: Add Chime Card to Apple Pay
Now that you have located your Chime Card within the Chime app, it’s time to add it to Apple Pay. Adding your Chime Card to Apple Pay allows you to make secure and convenient payments using your iPhone.
To add your Chime Card to Apple Pay, follow these steps:
- Open the Wallet app on your iPhone. The Wallet app comes pre-installed on most iPhones and is represented by the icon of a wallet.
- Tap the “+” button, usually located in the top-right corner of the screen or at the bottom of the screen.
- If you have multiple cards already added to Apple Pay, make sure to select “Add a different card” when prompted.
- Using your iPhone’s camera, position the Chime Card within the frame provided on the screen. The app will automatically detect the card details and populate them into the appropriate fields. Alternatively, you can choose to enter the card details manually by tapping on “Enter Details Manually”.
- Review the card details on the screen and make sure they are correct. If there are any errors, tap on “Fix Card Info” to update the information.
- Once you have reviewed and confirmed the card details, tap on “Next”. The Wallet app will attempt to verify the card with Chime, which may take a few moments.
If the verification process is successful, you’ll receive a message indicating that your Chime Card has been added to Apple Pay. Congratulations! You can now start using your Chime Card for contactless payments.
It’s important to note that adding your Chime Card to Apple Pay does not deactivate or replace your physical Chime Card. You can continue to use your physical card for transactions if needed. However, Apple Pay provides an additional layer of convenience and security, making it a great feature to utilize for your day-to-day payments.
Now that you’ve added your Chime Card to Apple Pay, it’s time to move on to the next step: verifying your Chime Card with Apple Pay.
Step 5: Verify your Chime Card with Apple Pay
After adding your Chime Card to Apple Pay, the next step is to verify it to ensure the security and authenticity of the card. Verifying your Chime Card with Apple Pay is a straightforward process that adds an extra layer of protection to your transactions.
To verify your Chime Card with Apple Pay, follow these steps:
- Once you receive the message confirming the addition of your Chime Card to Apple Pay, you’ll be prompted to verify the card.
- Chime will send a verification code to the mobile phone number associated with your Chime account.
- Open the Messages app on your iPhone and locate the message from Chime with the verification code.
- Enter the verification code into the appropriate field within the Wallet app.
- Once you’ve entered the verification code, tap on “Next”. Apple Pay will complete the verification process and link your Chime Card securely to your device.
By verifying your Chime Card with Apple Pay, you can be confident that only you can use your Chime Card for Apple Pay transactions. This verification process adds an additional layer of security and prevents unauthorized access.
Once the verification is complete, your Chime Card is ready to be used with Apple Pay for contactless payments. With a simple tap of your iPhone, you can make secure and convenient transactions at various retailers and establishments that accept Apple Pay.
Now that your Chime Card is verified with Apple Pay, let’s move to the final step: getting started with using your Chime Card with Apple Pay.
Step 6: Start using your Chime Card with Apple Pay
Now that your Chime Card is successfully added and verified with Apple Pay, you can start using it for convenient and secure payments. Apple Pay allows you to make contactless transactions with a simple tap of your iPhone at participating retailers, both in-store and online.
To start using your Chime Card with Apple Pay, follow these steps:
- Look for the Apple Pay logo or contactless payment symbol at the checkout counter or when making an online purchase.
- Open the Wallet app on your iPhone and authorize the payment by using Face ID, Touch ID, or entering your device passcode.
- Hold your iPhone near the contactless payment reader or follow the prompts for online purchases.
- Wait for the confirmation that your payment was successful. This may include a vibration or beep from your iPhone, as well as a notification on the screen.
It’s important to note that Apple Pay is not only restricted to physical retailers. You can also use Apple Pay to make secure and seamless payments within participating apps and websites. Look for the Apple Pay option during the checkout process and authorize the payment using the same steps mentioned above.
Using your Chime Card with Apple Pay offers several benefits. First, it adds an extra layer of security as your card details are not shared with the merchant during the transaction, reducing the risk of fraud. Second, it provides a convenient and contactless way of making payments, eliminating the need to carry physical cards or cash. Lastly, it allows for seamless integration with other Apple services and devices, making your payment experience even more streamlined.
Now that you’re familiar with the process of adding and using your Chime Card with Apple Pay, you can enjoy the convenience and security of contactless payments wherever Apple Pay is accepted. Start exploring the world of digital payments and experience a new level of ease and simplicity in your financial transactions.
Conclusion
Adding your Chime Card to Apple Pay opens up a world of convenience and security in your financial transactions. By seamlessly integrating these two powerful platforms, you can enjoy the benefits of both Chime and Apple Pay, making your payment experience simpler and more efficient.
In this step-by-step guide, we walked you through the process of adding your Chime Card to Apple Pay. Starting with checking the compatibility of your iPhone, downloading the Chime app, locating your Chime Card within the app, and adding it to Apple Pay, we covered all the necessary steps to get you up and running with this powerful payment combination.
Verifying your Chime Card with Apple Pay adds an extra layer of security, ensuring that only you can use your Chime Card for contactless transactions. Once verified, you can start using your Chime Card with Apple Pay at various retailers and establishments, both in-store and online.
With Apple Pay, you can make payments with a simple tap of your iPhone, eliminating the need to carry physical cards or cash. Your Chime Card details are securely stored within your device, providing a convenient and secure payment method.
So, whether you’re making everyday purchases, dining out, or shopping online, adding your Chime Card to Apple Pay gives you peace of mind and a seamless payment experience.
Take advantage of this powerful combination of Chime and Apple Pay and enjoy the benefits of convenience, security, and simplicity in your financial transactions.